How to install a pocket door frame
I love using pocket doors as often as the situation allows because they don’t take up any floor space when open. The right situation being that the pocket door wall is long enough to accommodate twice the width of the door – because it has to slide into the wall.
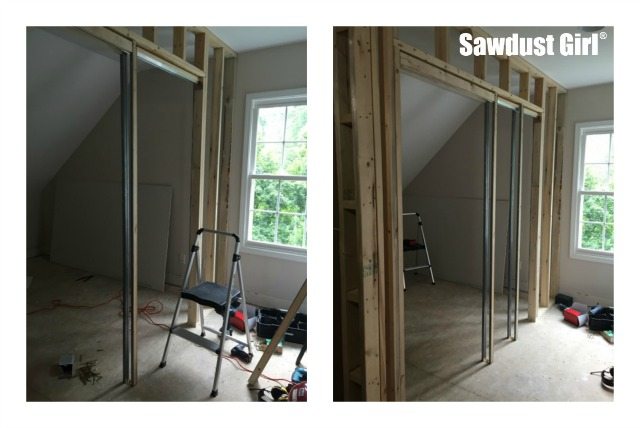
Table of Contents
Prepare Rough Opening
I’m using a pocket door kit because it makes the process super easy. You just have to frame the rough opening in your wall and then install the kit. (These kits can be found at big box stores as well as online. Shop around.)
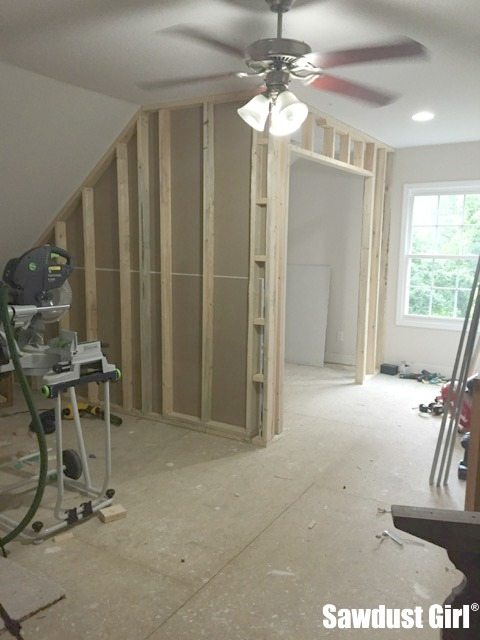
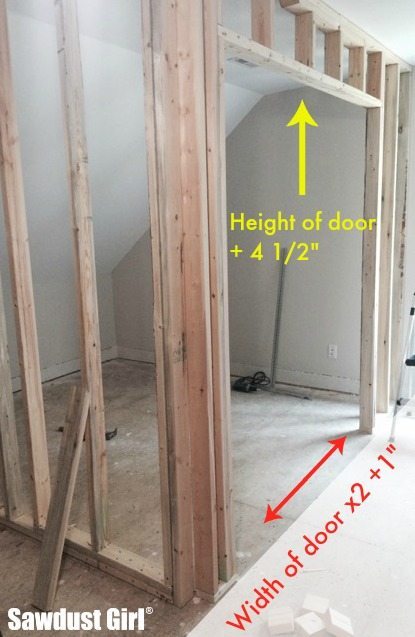
Obviously you’ll want to read YOUR instructions for the kit you purchase! My kit called for a rough opening height to be the height of my door + 4 1/2″ with a minimum height of 84 1/2″. The width called for was the width of my door times two + 1″.
- My door is 80″ so my opening height is 84 1/2″.
- My door is 36″ wide so my opening width is 73″.
Install Header
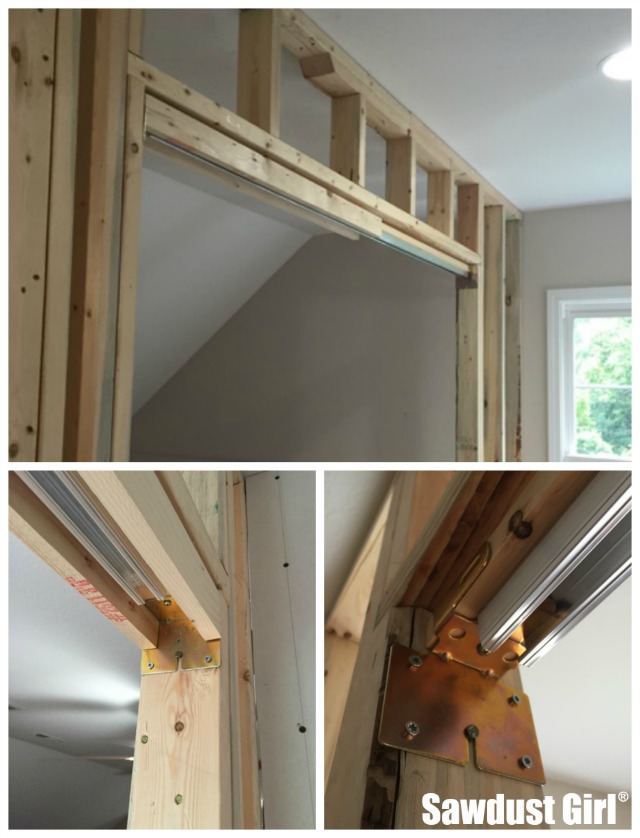
The next step is to put a nail or screw in the center of each side jamb (the studs on the side of the pocket door opening). The placement of this nail (in my case) is determined by your finished floor height .

Then the pocket door frame header will rest on these nails while you make sure everything is level. Once you have determined that the header is level, secure each side with screws. The wider part of the header goes over where the actual door opening will be. You may have to trim your header. If you do, a metal blade on a reciprocal saw works great.
Install Split Jams
Now you have to secure the “split jambs” in place. One set of split jambs will be butted up to the header nailer. The other will be installed halfway between the first set and the side jamb.

Draw a line
Either snap a chalk line or use a straight edge to draw a line on the floor even with the side jambs.
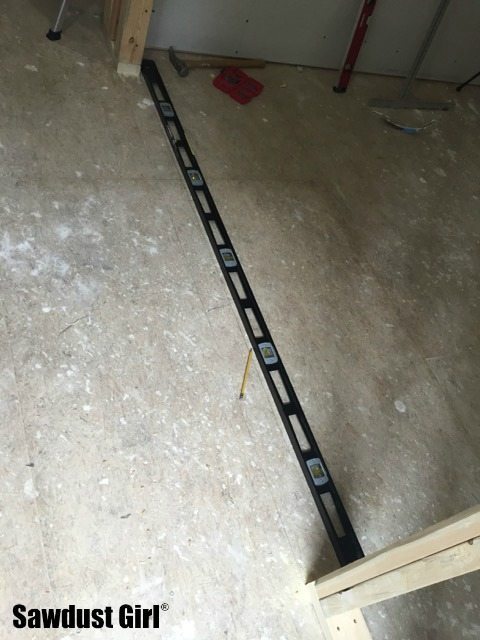
Install Floor Plates
Slip the split jambs into the tabs of the floor plate, center the plate within the lines on the floor and mark the location of the screw holes.
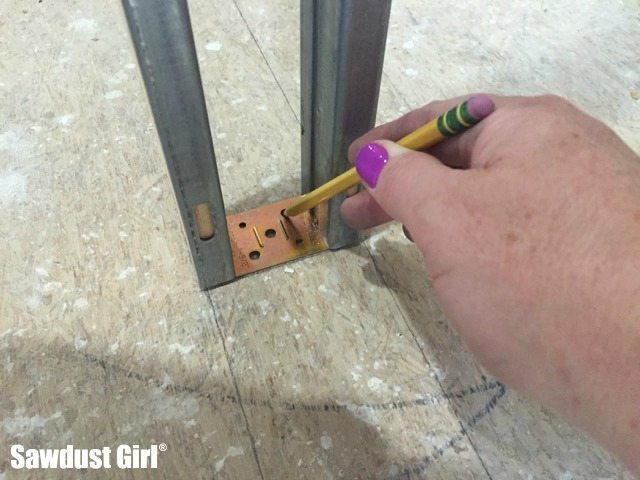
Now remove one of the jams and secure the plate to the floor. The instructions may not mention removing one of the jams while driving the screws -but in my experience it’s easier to just get one of those jams out of the way temporarily. The only reason you need them in place at this point is to get the plate properly lined up. If you mark the screw holes with the jams in place you don’t need them there while driving the screws.
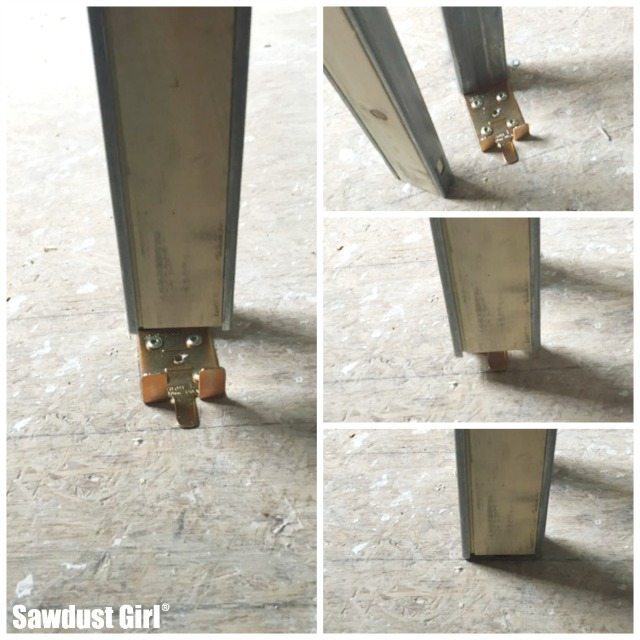
Level And Secure Split Jams
Note that only one end of the split jambs has a set of holes on the metal side. The end with the holes is the “top”. The holes are there so you can drive screws through them and into the header nailer.
Now that the floor plates are secured to the floor, slide both jams in place making sure the metal side is facing IN and the end with the holes is UP.
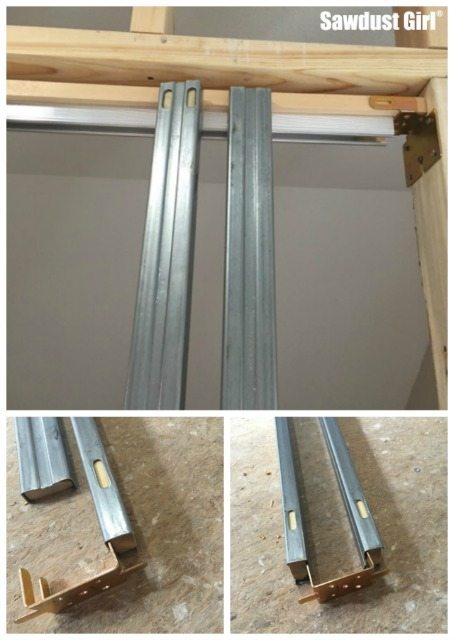
Make sure the split jambs are level and secure them each with two screws.

The necessary screws may or may not be supplied with your kit. Mine either didn’t come with them or I misplaced them so I grabbed a handful of drywall screws that were sitting right there – which was a mistake! The drywall screw split my jamb. I ran downstairs for a box of self drilling wood screws which I used for the rest of the holes.
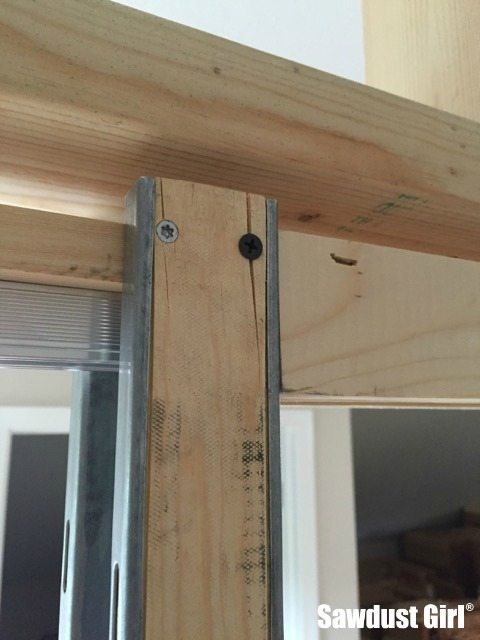
That’s the pocket door kit in a nutshell. You can hang the door now or later using the hangers/wheels that come with the kit. There should also be a bumper that you attach the the inside jamb so your door doesn’t slam into that stud.
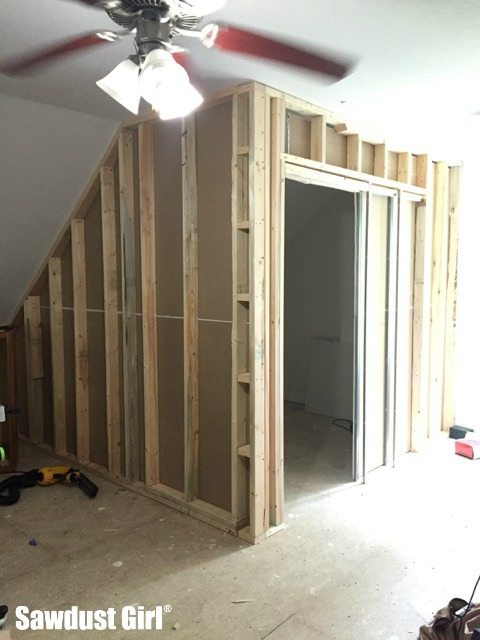
It’s definitely easier to hang the door before you trim the doorway, but I like to install drywall, mud, sand, paint, etc. before hanging the door. You CAN remove pocket doors after the trim has been installed, it just requires a bit more finesse.
How long has the project taken?
How long something will take depends on your experience level, the time you commit to the project and lots of unknowns that will be discovered along the way.
Love love your mirrored pocket choice! Gonna give it a whirl with your guidance but can’t find the one featured in your video. Could you offer advice on where to find that same mirrored pocket door?
Thanks much!
Any door can be used as a pocket door. Look locally and online to find one you like.