How to Hang a Cabinet using a French Cleat
Using a French cleat is the easiest way I’ve found to hang a cabinet on the wall when working alone. You secure one cleat to the wall and another to the cabinet. Then, it’s simply a matter of lifting the cabinet up and sliding it down in place so it locks into the wall cleat. This method can have some downsides so one might have to weigh those against the benefit of being able to hang wall cabinets alone.
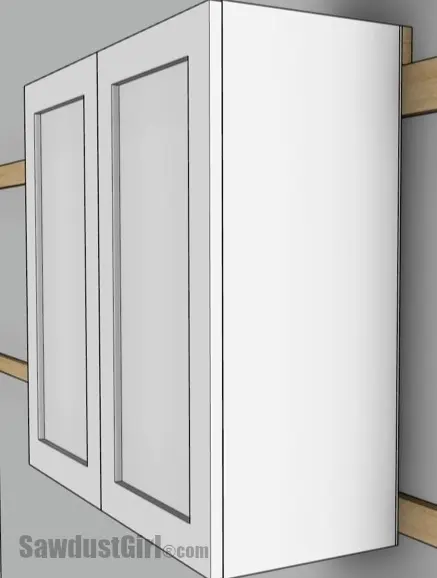
Working alone is how I did 90% of my cabinet installations for 20 years so I had to find ways I could do it all by myself.
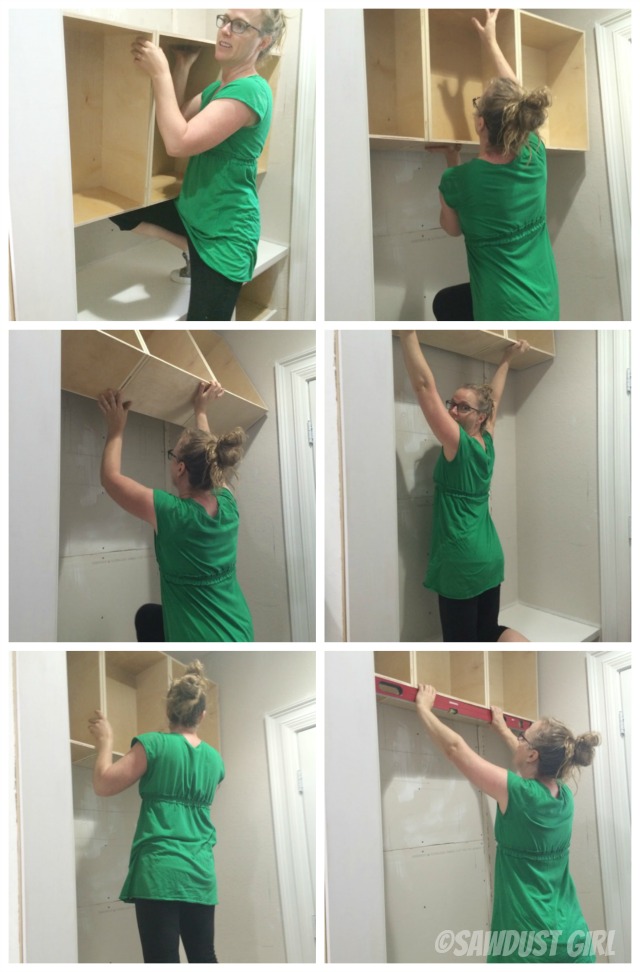
Table of Contents
What is a French Cleat
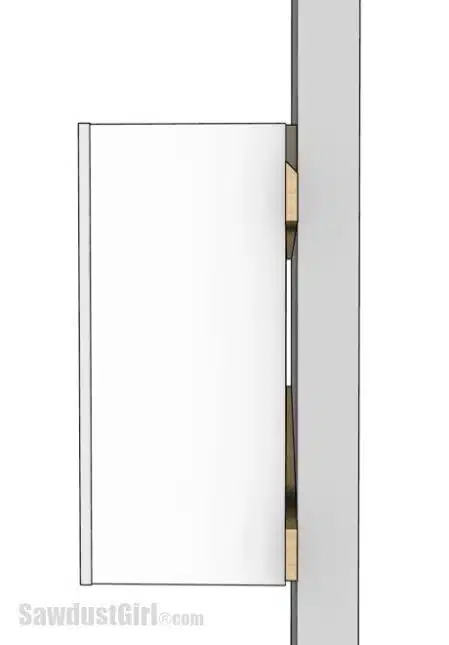
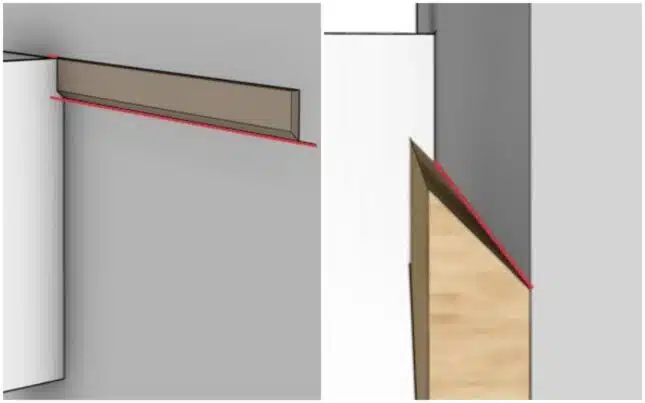
First off, what is it? A French cleat is a mounting system made up of of two beveled, interlocking pieces of wood (or metal but this post is explaining how to create a wood version ). One part is attached to the wall with the angled edge facing upward and away from the wall. The other part is fastened to the back of the cabinet with the angled edge facing downward and away from the cabinet. When the two pieces are slid together, it creates a strong, stable connection.
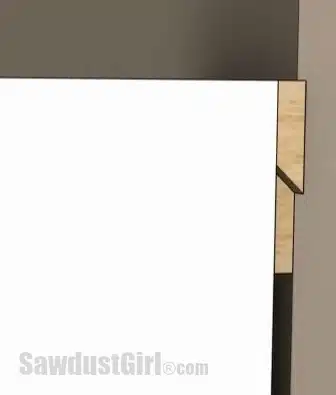
A flat cleat or a ledger board can support the weight of the cabinet but there’s nothing preventing forward tipping. (affiliate link->) Third hands are great in those instances but you generally need an extra set of hands to get the third hand in place while your two hands are holding the cabinet up. The interlocking angles of the French cleat supports the cabinet weight and prevents it from tipping forward, out and away from the wall. This is why the French cleat is such a good single person installation method.
Optimal Size for Wood French Cleat
I like to use 3/4″ plywood because it’s strong and typically doesn’t bow or warp like solid wood does. (Though in the photos for this post I’m using a piece of Red Oak that I had it in my scrap pile.) Anywhere from 3″- 4″ is optimal for each cleat part. I would not want the solid portion (before the angle) to be any less than 2 1/2″ wide.
How to Cut a French Cleat
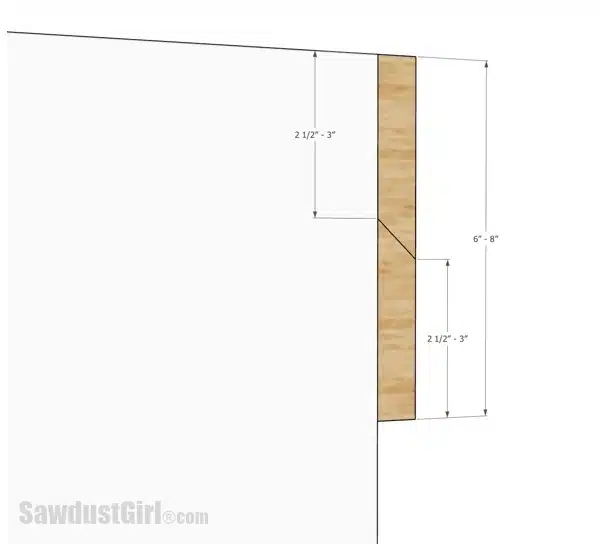
The table saw is the easiest way to cut and bevel a French cleat though one could use a track saw or even a skill saw using guide and clamps.
- First, rip a 6″- 8″ wide strip of plywood
- Next, set the sawblade to a 45 degree angle
- Now, cut straight down the center of that strip creating two mating, angled cleats
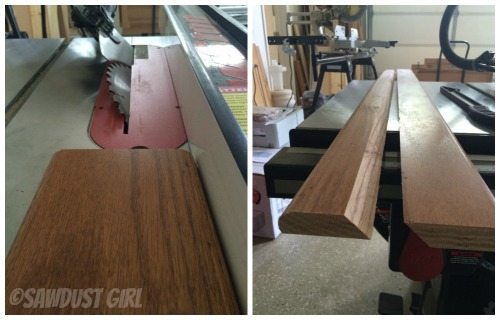
It’s not necessary for the cleat parts to be exactly the same size but makes it easier for installation purposes. Since the wall cleat needs to be mounted lower on the wall by the width of the cabinet cleat, making the two cleats equal in width makes measuring, marking and installing a bit easier.
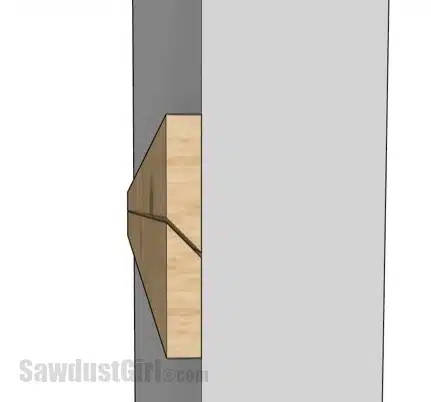
How to Install French Cleat Parts onto Cabinet and Wall
I have installed the cabinet part to the French cleat systems with the angled edge facing the wrong direction. So let’s reiterating the correct direction for your benefit.
- Wall cleat is installed with the angled edge facing up and out, away from the wall.
- Cabinet cleat is attached with the angled edge down and facing toward to the cabinet.
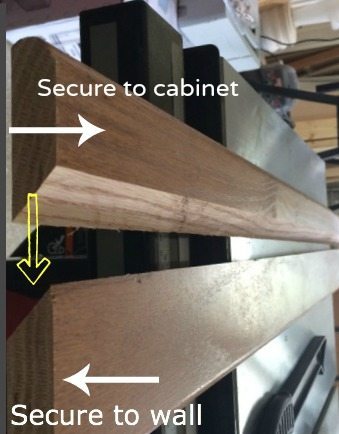
Install Cabinet Cleat
I find it easiest to secure the cabinet part at the top of the cabinet so I don’t have to do any extra math to figure out where to install the wall cleat. Again, angled edge down and facing toward to the cabinet. How you attach the cabinet cleat to the cabinet will vary depending on how the cabinet was constructed.
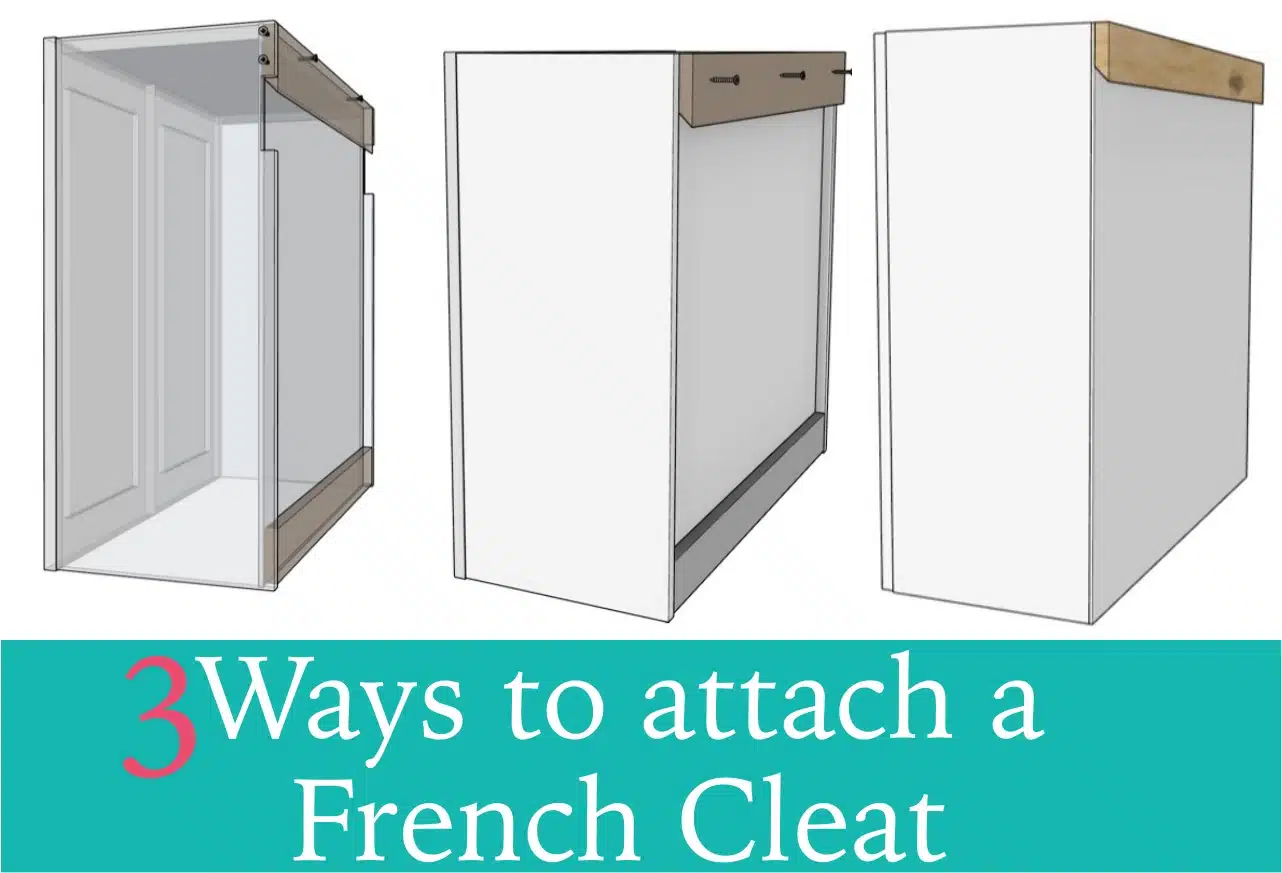
Cabinet with Plant-On Back
If working with an already built cabinet that has a “plant-on back” (meaning the cabinet has no back recess). You should be able to screw the French cleat to the top and sides of the cabinet, and/or directly into the cabinet back if it is thick enough material, and/or to the nailers. Examples:
- If the cabinet back is made of 1/2″-3/4″ material with no nailers:
- attach the French cleat into the cabinet back with screws of the appropriate length for your particular cabinet parts (don’t screw through and into your cabinet)
- and/or screw the French cleat to the top and sides of the cabinet. #8 1 3/4″ screws would be sufficient.
- If the cabinet has nailers inside with a 1/4″ back screwed or stapled on:
- attach the French cleat to the top and sides of the cabinet using #8 1 3/4″ screws
- and/or screw the French cleat through the cabinet back and into the nailers with screws of the appropriate length for your particular cabinet parts (don’t screw through and into your cabinet)
- Additionally, IF your cabinet has a recess with an existing nailer and you wanted to attach the French cleat to that nailer without cutting a notch into your cabinet you would follow these same guidelines.
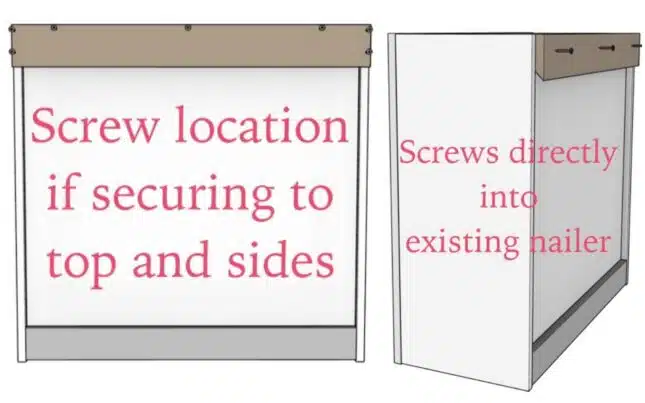
Downside to French Cleats attached to Back of Cabinets
The downside to using a French cleat system where the cabinet cleat is attached to the back of cabinet is that you’ll end up with space behind the cabinet. This generally wouldn’t be an issue if the sides of the cabinet or run of cabinets are hidden and if an extra 3/4″ of depth isn’t going to ruin your overall design. Note that you also need to add an additional bottom cleat or nailer to keep the cabinet plumb.
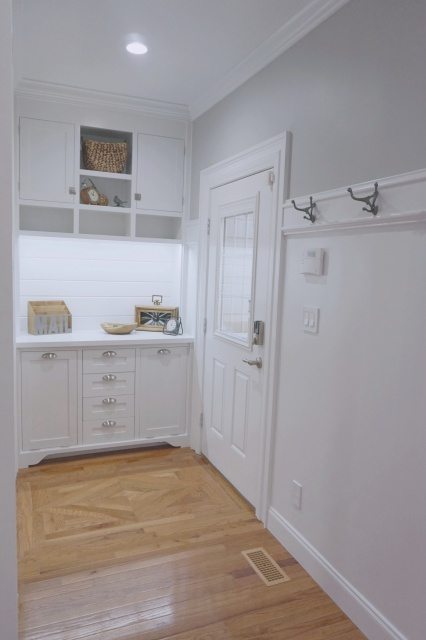
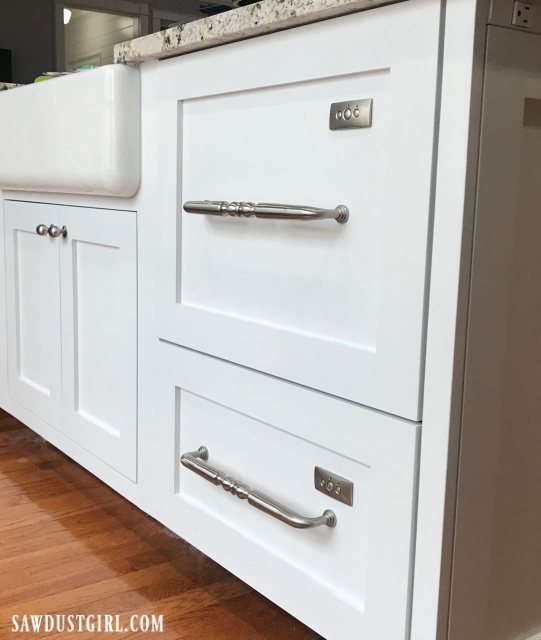
This wasn’t an issue in the kitchen side entry cabinet configuration I was working on when I created this post. If you’re interested how it turned out- voila!
Cabinets with a Back Recess
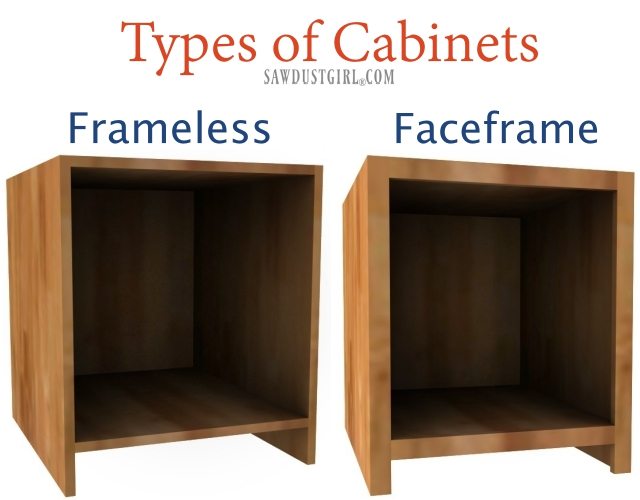
Ideally the cabinet part of the French cleat system is installed into a recess in the cabinet with a notch cut out for the wall cleat. This way you don’t create extra space behind the cabinets when installed. If the cabinets are not hung in a nook and you need to hide the visible ends it can be done with beadboard, or an applied panel that matches you doors, etc.
- The notch can be cut out of an existing cabinet using a jigsaw. Make sure to cut the notch lower than the width of the wall cleat by at least the thickness of the cleat. 1″ – 1 1/2″ is sufficient for a 3/4″ thick cleat and will leave enough space for the full cleats to slide together and interlock.
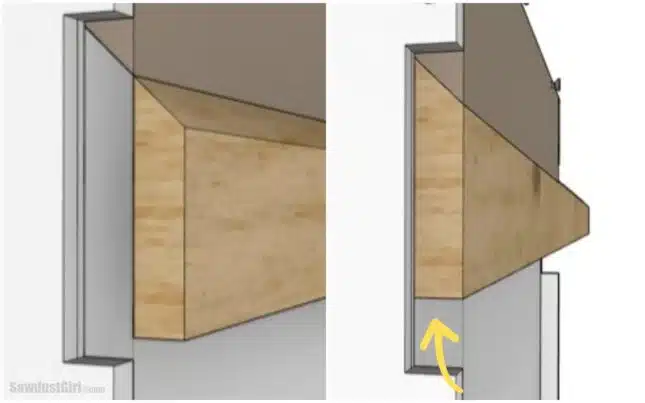
- On a cabinet that has a nailer attached that can not be easily removed because of the construction method, simply attach the French cleat below the nailer. The only attachment point here would be with screws through the cabinet sides and into the cleat (if the cabinet back is 1/4″ thick which is generally the case with cabinets that have backs in front of a recessed nailer.
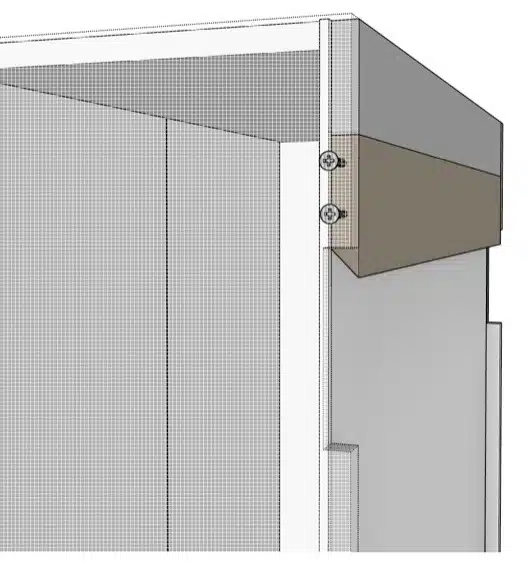
- Use a French Cleat in place of the top nailer. The cleat can then be secured to the cabinet sides and top. This would work on:
- an existing cabinet with a nailer that is screwed in place that you can easily remove
- on a new cabinet that you are building
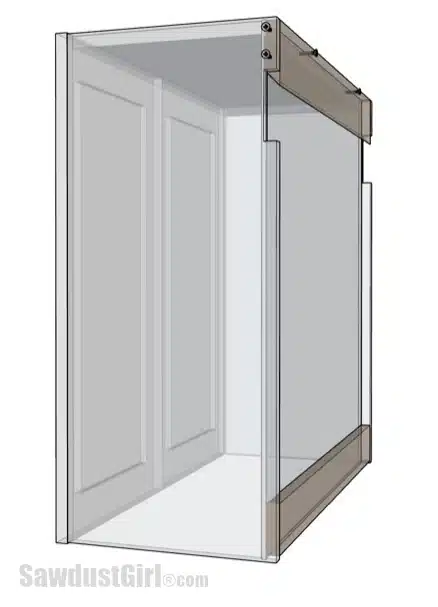
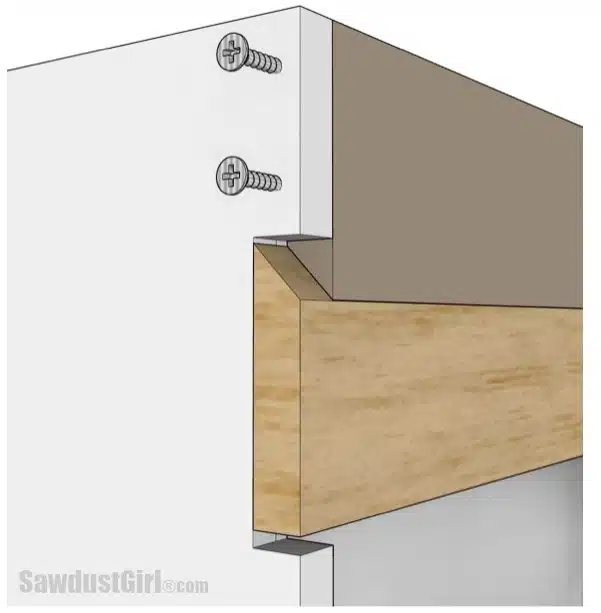
These were three small, light boxes that I joined together and then attached a long French cleat. On larger cabinets, each cabinet would receive it’s own cleat. In those instances I hang each cabinet on the wall cleat and then screw the cabinets together.
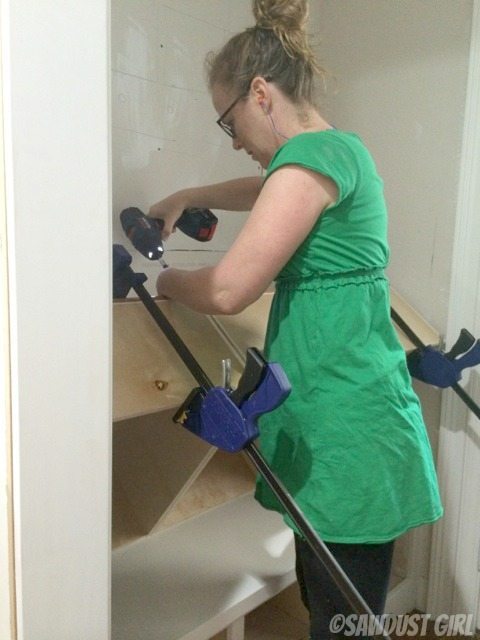
Install Wall Cleat
This is how I do it because relying on math doesn’t always pan out for me:
- Mark on the wall where the top of the cabinet will be.
- Place the cabinet cleat against the wall and mark the bottom.
- Use a level and draw a level line across the entire length of the cabinet installation space.
- Then line up the top of the wall cleat minus the angle with that mark
- This requires looking over the top of the wall cleat so you can see the line
- Put a couple nails in it and check again for level – adjust as needed
- Secure wall cleat to the studs using 2 1/2″- 3″ screws.
Hang the Cabinet on the Wall
Now you just have to lift the cabinet up past the cleat then let it slide down the wall and nestle into place so the two cleats interlock.
Do one more check to make sure you’re level and plumb. If you put your cleats on level, your cabinet should already be level but you may need shims to get plumb. Now I drive screws through the cabinet into the wall cleat and/or through the bottom nailer into the studs. This keep the cabinets in place and add smore strength and support so the whole cabinet isn’t only hanging on the top cleat.
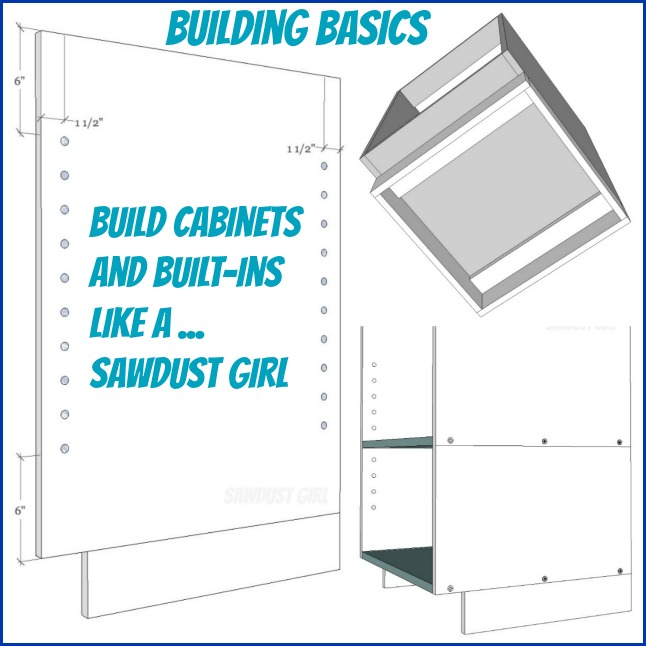
If you found this tutorial useful you might like my Cabinet Building Ebook or all my free cabinet building tutorials.
Awesome post, keep up the great work!
I don’t know if I’d rely on a french cleat or not in that situation. If you can get a metal bar type french cleat that is as close to as long as the cabinet as possible –The product info should give you a load rating.
Hi, Enjoyed the post.
I have a china cabinet. Very heavy. Lots of glass and mirrors. It weighs probably 300 lbs. It is 5 feet long and four feet high. It is 18″ deep. Will a french cleat hold this much weight? If so will I need two French cleats all the way extending the cabinet plus the plumb at the bottom? Would love to attempt this since i only have the top and not the buffet. Since this is rather massive, not sure if it will work. The principle seems possible. Any thoughts?
Have an amazingly awesome super deluxe day.
There are lots of affordable metal hanging cleats (and they do come in pairs). They all pretty much look the same so search around for the best pricing.
I’d get the longest one you can that will fit your cabinet. The goal would be to hit 2 studs. However, studs are generally spaced 14 1/2″ apart (16″ center to center) so with a 24″ cabinet, you probably will only hit one. You’d need to use heavy duty drywall anchors where you’re not hitting a stud – to support the weight of the cabinet and all the stuff you put in it.