How to cut beadboard to fit around decorative moulding
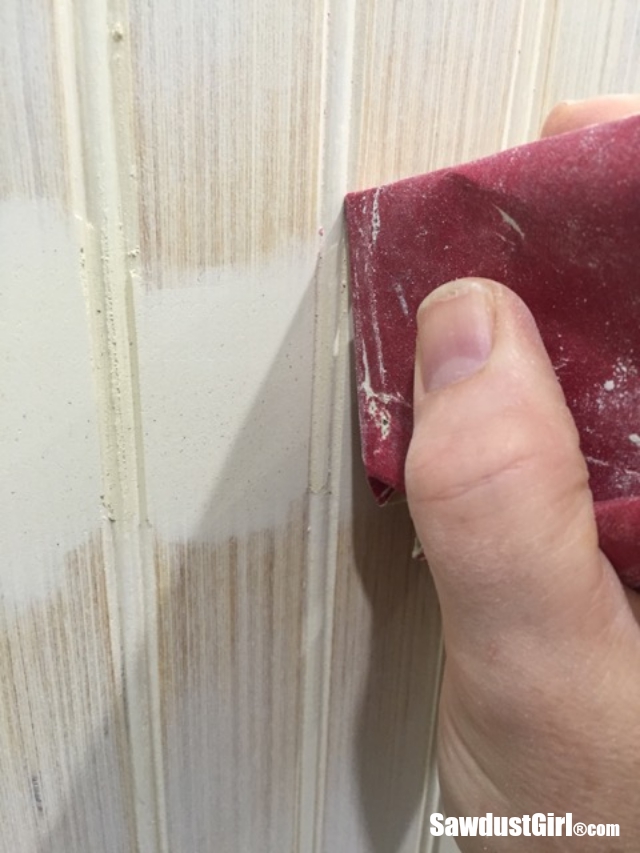
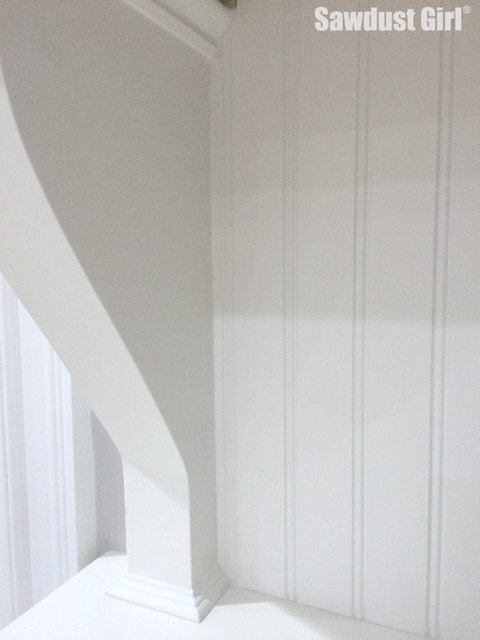 Since I installed beadboard as the backing for my upper China hutch cabinets, I wanted a beadboard backsplash in the open portion between the two corbels. But Dang! I wish I would have waited to add trim to my corbels until after I installed them and the beadboard. Since I didn’t wait, I can show you how to cut beadboard to fit around decorative trim like details on corbels…or say — chair rail or crown moulding. If nothing else, here is another installment in the China Hutch progression!
How to cut beadboard
Create Template
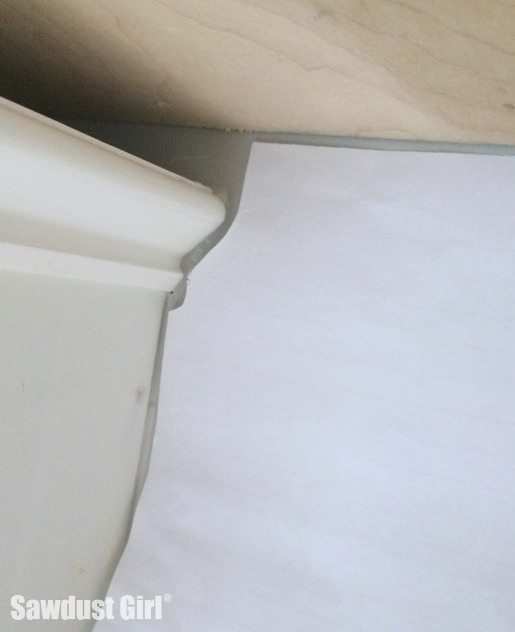
- A simple piece of paper is a super easy way to make a template of your trim detail.
- Press the paper up to the trim so it fold over on top of trim and then press your pencil into the trim/wall joint, following design contour.
- Then cut out with scissors.
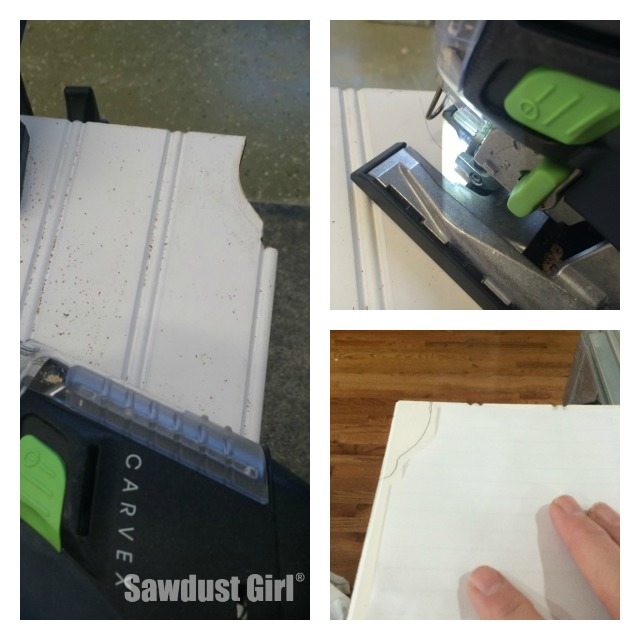
Transfer design detail
- Transfer detail onto beadboard.
- Cut out with a jigsaw.
Install
- Use caulk as adhesive to secure to wall
- Nail into studs with small brad nails
That is how to cut beadboard to fit around decorative moulding!

Hi, what kind of blade did you use on your jigsaw? I’m getting a lot of splintering when just doing straight cuts on my beadboard paneling
Perfect timing! I want breadboard on outside of my kitchen bar but had same problem of how to measure it around corbels……thank you for sharing!!!!!
Sweet! Share pics when you finish!!
Did you make it symmetrical – the end grooves at equal distance from the corbels? Maybe it is covered in another post?
Nope. I didn’t worry about that. I did, however wonder how much it would bug me if the beading on the backsplash didn’t line up with the backing inside the cabinets. Turns out it doesn’t bug me at all. The whole piece feels like one piece but it’s segmented and the horizontal line of the bottom of the upper cabinets with the moulding applied creates a significant enough transition that it doesn’t matter — to my eyes. Of course, everyone has their own threshold for how much they need things like that to iron out. You have to make your own eyes happy.
It’s a Sweeeeeet! addition to an already beautiful kitchen.
Thank you Ava!