How to Change a Toilet – One Piece Toilet
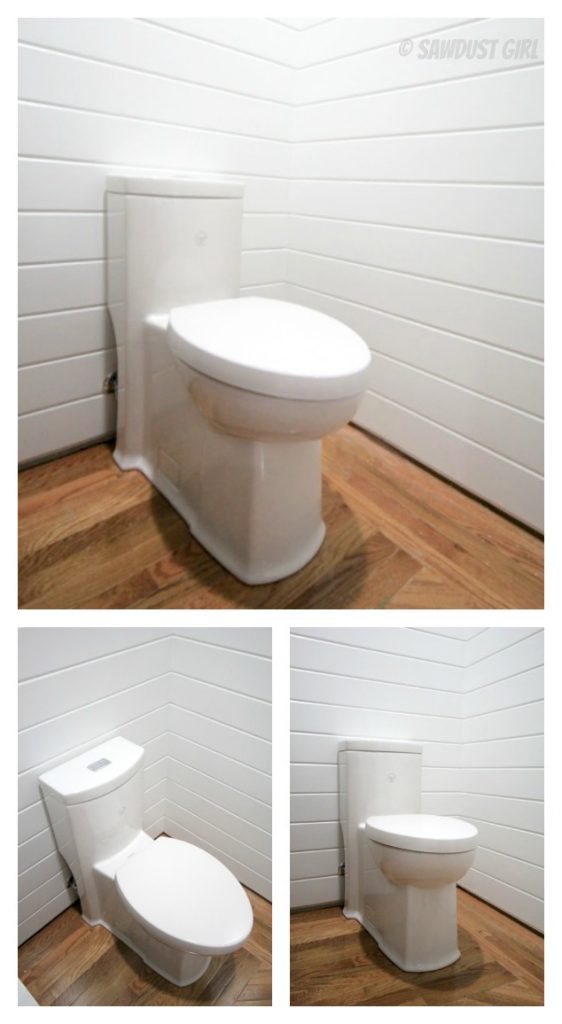
I’ve got a million projects going on at once but things are getting done and it’s very exciting! Wes and I were able install a new toilet in the powder room! I went with this American Standard Boulevard Oval 1 Piece Toilet. I really wanted a one piece, skirted toilet because I HATE cracks and crevices that need to be cleaned. Now that I have that experience under my belt, I can show you how to change a toilet.
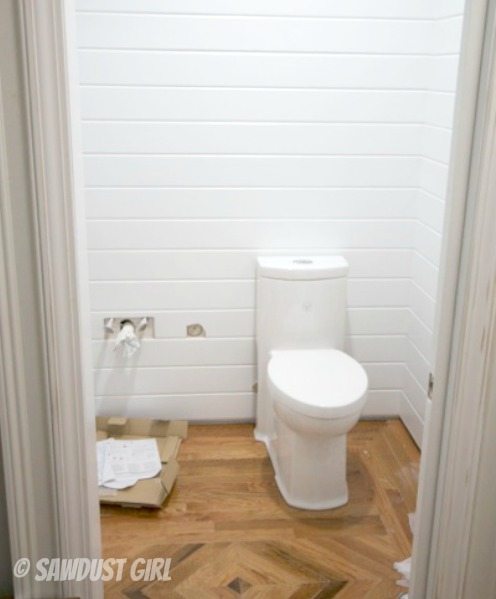
How to Change a Toilet
I have to say, this is my first toilet install. I can hardly believe it myself! Over the course of remodeling 5 homes — I have never installed a toilet. Well, there’s a first for everything…but I didn’t tackle it alone. I was warned that a one piece toilet would be heavy (and that was NO exaggeration). Wes and I spent some “quality time” together to tackle this task.
Replace Wax Ring
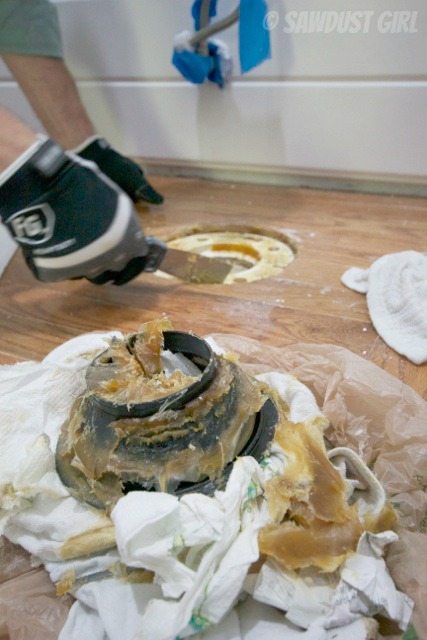
First thing to do when replacing a toilet is remove the old wax ring. Scrape off as much of the old wax as possible.
Apparently, I installed my new floors TOO perfectly and there was no way to get the bolts into these slots to hold the toilet in place.
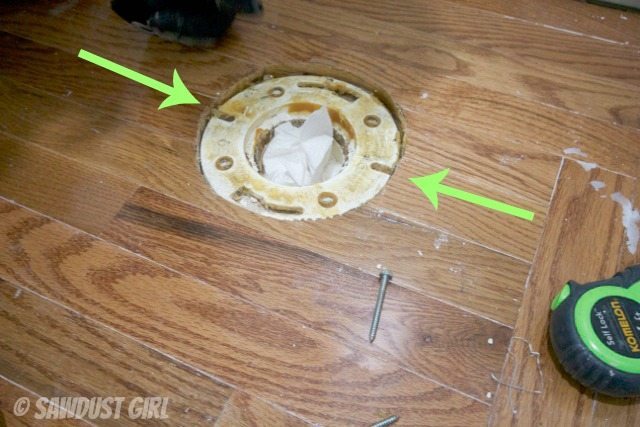
So I drilled holes in my wood floor right next to the flange so I could get the bolts into place. Easy fix.
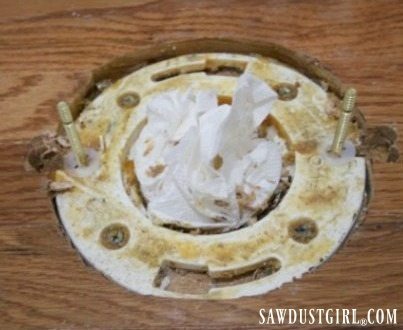
But then cleaning up all the sawdust was tricky because it just stuck in the wax that was smeared on the flange. It didn’t vacuum up too well. Painstakingly cleared off all the sawdust and remaining wax. Uggh!
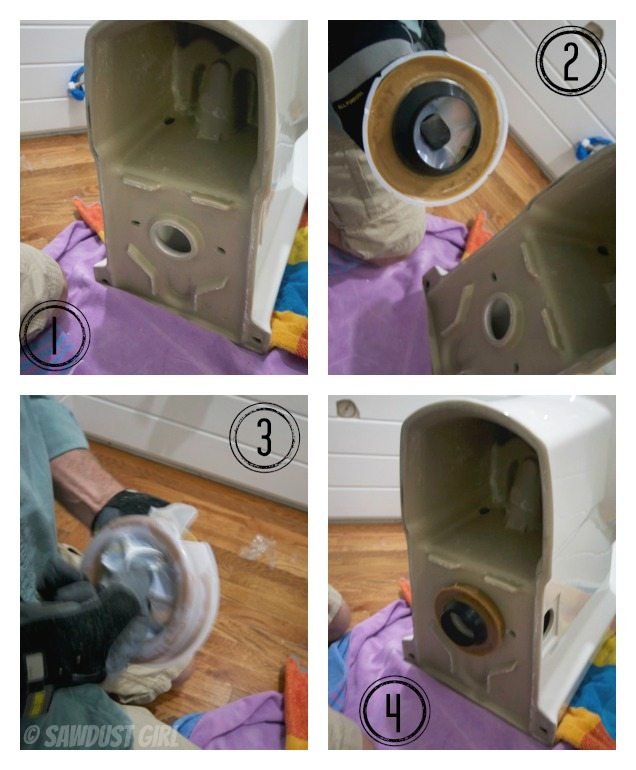
Our floors extend slightly above the toilet flange so we used an extra thick wax ring made for this purpose. This part was easy: Tip the toilet back, pull/break the packaging off the wax ring and then stick the ring to the underside of the toilet centering it right over the drain hole. If you rotate it back and forth just a tiny bit it will stick in place and hold while you get the toilet in place.
Install New Toilet
Which is easier said than done. We had to lift the toilet up and center it over the flange and line up the bolts that are sticking up through the flange…and this puppy was heavy!
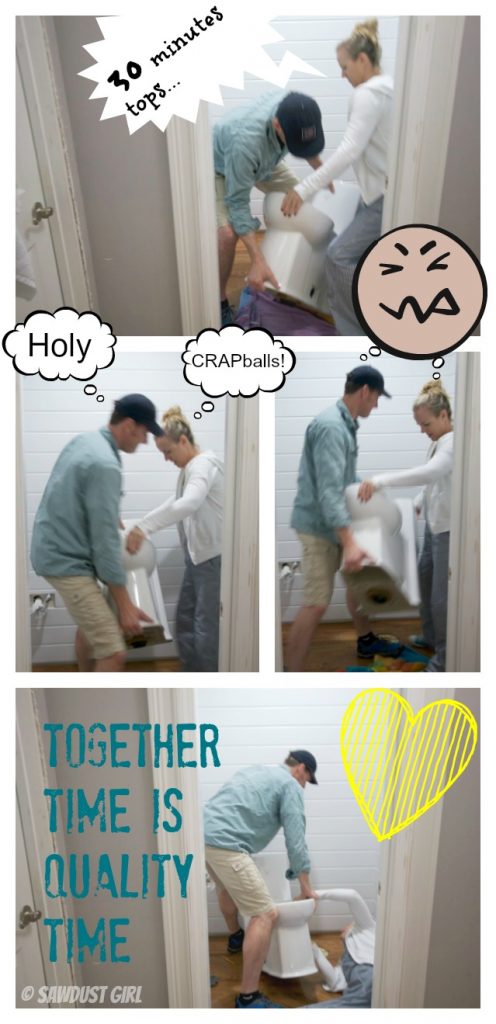
I ended up laying down on the floor to try to line up the bolts. Because of the skirt, the holes for the bolts are covered and it was very difficult to see if we had it lined up correctly. But we got it!
Then getting the washer and nut on and tightening it up was a tiny bit difficult for the same reason…
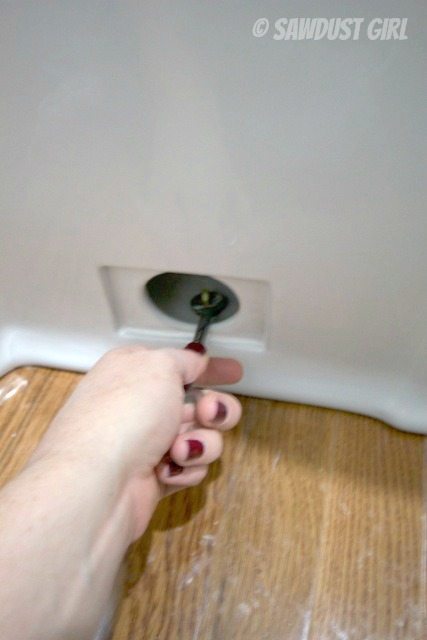
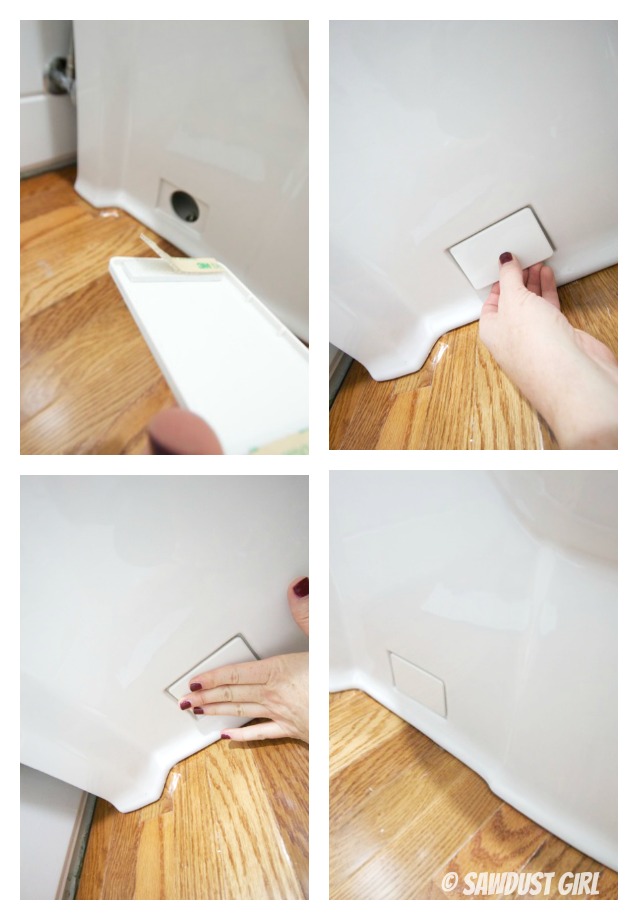
BUT totally worth the extra effort because I LOVE not having that ugly knob that sits on the top of the bolt and gets all disgusting on a regular toilet. You know what I’m talking about. This toilet has bolt access covers on the side. This hook and loop adhesive has some serious stick. I peeled off the backing and stuck it in place. I could reposition it immediately but the longer it sits the stronger the bond gets. After a few hours it was fully stuck and now if I need to access that area the hook and loop will give, not the adhesive.
Double Flush Mechanism
Installing the double flush mechanism was easy. Black and blue plastic tubes inserted into place.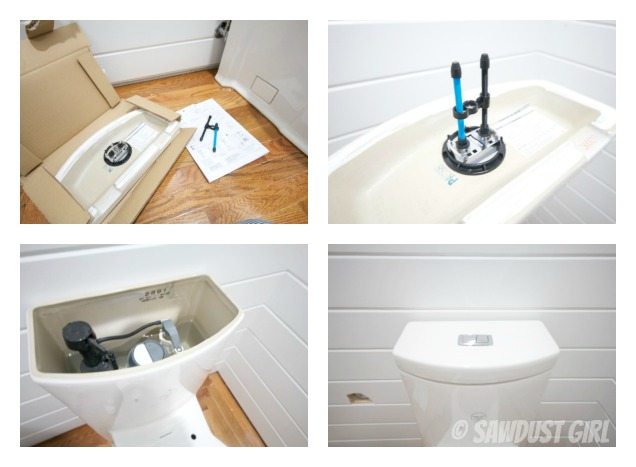
Install Toilet Seat
- Push the plastic screw anchors into place.
- Put the black washer on the “hinge”.
- Insert the stem of the hinge into the corresponding hole in the seat.
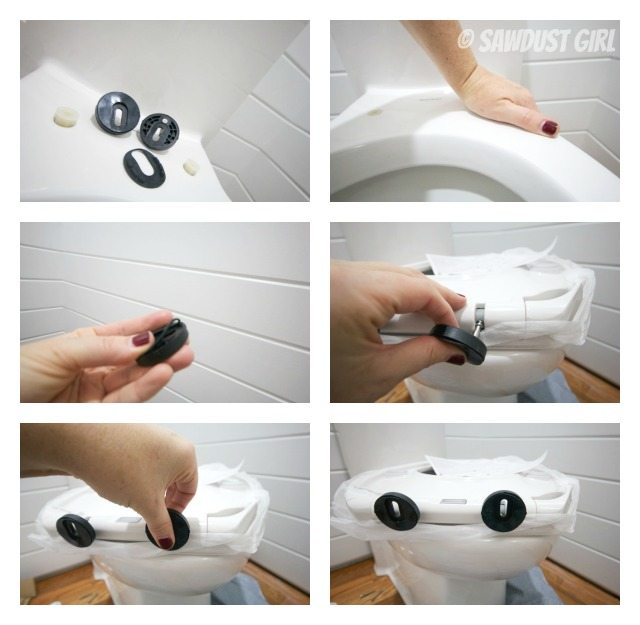
That was easy!
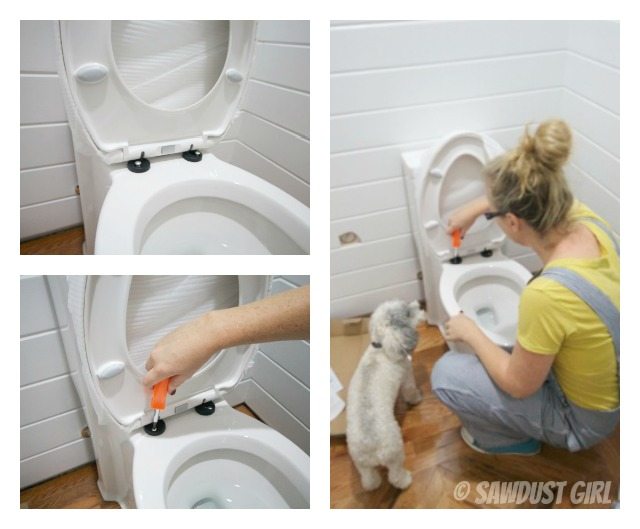
Then I just lined the seat with hinges over the screw anchors that I had inserted into the toilet, dropped in the provided screws and tightened.
 The included toilet seat and lid are both soft close so no accidental slamming when someone drops the seat, or lid.
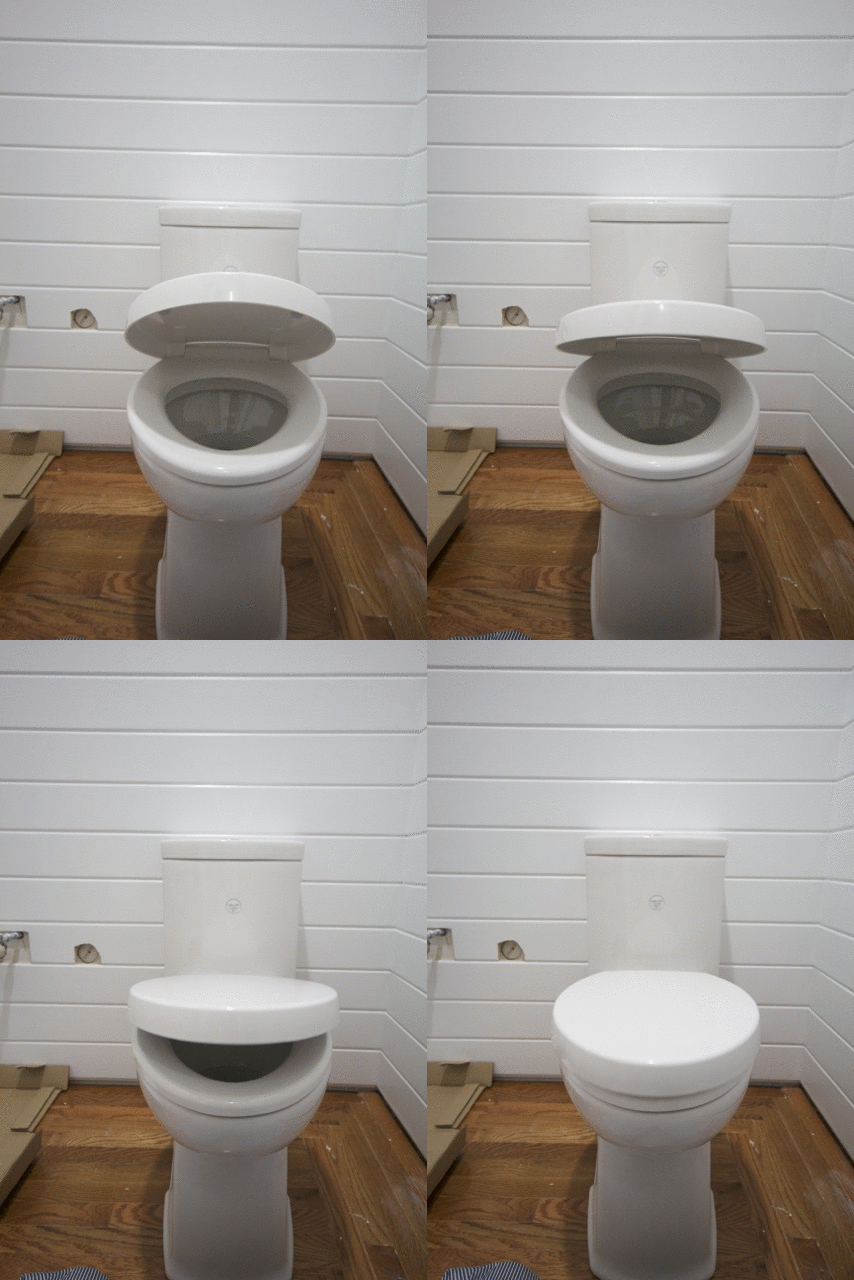
I love the one piece and the skirt and will definitely be installing more of these as we redo more bathrooms. AND we will definitely be doing the two person installation again too. Or I’ll watch Wes lift it into place. There is NO WAY I could lift this thing by myself. I’m just not that strong.
Wes didn’t hate the process too much either because he even said, “let’s put these in all the bathrooms”. Coming from someone that hates DIY’ing, that’s something.
You might also like How to Change a Shower Head

Great job. Now that I know what I am getting into ! I have that skirted toilet, but my task is to remove it in order to relocate it. How do I remove the covers to access the screws ?
I don’t want to break them 🤔
Not sure because all toilets are different and whoever installed it in the first place may have done something different but…a lot of those covers are pressed into wax. I’d try gently twist/pulling it to see if there’s any give to try to assess if that is the case. Then? Try something different. 🙂
Hey there, Sandra! So for my August Upgrade Challenge starting next week, I am doing my kids’ bathroom, and I’ve got THE ugliest worn green toilet I will be replacing. My first toilet, too. I remembered you doing this toilet so I came back to find it. Oh, you can best believe I’ll be getting a 1-piece toilet, too! With 3 little boys, I can’t tell you how horrific the bathroom smells because of trapped pee. I’m eliminating THAT disguising problem!!! Thanks for the tutorial, and especially the tip about putting the wax ring ON the toilet first and not on the flange! 🙂
Serena @ Thrift Diving
Amazing that you did this all by yourself when it is a work that most people would prefer hiring a professional for. I’m surprised though about how easy it seems to do. Got to start learning how to do stuff at home by myself to save up on costs. Thanks for the inspiration.
I was so excited for this toilet until I saw that it’s over $600!!! 🙁