How to Change a Shower Head in 5 Minutes
I’ve been DIY-ing and remodeling for so long, but sometimes I forget that the simple things can be tricky, too! I get so focused on all the new skills I’ve learned that I forget that there are some great tips I could share about some of the quicker home improvement tasks. The other day my daughter Madison asked me how to change a shower head which made me realize that there are probably quite a few people out there who don’t know how to change a shower head either; hopefully, this quick guide will help you change that!

How to Change a Shower Head
Luckily for us, there are no complicated plumbing skills required to change a shower head. Spending a few minutes doing this quick and easy home improvement task can make a huge difference to the look and feel of your shower! First, make sure you’ve got all the right stuff.
Gather your supplies:
- Teflon tape
- an adjustable wrench
- an old rag
- a new shower head
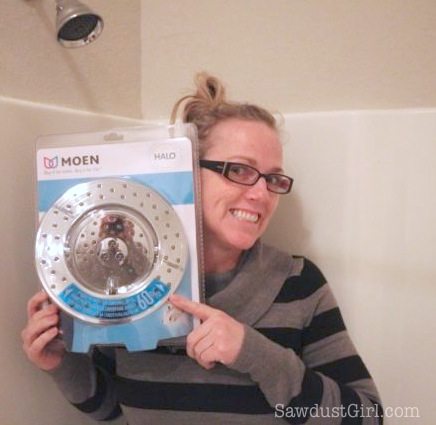
Step 1: Choose an Amazing Shower Head
For my purposes, I am updating my guest bathroom shower head to a Moen Halo. I changed our shower a few months ago, and I love it! The center part has massage settings and the outer ring is the “rain shower”. It keeps your whole body warm at the same time! If you know me, I’ve gotta have my toasty showers.
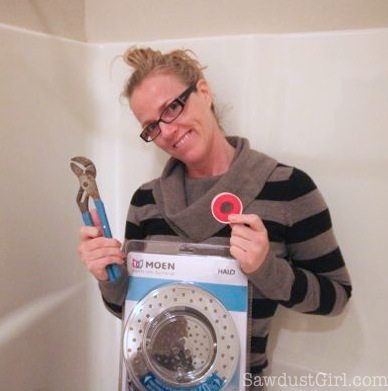
Step 2: Remove the Old Shower Head
To remove the old shower head, you just need to unscrew it. Remember: lefty loosey. Sometimes you can get it with your own muscle power, but other times it’s stuck like Chuck.
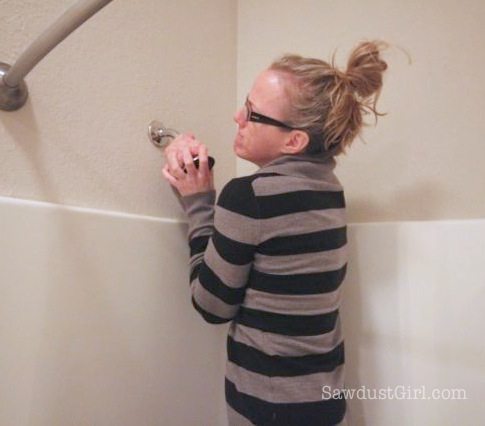
If it gives you any trouble, grab the adjustable wrench and either an old rag or washcloth. The rag protects the finish on the shower arm. The wrench gives you some more umph! Also, remember: lefty loosey. Turn counter clockwise to loosen. I’ve accidentally ended up tightening something when I wanted to loosen it, and boy, does it make it even harder to unstick!
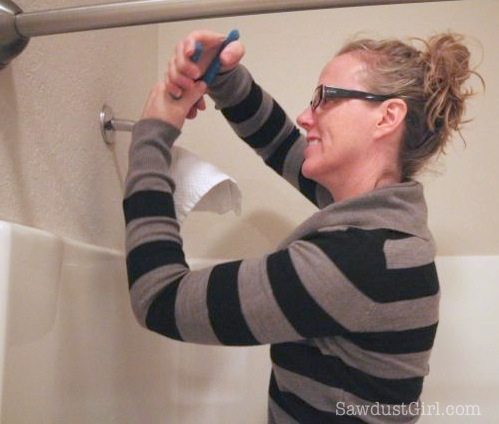
Got it!
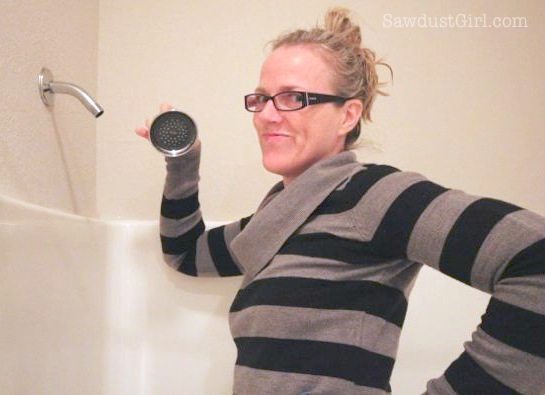
Don’t do this project while wearing nice clothes. If it’s been used recently, there will be some water that leaks out.

Step 3: Prepare the New (Amazing) Shower Head
The necessity of Teflon tape is debatable because new plumbing fixtures have rings and gaskets that are supposed to prevent leaking…but I like to take the extra 30 seconds to do this step just for the fun of it. Because it is fun! And, in the event that the new-fangled rings and gaskets don’t work, Teflon tape is an extra step to preventing leaking. So why not? I’m not one for wasting time, but this is worth it in the long run to have some peace of mind.
Wrap the threads of the shower arm. Make sure you’re wrapping in the direction that you will be screwing on the new shower head. Again, that is going to be righty tightey, or clockwise if you like thinking of it that way. I know that this is not a new concept for some people, but I want to make sure I cover all the basics just in case this is new information for anyone. Plus, I have been known to mess up my rights and my lefts every now and then–it can’t hurt to overemphasize!
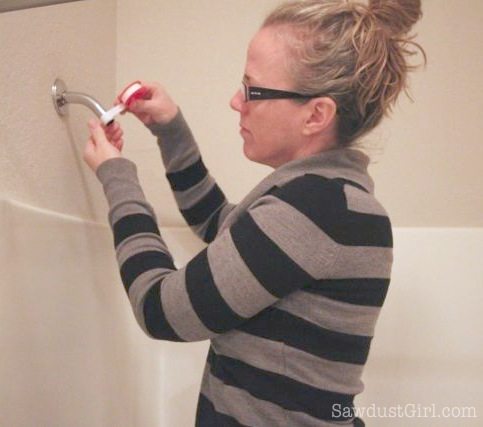
Step 4: Install the New (Amazing) Shower Head
Screw it on. It needs to be snug, but don’t over tighten. If you really feel you need to get it a little tighter, then you can use the rag and wrench again by hand. Just DON’T over tighten. If your shower head happens to be plastic, you could crack it.
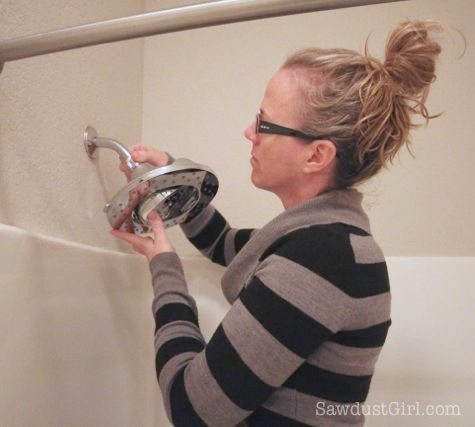
After everything’s all snug, turn on the water to check for leaks at the joint where you just applied Teflon tape and screwed the bugger on.
Then, enjoy!

It’s probably best to wait until you’re not fully clothed.

As you can see, it takes about 5 minutes to change a shower head — and most of that will be just getting the packaging open. Hopefully, this guide was helpful to you, and if you are interested in learning about other quick tips, you can take a look around my blog. Do you need to know how to patch drywall? I’ve got you covered.

You can check these posts out too!



We tried removing a shower head a few years ago that would not budge. We suspect this is because of the awful, hard water we have around here and gave up. I’m going to try the penetrating oil you mentioned–so hope it works! I would love to have a better one that the builder grade that came with the house.
I bought the Kreg Rip Cut thing you suggested on one of your posts (which I like, btw). Getting the package open however, was terribly difficult and it all ended with a cut finger.
I just did this two weekends ago. Had to use three quick squirts of penetrating oil though because the fixture had been on the arm so long.
Good to know. I think my vanity faucets needed some of that in my last house. Those babies were rusted ON!
You are too funny!
I try! 🙂
I Agree !! Made me laugh on the master closet video !!!
http://www.howtodiyright.com