How to change a light fixture
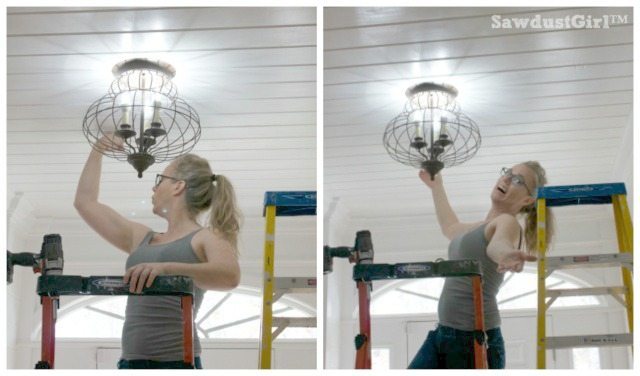
Over the last couple weeks, while finishing up all the final details in this entry, I decided I didn’t like the old light fixture. Changing a light fixture is a fairly simple task that can be done in about 10-15 minutes. So in between coats of paint, I jumped online and ordered a new light fixture.
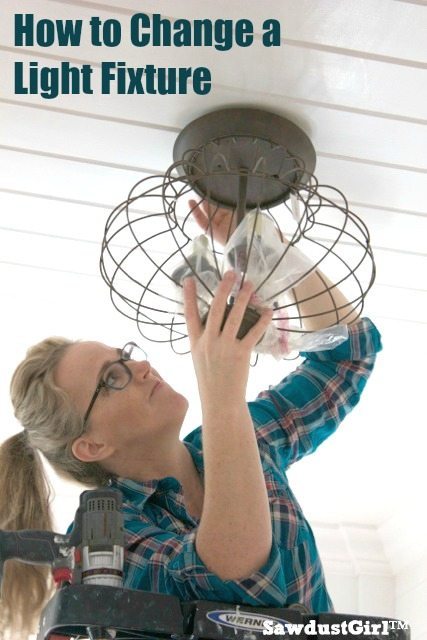
How to change a light fixture
Step 1: Turn off power supply to light fixture!
You can turn off the breaker in the electrical panel to be sure the power stays off while you do your work. (I generally don’t do that for a simple fixture change. If the light switch is off, there should not be any power to the light. But any safety manual would tell you to turn off the breaker. It’s your call.)
*It’s also preferable to remove your lightbulbs before you begin as well.
Step 2: Remove the screw caps
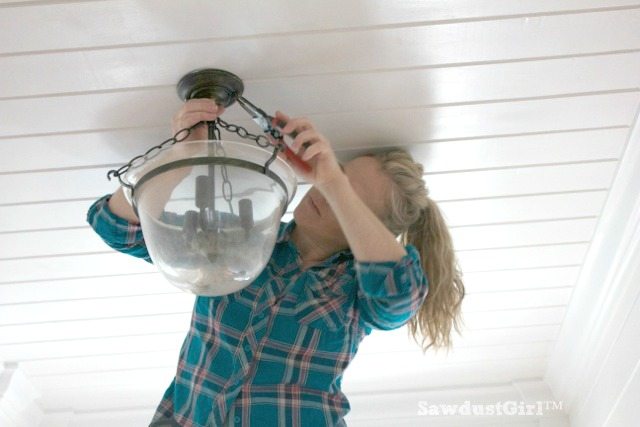
There are generally two little decorative screw caps that secure the light fixture to the hanging bracket that is attached to the ceiling joists. Once you remove the screw caps you can get access to the wiring. Make sure you support the weight of the light fixture so it’s not dangling from the electrical wiring.
Step 3: Check the power supply and disconnect the old wiring
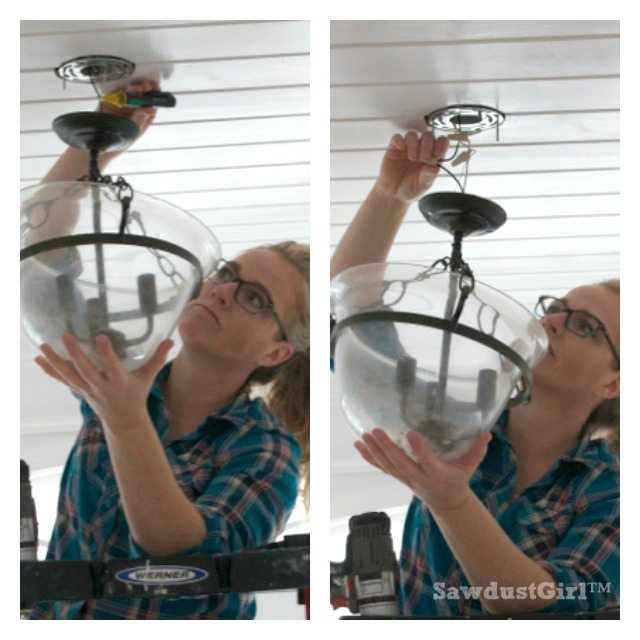
Now that you have access to the wiring, use a voltage tester and make sure that there it NO power in your wires. Once you are sure there is no power, remove the wire nuts (you have to untwist them. Don’t try to simply pull them off). Then you separate the wires from the light fixture and the ones coming out of the electrical box. That should be the last part connecting the light from the ceiling. Now you can get ready to install your new light.
Step 4: Replace the mounting bracket.

With the old fixture completely removed, unscrew and remove the mounting bracket from the old fixture and replace it with the new mounting hardware. This usually just consists of 2 screws. Light fixtures usually come with a hanging bracket and they aren’t all universal. You may not need to change the bracket — but then again you might. You just have to check and see if the new light works with the old bracket or not. Mine did not.
Some light fixtures have insulation in the housing like this one does. Not all light fixtures do…so don’t freak out if you do or do not find insulation. Just go with it.

Step 5: Strip the wires

There is rarely enough of the wire exposed on the wire in light fixtures to ensure a good connection so I almost always have to expose a longer section.
Wire strippers come in handy for this. Find the slot that will clamp down and cut the plastic sheathing without cutting the wire. (Generally, the electrical wire in light fixtures is a bunch of tiny strands of wires called “stranded wire”.) You want to make sure you don’t cut into the stranded wire at all or a bunch of those strands will break or fall off . After cutting the sheathing, pull it off — exposing the electrical wire.
Step 6: Connect the wires
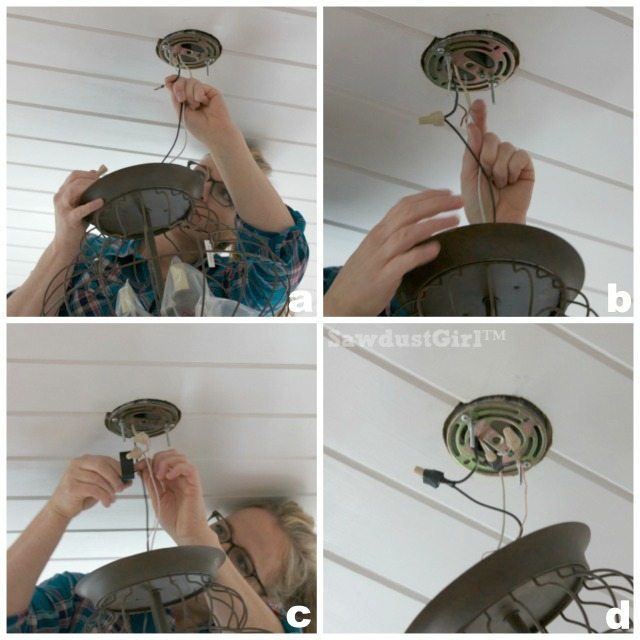
There are should be three wires in a light fixture: black, white and green (or bare copper).
There are generally three wires coming out of your junction box, also: black, white and green (or bare copper). *Sometimes there are more! Sometimes there are a whole bunch of colored wires. Sometimes there are a bunch of white wires bundled up together in a large wire connecter with on white wire coming out to the light fixture. There could be any number of scenarios — but if you are merely changing a light fixture there should only be three wires that you have to mess with. If your existing light that you are switching out is connected to anything other than black, white and green (or bare copper) — pay attention to what is there before you disconnect your old light. Take a picture. Use painters tape to label which wire was connected to the each wire in the light fixture. Then proceed.*
- Connect like colored wires from electrical box to light fixture. Black to black – white to white – green to green (or bare copper) The green wire is the ground wire and may also be bare copper.
- Twist the stranded wire from the light fixture around the exposed wire from the ceiling.
- Then twist a wire nut around the pair of wires.
I also wrap the wire connector and a portion of the pair of wires with electrical tape for added support against tugging. We don’t ever want the wires pulling out of the wire connector!
Always support the weight of the light fixture.
*Make sure the weight of the light fixture is not hanging from the electrical wiring at any time. Sometimes that means getting a third hand and sometimes when you need a third arm, your knee can work in a pinch.

*Sometimes you won’t have a green (or bare copper) ground wire in your junction box. This is often the case if you have metal conduit. If your light fixture has a green wire but there is no ground wire to connect to, there should be a green screw on the hanging bracket that you can connect to by wrapping the exposed portion of the green sheathing around the screw, then tighten the screw to secure the wire. (See location of green screw in photo below.)
Step 7: Push the wires in the junction box
When the wires are caped and taped, they need to be pushed up into the junction box in the ceiling to be out of the way.
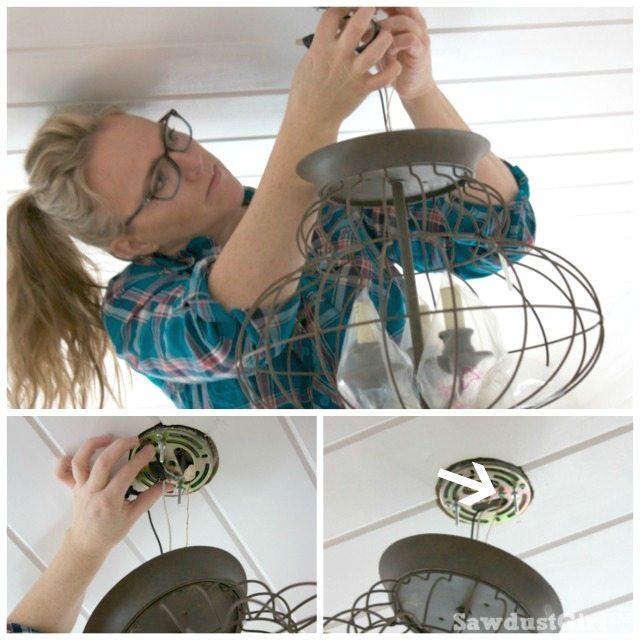
Step 8: Secure the new fixture to the ceiling
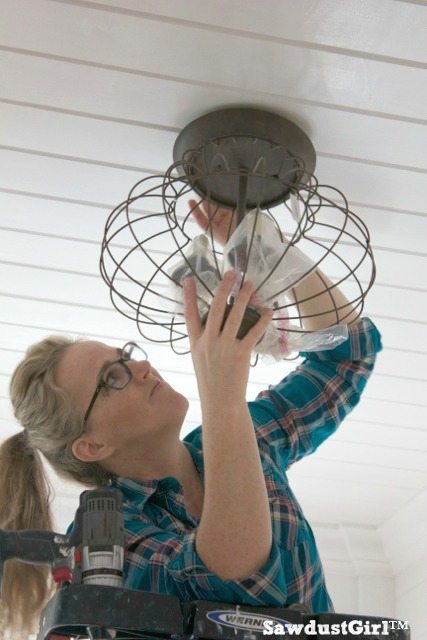
For this particular fixture, there are two bolts that dropped down from the hanging bracket that come through two holes in the base of my light fixture. Then two end caps secure the base to the bolts. It’s a bit tricky lining everything up and then it’s a game of try and try again –making sure there is just the right length of bolt coming through the base so that the fixture will snug up to the ceiling.
When it’s not as easy as it could be…
On my first try the base of the light didn’t sit flush to the ceiling so I had to undo the caps, slide the light fixture back off the bolts and then shorten the length of bolt that stuck down.
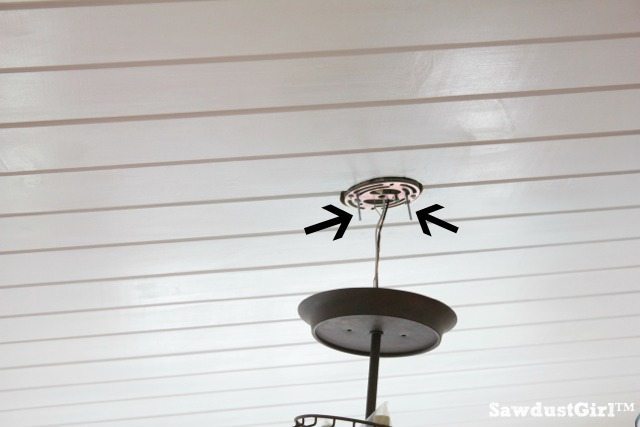
This was a theoretically simple fix, but saying what needs to be done and actually accomplishing it are two entirely different things.
I had to pull down the light then unscrew the hanging bracket and relocate the screws that secured it to the junction box because as it was, I couldn’t retract the bolts to the desired length. It was a little bit of a trial and error and I ended up having to call Madison in for reinforcement because I couldn’t juggle all that and focus on balancing the light fixture on my knee for that long! It was an easy fix, just fiddle factor. 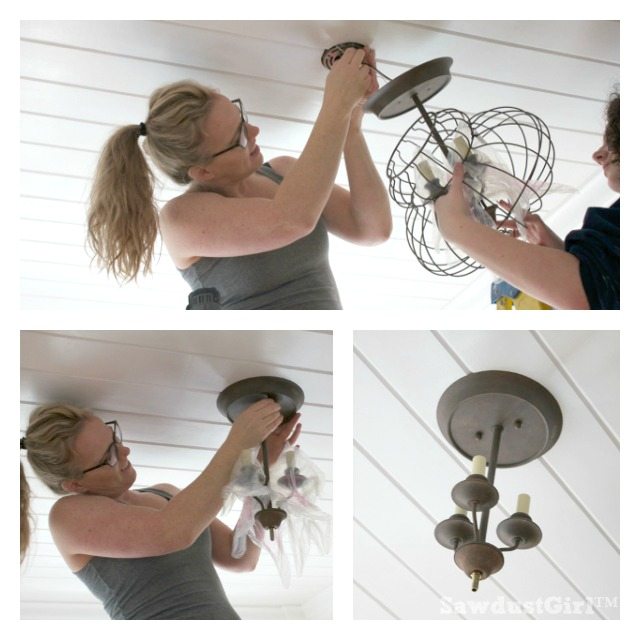
Step 10: Install bulbs, test light and then celebrate your accomplishment!
Once you have installed your light bulbs, turn the power back on and make sure your light works. Then relish in your victory!
You might also like: How to wire an electrical outlet.
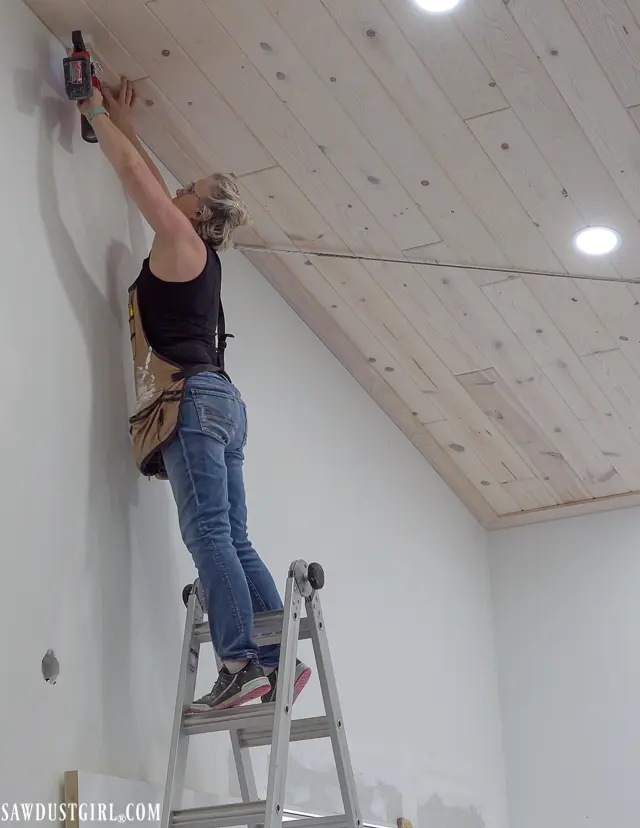
How were you able to get your connector plate (?) flush with your ceiling after you installed the planks. Having trouble getting a light up because the screws aren’t long enough and I can’t find any longer ones with knobs that would work. Thanks for all of your inspiration!
The knobs come with your light fixture. The screws/bolts should already be in the bracket. They can be lengthened or shortened by loosening the nut and turning the bolt in the direction you need and then tightening the nut again. If the bracket you have doesn’t fit because you have added planking on your ceiling, you can get an adjustable bracket from the hardware store.
Love the light; any chance you can provide a link?
There is a link to the light fixture at the end of the post. 🙂
I love the new lamp. It is so unique. And I had to laugh because that is almost the same bug catcher I have in our entry! 🙂 And ours is worse because we have low ceilings and my tall daughter almost hits it when acting weird. I don’t think after all my looking I will be replacing it though.
Thanks for the inspiration! You are awesome! There is an ugly fixture in my bathroom and I am determined to replace it!