Pull-out Storage Cabinet
I built a pull-out storage cabinet in my laundry room to utilize the 36″ deep space above my washer and dryer. 36″ is a lot deep space and that’s a lot of potential storage. The problem is the items in the back would be difficult to reach and I don’t want to have to move all the front items out of the way to reach deep in the back. That would be a pain! So, pull-out storage cabinet it is!
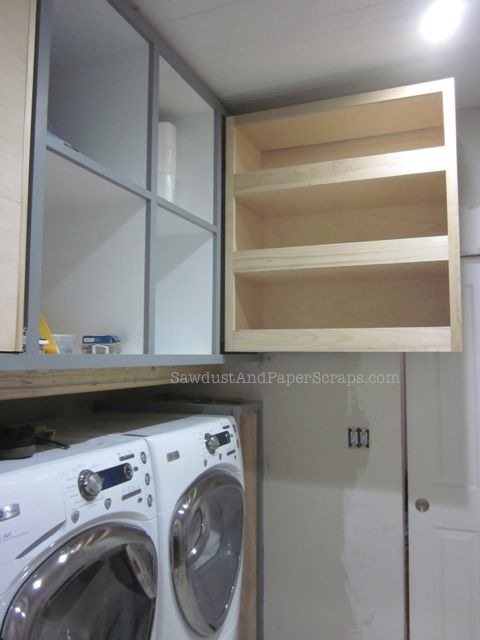
I built the outside “housing” cabinets first. Remembering that my cabinets are 36″ deep, I had to buy (pretty expensive) drawer slides to accommodate that depth. I purchased 250lb weight capacity, full extension slides that require 3/4″ space for installation. You should buy your drawer slides before you begin so you can build your cabinet parts to your own specifications. Most common slides only require 1/2″ clearance but you never want to assume anything. Order your hardware first and build to fit.
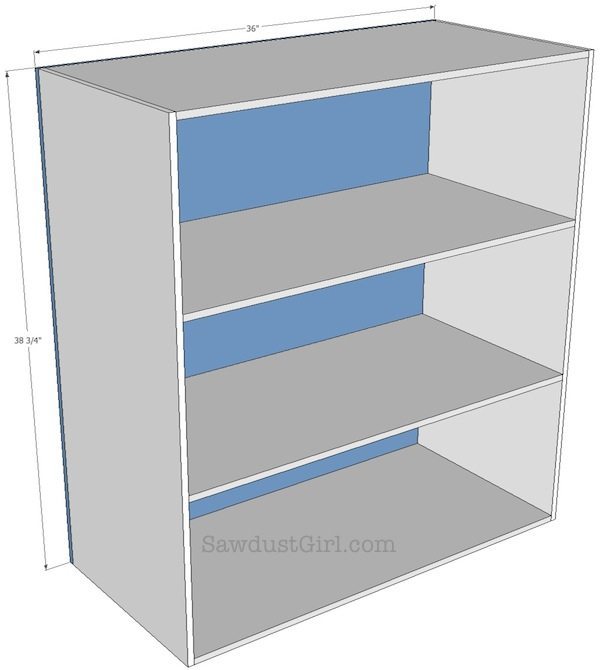
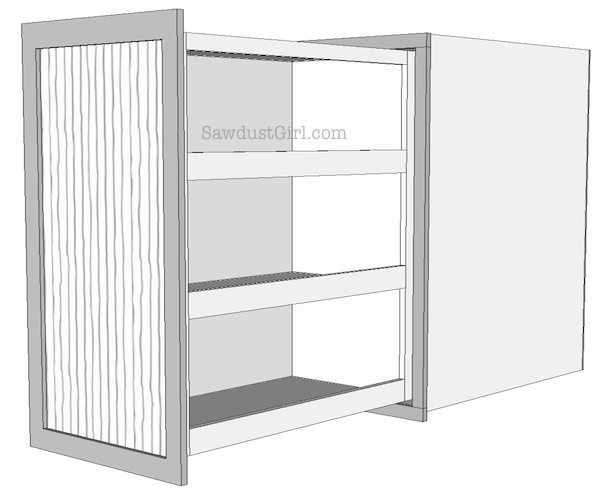
Here are the specifics on MY cabinet member.
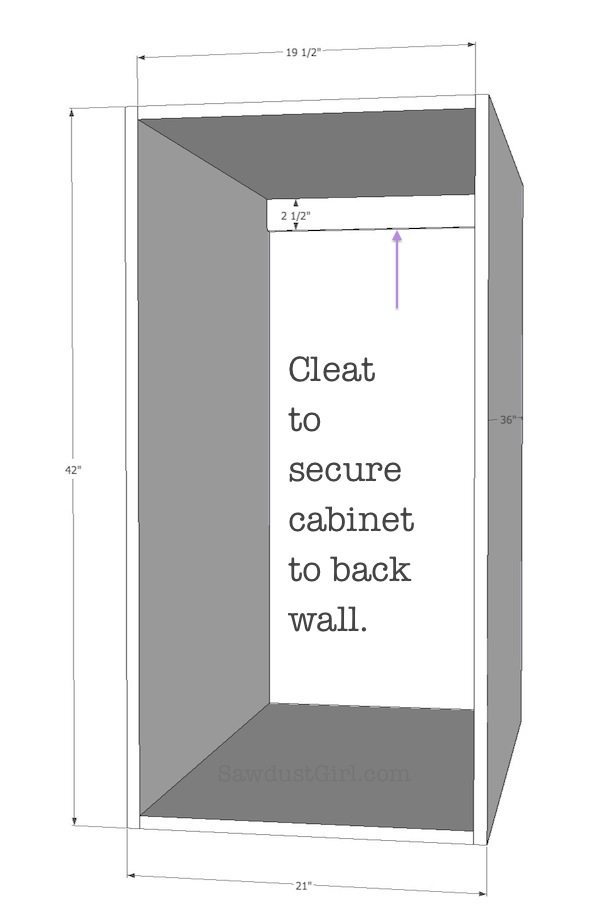
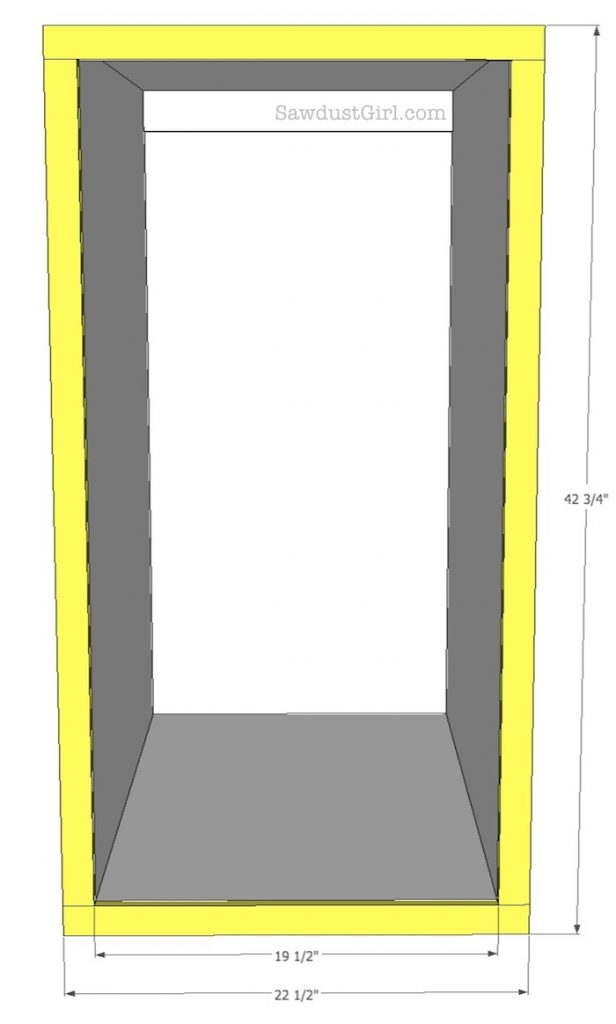
And with the faceframe attached.
Now for the pullout inside cabinet:
I built mine out of 1/2″ plywood with a 3/4″ faceframe. I attached one side to all the shelves first. I glued and screwed. No need to hide the screws because there will be a door front attached so you won’t see any of the fasteners.
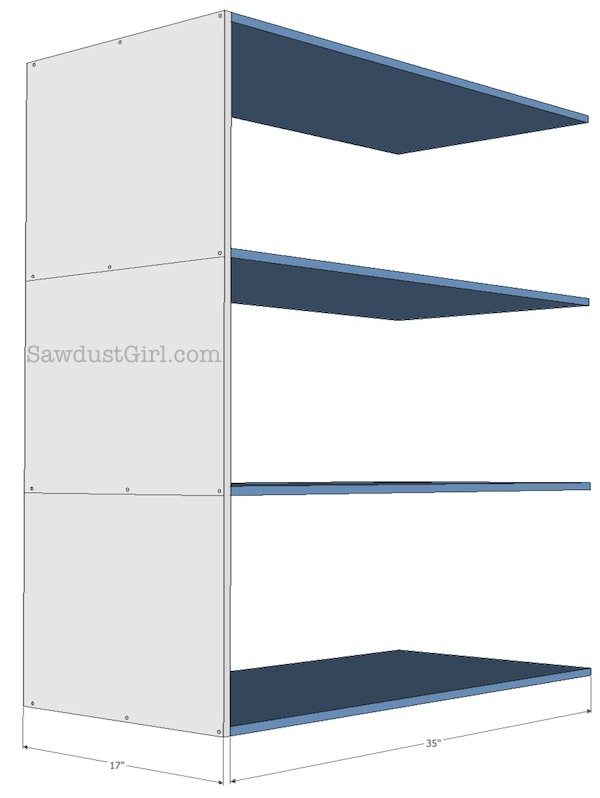
Second, I attached the second side in the same manner: glue and screws.
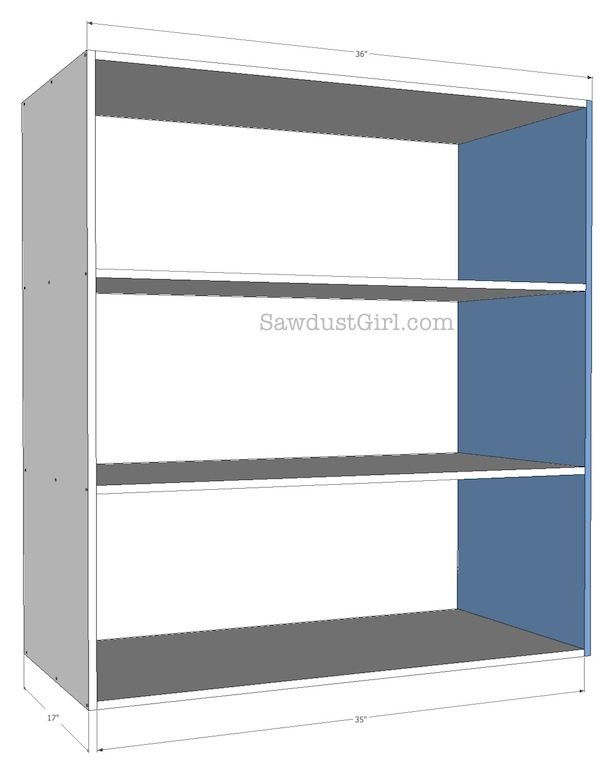
Attach the back with glue and screws making sure to square up the entire “box” first.
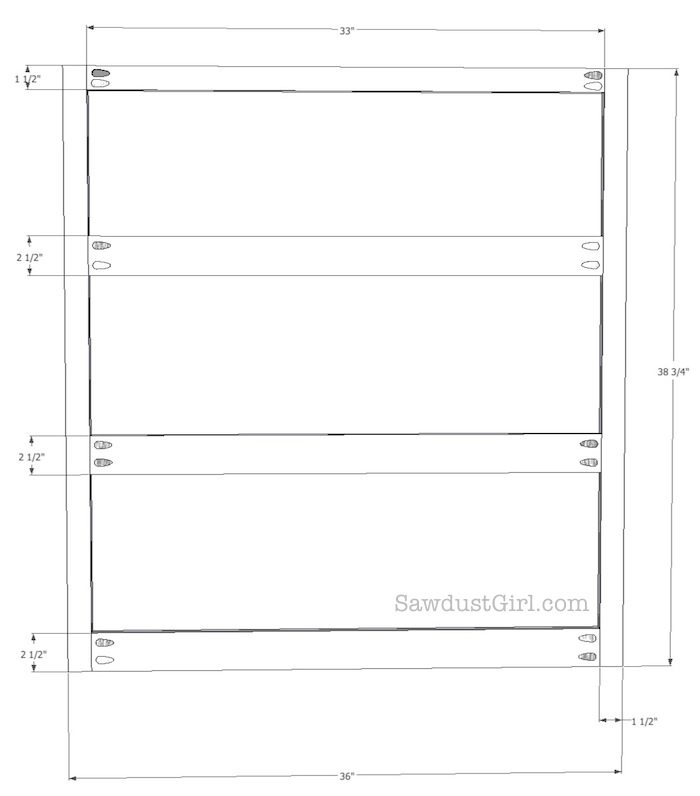
I built my faceframe out of 1×2 lumber with pocket hole screws using my Kreg jig.
Then attach the faceframe with pocket hole screws. Again, none of these fasteners will be seen once the door is attached. 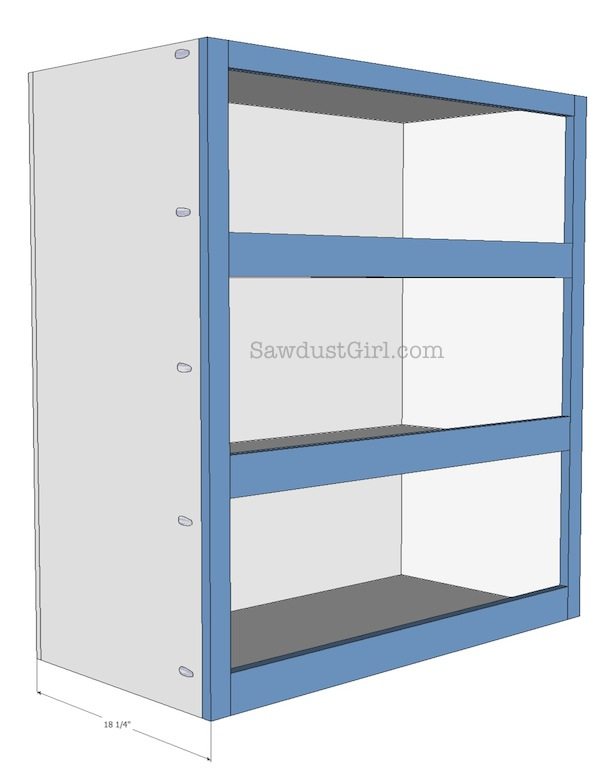
Now attach your drawer slides. Mine are 3/4″ wide, 36″ long, heavy duty, 250-500 lb weight capacity drawer glides.
Follow the installation instructions on your specific drawer slides. On mine, the slides were installed flush to the front of each cabinet part.
*I used a spacer to ensure that I installed the drawer slides exactly the same distance apart on both the cabinet parts.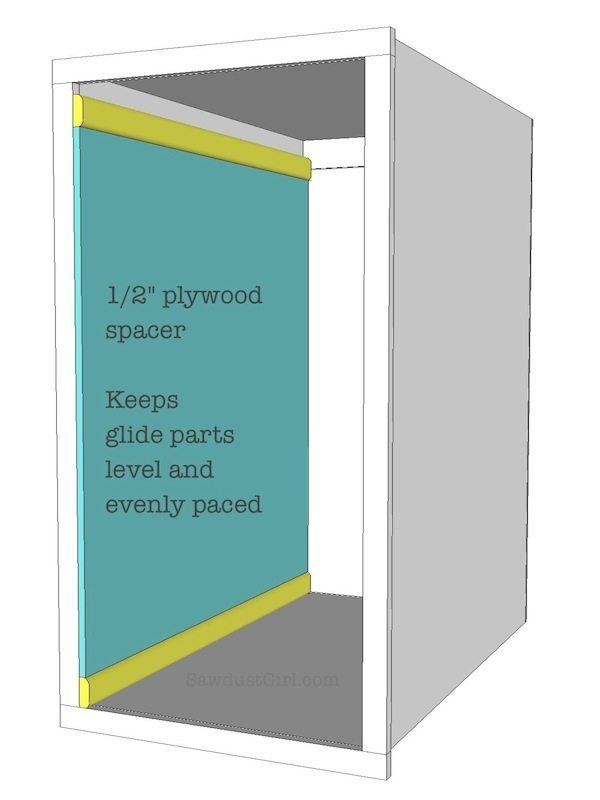
I set my pullout cabinet member on top of a 1/2″ board and then installed my bottom slide flush with the floor. I wanted 1/2″ clearance on the bottom of my housing cabinet so my pullout cabinet wouldn’t drag when I try to pull it out.
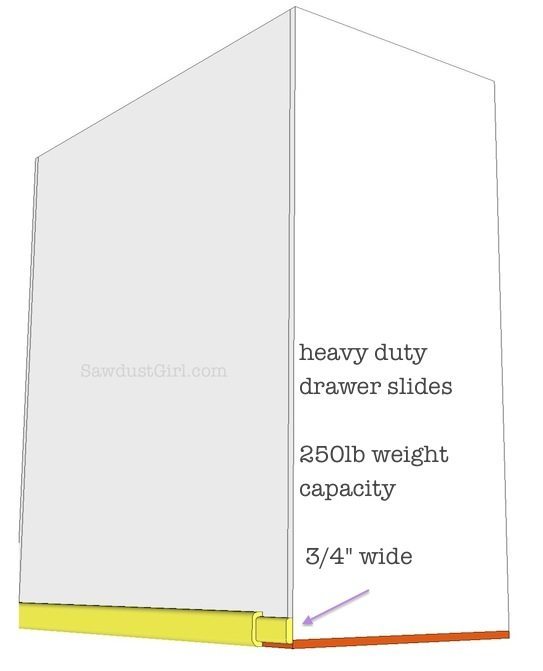
Then used the same spacer that I used in the housing cabinet to ensure my glides were in the exact right location.
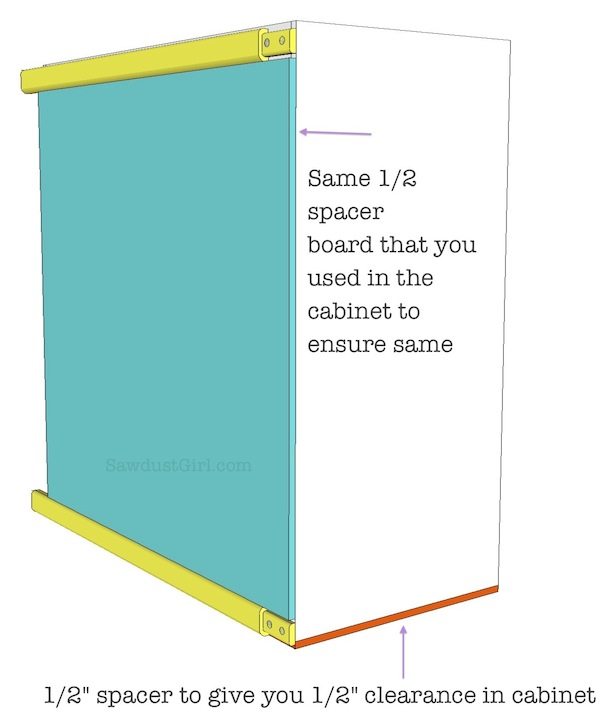
Make sure you leave yourself some clearance on the FRONT of your pullout cabinet too. You don’t want it hitting the housing cabinet when you pull it out.
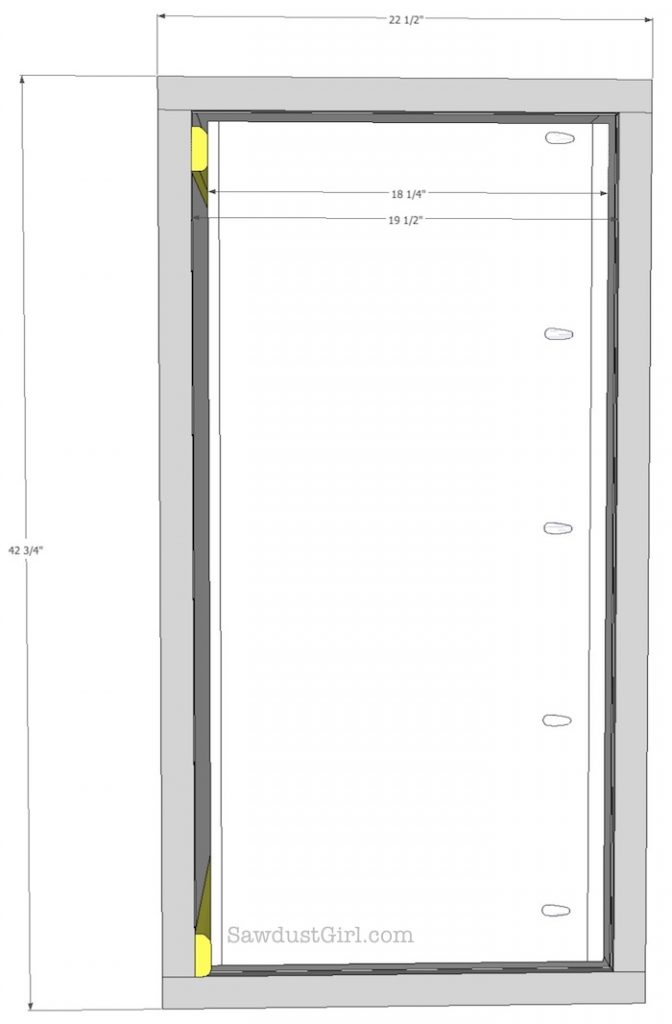
Now all you have to do is build a door, attach it and use your AWESOME pullout pantry style storage cabinet to your hearts content!
Resources:
Drawer Slides: I SEARCHED far and wide for affordable drawer glides. I found mine from TCHweb.com for $36 per pair which is unbelievable. Every other site I looked at sold them for over $100 per pair. It’s a crazy good deal– I don’t know how long they will be that price or how long they will last but as of right now, (1-19-2013) they are $36.
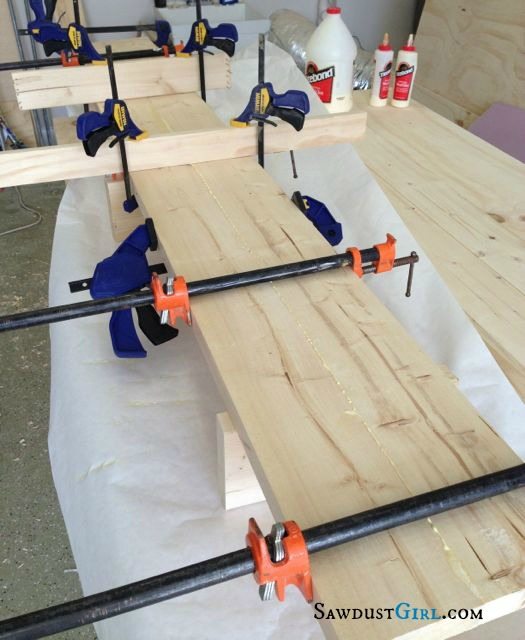
Pocket hole jig: I have the Kreg Jr Pocket Hole Jig. It is portable and I can use it in my shop or on the worksite. It runs around $40.
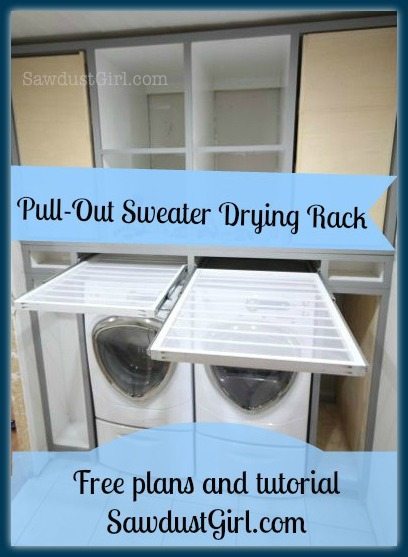
If you liked this tutorial, you might also enjoy my tutorial to build a pull out sweater drying rack.
@Sandra How do you feel about the quality of these slides? There’s such a wide range of prices on drawer slides I worry about the feel and longevity of cheaper ones like these.
Sorry, I should have seen in the picture that there is a big shelf there.
I was hoping to do this project with some open shelves in between. I have a ceiling HVAC vent near the rear wall, so I am trying to avoid having to move that. I was thinking about two of these cabinets in the corners with some open shelving between.
Do you think that a french cleat on the side would work for this? I have a couple of studs on the side walls that I could tap into. I could also get a screw into the back wall. Or would this just be too much weight to hang on the wall altogether?
Thanks so much. You are such an amazing inspiration!
I love this project. How did you attach the cabinet to the wall though? On 12 inch deep wall cabinets I can see that you would just hang off the back. But these cabinets would have an awful lot of weight to hang just off the back wall. I would think that you would attach to the side walls, however, you don’t seem to make note of that. The faceframe on the wall side sticks out a bit, preventing you from screwing through the plywood sides and into the wall. Did you put a spacer inbetween the cabinet side and the wall?
Did you use a french cleat on the side? That might actually be a cool solution…
Thanks! i’ll be careful to check it out!
Thanks and good luck!