How to build a wood countertop with undermount sink
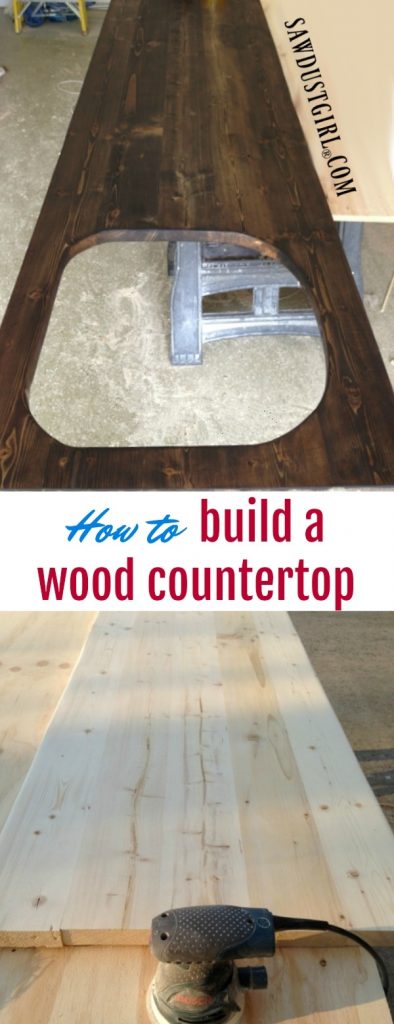
Today I’m showing you how to build a wood countertop with undermount sink. The one I built for my laundry room also has a sink insert so I can use the entire length to fold laundry. Wood counters like this would also work great in a bathroom or for a kitchen island. An inexpensive kitchen countertop would be easy to make. My total cost for this puppy was $25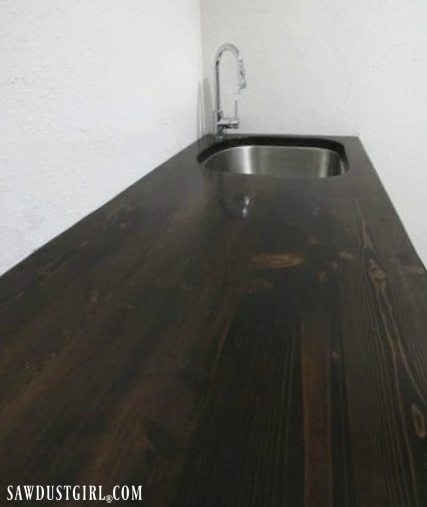
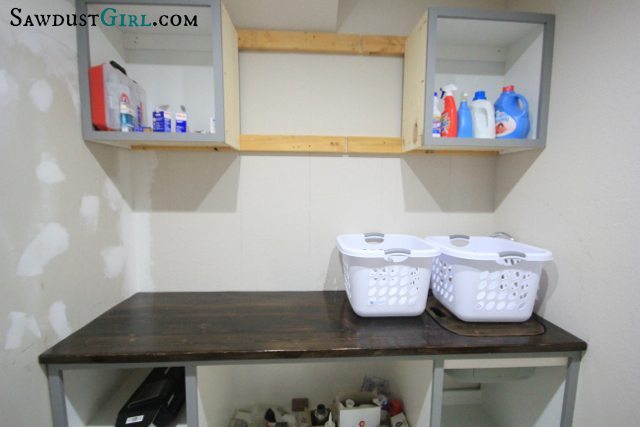
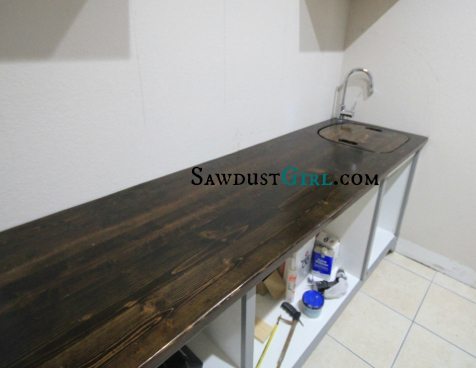
Check out this countertop in the completed laundry room.
DIY wood countertops
What you’ll need:
- Five 8′ 2×6
- Wood glue
- Lots of clamps!
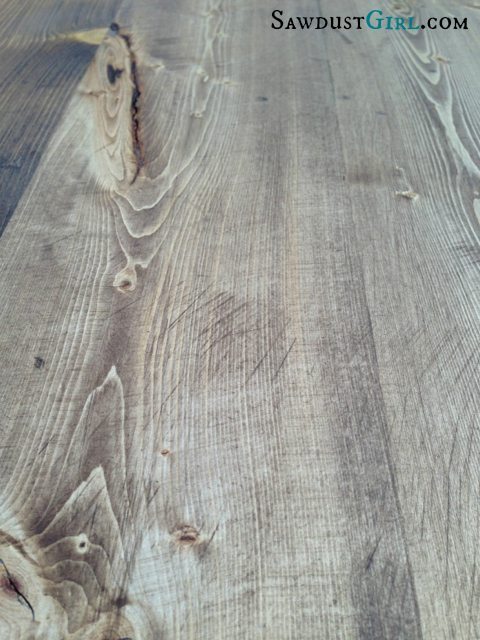
The cost of a 2×6 is about $5 so this probably the cheapest countertop I could make. It’s inexpensive construction lumber so it’s quite soft. With that in mind, I purposefully distressed it before staining and oiling it. The finish will harden the surface a bit but it will still get more dings and dents as it gets used. Distressing it to begin with makes it look more like reclaimed pine, so all the future “wear and tear” will just add to the character.
Distressing Wood
This is the fun part. Use whatever items you see laying around to scratch, scrape and hammer the wood. Distress it until you like how it looks. I like, chains, hammers, chisels, nails, wire brushes, screwdrivers and rocks.
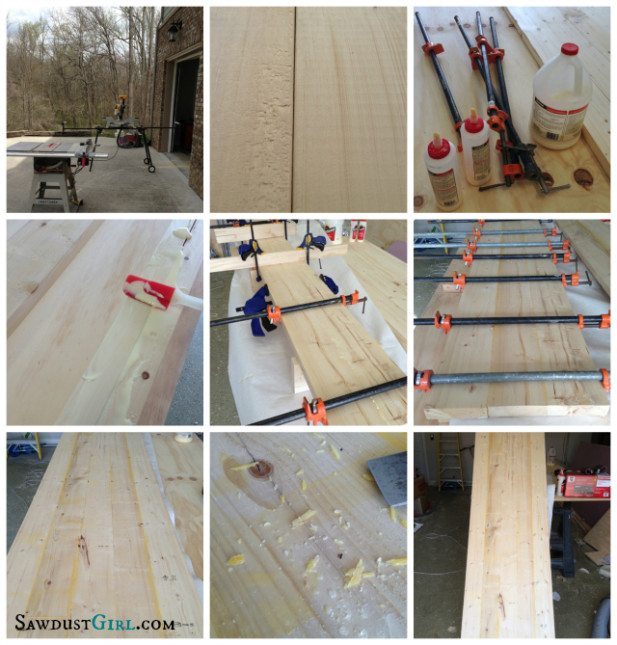
Join the planks together using clamps and wood glue. Below I’ll give you a quick explanation of how to join planks. If you want more details, check out my X leg bench tutorial.
How to build a wood countertop
- Trim the edges of each 2×6 with a jointer or on a table saw.
- Glue and clamp them together to form one wide wood plank
- If you are worried about keeping the whole surface flat during clamping, join pairs of 2×6 at a time. After the glue has dried, join the pairs together. That way you’re only worried about keeping one joint flat and even –at any given time.
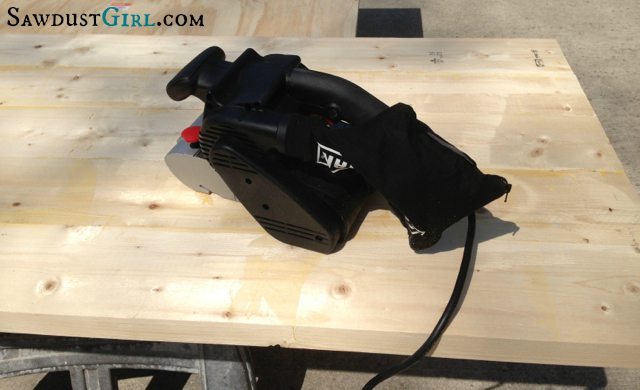
Scrape off any excess glue once it’s set up. Then sand the entire top with a belt sander. Belt sanders take off a lot of wood FAST. Make sure you keep it moving all the time. Try to make sure you sand the whole surface evenly.
Lay a straight edge across the whole surface to make sure the countertop is even. If you see daylight under the straight edge, you’ll know where the high points are. Sand those areas more and then check again.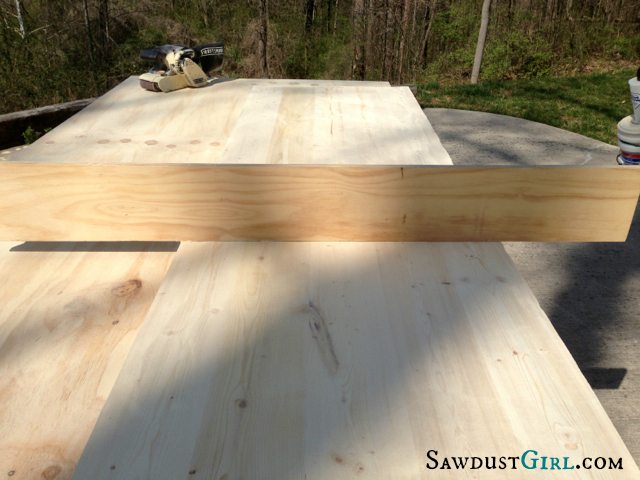
Then smooth the surface with a random orbital sander. Start with 80 grit followed by 120 then 220. I like to make sure to round the front edge because I don’t like sharp corners.
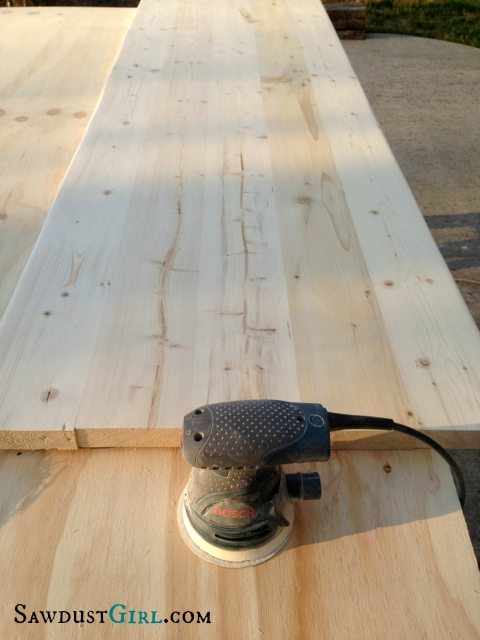
I got so excited about how pretty the wood countertop was looking that I started staining. Forgetting all about my plan to cut out a sink insert.
Staining
I almost always use more than one color for staining wood. Sometimes I stain with Briwax. This time I’m using black and dark brown stain. Smear it on, wipe it off and let it dry. Then do it all again.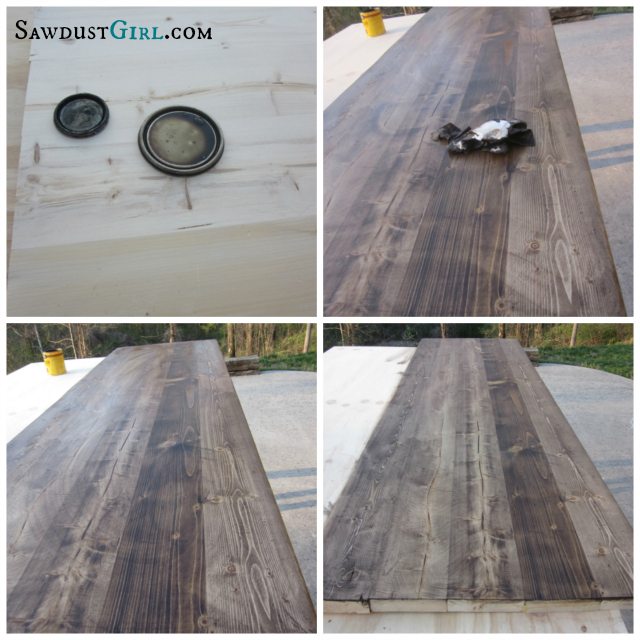
Wood countertop with undermount sink
When I remembered that I needed a hole for my sink I temporarily discontinued my finishing efforts. I’ll have to sand and finish the edges once I cut the hole.
Cutting out a hole for the sink
Luckily my sink came with a template that made this task super easy. After placing my template in the correct place, I used a Sharpee to trace the shape.
Normally when using a jigsaw, I drill a starter hole so I can get the jigsaw blade in the wood in order to cut. I’m planning on using the cut out so I didn’t want to drill a hole — so I used a small circular saw to start the cut. The Matrix came in handy for that.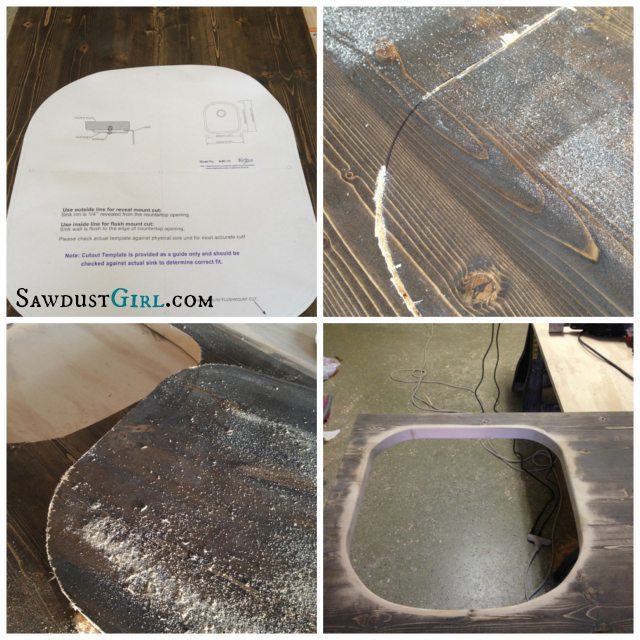
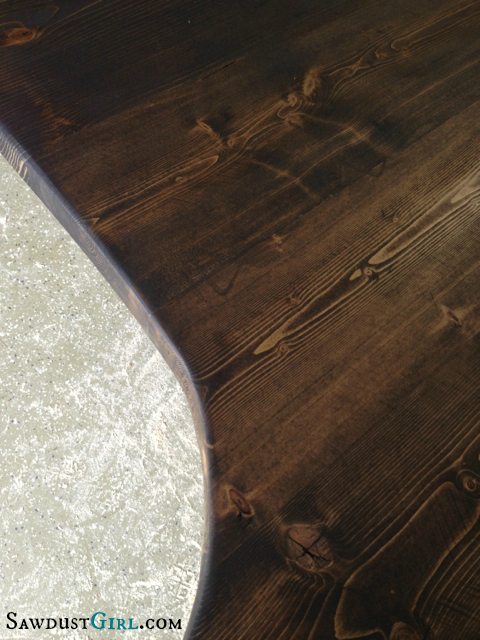
After cutting out the sink hole, I had to sand again… and then stain again. I simply apply layers of stain until I like what I see.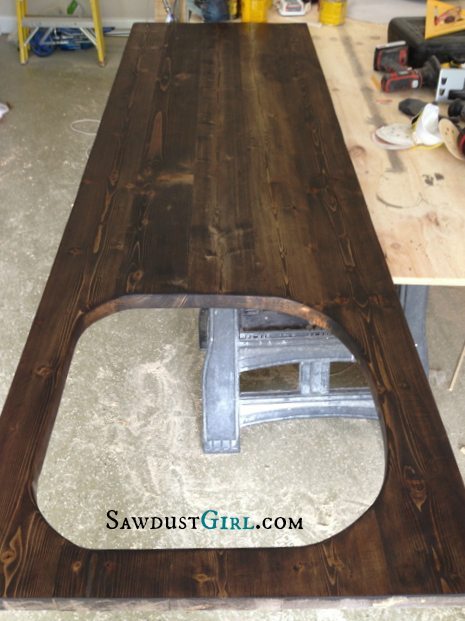
After three or four coats of stain I applied three coats of Waterlox tung oil. It penetrates the wood so the wood absorbs less oil with each coat. The wood looks quite dull after the first coat. With each consecutive coat the wood looks more and more rich.
I installed the undermount sink with the hardware provided with the sink. That was surprisingly easy.
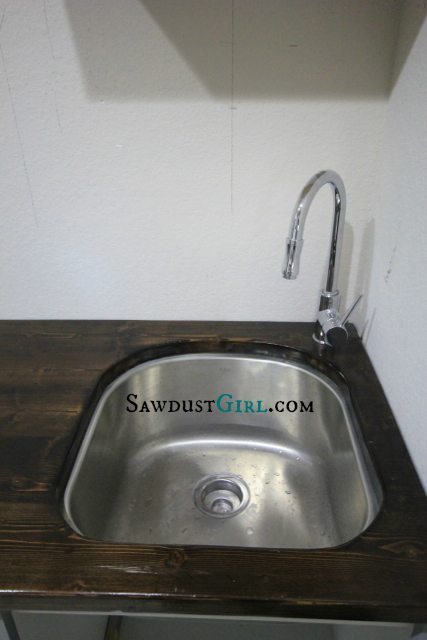
I purposefully created a slightly larger reveal than you normally see with an undermount sink. With a sink insert I can use the sink area for folding laundry. Then when I need to use the sink, I simply remove the insert. It fits nicely in the cabinet under the sink. Having that extra space to hold laundry baskets or fold and sort makes a big difference. That sink area is about 1/4″ of whole countertop space.
Check that out how I prepared the sink insert.
 If you like this post on how to build a wood countertop with undermount sink, you might also like my other DIY countertop tutorials and wood countertops with mitered corners


Do you have a pic of what you set the counter top on? Did you build cabinets or a frame?
There is a photo in the post showing the cabinets the countertop is sitting on.
Would this be the same process for a kitchen counter top?
Yeah, you would just want to make sure you use a food safe coating.
I’ve been researching wood countertops and it’s posts like yours that encourage me. I was going to buy a pocket hole jig — a cheap and simple one — but with your comments about pocket holes, I’ve decided not to. You make the whole process so simple. I’m looking forward to my new countertops! Thanks!
Pocket holes are useful for building certain things but not necessary when glueing flat pieces of wood together, end to end.
Can I buy a plank countertop from you? I would have to get all the machinery for sanding wouldnt that be a bit much if I am needing one counter top?
You can buy a wood countertop pretty inexpensively. Not as inexpensively as making it yourself but cheaper than buying all the tools or hiring me to make one (which I don’t currently have time to do). Southern Salvage has quite a lot of different wood countertops too choose from and they’re pretty cheap. Check them out.