How to build a cabinet with pocket hole screws
The second of my three ways to build a cabinet tutorials, pocket holes allow you to attach your cabinet bottom, fixed shelves and cleats without having visible fasteners on your cabinet cabinet. You will, however, still see the cabinet back from the side. Refer to my post on Cabinet Building Tutorial Library for additional tutorials for: doors, drawers, installation, faceframes, etc.
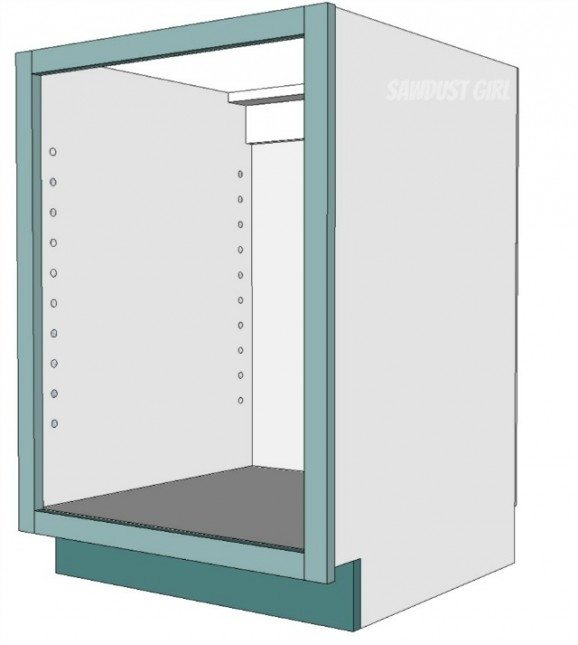
Table of Contents
Build a cabinet using pocket hole screws
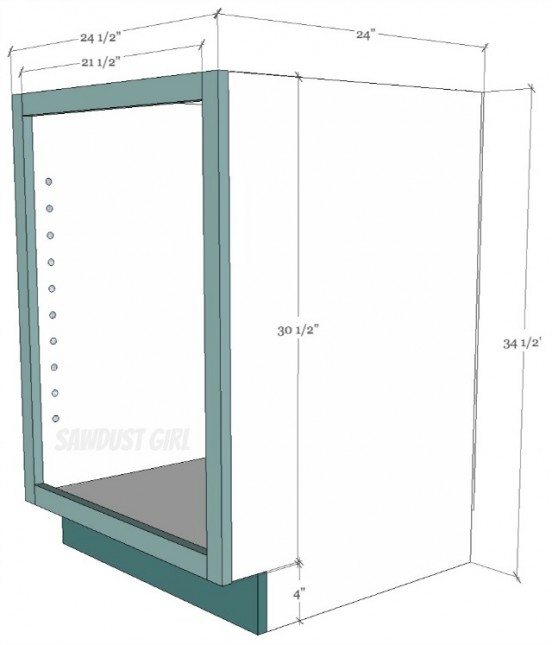
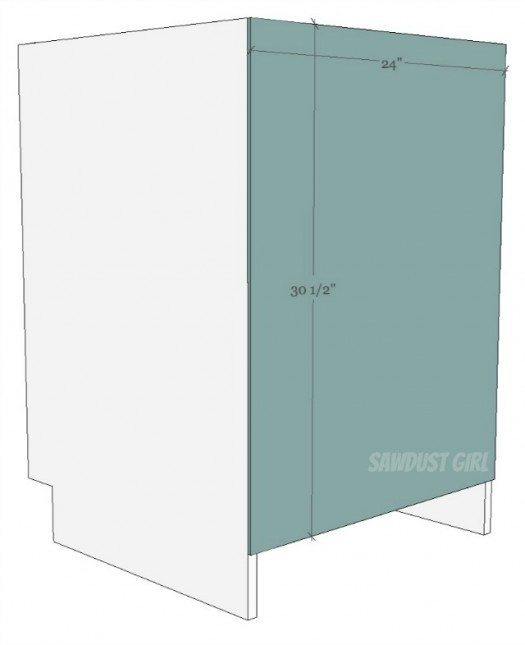
The final depth of this example cabinet after the back and face frame are attached will be 24″. The height is 34 1/2″ tall -which is standard for a kitchen or bathroom cabinet.
Note that:
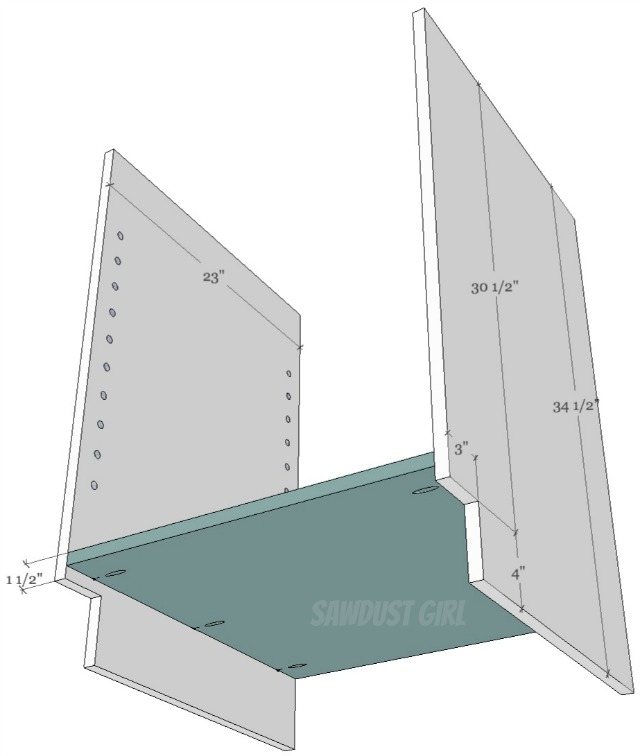
- sides, bottom and shelves are 23″ wide
- toe kick is 3″ deep by 4″ tall cut out of the sides with a jigsaw.
- cabinet and faceframe material are 3/4″ thick
- back is 1/4″ thick.
Drill Pocket Holes
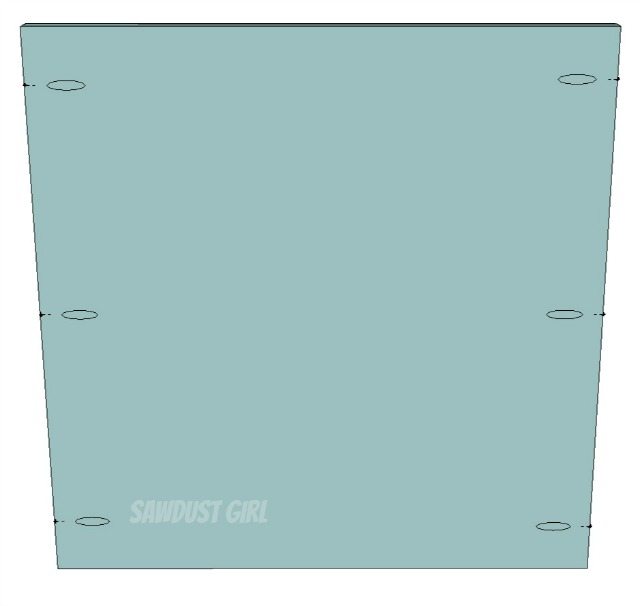
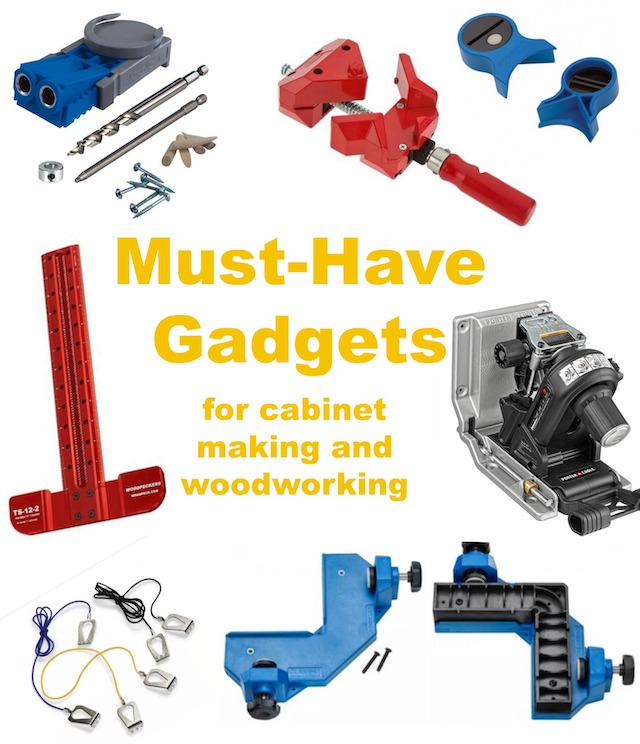
Use your pocket hole jig to drill pocket holes into the cabinet bottom, stretchers and nailers.
- 2 screws on each side of the narrow stretchers and nailers is sufficient
- On the cabinet bottom and any fixed shelves:
- Start the first hole no closer than 1″ from the front edge
- Then space the rest of the pocket holes about 6-8″ apart.
Assemble Cabinet
For 3/4″ material, use 1 1/4″ pocket hole screws. If working with unfinished plywood you can add add wood glue to the edges to strengthen the joints. I generally no longer use glue in cabinet building -but there are instances where it is necessary. (Your call.) Use manufactured or shop-made corner 90° corner clamping blocks to help hold your cabinet parts squarely aligned while you assemble it.
Cabinet Bottom
- Pay close attention top edge of the cabinet bottom is 1 1/2″ from the toe-kick notch.
- That is assuming you are using 1 1/2″ wide faceframe material
- and you want your cabinet bottom to be flush with the top of the faceframe rail.
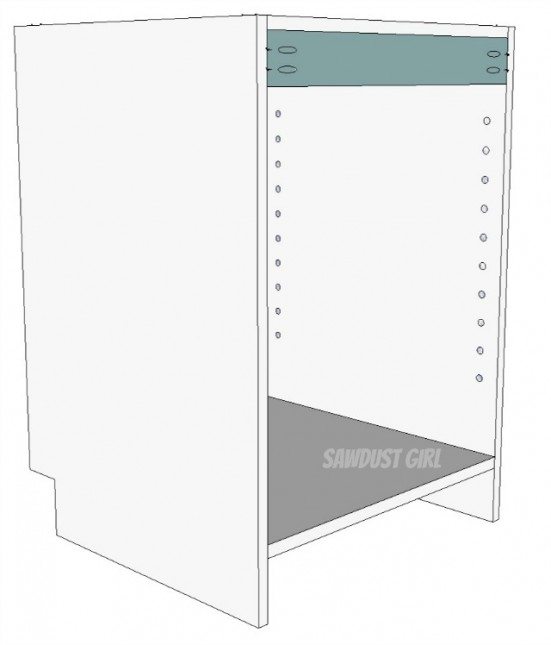
Stretchers Or Full Top
You can use a full top if your situation calls for it. If you are covering the cabinet with a countertop there is no need to use the extra material.
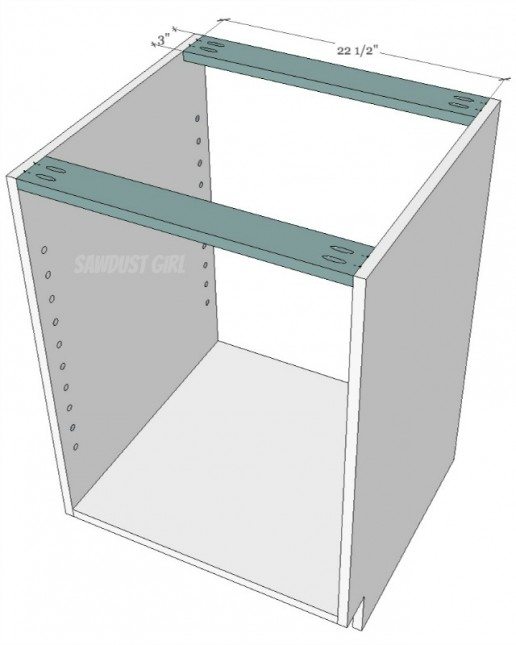
Nailers
This is what you will use to secure the cabinet to the wall after everything is all leveled. I install a top and a bottom nailer – especially if shims are needed to get the cabinet to install level and plumb.
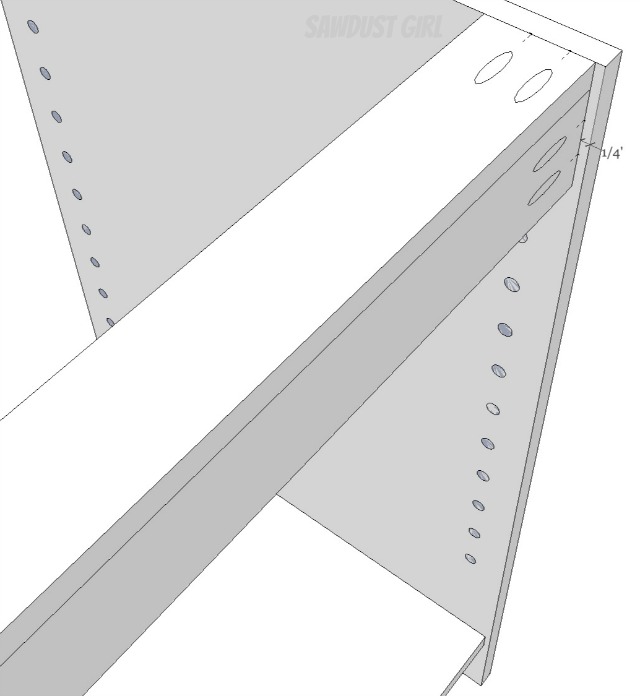
Alternative For Recessed Back
If you do not want the back panel to be visible from the sides:
- Install the top nailer and back stretcher 1/4″ from the cabinet back -leaving room for the back panel to recess.
- Shorten the cabinet bottom by 1/4″ so the back panel fits behind it.
Back
Square up your cabinet and then use small screws or staples to secure the back into place. I use a staple gun because it’s faster. Secure all the way around of the cabinet and to any fixed shelved.
To square up a cabinet, make sure the diagonally measurements from top to opposite bottom are equal.
Build and Attach Faceframe
If you are building a framed cabinet, refer to this tutorial that shows 6 different ways to attach a faceframe to a cabinet.
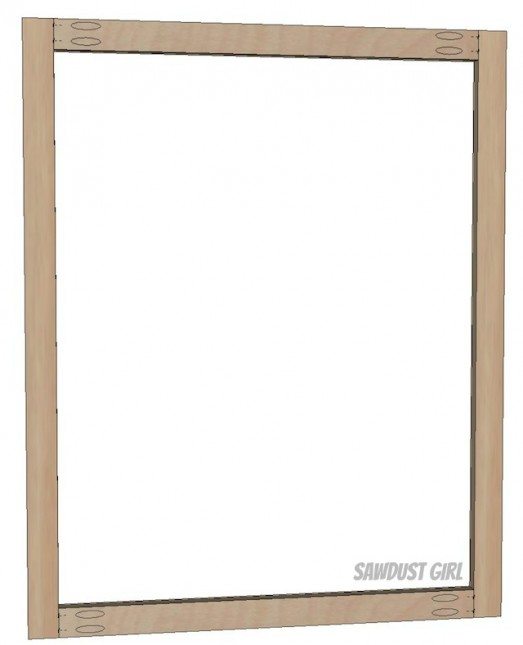
Kickplate/Toekick
If you are installing a run of cabinets, you’ll likely want to add the kickplate across the whole run after the cabinets are all installed.

That’s how easy it is to use a pocket hole jig to build a cabinet so your fasteners are not visible on the sides of your cabinets. Don’t have a pocket hole jig? You can build this same cabinet using wood screws.
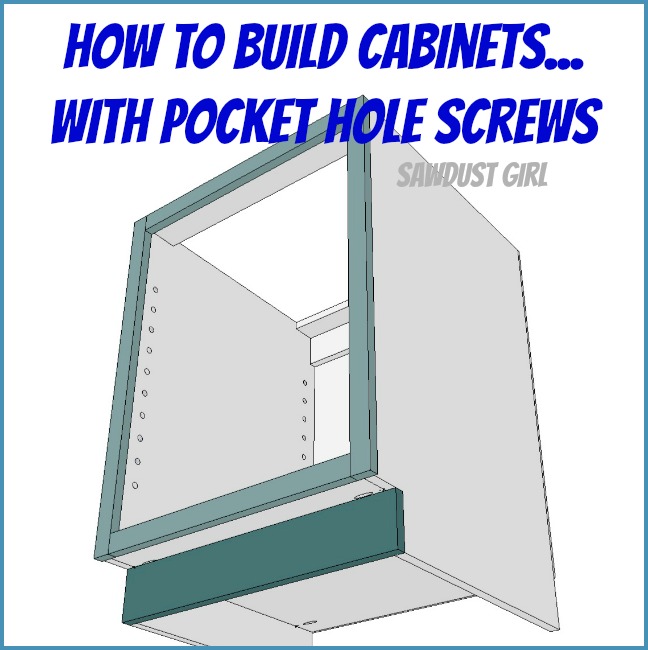
Check out my library of cabinet building tutorials for more step-by-step guides.
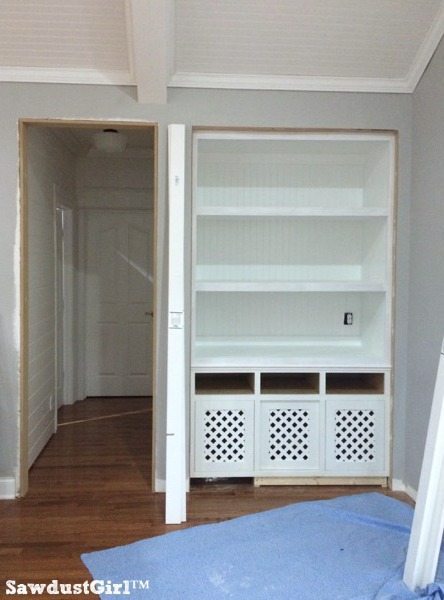
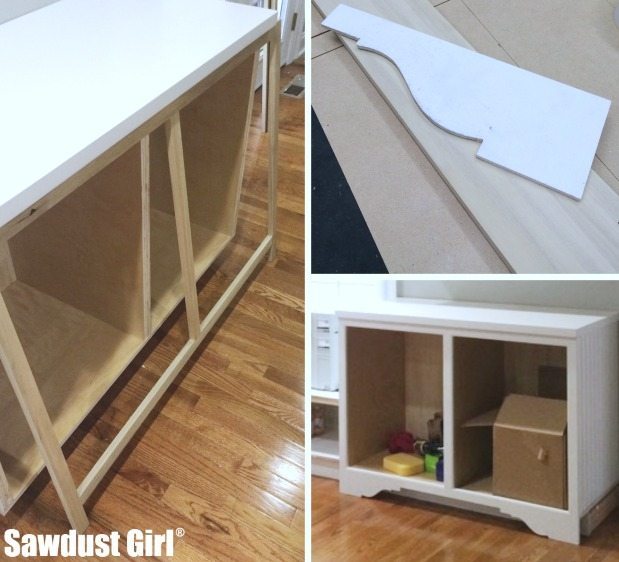
And how are the faveframes attached to the cabinets?
I linked to a whole “Faceframe tutorial” post which includes six different ways to attach a faceframe. Because not everyone has access to the same tools and every cabinet installation situation is different, there is not “one” way that would work for everyone, which is why I provided a separate tutorial with lots of different options. It’s just a click away. 🙂 https://sawdustgirl.com/how-to-build-and-attach-a-cabinet-faceframe/
Good tutorial but you left out some of the important information, and most often asked questions with regard to cabinet building, by skipping step 6. Yes there are several methods, just post the one you use.
The Faceframe tutorial I linked to in this post includes six different ways to attach a faceframe. Because not everyone has access to the same tools and every cabinet installation situation is different, there is not “one” way that would work for everyone, which is why I provided a separate tutorial with lots of different options. It’s just a click away. 🙂 https://sawdustgirl.com/how-to-build-and-attach-a-cabinet-faceframe/
In step 6 you say there are several options lot consider when making and installing the face frame, but you don’t elaborate on them. Please explain
Sorry Ed, it’s a whole separate post with lots of pictures too. The info applies to all three cabinet building tutorials. It’s a lot of info and would make each tutorial too long to include in each. Check back Thursday.
So pleasantly surprised to see you posting, Sandra!
Thanks so much for taking the time to add these step-by-step How To’s. I have checked out no less than 16 cabinet-making/ wood working books from the local library in the last few weeks, trying to get a feel for this. But, This is the furniture capital of the world (Thomasville/High Point), and the texts on hand tend to lean technical, assume a far amount of “common” knowledge, and employ advanced techniques. (Stair saws, chisels, and dado planes… oh my!) It was so nice to swing by and see… this! Yay! Thanks for sharing.
Hope the recovery is going well! Wishing you the best! Renee 🙂
Thank you so much Renee. I’m getting stronger and feeling better each day. Thank you for letting me know that this info is useful too. I REALLY appreciate knowing that someone is getting something from the effort. 🙂
Im soaking up all of this knowledge.
Yeah! 🙂