3D Christmas Tree
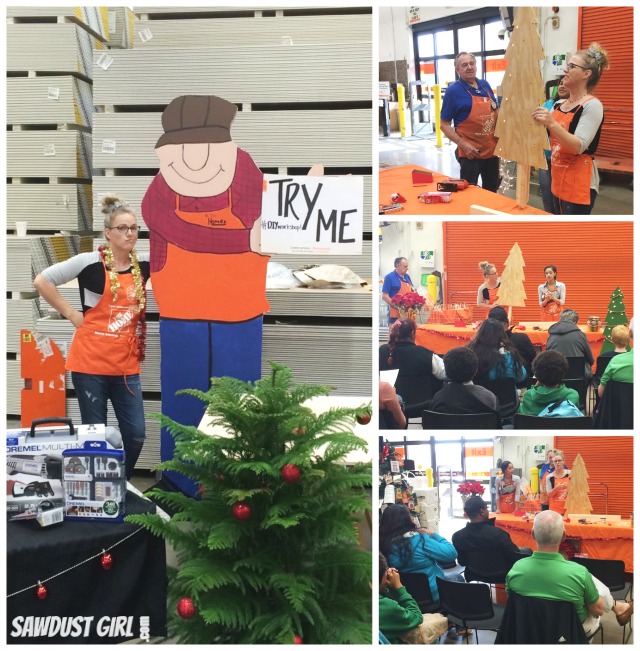
I had SO MUCH FUN at the Home Depot DIY workshop in Charlotte NC this weekend. I wish you all could have been there! It was a super quick trip: I flew into Charlotte Friday afternoon, did my workshop Saturday morning and then flew home. It went by so fast, it barely feels like it happened at all…except for the photos and the excitement I feel every time I remember the moments of empowerment I got to be a part of!
The Home Depot stores put on DIY Workshops every month so it all went very smoothly. We had a great time walking through the steps to create the lighted Christmas tree yard decoration. If you would like complete step by step instructions to create this tree, the Home Depot a printable version and video so you can learn how you learn best.
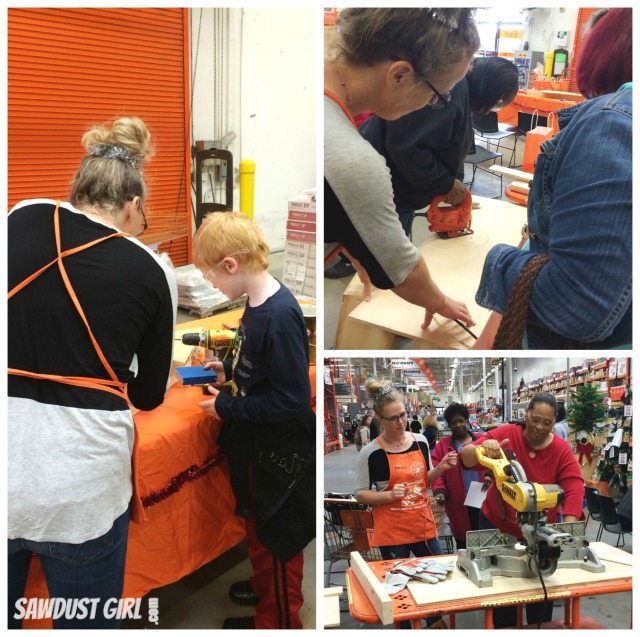
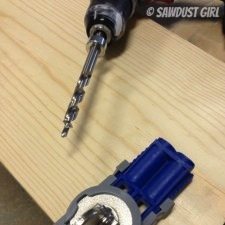
After the project demonstration, everyone that wanted to got to have hands on experience using the power tool!
(I had to help a few ladies figure out that they “wanted” to.) Well, I think they wanted to — but they were afraid so I just encouraged them to conquer their fears.
And they did! And they were SO EXCITED after they did it! Which was super fun and exciting for me to be a part of!!!
THIS is what it’s all about for me!!!
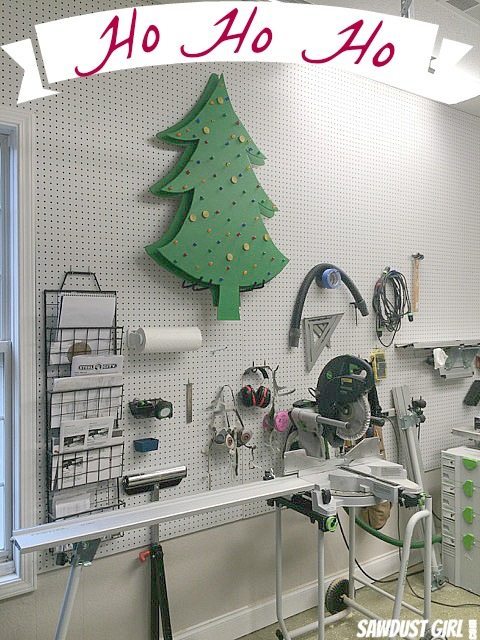
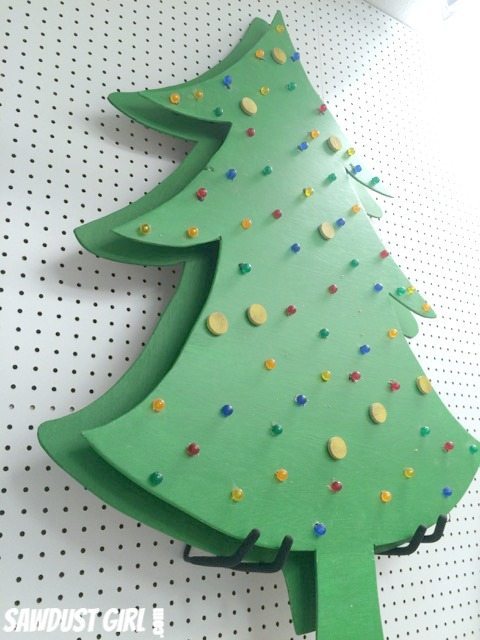
Earlier this week I made my very own version of the lighted Christmas tree. I wanted one in my workshop where I can see it every day so I modified the plans a little. I used 1/4″ plywood that I could hang on my wall. Can’t take up precious floor space in my shop. I mounted it on a second tree to give it more dimension.
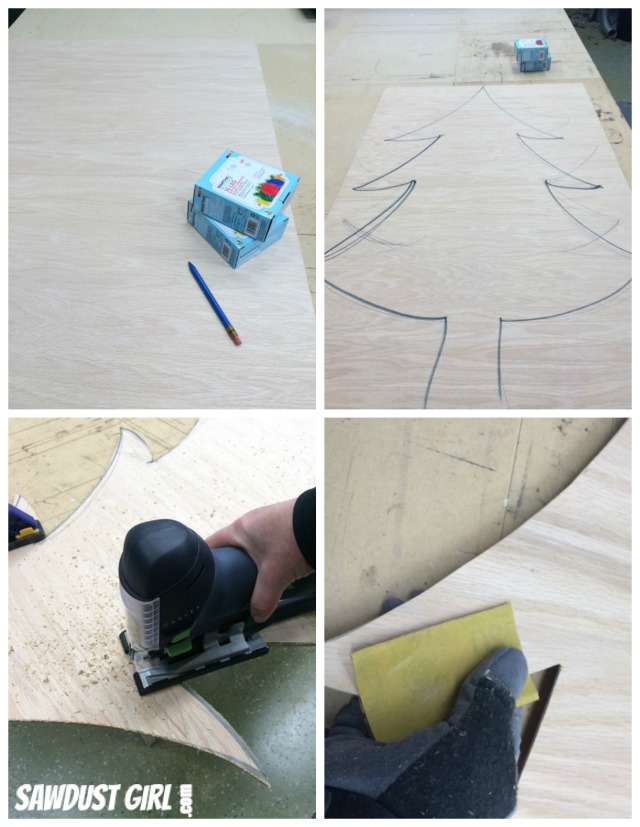
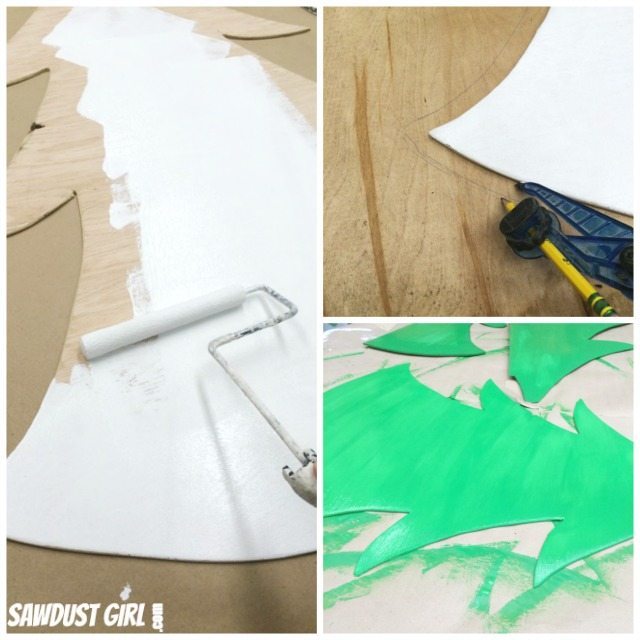
I drew my tree onto the plywood, cut it out with a jigsaw and sanded the edges.
Primed that and then traced the outline onto more plywood with a compass. I used scraps for my second tree so I cut it in 2 pieces. Then I painted all the tree parts with some green paint I had in my stash.
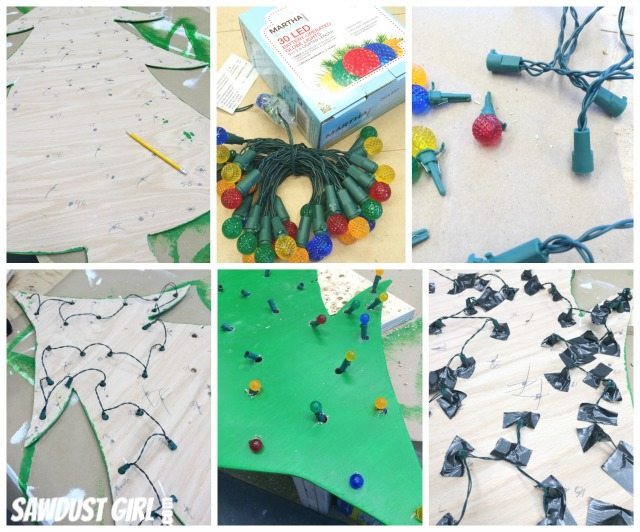
I marked the location where I planned on placing my lights. I removed the lights so I could stick the “socket” through the hole and then replaced the bulbs. Then I used duct tape to hold them in place.
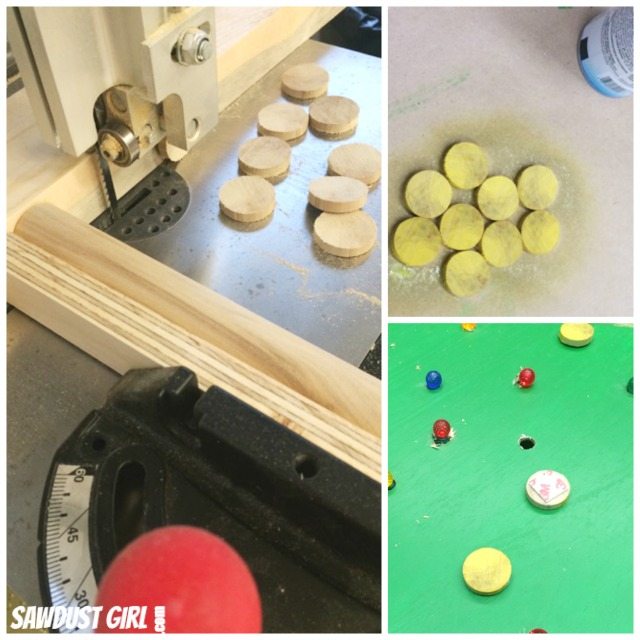
Even though I tried to plan out my bulb placement, I ended up with about 10000 pencil marks and a few too many holes. SOOOooo I had to hide the extra holes. I had a piece of closet dowel that I cut into strips, spray painted and stuck on the tree over the holes with some 3M double stick foam that I had on hand. BOOM – mistake hidden!
It’s pretty stinkin’ fun to have a Christmas tree in my workshop!
Now, I’m excited to announce that the Home Depot is giving away a $500 gift card! Oh yeah!!!!!
For a chance to win the Home Depot gift card, enter the Rafflecopter box below. You must leave a comment on this blog post AND click the box in the Rafflecopter form right here!
Make sure you use a valid email address so I can let you know if you’re the winner. Must be a resident of the USA and at least 18 years of age.
Disclosure: Post and giveaway sponsored by The Home Depot, but all opinions are my own.







Thanks for the opportunity, and the great info.
New table saw
I would love to attend a glass tile workshop. With the gift card I would be purchasing tools.
Also loving the Workshop Christmas Tree!
Great post!
I would love to learn the art of woodcarving 🙂