How to Make Easy DIY Corbels
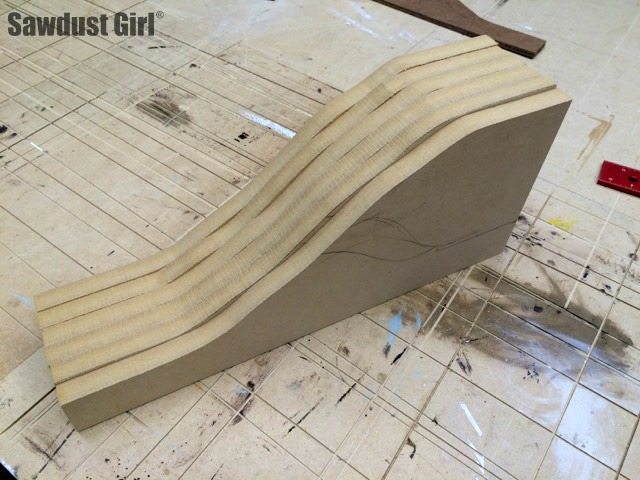
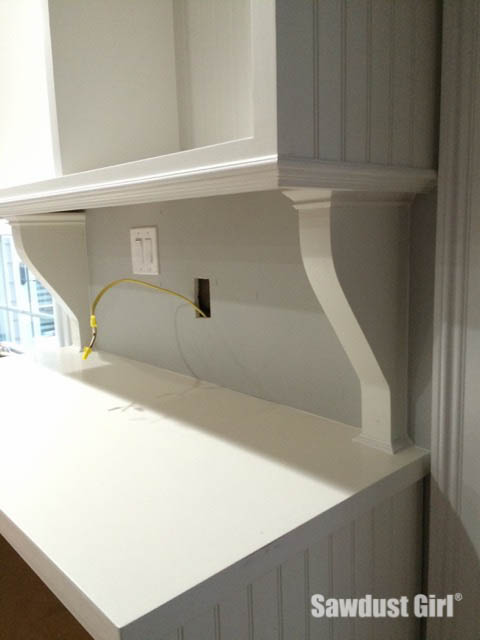 I made diy corbels that would fill the space between the upper cabinets and the base cabinets to make it appear like a single piece of furniture. These corbels are really easy to make and since I made them entirely out of scraps I had in my “sCrap pile”, they were also very cheap (free)! Each corbal is made from glueing together three pieces of 3/4″ MDF, then adding moulding. Easy peasy!
How to Make DIY Corbels
I cut a piece of 1/4″ masonite the same length I wanted my corbels. I used a few screws to act as extra hands and hold a thin strip of wood on place while I used one of my free hands to bend said thin strip of wood into the corbel shape I wanted. With my other hand I traced the shape making a pencil mark on the board.
(This task is much easier with extra hands but screws always work too!) After the curves are drawn, it’s time to cut out the template.
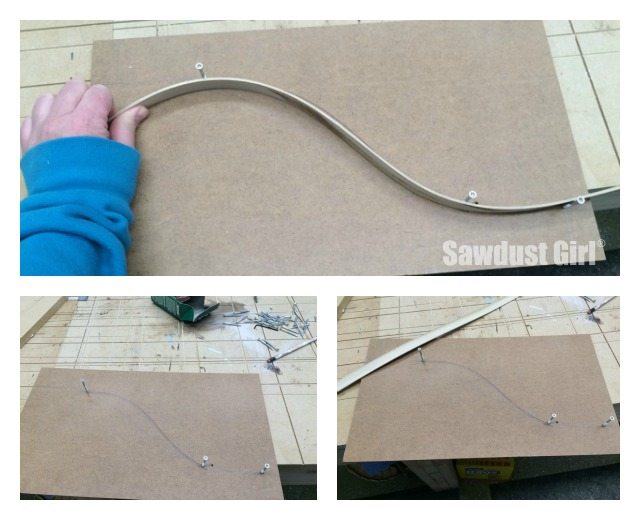 Cut Corbal
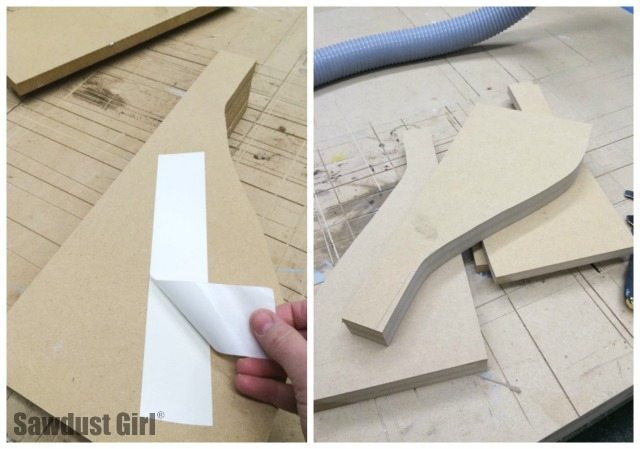
I used the template to cut out six 3/4″ thick pieces of MDF. I used a bandsaw to cut these but a jigsaw would work just as well. Even with the template, there’s a lot of sanding needed to make these all exactly the same.
Sand
Double stick tape is one of those things I use all the time in my workshop. I use it here to stick all the corbel pieces together so I can sand them all at the same time, ensuring they all come out (almost exactly) identical.
When finished sanding, it takes a strong wedge (5 in 1 painters tool) to pry the pieces apart.
Notch
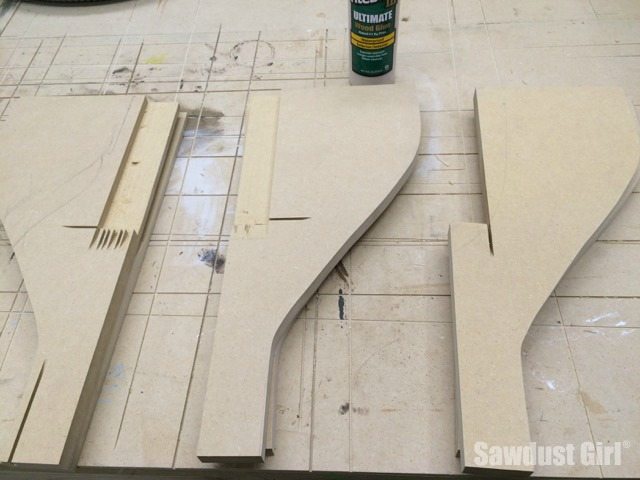
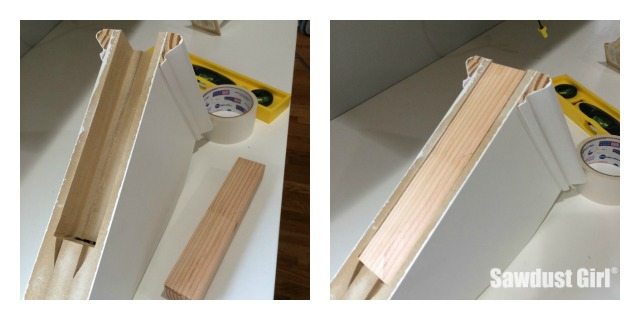
The corbels I’ve ever seen for purchase just have a keyhole routed or applied to the back. If there is no clearance above where the corbel will be located, a keyhole won’t work. So you need a different way to install the corbel. I simply created a space in the center of my corbel that would fit over a cleat on the wall.
Since each corbel is made of three pieces of wood (MDF), the center piece can be cut through but the outer pieces need to be notched out. It is important to notch out a right and left side.
I used a 2×2 for my cleat (1 1/2 x 1 1/2). You need to make sure you create a space in your corbel that is the same thickness as whatever you use for your cleat.
Glue up
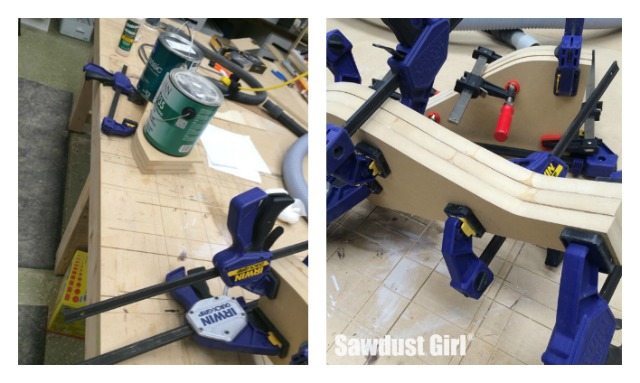
Now glue the three parts together in the proper order. I tried clamps but they wanted to make my corbel parts slide around so I ended up using paint cans as weights.
 Prime, Paint and Install
*I primed and painted before installation.
**I also added moulding around the top and bottom of my corbel before installing but it made the beadboard install much harder. Do it now or later, You’re call!
Cut a 2×2 cleat to fit in the back of each corbel. Put double stick tape on the back of the cleat.
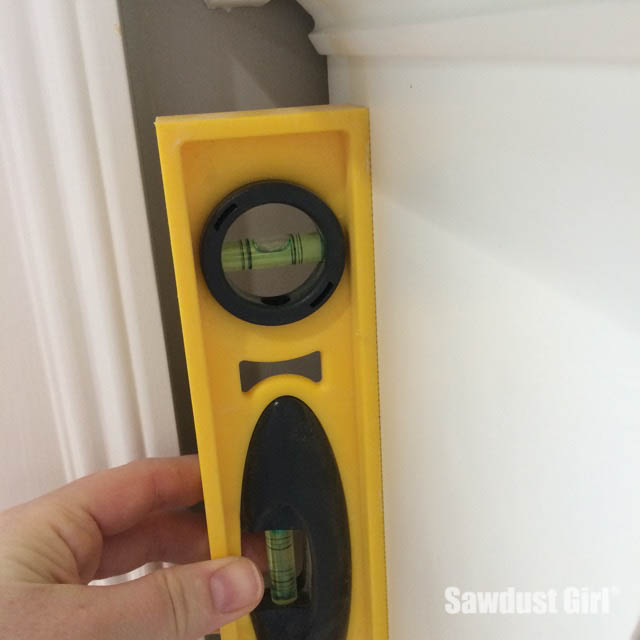
Have a small level handy to make sure the corbel is level before you press it into place.
Once level, press the corbel into place on the wall where you want it to be located.
Once pressed into place, pull corbel away from the wall — the cleat will stay.
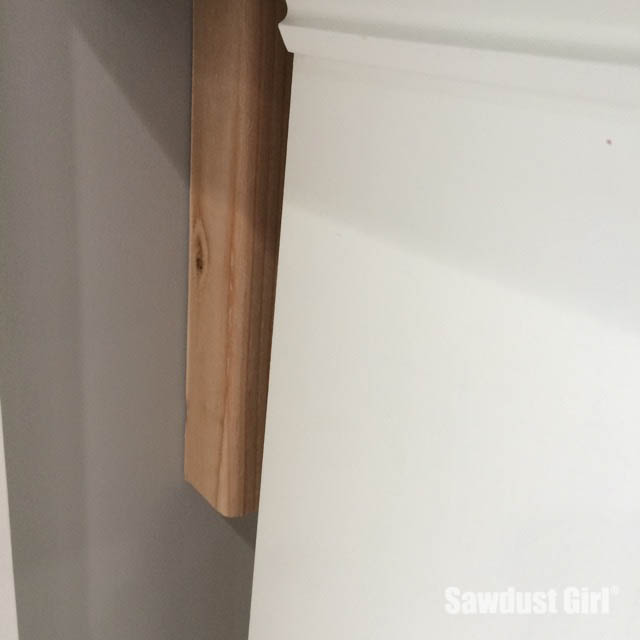
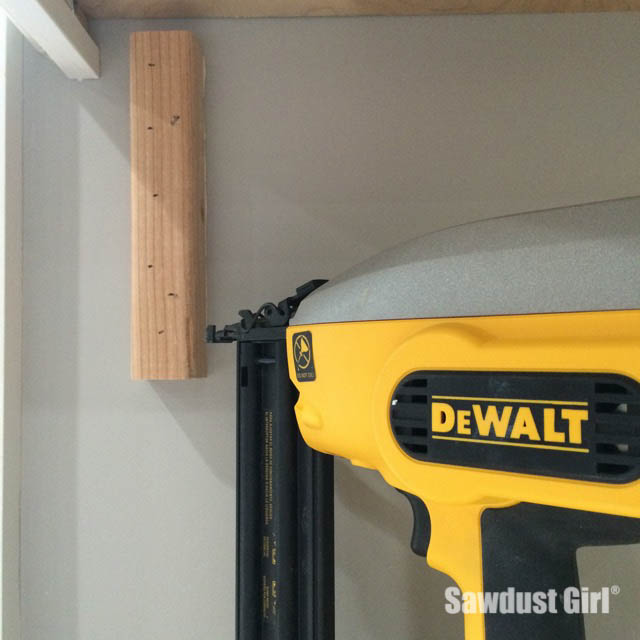
If you’re installing over a stud, secure with screws. If not, shoot some nails into the wall at alternating angles to create resistance against the drywall.
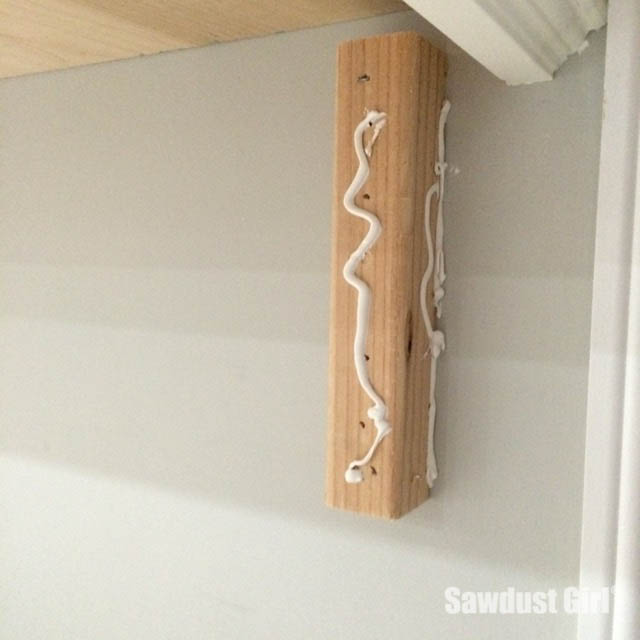
Apply caulk to the 3 exposed sides of the cleat making sure to get the joint between the cleat and the wall. The caulk will be a strong adhesive once set and will help keep the cleat secured to the wall as well as keeping the corbel secured to the cleat.
Press the corbel back onto the cleat, making sure to press firmly into the caulk. Hold firmly in place for about 30 seconds. See if it holds. If not, hold longer. If still not, shoot a couple brad nails through the corbel into the cleat. Maybe do that anyway.
These corbels are purely decorative and don’t hold any weight.
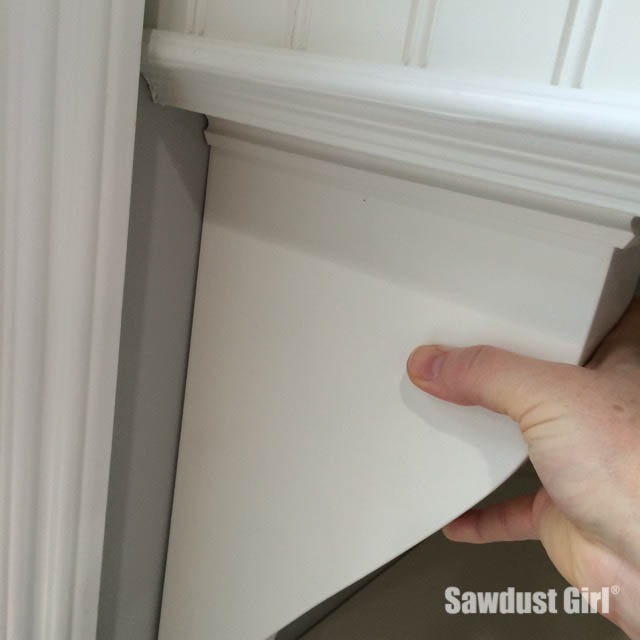
Of course, you’ll add more caulk to fill any small crack between the corbel and the wall which will help hold the corbel in place too.
Fill any nail holes you may have created and touch up your paint.
*As I said before, I wish I would have waited to put on the detail moulding until I added the beadboard so if you are recreating this project, take it from me, wait! If you aren’t planning on adding anything, knock yourself out with moulding now. 🙂

When I started reading that you made the corbels from 3 pieces of plywood, I imagined the process a little bit different. Why didn’t you glue the ply together and then sand it? Wouldn’t it hold?
Why did you go for all the trouble with the cleats? Couldn’t you stick the backs of the corbels to the wall, then nail or screw them to the base and the top cabinet (the nails at different angles), and cover the heads with the trim? Maybe I am missing something?
The result so far is great! Looking forward to see the sliding doors and the drawers.
You could certainly glue the pieces together before you sand. How I did it is just how my brain wanted to do it. 🙂 You could also attach a corbel how ever you can imagine. I preferred to secure a cleat to the wall first and then secure the corbel to the cleat. Shooting nails at angles is an invitation for a nail to cripple or not sink completely and I didn’t want to flirt with the potential to ruin the hard work I’d just done.
🙂 You are right about the nails. At a second thought. I would glue the 3 edges of the corbels to the wall and both cabinets. My brain works in accordance with the tools I have :), which doesn’t include your wonderful saw 🙁 Although I have a plunge saw, It would be pain in one place to make the recesses for the cleats. Also, older houses here, in UK, are usually solid masonry, and the walls are rarely straight. So, most likely, I would attach some 2 x 2 (or 2 x 1 if the space is an issue) vertically to the wall, behind the cabinet, with packing here and there to make them parallel to each other. Then the rest of the cabinet would be attached to them.
Thank you for the post Sandra. It is very interesting!
It looks so good. Great job!