Drab to Fab Bath Design {Guest BuildHer}
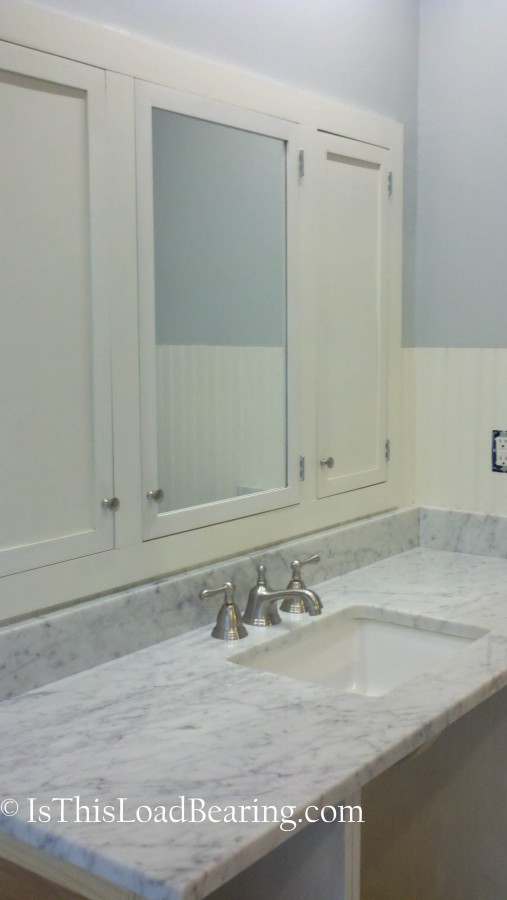
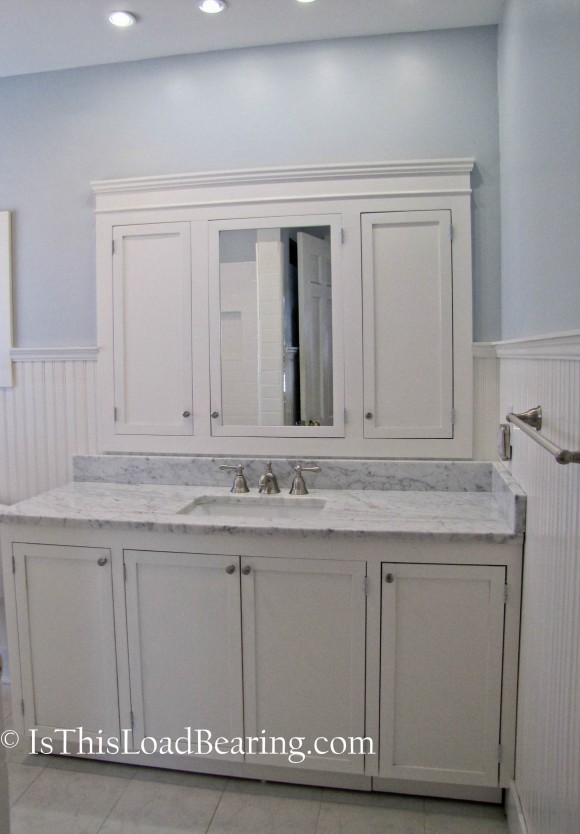
This bathroom vanity is so beautiful it makes me almost forget how badly I need to get on the kitchen after the workshop is done! Take a looksey! (And make sure to go visit Donna at “Is this Load Bearing” to see more of her projects and get inspired and motivated to knock a project or two off your list too!)
———————————————————————
Hi Sawdust and Paper Scrap readers! I’m Donna from Is This Load Bearing. I am new to the blog world, but have been a DIY’er for years, and it is such an honor to be sharing our latest project with you.
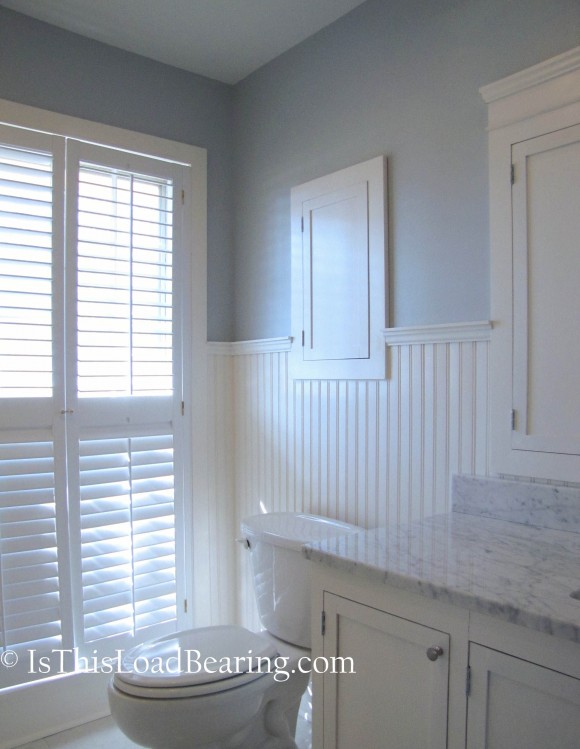
My husband, Norm, and I live in a 1960’s basement rancher that was in need of a lot of TLC when we purchased it nine years ago.
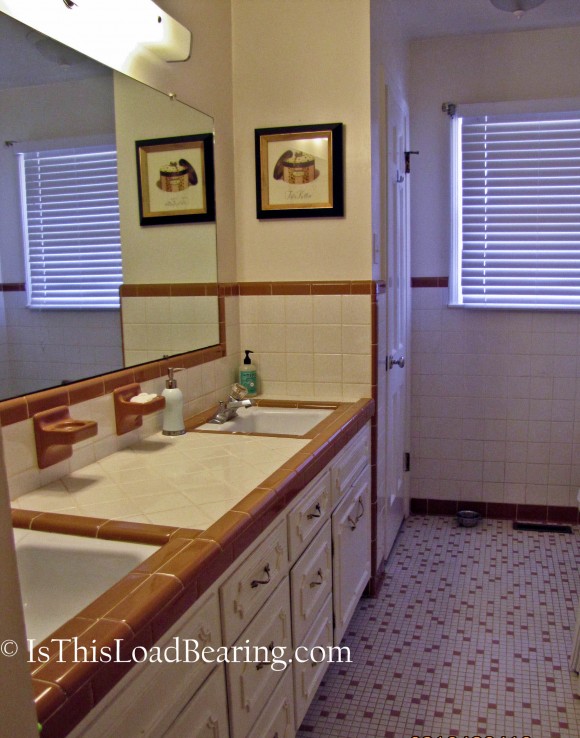
We had already renovated the basement, and last February, we decided it was time to tackle the master bathroom, which was in horrible shape. The porcelain finish had worn off the tub—it never looked clean, and the floor tile was cracked and worn with age. Unfortunately, I cannot find my before pictures, but here is a picture of our other upstairs bathroom, which has identical tile, cabinets, and light fixtures as the old master bathroom. This bathroom is in better shape, though.
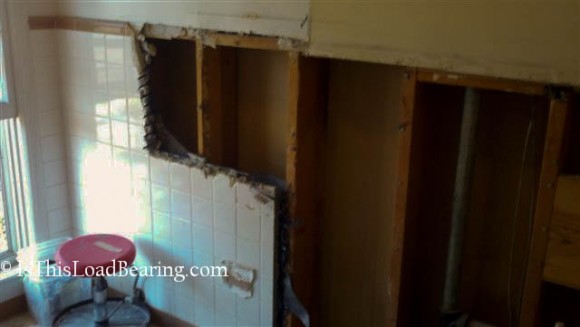
The demo was easiest part
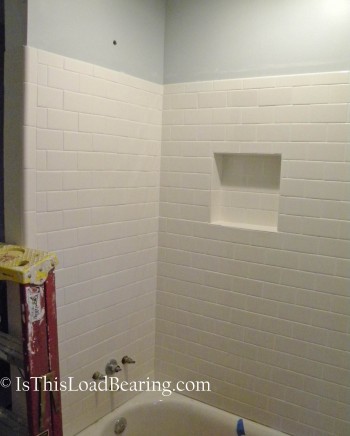
This was our second bathroom to renovate, so tiling went pretty smoothly.
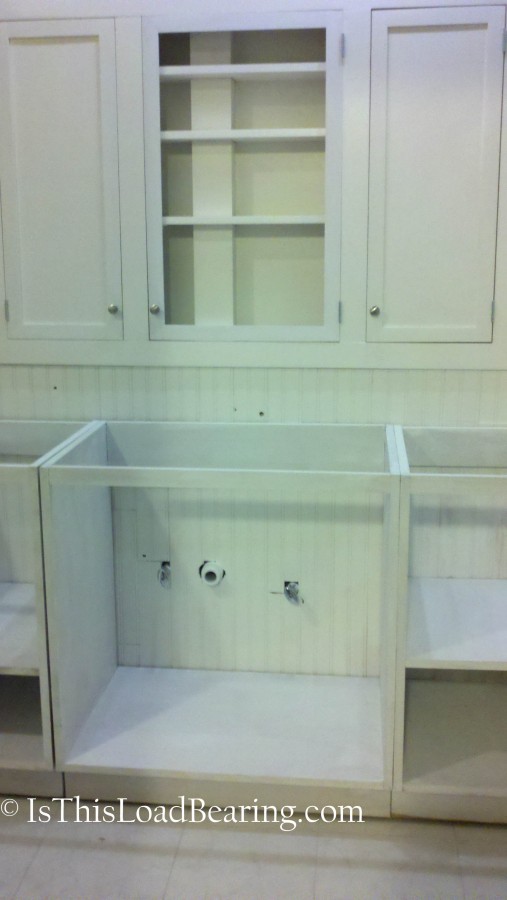
Our biggest issue with this bathroom was space. There was no linen closet, and nowhere to put one without compromising our, already small, bedroom. Once we tore out the walls, we found that they were eight inches deep—perfect for wall cabinets!
Here is a picture of the large framed-out cabinet when we dry-fitted it.
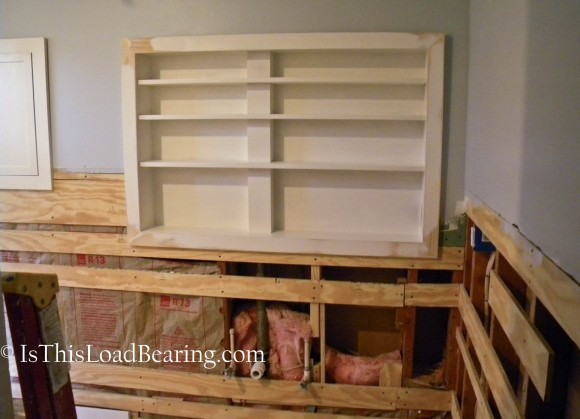
And here it is with doors, before the trim was added:
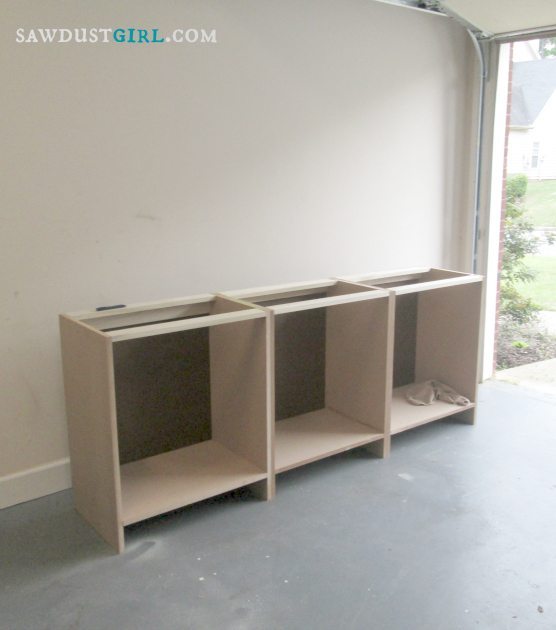
I also decided to try my hand with the base cabinets. The initial framing of the base cabinets was fairly easy.
The doors, however, took two attempts. I was determined that I wanted inset doors and initially used a picture frame-type construction for them. They ended up being uneven, so it was back to square one. This time I used Sandra’s Cabinet Door Tutorial, and it turned out much better.
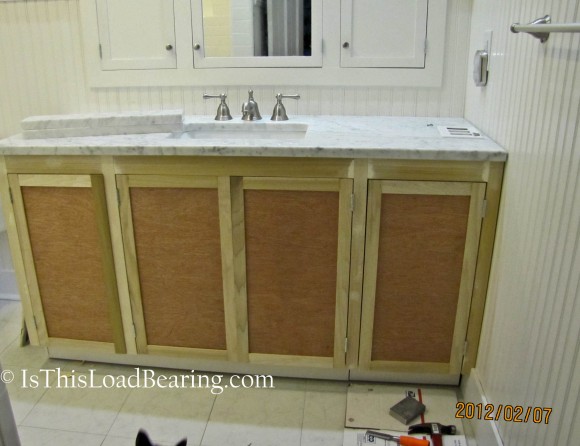
Then it was time to paint and hang the doors! (Cue the angels!)

We did everything ourselves on this project, as we have on the all the others. Norm is a retired electrician, so that has certainly come in handy. If we are tackling something we have never done before, we do our research and figure things out as we go. We have made our share of mistakes, but have learned from them.
Here are some things I learned with this project:
Turn off the water main when tearing out walls that contain pipes! This is such a no-brainer, but we did not expect the pvc pipes to be imbedded in mortar. This resulted in an I Love Lucy moment. We can laugh about this now…
Rent or purchase a good tile saw. We purchased a cheap one for our basement bathroom reno. It did the job, but was flimsy. Good quality tools make all the difference!
Same thing applies to clamps if you are considering building cabinetry.
Don’t over-tighten the clamps. I did this with my first attempt at the doors and they came out a little bowed.
Most importantly, have a sense of humor—especially if you working with your spouse!
I hope you have enjoyed my tour! Thank you, Sandra, for inviting me to share our latest project!
Donna
—————————————————————–
What a FABulous bathroom reDO. I love Donna’s “I love Lucy” reference…I can just picture water shooting out from the wall and people scrambling, sliding on the slick,wet tile trying to get out of the spray! Classic! I’m sure it was anything but funny at the time but now… LOL
Thank you Donna, for sharing your makeover AND your tips. I agree, good clamps are worth their weight in gold. (Pretty much). Can’t wait to see your next project!

Hi, great job! what type of hings did you use? Did you put the beadboard over drywall? How do you finish the beadboard molding so it overlays the beadboard?
Wow Donna! Way to go. That bathroom is gorgeous. Thanks for sharing, now i’m headed over to your site. (love your blog name BTW.)