DIY X Base Dining Table – Build Plans
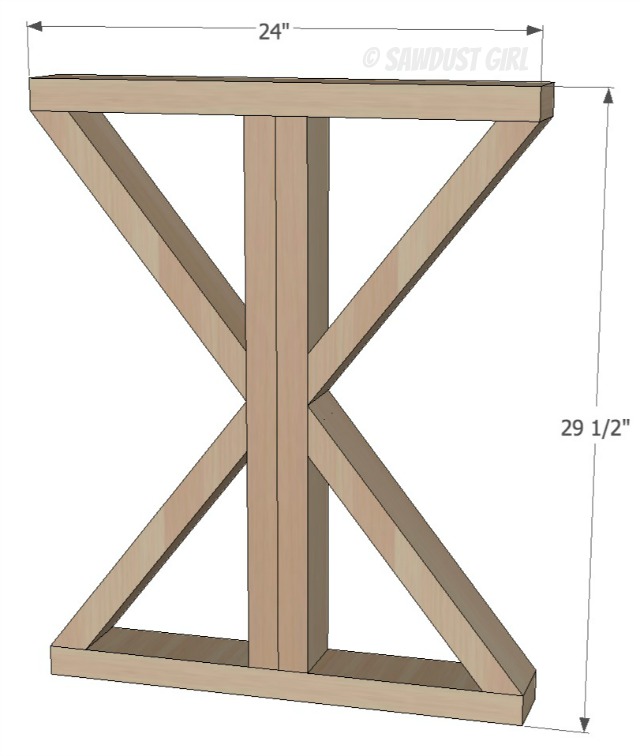
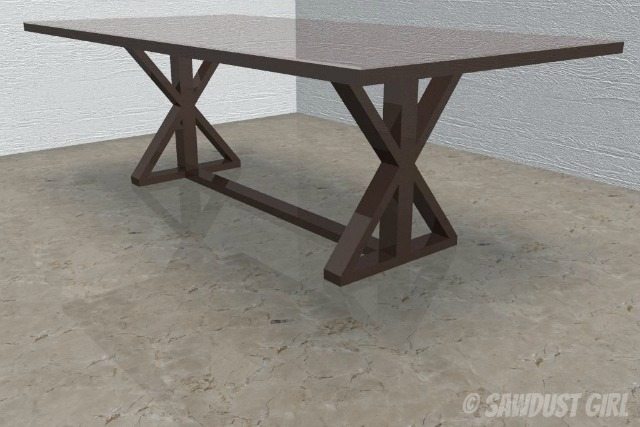
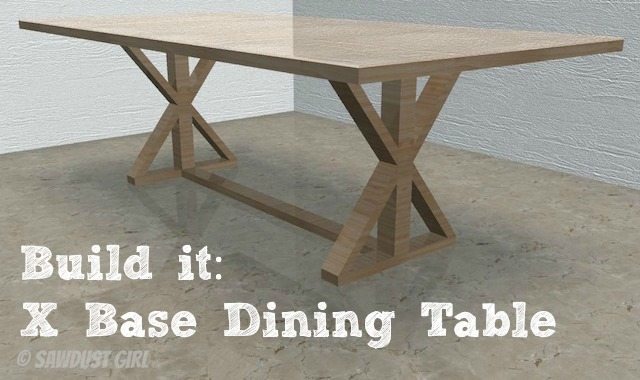
This super easy X base Farmhouse table can be built for about $50. Cutting the angles for the X braces will be the most difficult part because one angle is over 45• which is the limit on a lot of miter saws. But there’s a simple fix, use an angle finder, mark it and use a jigsaw or circular saw for the cut.
What I love about this plan is that there are no visible fasteners! If you pick out attractive lumber and spend some time sanding and finishing, this could be a beautiful farmhouse table.
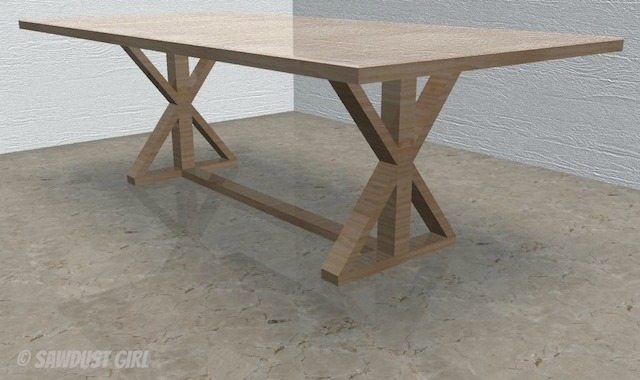
X Base Dining Table – Free Woodworking Plans
Materials:
- Base: Four 8′ 2×4’s. (Always good to get a couple extra — in case you need them)
- Top: Six 2×8’s Glued and clamped to create a slab top – Tutorial
- Wood Glue
- 2 1/2″ #12 pocket Screws
- 2 1/2″ wood screws
Step 1: Cut angles
- Cut eight pieces as shown in blue below.
- Use an angle finder, mark your cut and then use a jigsaw or to cut.
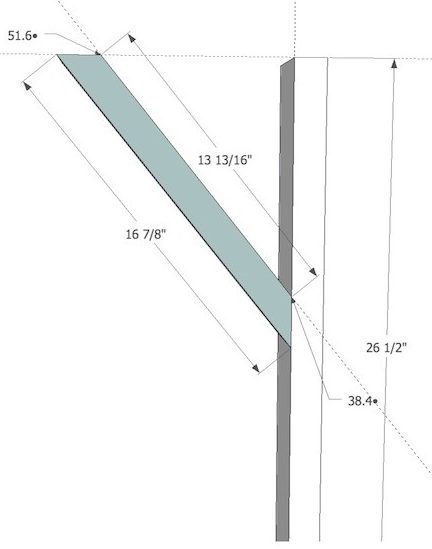
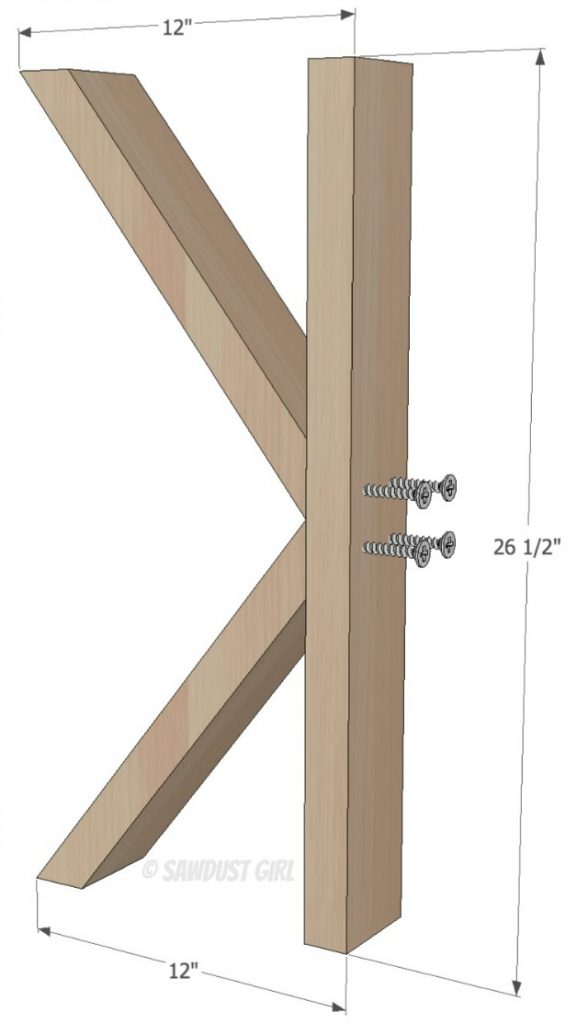
Step 2: Build “half legs”
- Use wood glue and wood screws to attach brace parts to leg part.
- Make sure to countersink screws
- Placement of screws must not be too low or they will protrude through the brace part.
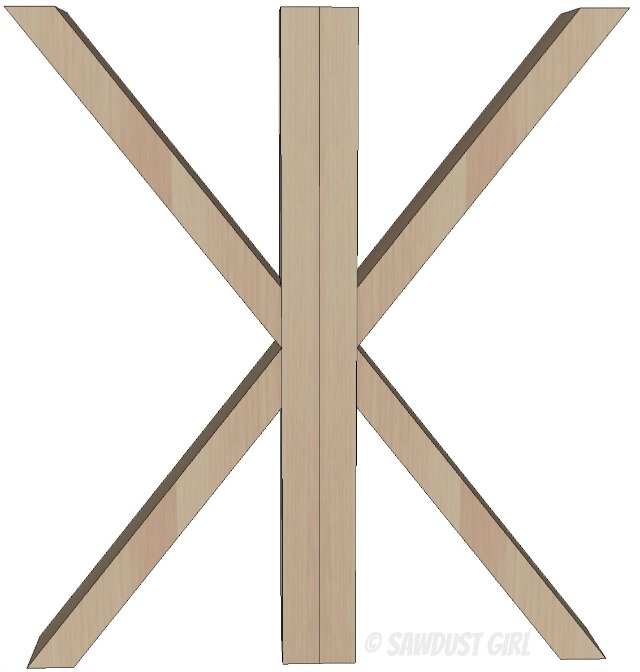
Step 3: Create Full legs
- Use wood glue and clamps to secure half legs to gather and create one full let
- Completely slather glue on both parts then clamp them together until they dry.
- Wipe off glue squeeze out so it doesn’t interfere with finish.
Step 4: Attach Leg top and bottom
- Use wood screws to secure top and bottom to leg
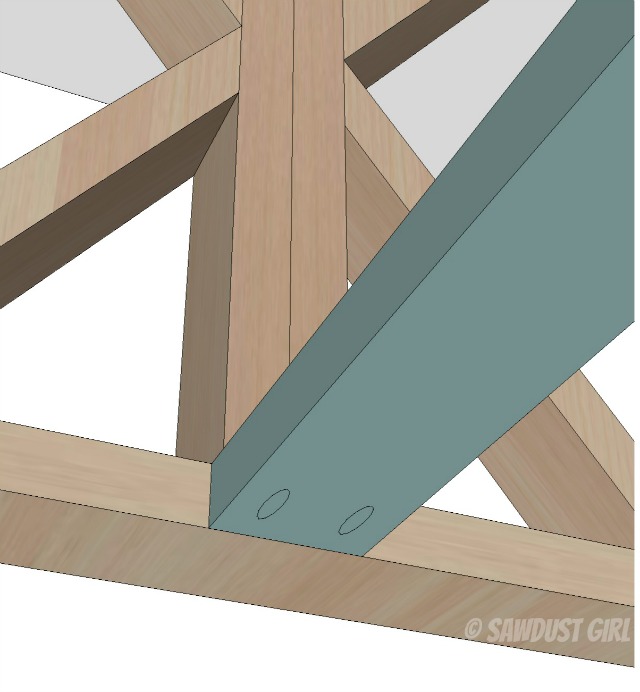
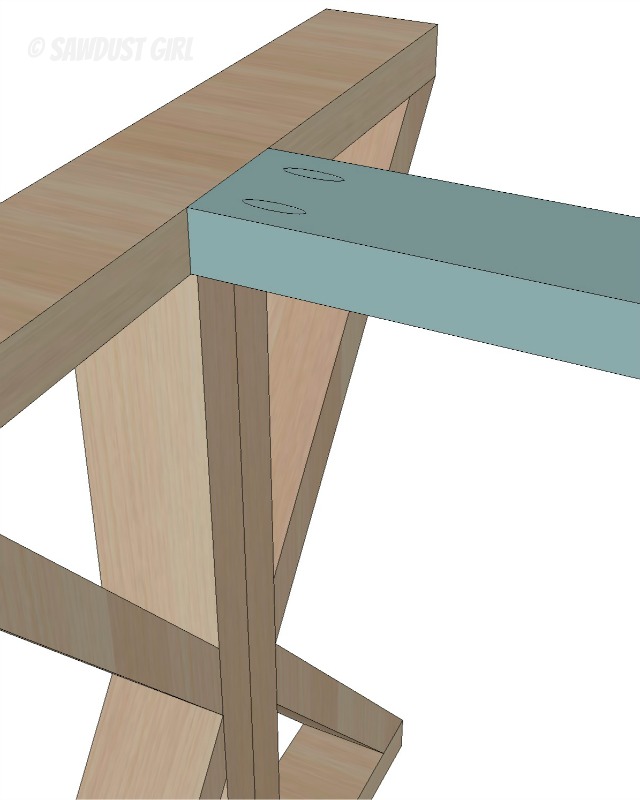
Step 5: Attach Center Braces
- Use pocket screws to secure center braces.
- All pocket holes should be located so they are not visible on finished table
Bottom
Top
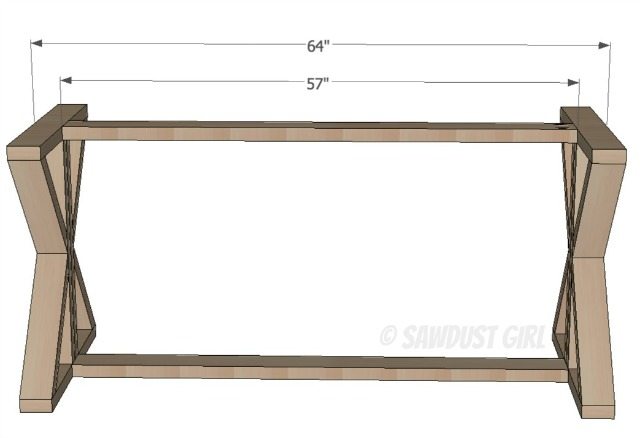
Step 5: Glue up Top
- Glue up 2×8’s to create a table top then secure using wood screws up through legs to attach.
Step 6: Attach Top
- Drill a 1/2″ diameter hole in each side of the tops of each leg.
- Use a washer that is larger than the hole and will keep the screw.
- Use wood screw to attach top – this will allow for wood movement.
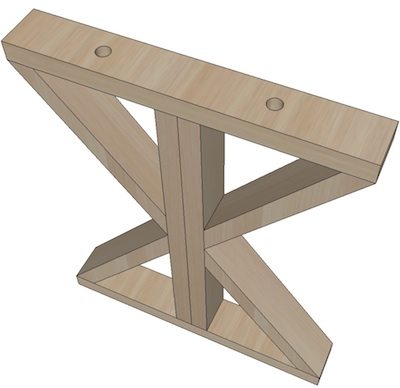
Step 7: Finish
- Finish with stain, poly and or wax.
Very nice
How long are the 2×6’s? 8’?
The 2×8’s? For the top? They can be as long as you want the top to be.
When my son and I built this table, we found that the four 8′ 2×4 were not enough. to include the center pieces you need 6. Just an FYI. Also, price is closer to $100. But other than that, great plans and easy for a novice to build.
Thanks for the feedback on materials. I guess price depends on current local prices.
This is so great and affordable! We want to build a dining table top with barn boards we have and the use a glass over the barn boards, so we’ve been looking for ideas for a dining table base to build. I love the x bases we’ve seen at some stores but they are pricey. Thanks for the idea!
Everyday another awesome free plan… so much to make and so little time… 🙂 Wish I had a workshop with heat and power… Come on Spring!!!