DIY Stain Color Fan Deck – For Easy Color Selection
I have a lot of little cans of stain in a plethora of colors. When I’m ready to stain a new project, I usually grab every single can because I can’t remember from the labels which color is a deeper brown, which leans more towards red or gold or green etc. So I decided to make work life a little easier on myself and make a stain color fan deck so I could see what all my stain colors look like on pine. Because pine is usually what I use if I’m staining and not painting.
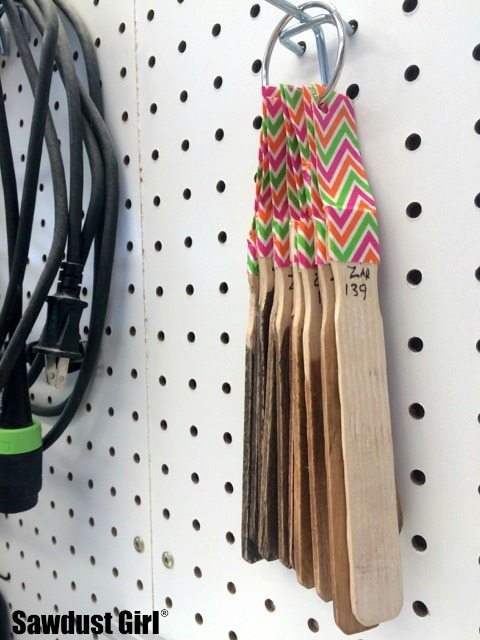
It’s still important to test the stain out on the project wood (preferably a wood scrap) to see how that specific wood is going to take the color but the color sample will cue me in on which few cans to grab instead of –every single one of them. Whatever wood you use for your projects, is what you should use for your color samples. This color deck is for inexpensive softwood (i.e. Spruce, White Pine, Douglas Fir). I used a package of wood sticks I had on hand. Tongue depressors, popsicle sticks or shims will probably work well to give you an idea of what your stain colors will look like on pine.
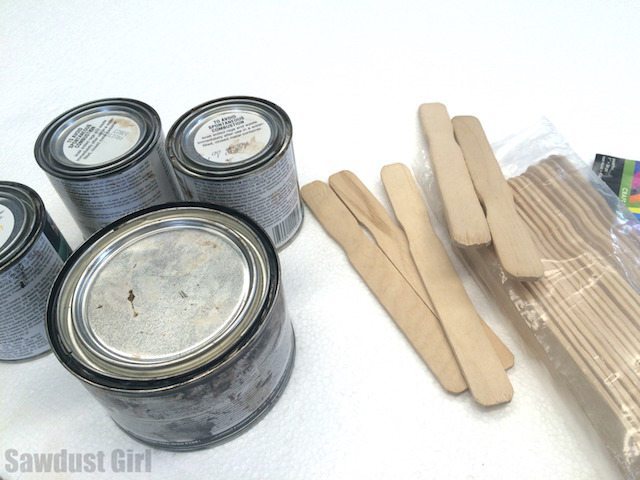
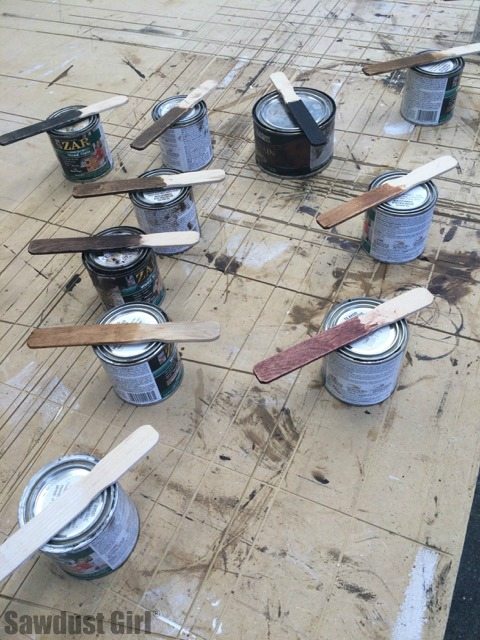
I opened each can, applied stain to a stick, closed the lid and set the stick on top the that can to dry. Repeat 100 times. 🙂
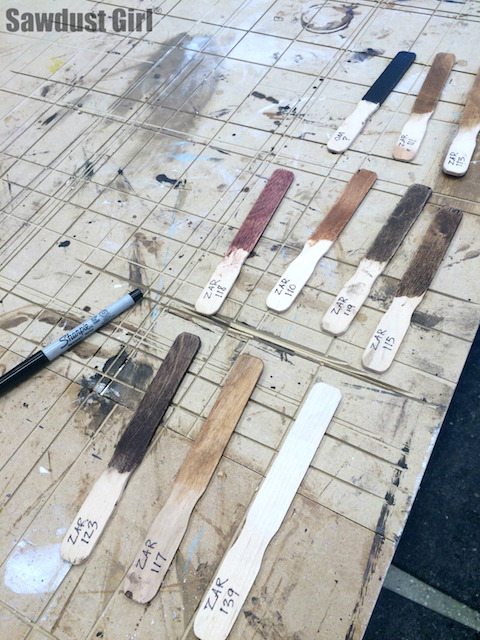
Once the stain was dry, I used a fine tipped sharpie to write the information from the can onto the stick.
BTW, my current favorite stain is made by ZAR.
I wanted to put all my color samples on a ring so I needed to drill holes. I thought I’d tape the bundle together and drill all the holes at once. I tried drilling near the end and half of the sticks split. So I tried a new location. Some of the sticks split again.
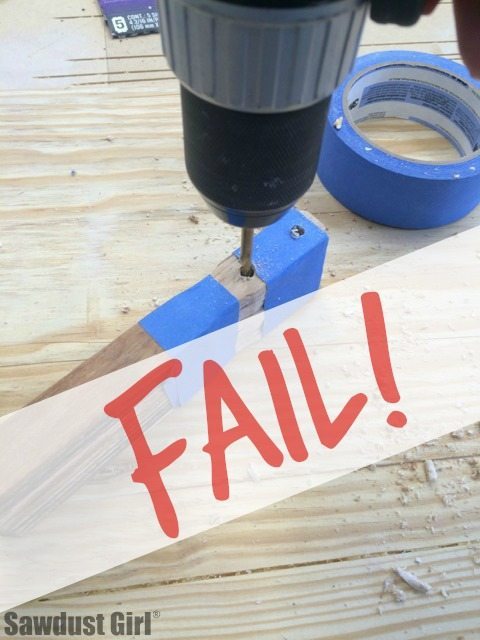
I cut off the evidence of my failed first attempt l after I transferred all the information to a new location.

Only to discover that the sticks were too thick to fit on the ring I had. I grabbed a roll of duct tape and wrapped the ends of my stain sticks with about 3″ of extra length of tape on the ends. I used a whole punch to make my third set of holes! This time in the tape. 🙂
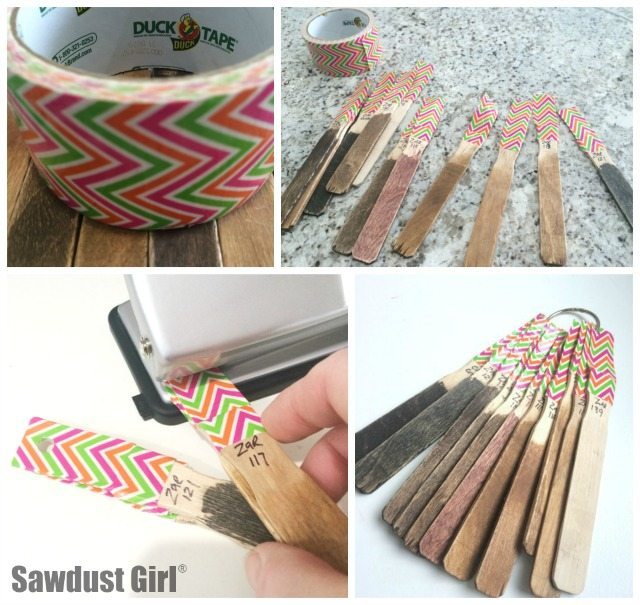
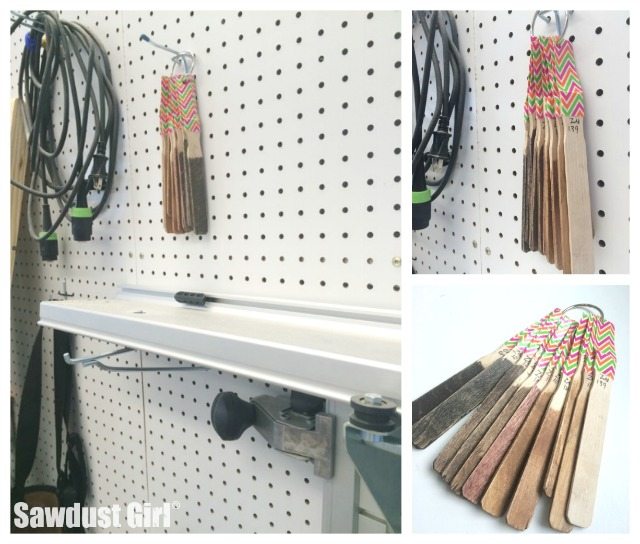
The extra length of tape allowed all the sticks to fit on one ring and plus — it’s just fun!
Now I have my stain color fan deck hanging handily in my shop, right next to shelf where I store my stain and paint…which I totally need to build an organizer for because it’s a mess!



I normally don’t think this far ahead so this is extremely useful tips to me. Thanks!
Brandon | Saws and Scraps
Oh I do like your ideas! This is a BRILLIANT keeper! 🙂 I immediately thought paint stir sticks so your experience with the splitting was a great heads up. The duct tape looks fancy pants! 🙂
Thanks Jaime. Now I just need to get a handle on those 100 cans of stain. LOL
Now I have to make one! So smart. There’s definitely something about seeing all the options in real life that’s so yummy plus it’s a fun addition to your peg board wall. Thanks for another great idea.