DIY Shelf-Pin Drilling Jig
While there are quite a few manufactured shelf pin drilling jigs, I pretty much always make a custom template out of inexpensive pegboard. This shelf drilling jig is free if you have a scrap of pegboard in your garage! Small jigs that have to be moved many times to span the length of the cabinet are notorious for giving you wobbly shelves because it’s difficult to make sure all four holes (two on each side) end up exactly level with each other when you’re using a jig that you have to move up, insert a pin into the last hole you just drilled, clamp, and then drill some more. It’s faster and easier to make a custom jig.
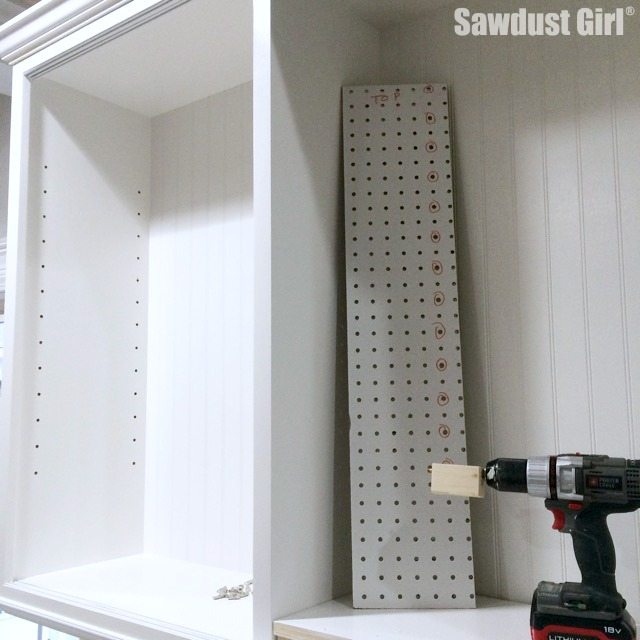
DIY Shelf Drilling Jig
You can cut your shelf drilling jig the same size as your cabinet sides, mark and drill all your shelf pin holes before you even assemble or drill them after assembly.
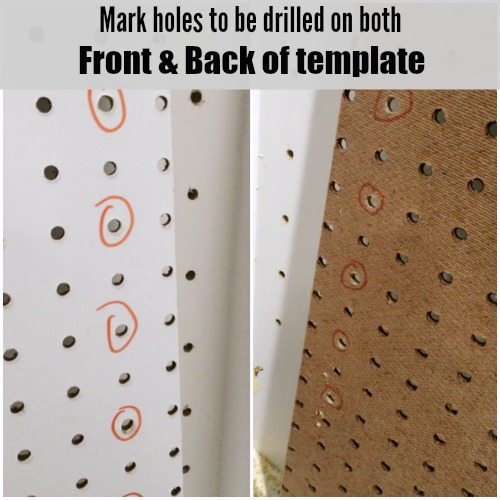
Either way MARK your shelf drilling jig with a permanent marker so you know exactly where to drill your holes and they all end up in exactly the same location.
- There is no need to drill holes all the way from top to bottom.
- Mark location of any FIXED shelves that will be permanently attached to cabinet sides.
- Start and stop holes 6-8″ from top and bottom of any fixed shelf and cabinet top and bottom.
- Shelf pin holes should be 1 1/2″ – 2 1/2″ from the outside edge of the cabinet sides.
- Shelf pin holes are usually spaced at 1 1/4″ intervals while pegboard holes are generally spaced 1″ apart. It’s a personal preference – but I generally skip every other hole.
- I always mark my template with a big, bold marker to ensure that I drill both cabinet sides exactly the same.
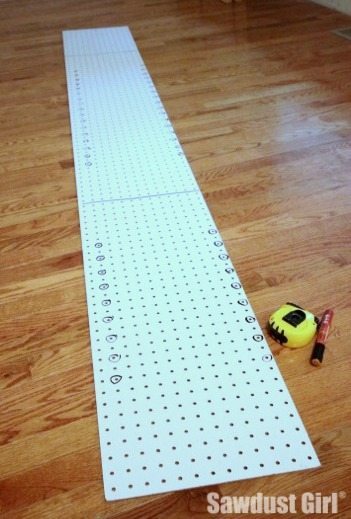
*Most importantly, write TOP at the top of your template! If pre-drilling before cabinet assembly, also write TOP on the top of your cabinet sides so you assemble your cabinet correctly.
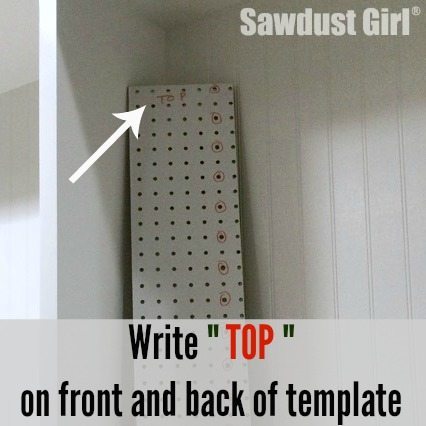
If you are drilling your shelf pin holes after cabinet assembly, your jig will have to fit inside the cabinet. It’s easiest to cut a piece that will span the full depth of your cabinet but if you have a scrap of pegboard that is tall enough and don’t want to purchase a whole new sheet you can make it work.
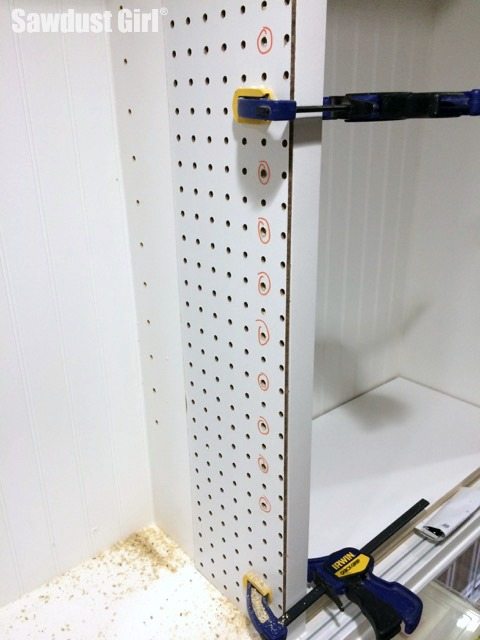
You’ll have to flip your half template to make sure the holes are exactly level from front to back so you’ll need to mark the Font and Back of this template. And make sure you mark TOP at the top of both sides. (Trust me, it’s easy to set a template down to answer the phone and pick up where you left off — only pick it up backwards and upside down!) Mark Your Template! 🙂
Now you’re ready to drill!
But wait, you need a depth stop on your drill bit so you drill your holes deep enough but not too deep.
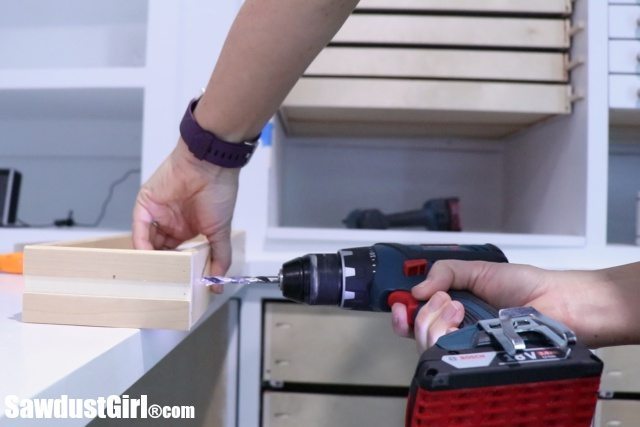
I make my own with a scrap of wood. It like this method because it also becomes a handle to hold while you drill and helps you keep your drill straight.
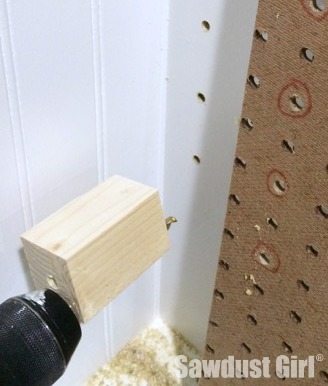
With this method I generally use 1/4″ shelf pins and 1/4″ drill bit. That keeps things easy. I buy shelf pins in bulk and keep tons of them on hand!
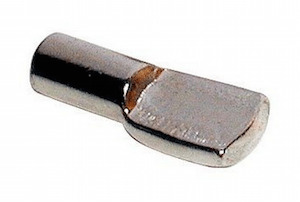
- To determine how much drill bit you need sticking out of your stop block, add the length of the shelf pin shaft (part that inserts into the cabinet) and the thickness of your pegboard template. (Its about 1/2″ combined but you want to check your specific situation.)
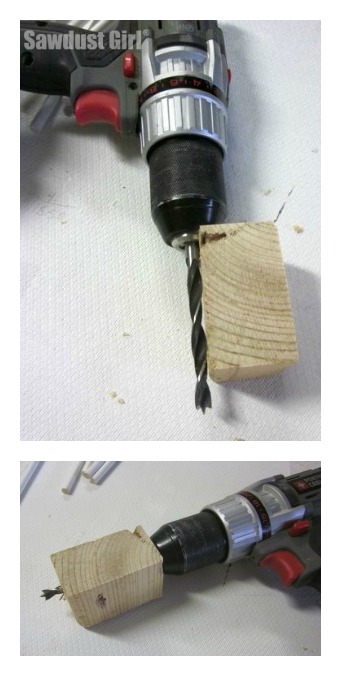
- Insert your drill bit into the drill.
- Put your wood block up next to the drill bit and mark where you need to cut it off to leave 1/2″ (or whatever you need) of the drill bit exposed.
- Cut your wood block to the correct length and then drill through the center.
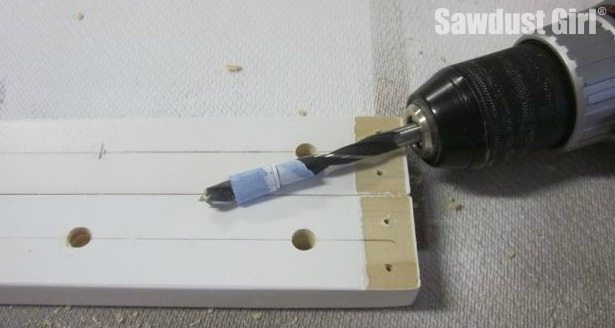
Or you can always use the old painters’ tape method to tell you when to stop drilling but it’s not very precise because the tape doesn’t stop the drill bit when you’ve achieved the depth you want. It just shows you when to stop drilling.
I prefer the scrap wood stop block and the scrap pegboard shelf pin jig over any of the “for purchase” items I’ve seen.
Cheap, easy and awesome is always my preferred method!

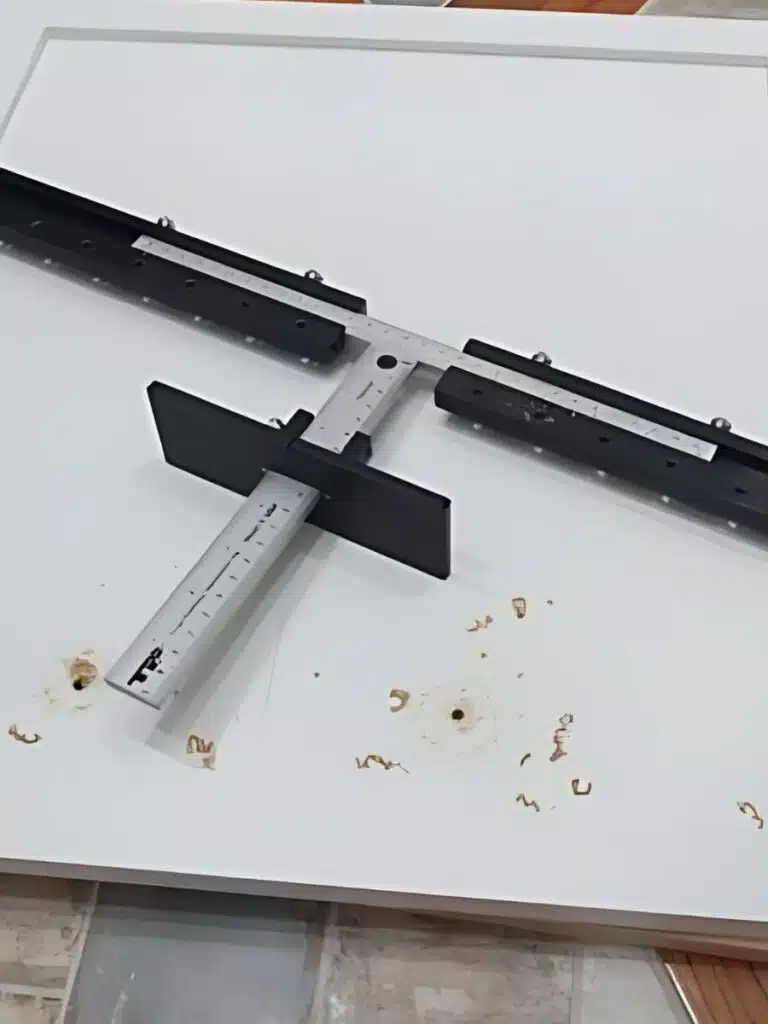
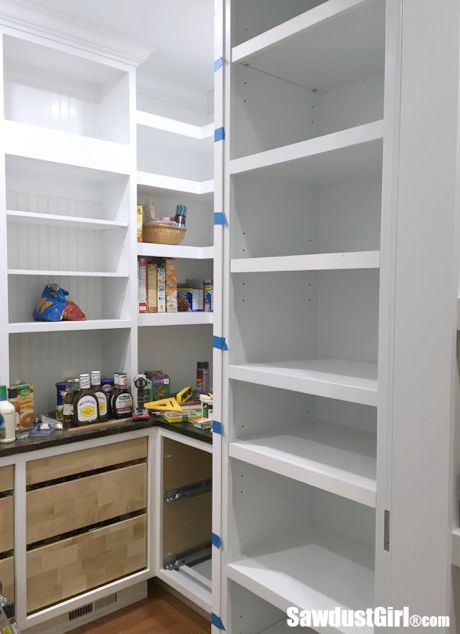
Yes, with use, the holes will become too large and you’ll have to get a new scrap of pegboard. It’s not a big issue if you’re creating a custom piece for each cabinet project.
Is there a risk that the drill will widen the hole in the leg board, or can be prevented?
I love the idea, and plan to adopt it for a large shelving project.
Thank youuuuuuu. You’ve just saved me a lot of time, money, and headache. Closet tower, here I come!
I’ve done it both ways. If you have a sharp drill bit you’ll hopefully get cuts. Sometimes the jig or clamps can mark up the painted surface.