Dog Shaped Storage Caddy – $5 Gifts
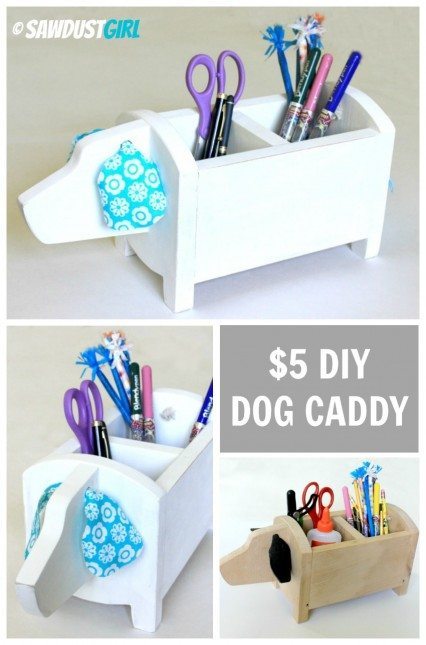
Hey guys! Madison and I working hard to finish up our built-in bookcase and I’ll share that as soon as it’s done. In the mean time, I’ve got a fun “Gift Idea” project to share with you! This super easy and adorable dog shaped storage caddy can be added to your $5 Gifts list. It takes about an hour to put together. It would be a fun, easy and inexpensive project to create with your kids and would be a great gift for friends and family. Add some pizzaz to your gift by filling it with crafting tools, office supplies or kitchen utensils.
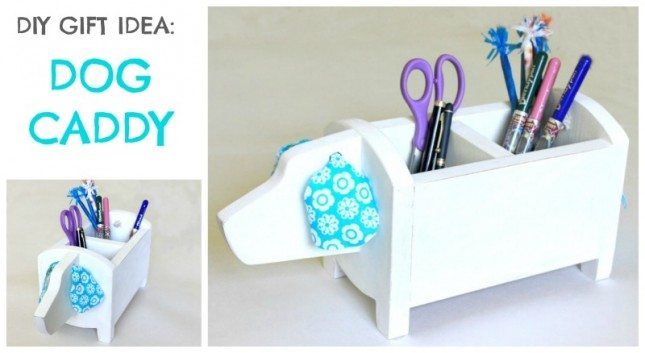
Fill it with pencils and it’s the perfect teacher’s gift, add some coffee or tools and make any dad happier than a pig in a pickle patch. Any mom, grandma, or the nice lady down the street who’s yard the dog likes to poop in, would be less likely to kill the dog thrilled to get this caddy filled with candy, flowers, garden seeds, craft supplies, …
Dog Shaped Storage Caddy:
Materials
- 1 x 6 inch x 4 feet lumber
- 4 x 8 inch piece of 1/4 inch plywood
- wood glue
- fabric or leather scraps
- rope
Step 1: Cut
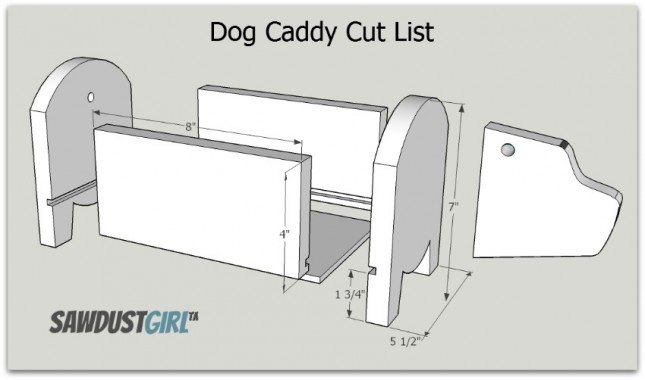
Use Dog Caddy Templates to cut out the head, front, and back pieces. You will also need 2 one inch pieces and one 1/4 inch plywood piece that are 4” x 8.” These will become the sides and the bottom. If you are going to use a dado for the bottom piece then cut the 1/4” plywood to 4 1/2” x 8 1/2” and place the bottom of the dado at your dado 1 3/4 inches. Drill holes for the ears and tail and sand.
Step 2: Assemble
Glue the head onto the front side piece then use pin nails or a screw to secure it. Next glue all of the sides together, sliding the bottom into the dado, or nailing the bottom on. Once the glue is dry do a final sanding to remove clamp marks and or rough spots. I like to hit all of the corner edges to round them over a bit. Next fill any gaps or holes that you don’t like.

Step 3: Finish
Stain, paint, wax, or decoupage to your desired finish. Using the stencil cut out the ears and tail pom. Once the caddy is dry roll one of the ears so that your can push it through the head piece. Then fluff and fix the ears as desired. 
For the tail I braided jut twine together threaded it through the hold and tied a knot. Then created a pom on the end by gluing the pom piece around and around the bottom of the rope.


I left the dado holes exposed for the caddy I left natural as you can see below, but filled them on the painted caddy.
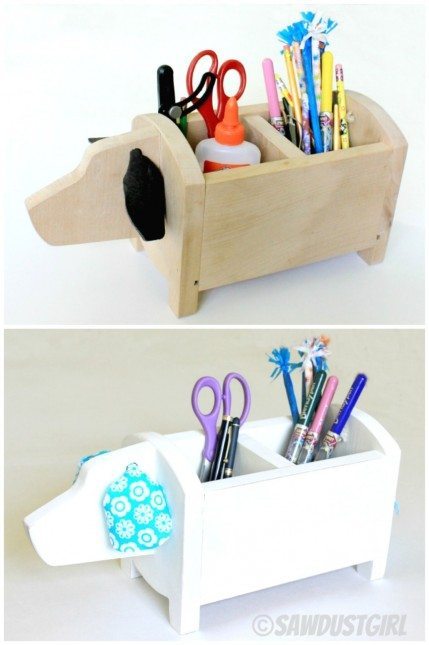
There is no right or wrong way to decorate these cute little guys—I can just picture a really long version Dachshund style for spices or crafts. It is a really easy project for kids to get creative with and an awesome way to use up scrap lumber, if you have a pile of it like me.
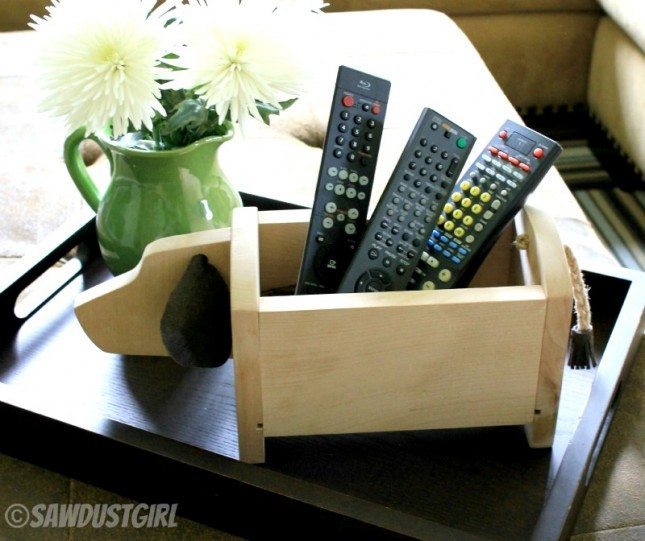
If you’re like us, this dog caddy would be a great place to store TV remotes–we can never find ours!
Whatever the end result, have fun making, building and creating. Especially when you’re doing it with someone you love!
$5 Gifts
Check out our other DIY Gifts tutorials!


I will build one of these for my husband who loves his dogs, asks for no gifts, has everything he needs and loves homemade gifts. Thank you so much for the idea. I will post the finished product when it is finished.
I have never in my life wished I had building skills and tools as badly as I do right now! Such a neat idea and this would be a perfect gift for someone I know. Maybe someday!
Kristy this would be the perfect project to build up those skills! 😉
Thanks, looks cool! I think I’m going to build one for my girlfriend…
Only thing, under step one, it looks like the words “these templates” are supposed to be a link to the templates, but it’s not a link.
Thanks for the heads up John. Fixed the link. The templates are there!
Sandra this is awesome. My kids are dying to get a dog but I just can’t do it – now thanks to you I’m going to make these caddies (minus the dado because I’m not that fancy!). Great idea.