DIY Coat Rack of Reclaimed Wood and Recycled Chain
DIY coat rack made form scrap wood and found rusty chain. It can be hung vertically or horizontally and is so gorgeous it serves as functional art.
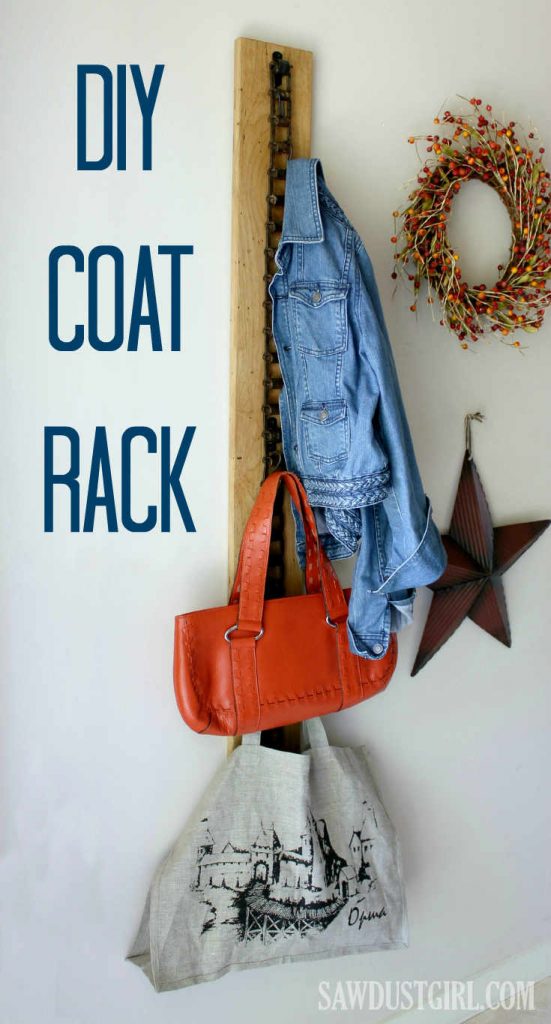
DIY Coat Rack Supply List:
- Scrap or Reclaimed Wood
- Old Chain
- Wood Screws
- Tube Straps or Conduit Hangers
- S-Hooks
- Clear matte or satin spray paint
I have a giant pile of scrap wood in my shop that I am trying to use up. For this project I used 5” reclaimed knotty alder. If you don’t have old rusty chain laying around your shop (I might be a bit unique on that front) you can usually find it at scrap yards and salvage shops. Bike chain is another great option, but you will need to find S-hooks that are small enough to fit into the sprocket grooves. Another option would be to buy new chain. Most hardware stores sell it by the foot, and it comes in a number of colors and sizes that could be really cool.

How to Make A DIY Coat Rack
Step 1
Prep your chain by sizing it 4-5 inches shorter than the length you want your finished piece to be. The chain link length will determine how precise you can cut the chain. Different types of chains can be shortened by removing pins, opening links, bending and sliding, etc. If you can’t get your chain apart, you can always resort to cutting it with a metal blade or grinder. Once your chain is the size you want, give it a thorough cleaning with a wire bristle brush. Make sure to bend and twist it as you are cleaning to get any loose dirt, rust, spiders, etc. out of the cracks and grooves. If your chain is greasy, wash it with a strong degreaser like TSP. After your chain is clean and dry, give it several coats of a clear spray paint—my favorite for use on rusted metal is Krylon Color Master Crystal Clear Satin. This will lock the rust and patina onto the chain and prevent any rust from rubbing off.

Step 2
Select and size your wood so that it is 4-5 inches longer than your chain. This will create room to attach the chain securely to the wood on both ends. Sand and apply the finish of your choice. I used brown Briwax to bring out the knots and imperfections in the wood. It allows the whole piece to continue to develop a patina over time. However, you could use paint, or any stain and sealer combo you wish. Keep in mind that the chain will rub against the wood with use, so make sure that the finish you choose will age well or can stand up to some abuse.
Step 3
Pipe straps come in a number of number of different sizes and materials including stainless, galvanized and copper. There are double or single hole configurations, so there should be a pipe strap that will work with most chains. You will need one pipe strap on both ends of the chain and another for every foot or so of chain. I used four, 1/2” galvanized steel pipe straps for my four foot chain. I dabbed flat black and orange spray paint onto my pipe straps with a stiff paint brush to create a faux rusted finish that matched my chain.

Step 4
Assemble your coat rack by laying your chain on the board and centering it both vertically and horizontally. Attach one end, and then pull the chain taught (it helps to have a second pair of hands for this part) and attach the next straps approximately 1 to 1 1/2 feet down the chain until you get to the other end. If desired dab a little black paint on the screw heads to allow them to blend in. If you will be hanging the chain horizontally expect some sag between the straps.
Step 5
To finish your coat rack all you need to do is add a way to hang it up. I like to router a keyhole hanger, but you can easily attach a hanger to the back if you prefer. If you plan to hang your coat rack horizontally add a hanger to both ends. Make sure that the hangers are sturdy enough to support the weight and abuse that your coat rack will sustain. Now just add some S-hooks and your coat rack is ready to use.
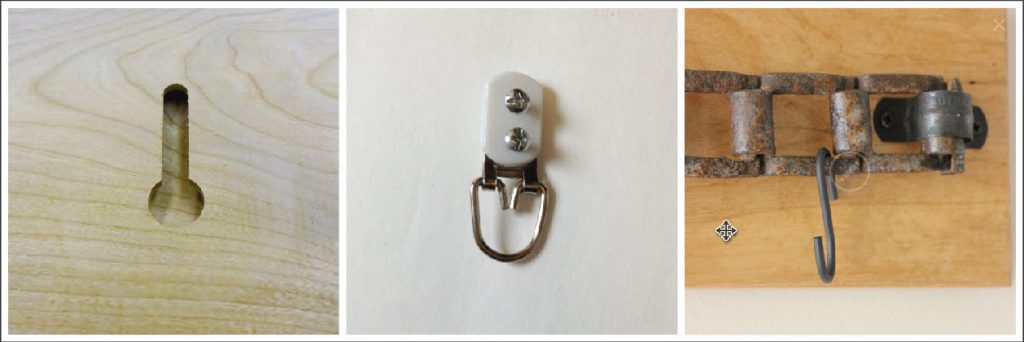
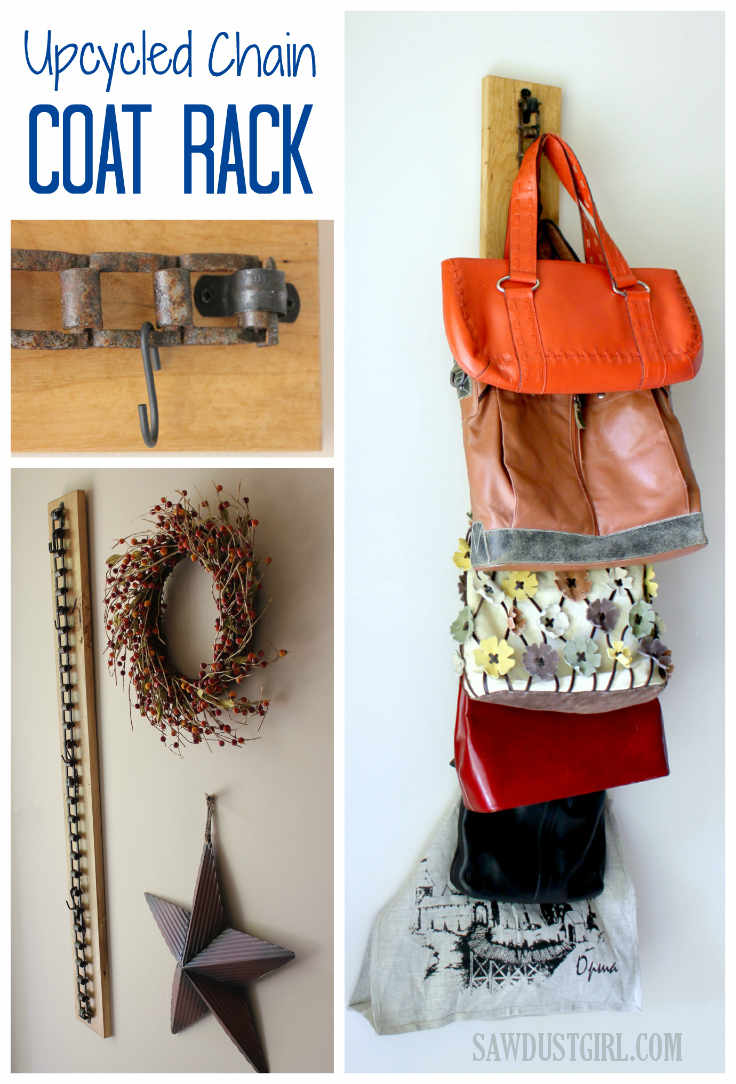
In addition to being awesome for hanging coats, this DIY coat rack can be utilized for organization and storage in a number of different situations. I am currently using it in my closet for purse storage, but it would be equally functional in a bathroom for towel storage or in a kitchen to hang pots and pans on, in a laundry room to hang laundry bags on. There are loads of possibilities!

Love the rustic look you’ve created! I work for the Handy squad and it’s amazing how a few simple tricks like jet washing a patio or wooden table can breathe new life into a furnishing.