I wanted some really large wood spheres as a decorative accent. I found some iron ones that were almost $200 each so I thought I’d try my hand at wood bending. It turned out to be quite easy and I got two large, 24″ wood spheres out of one $6 pine 1×3.
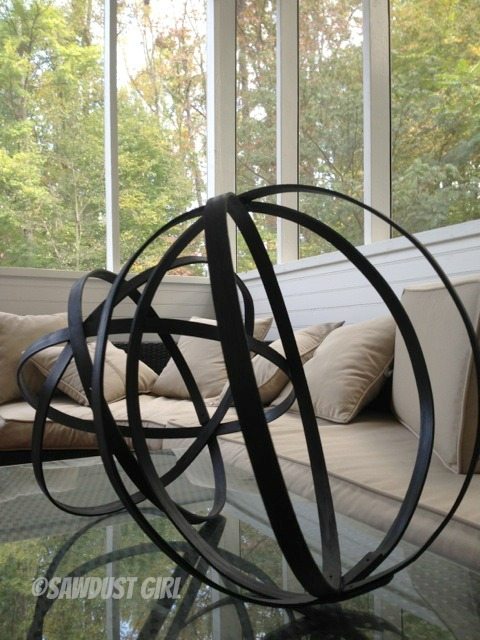
DIY Decorative Wood Spheres
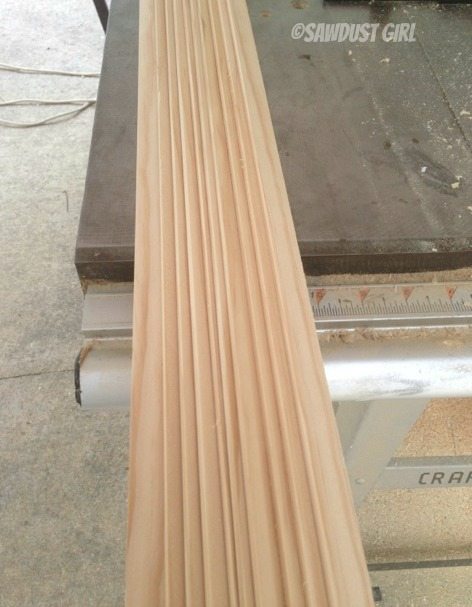
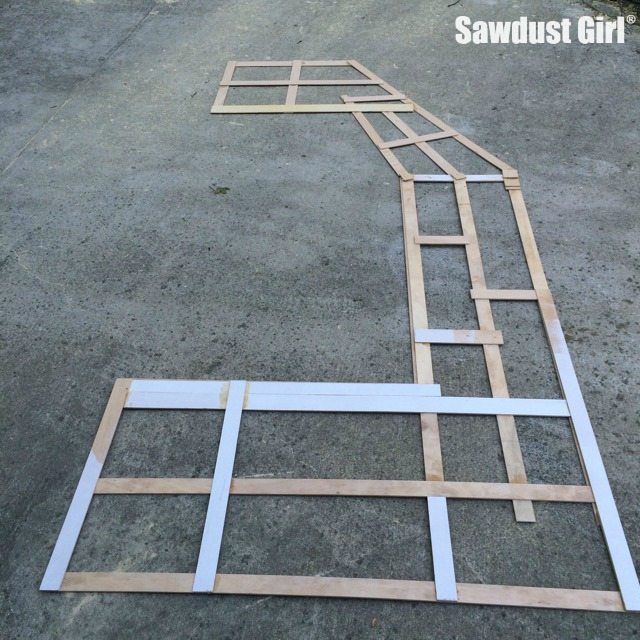
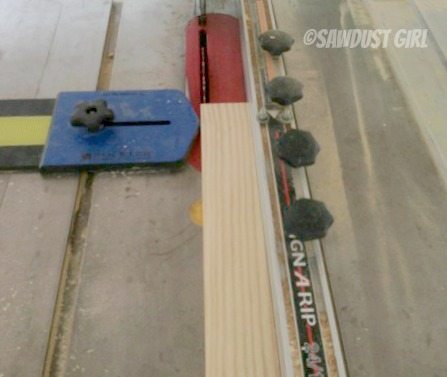
To make my own strips, I used a table saw, thin rip jig from Rockler and cut a bunch of thin strips of pine from a 1×3.
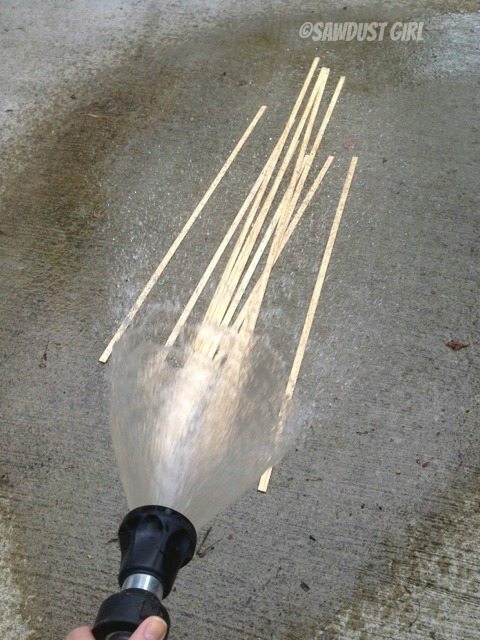
Wet the strips
I tossed the pile of strips on the driveway and sprayed them water; just enough to wet them throughly.
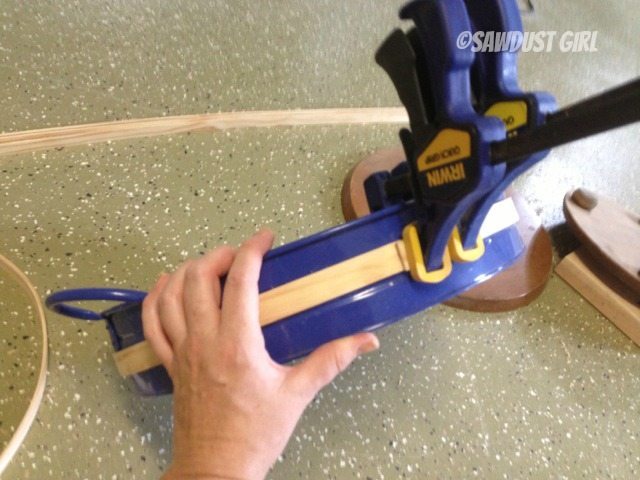
Shape to dry
Next I wrapped the strips around a circular object that was the right size…I had to search for just the right item. Luckily I had a serving tray that was just right. I clamped the ends to hold the strips in place while they dried.
Glue up
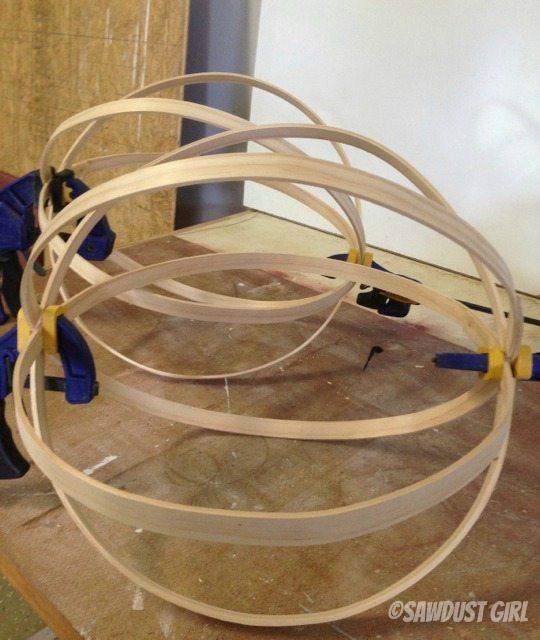
Once dry, I glued and clamped the wood strips into a circle and let the glue dry.
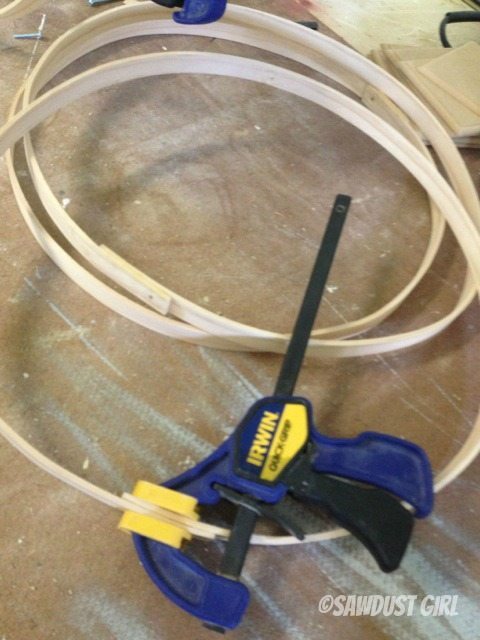
Then I glued the circles together creating a sphere.
Paint
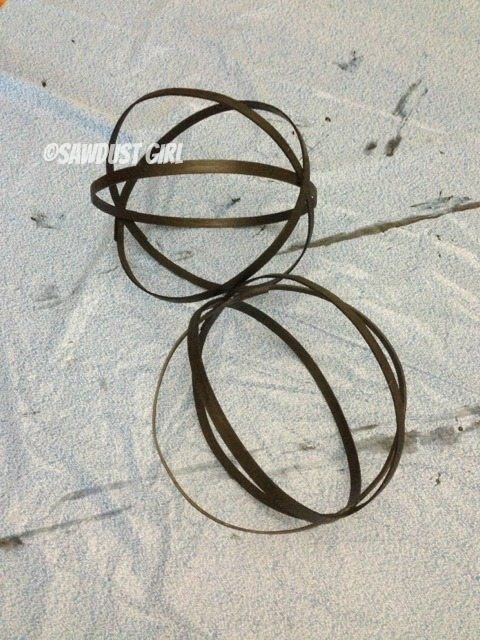
I painted my spheres with a brush…spray paint would probably be easier but I didn’t have any and I did have paint in a can…so that’s what I used!
Use and enjoy!
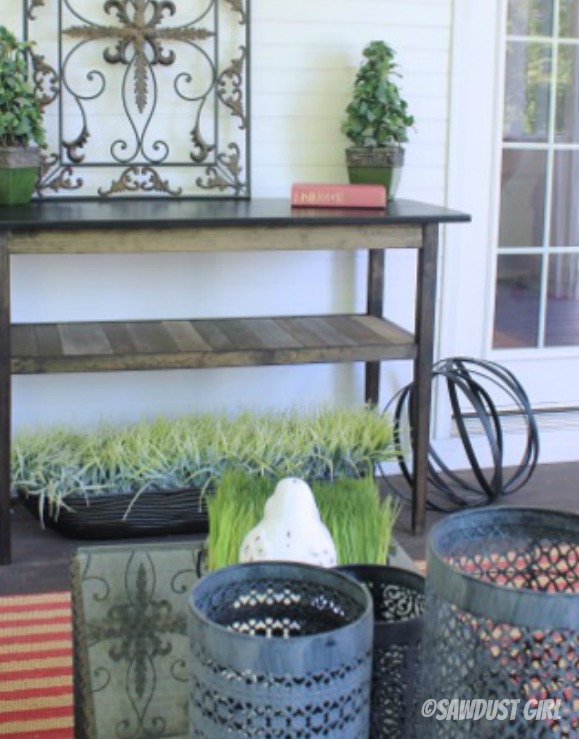
And if you want to make this console table, it’s easy and cheap too! Check out my other project tutorials and free woodworking plans.
Lindsay @ Makely says
Wow, Sandra! Those look amazing! And I’m glad to know about wood bending, too. I’ve always wondered how that was done.
Mable Burt says
This is such a brilliant idea. I have been looking for something like this for ages. Thank you so much for sharing.
Roeshel says
So cool, Sandra! I wondered how they were wood because of the shape! Thanks for the lesson! 🙂
melissa*320 sycamore says
I had no idea you could do this with wood! Love them, Sandra!
Katie @ Addicted 2 DIY says
I love this! I’ve been wanting to give this same idea a try for a while. I think this will be added to my list of upcoming projects. Thanks!
Lauren H says
Sandra, I love these! I planned to try this with some veneer tape but thought “too flimsy”. Will have to try your version once I get my table saw fixed…and a thin rip jig.
Thanks for sharing! Beautiful!
Kristian G says
These do look amazing, I really would like to try these myself! In your tutorial pictures, it looks like there is some type of fastener holding the loops together, is that necessary. Also what type of glue did you use to hold these lovelies together! Thank you – for your inspirations!
Sandra says
No there is no fastener, just glue. My go-to wood glue is Titebond. I drilled holes in the strips because I originally planned on holding the combined “hoops” together to create a sphere with a bolt but it made it too thick. So you can see the holes, which I wouldn’t do again (and why I didn’t say in the tutorial, Drill some holes you won’t end up using LOL). The wood is overlapped at the ends which you have to have in order to glue the ends together. If you just tried to glue the wood end to end it probably wouldn’t hold up because there wouldn’t be enough surface to give the joint strength.
Jackie says
Love how big these are! Thanks for sharing your tips on how to bend the wood into rings!
jamie says
Love the spheres! And you make them look so easy to make! That would have been awesome if we both made peace signs!
Carrie says
Looks awesome, Sandra! Make me some, haha!
Darlene says
What thickness are the strips you cut? I didn’t see it mentioned.
Sandra says
They’re somewhere between 1/8″ – 1/4″ thick.
Darlene says
Thanks! Got myself a Dewalt last night just like yours from Home Depot for 599.00 and a saw table came with it for free. Got the one with wheels so it can be moved around. Eeeeeeeeee!! Can’t wait to get it out of the box and play!!
Lisa says
I LOVE this!!! Thanks for sharing! It reminds me of a light fixture I like from Ballard Design and I mentioned to my husband that “someone” should be able to make the light… 🙂 You may be my new best friend if he figures that one out ~ LOL!!