Creating a Drawer Pull Template
 My pantry drawer fronts are all installed now! In order to install them, I had to drill all the holes for my hardware. To do that, I had to make a custom drawer pull template. I ordered cup hinge drawer pulls which are wider than average so the drawer pull template I have (and the ones commonly sold and readily available) didn’t work. Short of waiting around for a special order, I had to make my own.
Creating a Drawer Pull Template
I attempted first to make one out of 1/4″ mdf.
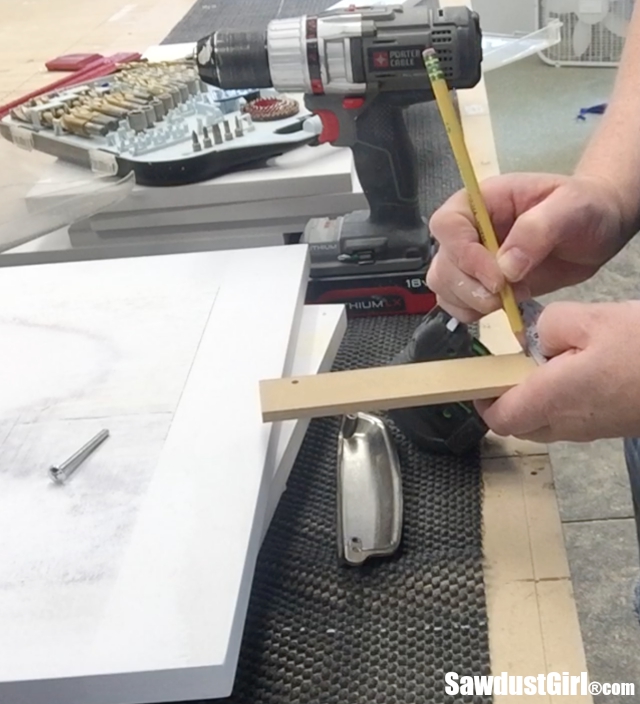
However, no matter how carefully I measured and marked, I could not get the screws in exactly the right place. I traced, and measured and eyeballed and drilled.
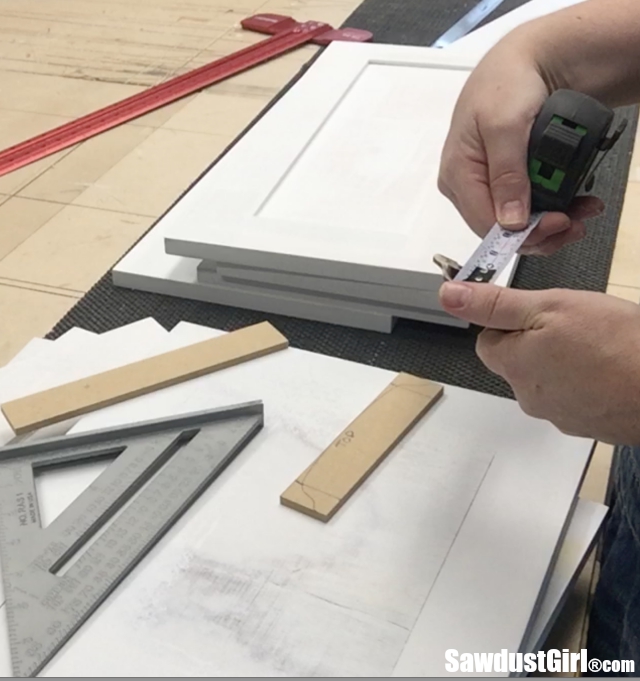
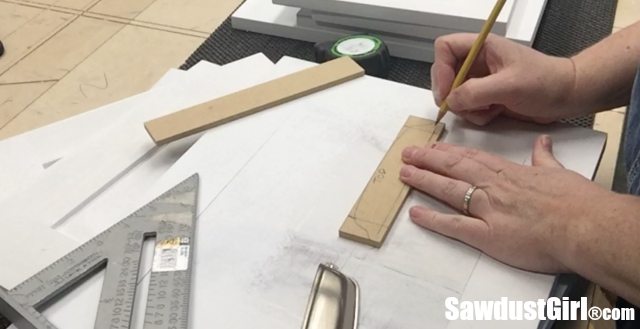
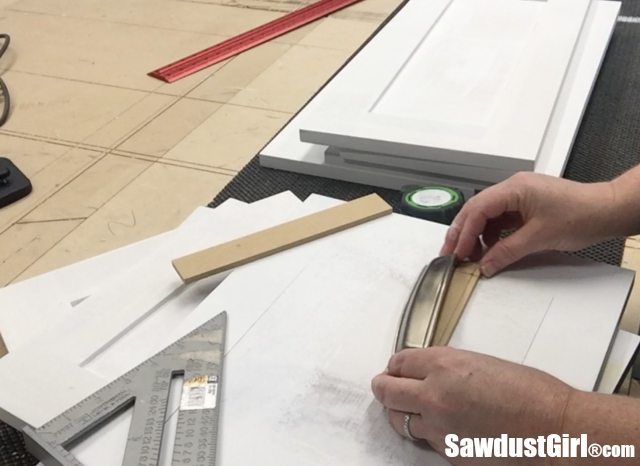
And still could not get the two screws to line up PERFECTLY so they would both screw into the pull through the template at the same time. They could take turns. But they wouldn’t share the template!
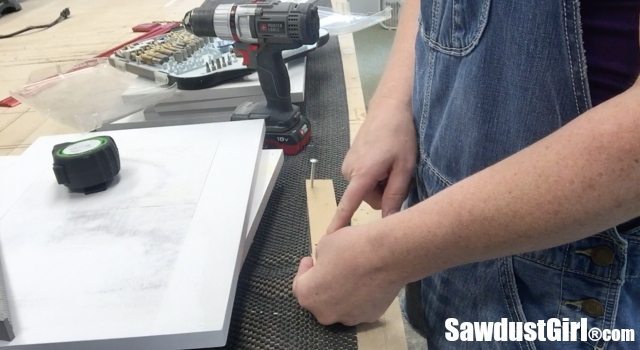
If only I could see THROUGH the template I could mark the exact location of the holes and they wouldn’t be able to “punk me” and jump around and change every time I turned my back.
I was about to run purchase a small piece of plexiglass when I remembered that I saved the scrap from my Dust Collection Modification experiment (7 long days last summer). Sometimes my inability to throw ANYTHING away is a good thing!
How to make a Drawer Pull Template
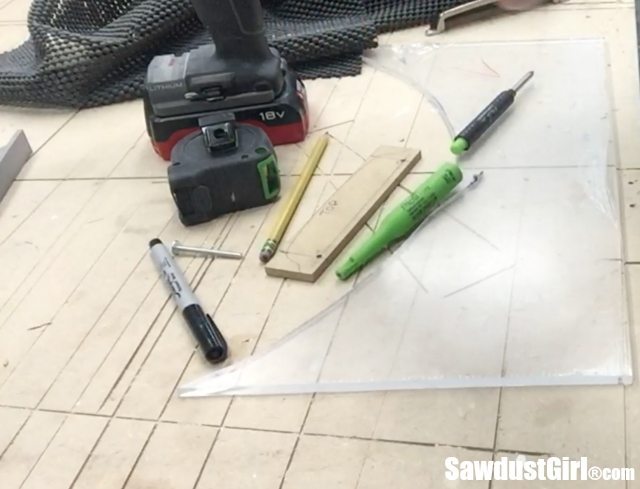 I was originally thinking I’d secure the plexiglass to a rail that would sit on top of the drawer but decided that wouldn’t work because I’m installing the drawer pulls inside the recessed panel so I just cut a square-ish piece of plexiglass that I would use kind of freehand.
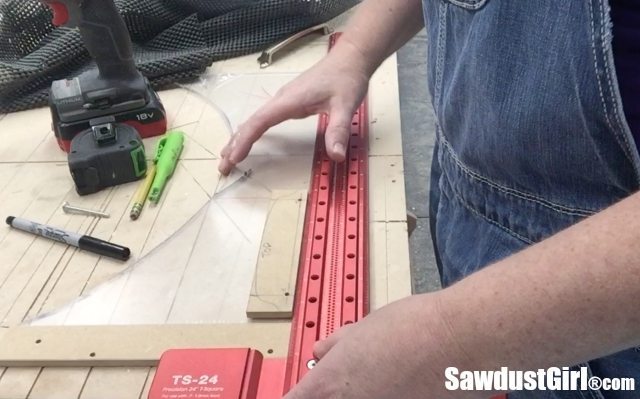
The holes in the pull are 1/2″ lower than the center of the pull. So I need to drill my holes 1/2″ lower on the drawers than where I want the center of the pull to end up.
Making sure I had the correct width, I marked a hole location every 1/2″.

Then I went to my drill press and drilled all the holes.
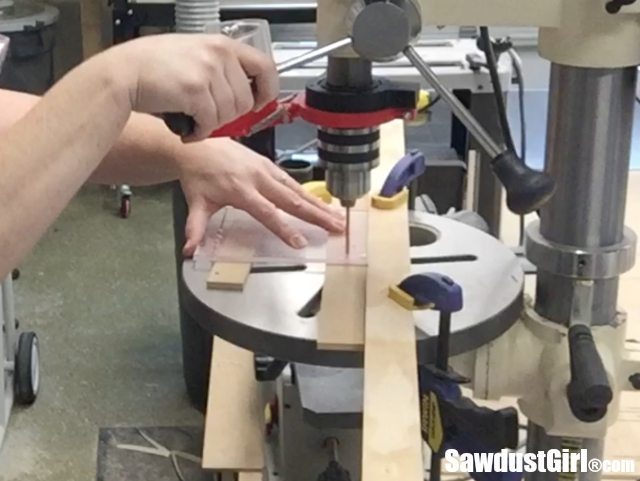
AND son of a gun if I didn’t get the better of those holes in the end!
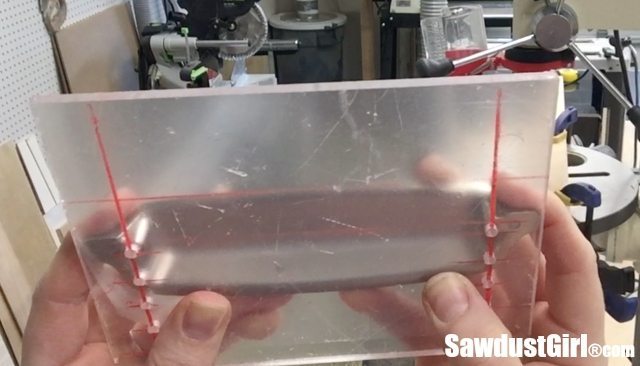
Once I drilled all the holes, I moved on to prep and painting the cabinet doors.
Cool…..I’m not sure if it would have worked for your application….and I was going on the cheap. LOL I used a piece of cardstock folded over so it rested on the drawer top. I marked the center of the template, it would slide from side to side so I could measure it with a yardstick to get it centered. Taped it in place. On the front I had the holes cut out where I needed them to be and just drilled each drawer. Clear as mud right? Yours is so much more sophisticated ;0)
You are so talented and determined! To do all the things you do and on top of that, photograph and post them. Thanks for all of the detailed information on cabinet construction and on your process of working through the various challenges. You have me seriously considering building the kitchen cabinets for the farm house I have been remodeling. I’ve built some cabinets before but usually just one or two at a time – vanities and laundry room overheads. But what the heck. Sometimes it is easier than having things built and ending up with a result I wasn’t expecting or having to redo things after paying someone else. Thanks for all of your inspiration – I think. 🙂 🙂
so I have just one question….who takes the pictures of you working??? 🙂
cindy
I do! I set up my phone on video record, get a good angle, check it constantly and then take screen shots of the frames I want. Or, I take a picture with one hand. It’s tricky. LOL