Creaky Pocket Door Fix’n – Kitchen Entry Makeover Day 5
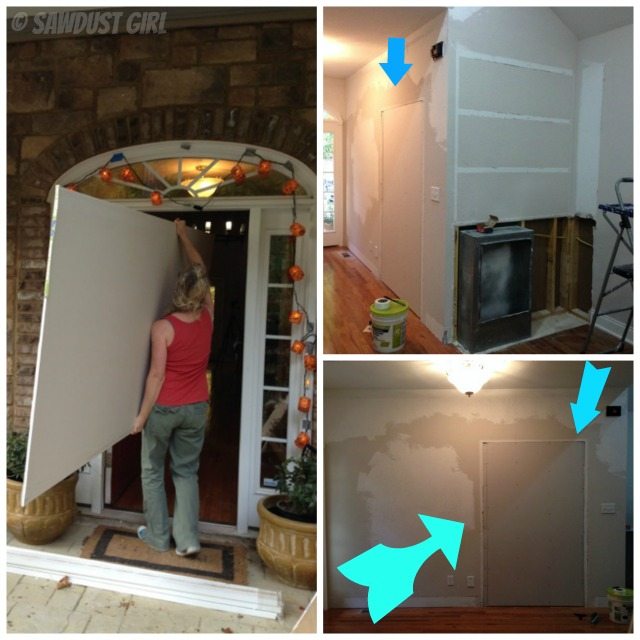
Since I’m now working in this Entry Hallway, I’m resigned to complete all the little and not so little things that need to be done in this space. One, I need to close up the “office” and finish sheetrocking that wall. But before I do that I HAVE to deal with the creaky pocket door frame. It’s been driving – me – nuts! Every time I walk down the hall (near the pocket door frame) it creaks. I can not sheetrock, mud, paint and trim up that wall before I fix the creaking.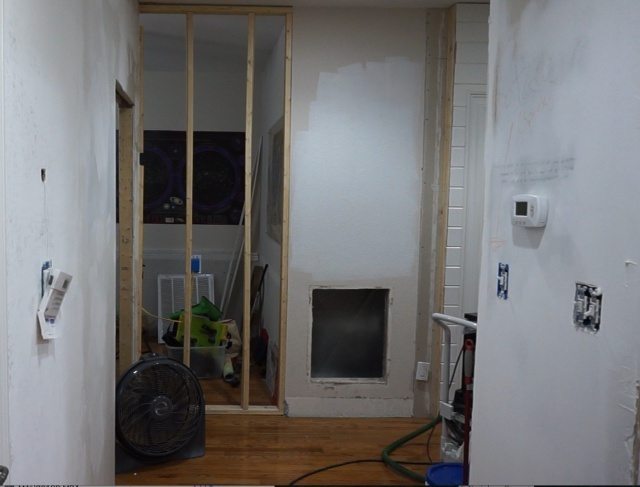
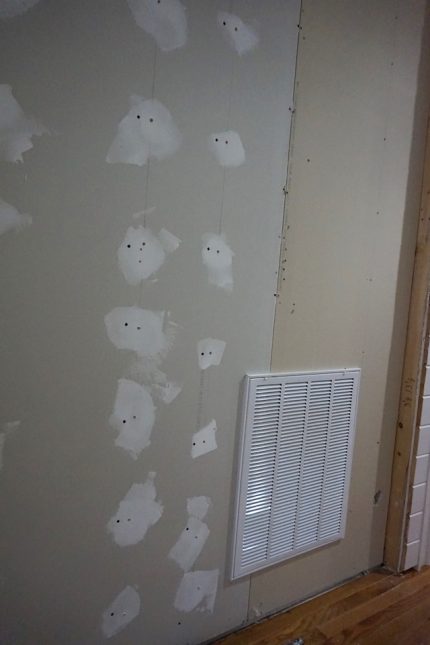
I had already skim coated the outside wall but the inside drywall screws were still exposed so I easily removed that drywall.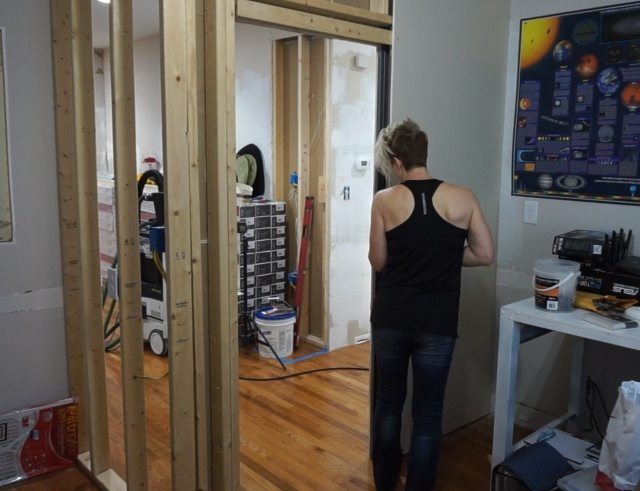
I was able to determine that the creaky sound was coming from the metal studs. Fix’n the creak required guesswork and trial and error. I tried securing the screws that go through the bracket and into the floor –harder, looser, shimming underneath, removing different combinations of the screws holding it…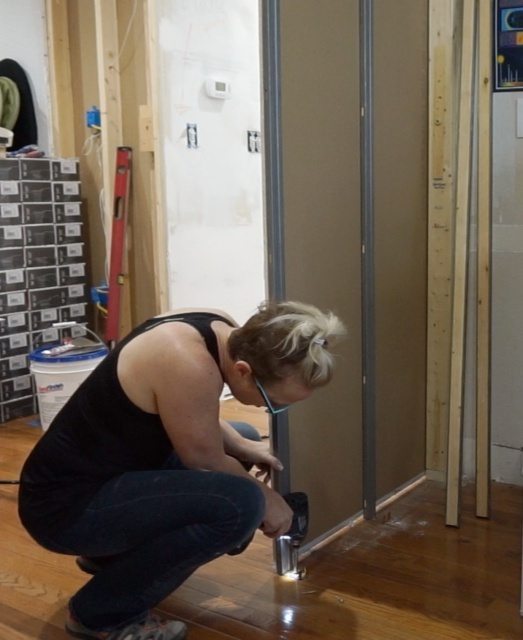
Lots of fiddle factor. I’d try one “fix” and then walk around the door frame to see if the creaking still creaked or if it was fixed. Then I’d try another fix and walk around again. 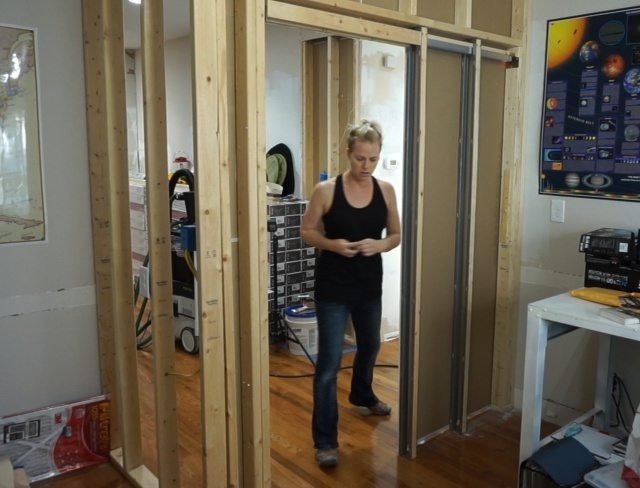
After several hours of this, I finally figured out WHY it was squeaking, which helped me figure out how to fix it. Our floors on this main level are really bouncy. You can feel the little dogs walking around on the other side of the house! SOOoo I determined that when I stand on the floor right next to the pocket door frame WHILE installing it, my weight causes the floor to — sag a bit. The metal studs are secured to the header but sit on the metal brackets that are attached to the floor. The brackets have fingers that slide into pockets on the studs.
When I walk away after securing the studs, the floor retracts back up and the metal studs are pinched. !!! This house! So I pulled the studs up slightly off the floor when securing them to the header and that did the trick!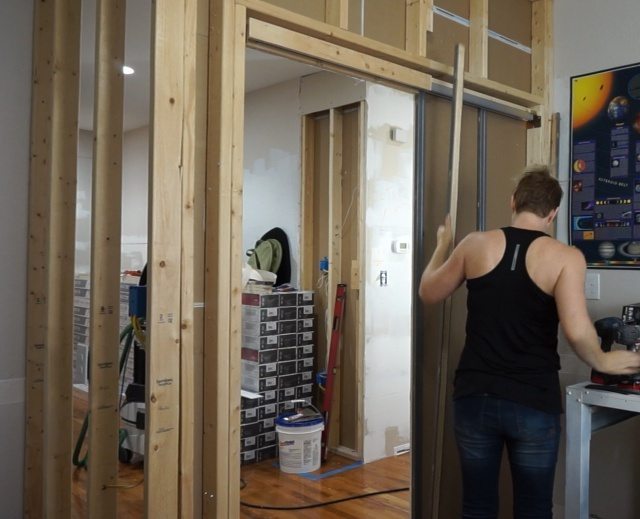
I put the drywall back up on the inside of the “office” and now I can finally drywall the rest of the hallway! (Hopefully, my solution continues to work –forever.)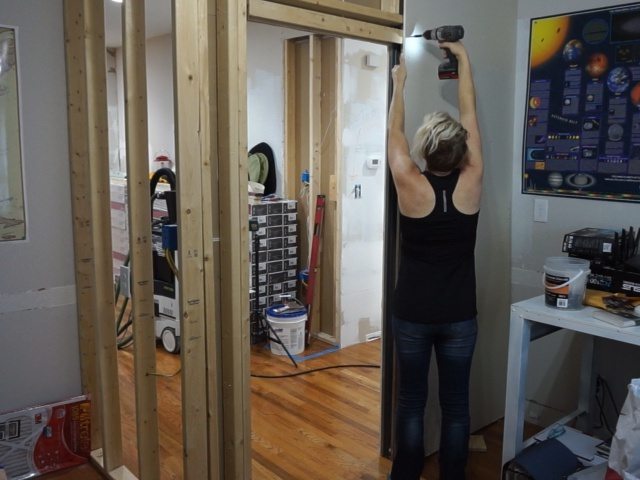
The new portion of the wall (that I framed) is flush with the old wall so I can just cover the whole wall with new sheetrock so I don’t have to deal with old heavily textured, existing wall.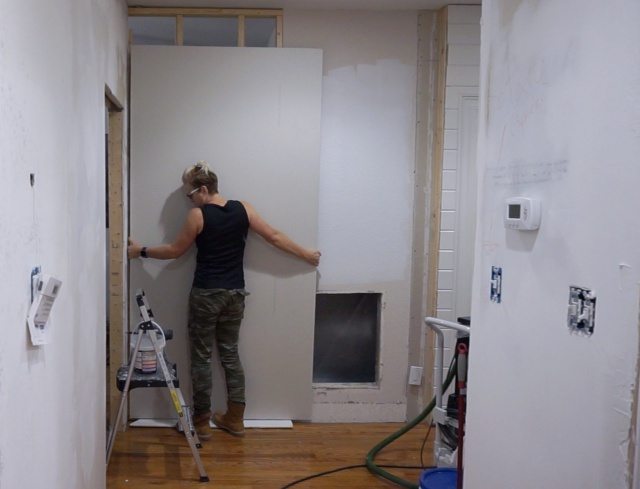
I’m kind of working in circles in this hallway. Doing one thing while paint or mud dries in another. I get all the drywall up in this area and start the mudding process (which takes several coats).
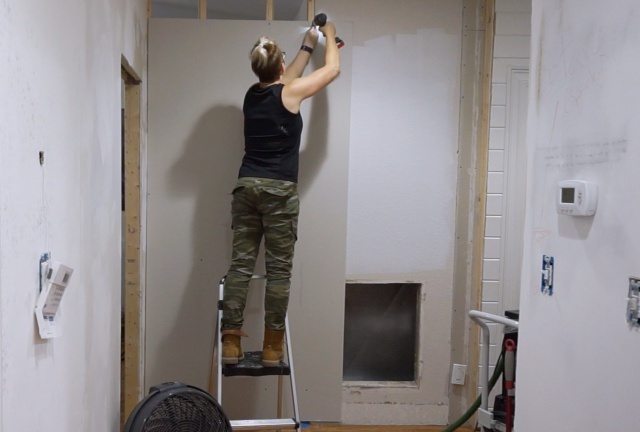
I am NOT a professional drywall installer. LOL I do take a moment to celebrate closing up this wall finally. Try and poop in this room now, Bella!
Next up…Day 6
Start at the beginning: Day 1
Hi!
Fixed mine. Finished walls? No problem!
Remove molding. Expose the metal studs, cut 1×3 inch hole in base of drywall by the studs. Use stud finder here. Get piercing sheet metal screws 8 – 3/4 and a drill bit for pilot holes. Drill pilot hole in either side of the base of the stud making sure to drill through the floor bracket that is inside the stud. Drive the screws into the pilot hole securing the stud to the floor bracket.
No more creak!
Worked great on two doors that were making me crazy!
Sandra we have a pocket door that creaks when we walk around in our bedroom like yours. You don’t even need to walk close to the wall for it to creak. The wall is finished so we don’t have the option of unscrewing the drywall. Any suggestions?
I really don’t. I eventually got some creak back in THAT door/wall. I think with some structures, with expansion and flexing…it’s just impossible to achieve perfection.
Although, I’m sure others may have ideas.
Hi Sandra. My pocket door walls squeaked for many years (my house is now 20 years old). I fixed it several years ago and had forgotten how maddening it was. I think you are on the right track with the fingers on the U floor hardware sticking up into the steel-wrapped studs. My solution was to put some oil on that connection where steel meets steel so any movement wasn’t audible.
Thank you for the suggestion, Bob. I think I’m going to take the drywall back off inside the office (where it hasn’t been mudded yet) and add some oil. I won’t be able to do it after I mud so might as well do it now and hope it lasts! 🙂