Building Garage Shelves – Cantilevered Shelf Brackets
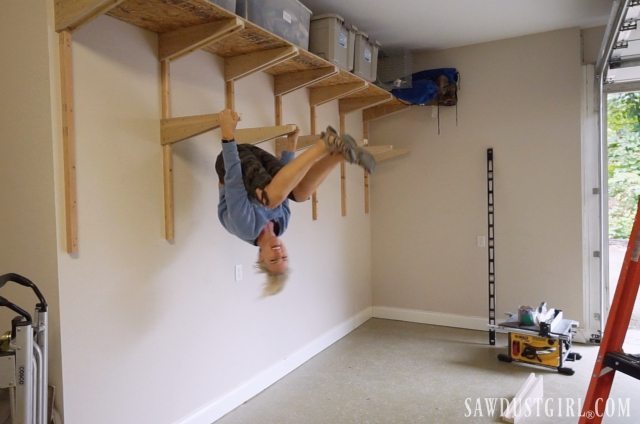
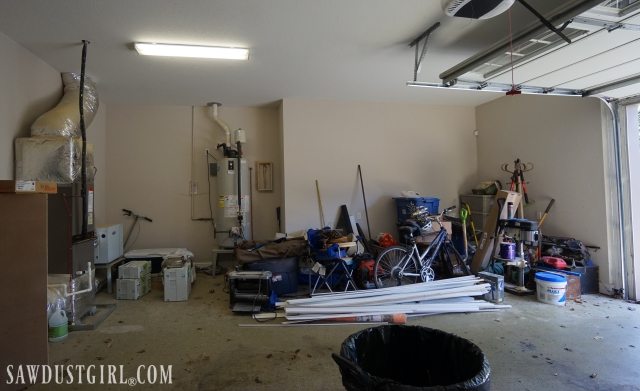
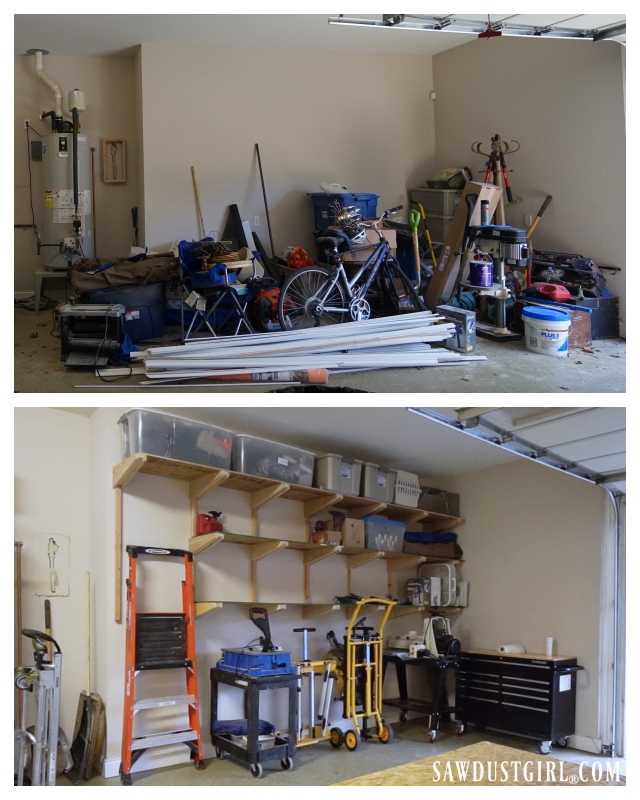
There is a ton of extra room on the side of this garage that has been accumulating piles of crap since we moved into this house. To better utilize the space and organize the crap so things can be found when needed, I decided to spend a few days building garage shelves.
Supplies needed for Shelf Brackets
These shelf brackets are really strong because of the cantilever design. I used all scraps and supplies that I had on hand.
- 2×2 wall cleat (length will depend on how many shelves you want and the spacing you want in between them. Mine are about 36″ long.)
- 3/4″ plywood (8×22)
- 2×6 (about 26″ long)
Cutting angled matching sides
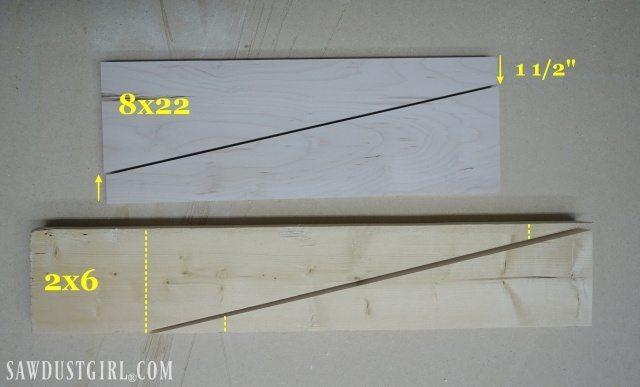
Each 2×6 board and 3×4″ plywood board will be into two equal, angled sections (as shown in the photo below).
Plywood:
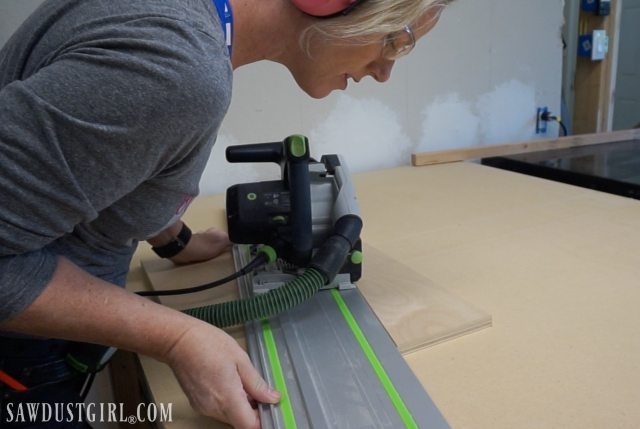
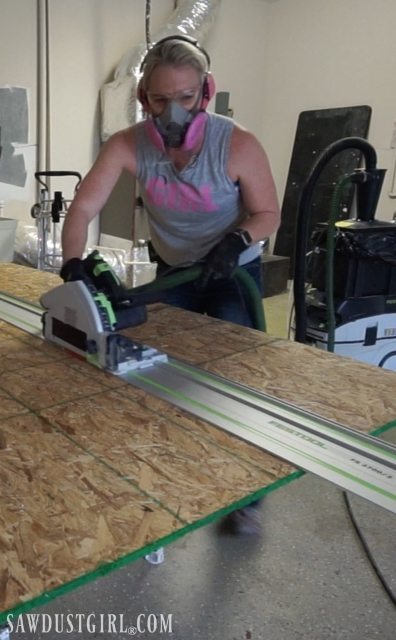
To make two sides out of the one 8×22″ piece of plywood, measure 1 1/2″ up from the bottom right, and 1 1/2″ down from the top left. Then use a saw (I used my track saw) to cut along that diagonal line.
Now cut your 2×6
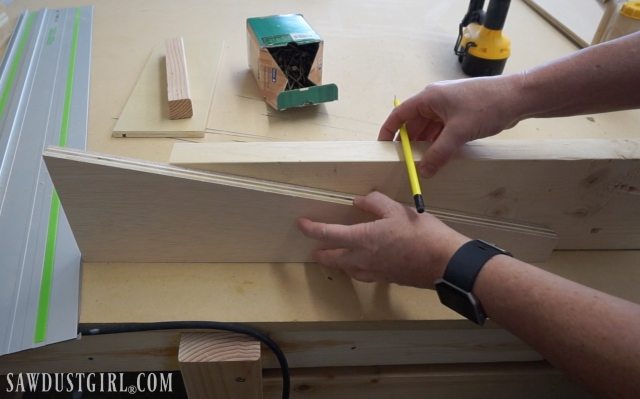
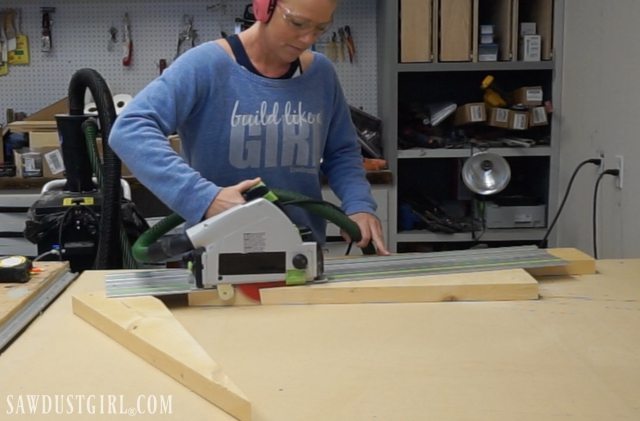
Use one of the plywood pieces to traced the diagonal line onto a 2×6 and then cut it.
Building Cantilevered Shelf Brackets
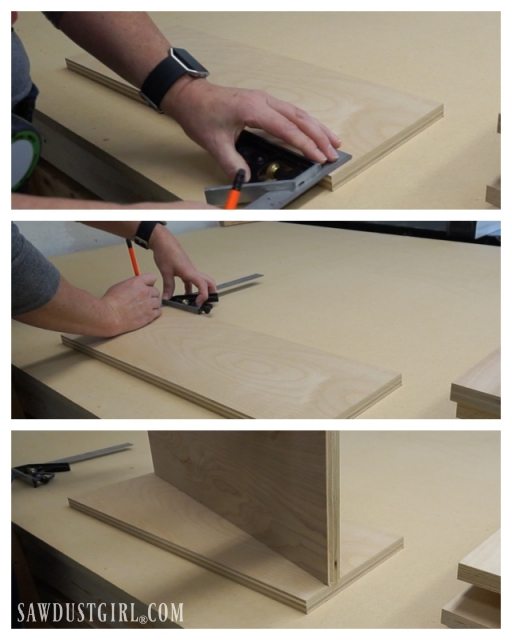
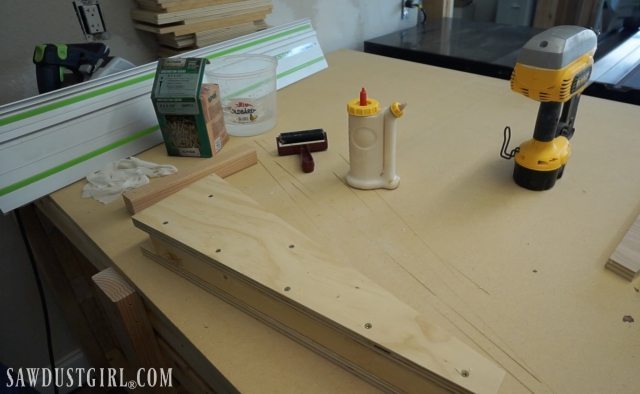
To put the brackets together, I used scrap wood and a small scrap of 2×2 as backer to keep the sides even and move the center forward exactly 1 1/2″.
- The top of the shelf is flat and all three pieces are even on the top. (The brackets are upside down while being built.)
- generously spread glue on sides of plywood and press them against the 2×6
- nail everything together so things stay put and then let the glue set.
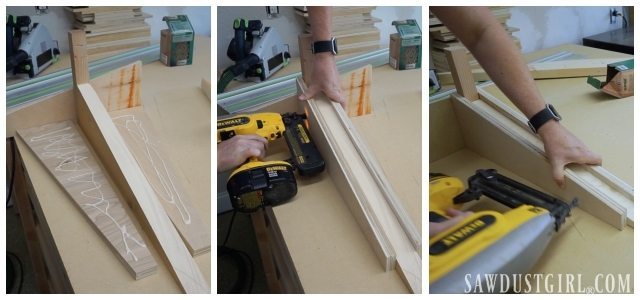
Using plenty of 16 or 18 gauge nails would probably be sufficient but I like to add clamps or screws to make sure the surfaces are contacting really well while the glue sets. I didn’t have enough clamps to hold 19 brackets together so I used plenty of 2 1/2″ screws.
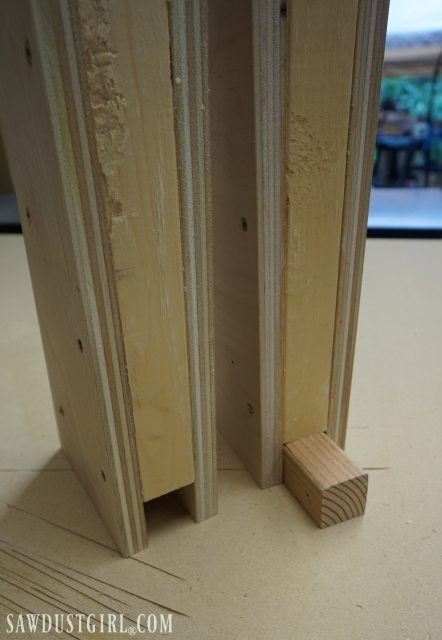
Here is an up-close look at how the bracket will attach to the the wall cleat.
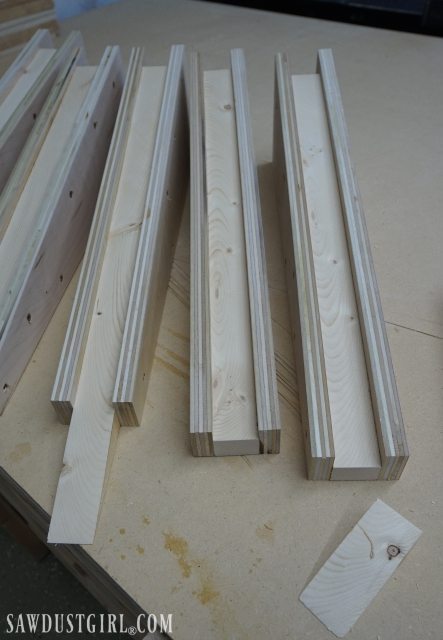
Use a miter saw to trim off any pointy ends on the 2×6, after the brackets are built.
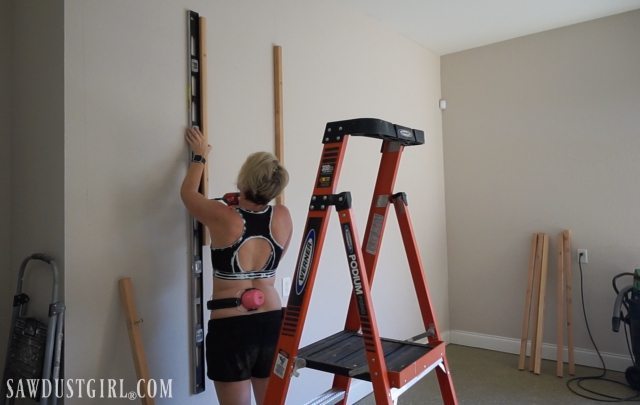
Attaching 2×2 cleats to the wall
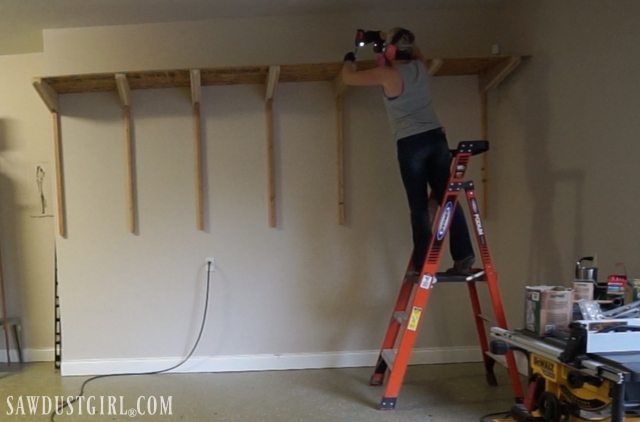
I secured my 2×2 cleats to the studs with lag screws. The stud spacing in my basement is 24″ and I attached a wall cleat to each of those studs. With my 10′ tall basement ceilings, I have plenty of height for three rows of shelves. I installed the cleats 24″ down from the ceiling.
Installing shelf brackets
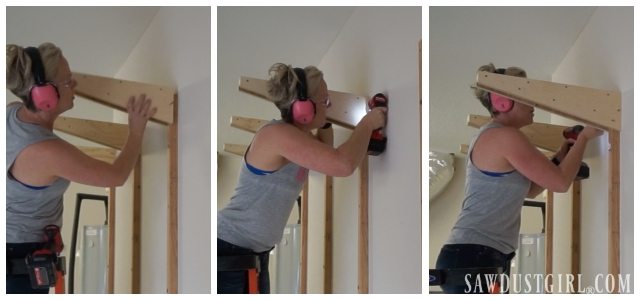
Press the brackets over the wall cleat so they are snug to the wall, then secure them to the cleat. Drive 3″ lag screws through both sides of the plywood sides of the bracket into the 2×2 wall cleat. I used 2-3 screws on both sides.
Adding shelving to the tops of brackets
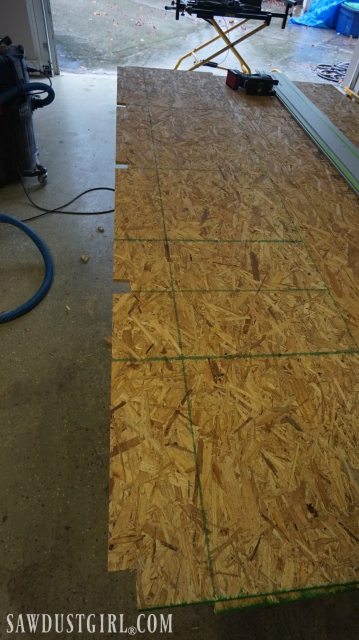
I had 3 sheets of OSB taking up space in the garage so I used that, though I would prefer plywood. This wall is 12′ long so I had to have a seam in the shelve. This isn’t a problem, if you make sure the seam is on a bracket. The length of each shelf piece will be determined by spacing of your wall cleats. I made my shelves the same depth as my brackets.
I secured the shelves to the brackets with 1 1/2″ screws, adding shelving top to each row of brackets as I moved down the wall.
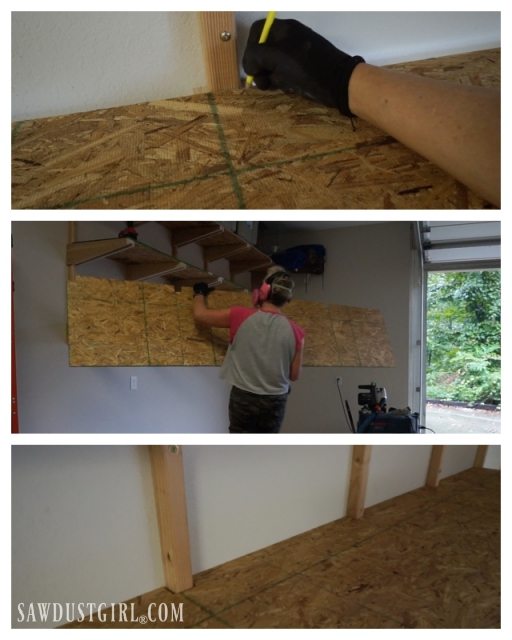
The top shelf was flush against the wall but each subsequent row had to be notched out around the wall cleats.
I installed the brackets and then placed my shelving material in place to mark the location of the cleats, used a jigsaw to cut out the notches and then installed the shelf.
You can configure your shelving to best meet your needs. I left room for my ladders and theres still room on the floor for tool carts, bikes and a lot of other stuff.
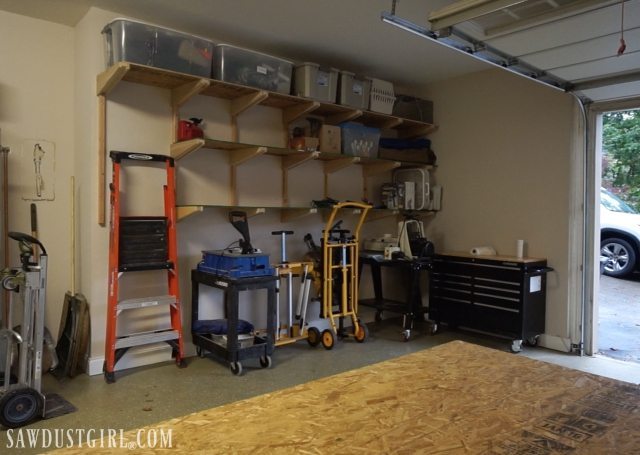
It took me two days to build these garage shelves and wish I would have done it 6 years ago.


No I didn’t glue them to the vertical support. Just using lag bolts (or lag screws) will allow you to relocate the brackets in the future.
Hi. I’m just making this project at the moment and wondered if you glued the brackets to the vertical boards or just screwed them. I was thinking of bolting them right through in case I ever want to change the shelf height / spacing but this mightn’t be as secure as gluing the entire surface if that’s what you did? Thanks for the write up and video!
Would using 2×4 studs and 1/4 ” osb in the construction of the cantilever still provide enough support?
I like these shelves a lot. What are the actual dimensions of the cleat? Did you just rip a 2×4? Or are they 1.5″ x 1.5″? Thanks, Andy
It’s been a while but I believe I used 6″ lag screws.