Building Entry Cabinet – Kitchen Entry Makeover Day 2
I’m determined to re-use what materials I can from my Entry Bench demo. The top and bottom were big enough to use for new entry cabinet. One side of one of the pieces was pretty hairy but I’ll just use that as the bottom (0f the bottom).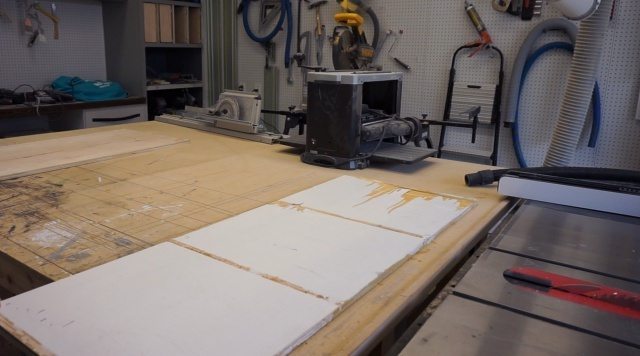
The underside of both pieces were pretty clean. Definitely clean enough to use again.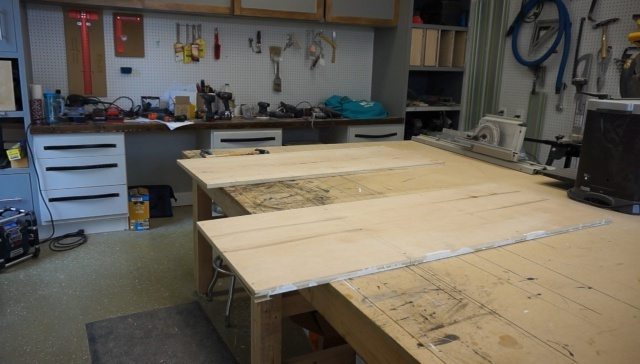
I just had to cut new sides and dividers.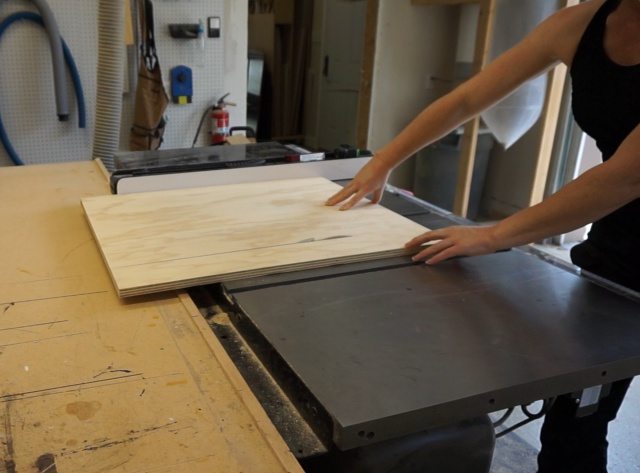
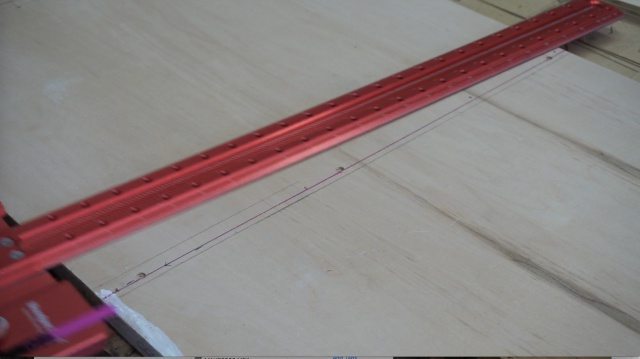
I’m changing the location of the center dividers slightly since I’ll be adding drawers to the center. Since my wood already had pencil marks from the last time I used it — I’m using a pink chalk pencil to mark the new location where I want to line up my divider. (WoodPecker 24” T Square)
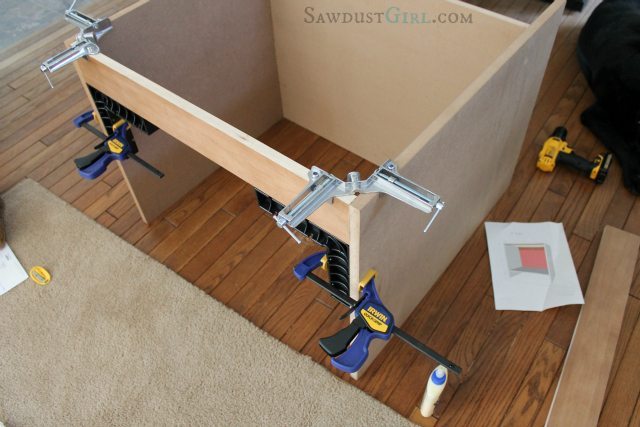
Using both my Rockler and Bessey corner clamps, I attach the dividers and sides to the bottom.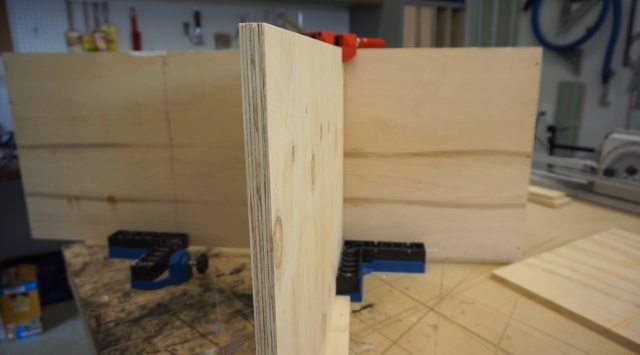
Secure both center dividers, then the sides.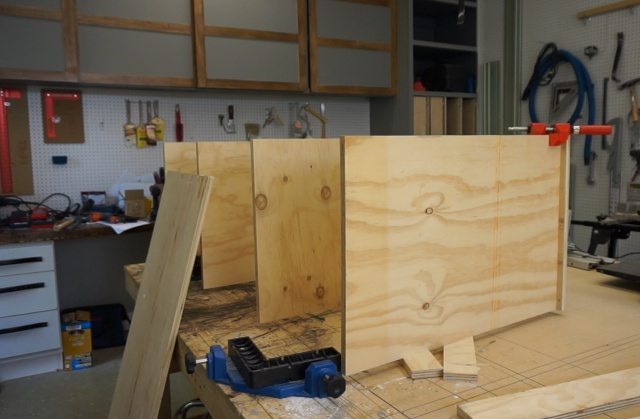 The sides are recessed 3/4″ from the outside edge of the top and bottom. I will attach a piece of scrap wood on the outside edge eventually but am just holding it in place while I tighten my clamps. It would have made it easier if I’d gone ahead and secured the pieces together before clamping. (Sometimes I don’t realize things until I’m watching video footage or looking at photos –after I’m done.)
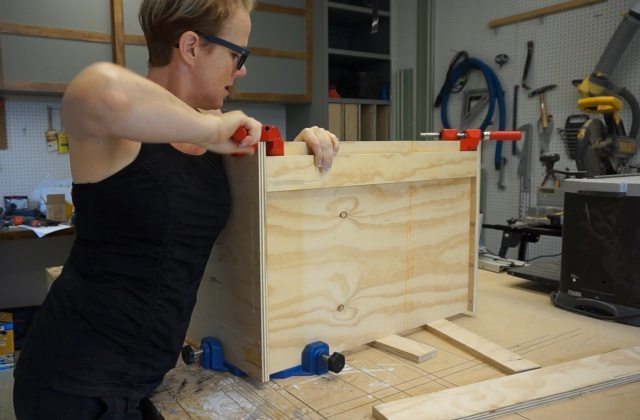
I was having a difficult time getting the parts lined up while securing the top with the cabinet laying on it’s side so I flipped it up. Since its so heavy, I didn’t want to lift it down off my table and then heft it back up. So I just climbed up on my table to finish screwing it together.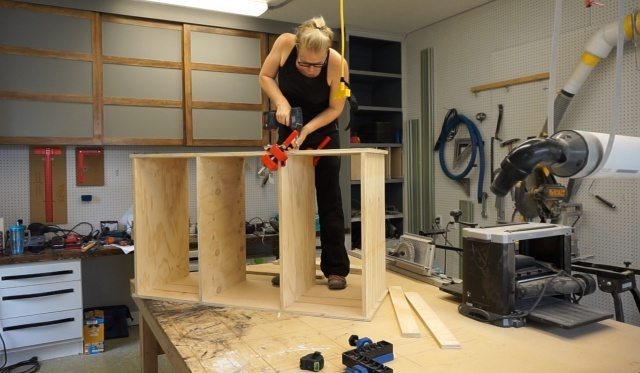
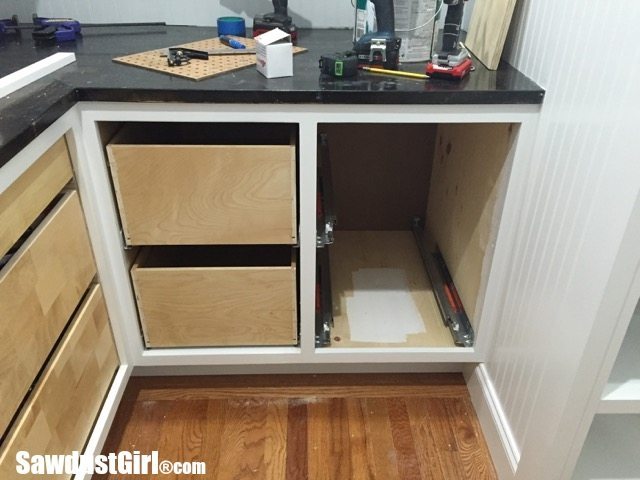
Next, I secured cleats to the dividers. These cleats are blocking for the drawer runners I’ll install later. 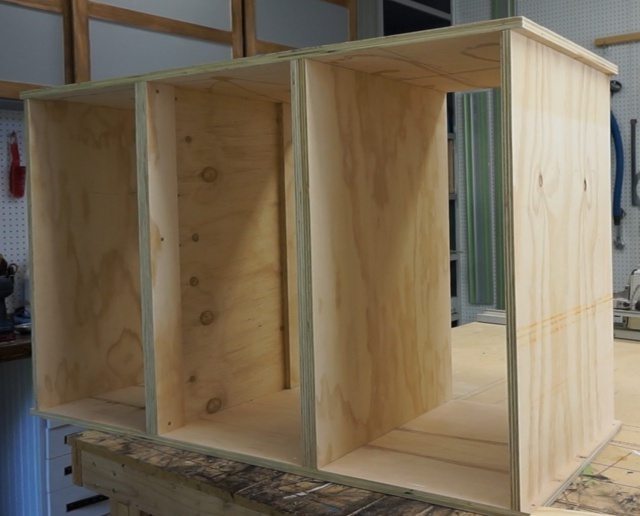
Adding the cleat on the outside of the sides serves the same purpose. I want my entry cabinet to essentially be “frameless” so I can do inset drawers. I’m using a faceframe but the blocking makes the cabinet flush with the faceframe. Faceframe is 1 1/2″ wide and the two pieces of 3/4″ plywood together = 1 1/2″.
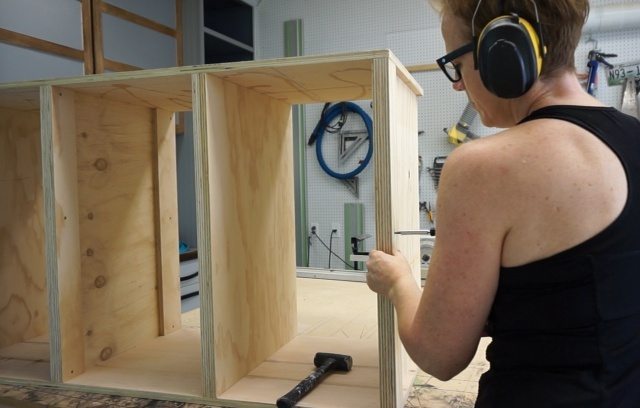
Did that make sense?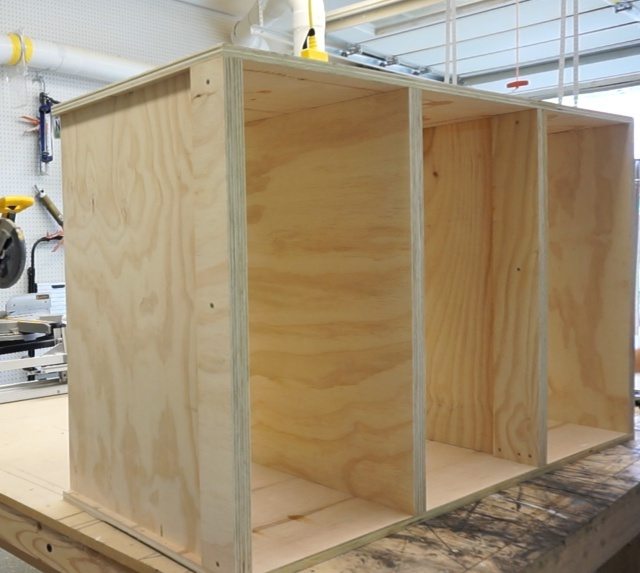
Last I add cleats on the back so I have a way to secure the entry cabinet to the wall in the kitchen entry.
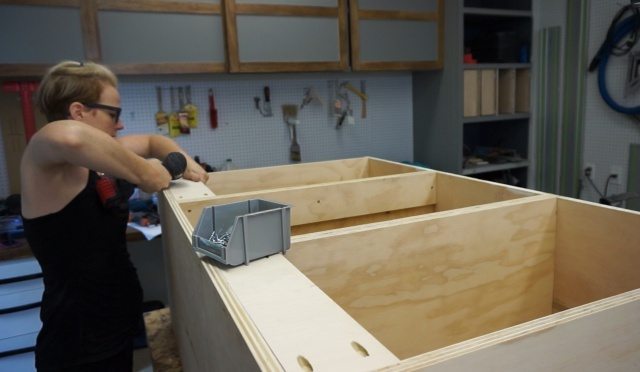
I’m not adding a back to this cabinet. I almost never skip cabinet backs but I’m already on day two of my one day project so “cabinet back” didn’t make the priority list.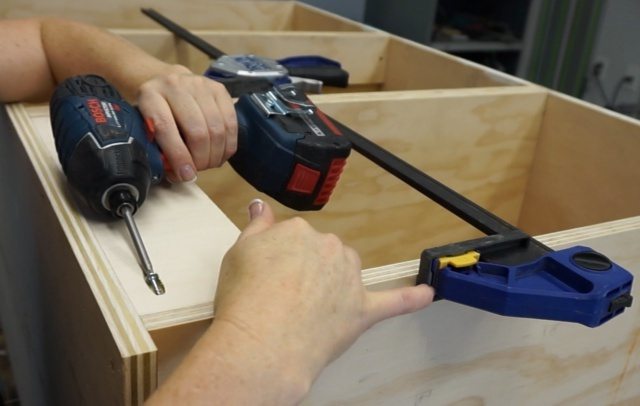
I recruited Wes to help me get the cabinet into place on the base.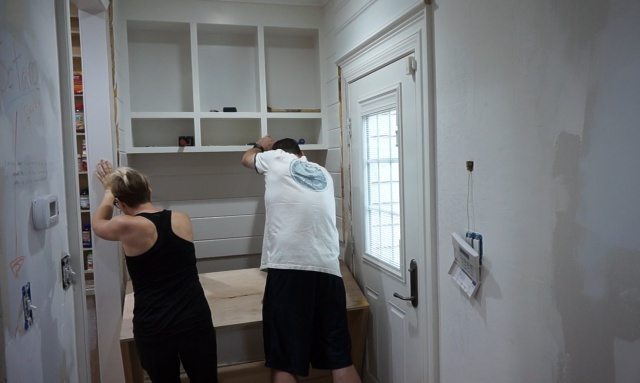
The base was already level from the bench installation so my new cabinet was perfectly level with no adjustments. That is really good news because the floor in this space is already 1/2″ lower on one side. The fact that the base (that I leveled 2 years ago?) is still level means the house is not continuing to settle, sag or whatever it did to make the floor 1/2″ sloped in this area to begin with. 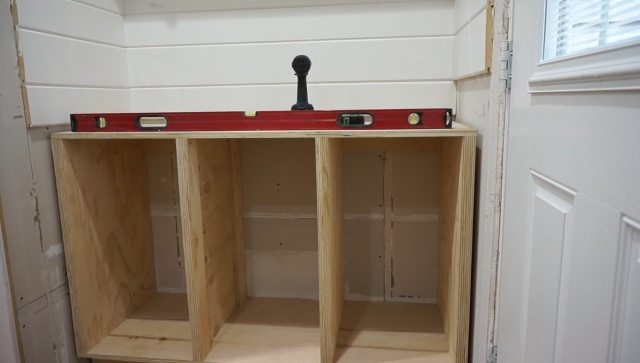 Next, I glued and nailed the faceframe onto the entry cabinet. The sides are flush with the inside of the cabinet so it doesn’t line up on the outside edge. That doesn’t matter because the outside edge will get covered.
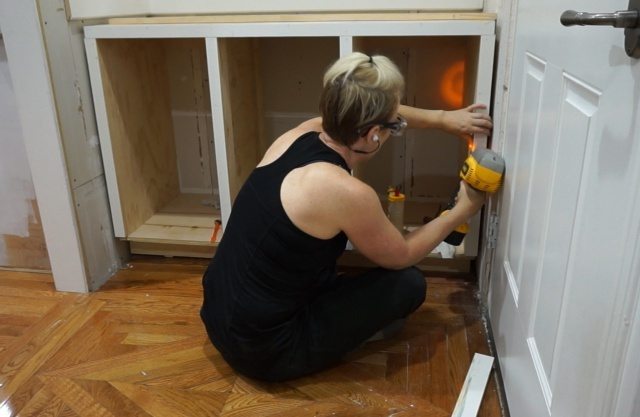
Oh, I was able to salvage the bench top too! I slid that right into place under the planks and it seemed that it was all coming together nicely.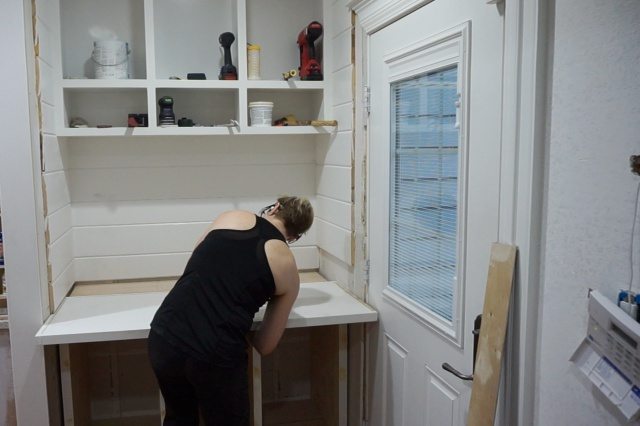
Only the countertop covered most of the top rail of my cabinet faceframe and I don’t like that visually.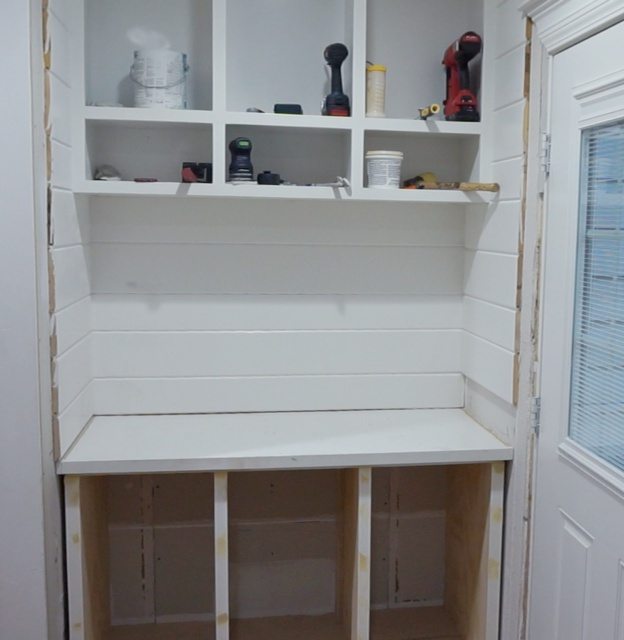
I pulled the countertop back out, removed another row of planks and used them (in addition to some of the others I had already pulled out) to add another 3/4″ to top of my cabinet.
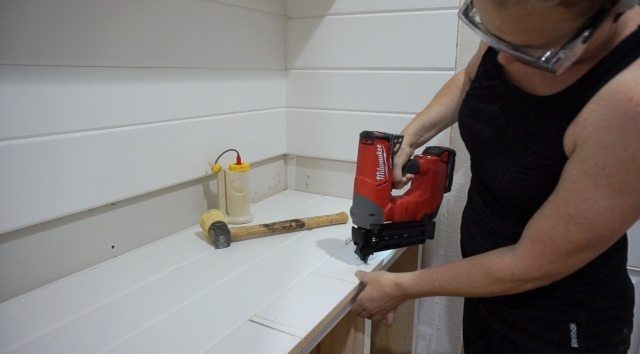
That is better!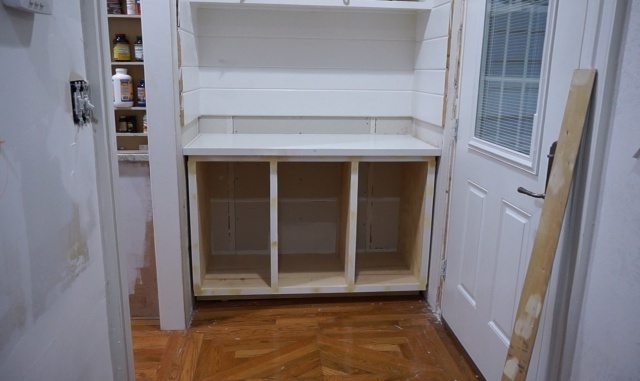
So I did it! I tore out the bench and built an entry cabinet in it’s place. I’m a day over budget but that ain’t bad! Obviously it’s not done yet. I don’t know why I constantly underestimate my timelines. Oh well, another day and I’ll have this space d-o-n-e!
Next up: Day 3 of my ONE day Kitchen Entry Makeover
Start at the beginning: Day 1
You rock Sawdust Girl!!!!
I’ve always wanted to, but I was too intimidated to try cabinet making. Seeing you do it like it’s a piece of cake gives me motivation!
Thank you.
I agree – you make it look so easy!
Thank you! It may not be a piece of cake but it’s definitely something that can be done by most anyone that has the will to try it (and not give up until they figure out any problem they encounter) and get it done. You only succeed (or fail) when you take action so I say get it there and give it a go! 😀
another day and I’ll have this space d-o-n-e! — famous last words
LOL!
Thank you for sharing! I’m loving it all!!!
I seriously said those famous last words to Wes at least 5 times! LOL
Hey Sandra,
LOL on the one day makeover. I doubt there’s anybody who stays on a timeline with household projects! It’s looking good!
You’re probably right. Projects seems to grow once you get into them — no matter who you are. Right? LOL
I don’t think it is a matter of underestimating your timeline…I just think you are a perfectionist and have no problem re-doing something that you feel is not perfect and meeting your mind’s eye.
You are definitely correct about having no problem re-doing things…I’ve done it a lot in this house! LOL (I do always underestimate my timeline too. I think it’s my subconscious way of tricking myself into taking on something that I might otherwise not — if I had a realistic idea of how long it would take. HAHA)