Building and Installing Pantry Cabinets – Phase 2
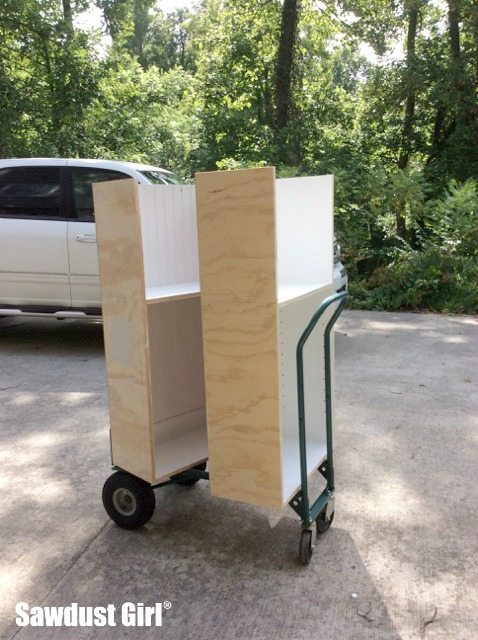
The pantry is coming along and it’s getting exciting! After building the complicated wine storage cabinet, the next bank of cabinets was a breeze to build! In fact, I blew through them so fast I forgot what I was doing half the time! wahh-wahh…
The first one I built was a narrow 7″ deep cabinet to put on the angled wall. I kept my head on for that one. Drilled my shelf pin holes, assembled it, boom — Done!
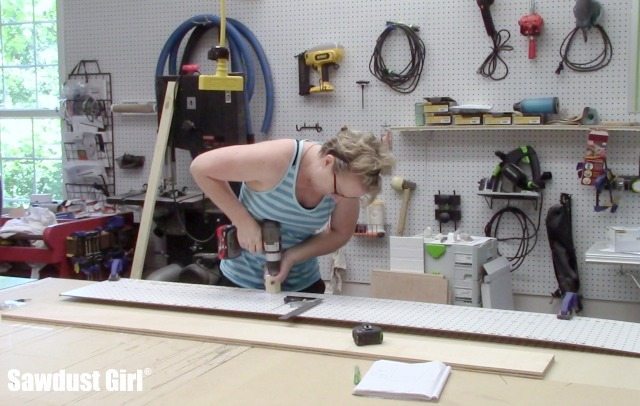
Then I cut the pieces for two identical cabinets and threw them both together, lickety split and then had to drill my shelf pin holes after assembly because, in my groove, I forgot to do it first. It’s so much easier done before assembly!
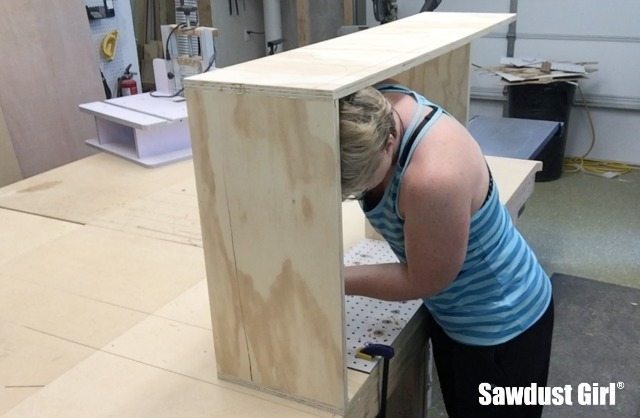
I built all three cabinets before doing any finish work so I’d only have to get those tools and supplies out once.
Some of my wood is crappy sanded ply because I’m using up scraps in my storage area so I had a few cracks and splits…but hey, I’m using up a bunch of my sCrap pile and it’s all painted in the end so who cares that it’s about 4 different types of plywood? Not me!
I filled any imperfections I could see with my favorite wood patch.
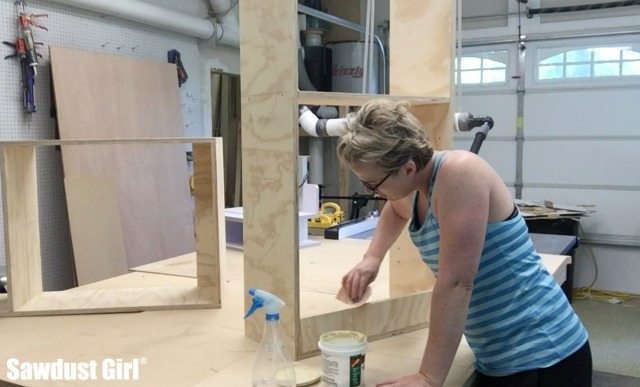
Sanded everything smooth.
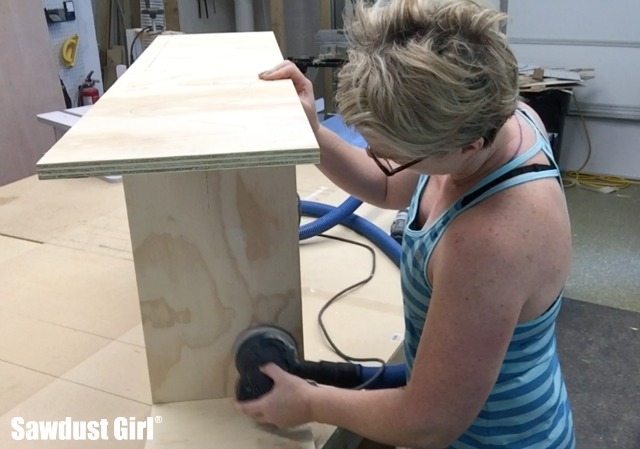
Then primed, sanded and painted.
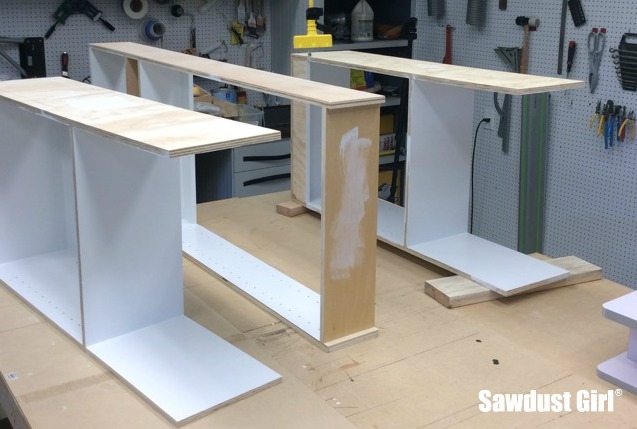
Then again, I was on such a role…
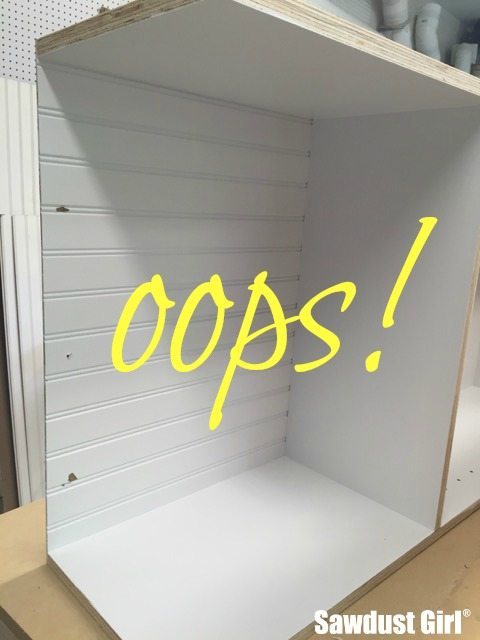
I needed to keep the “legs” together while I squared up and attached my back so I clamped an extra shelf at the bottom…temporarily.
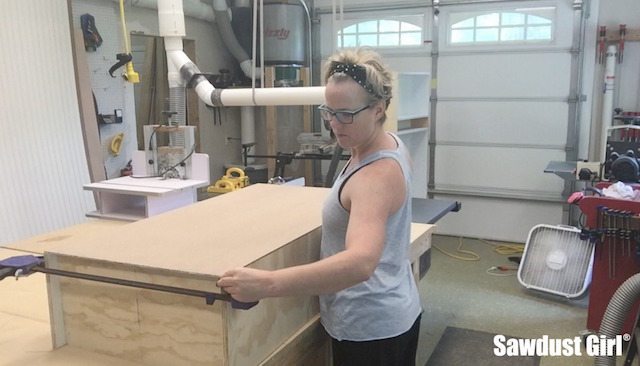
And then I attached the back…
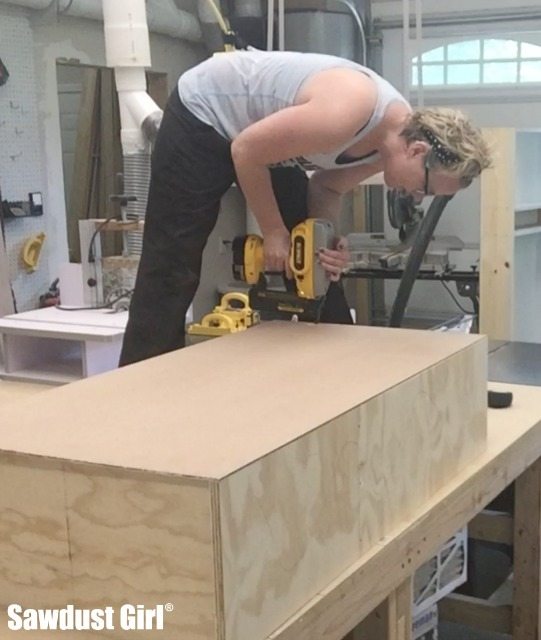
Including nailing it into my temporary spacer! Arggg…I’ll fix that later.
After I build anything, I have the choice of either carrying it up the U shaped stairs from my basememt to the main floor or pushing the suckers up my steep driveway.

Phew! Madison helped me carry them into the house at least.
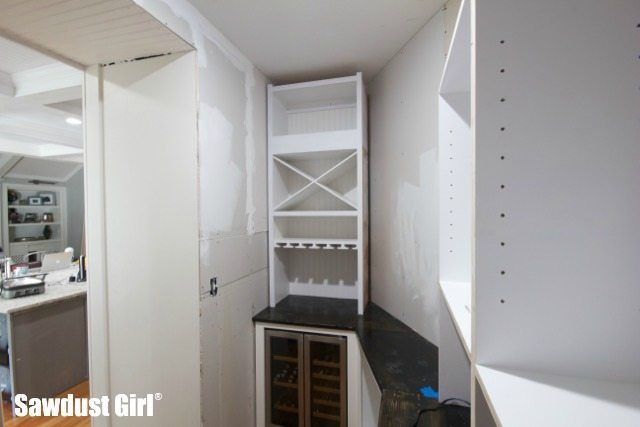
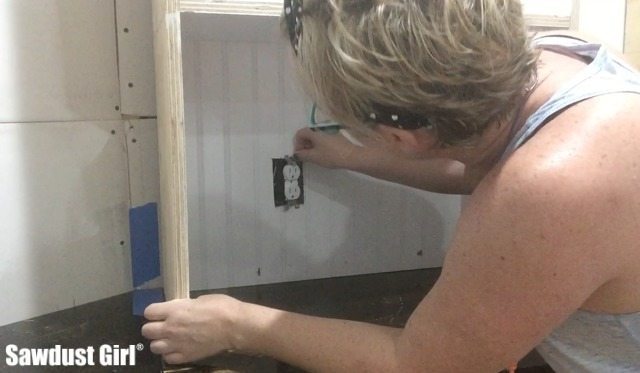
I got the two “partner” cabinets installed, including cutting out for an outlet.
Then I went back to my shop and built the two small upper cabinets. These two truly were easy! No mistakes or mishaps. 😀
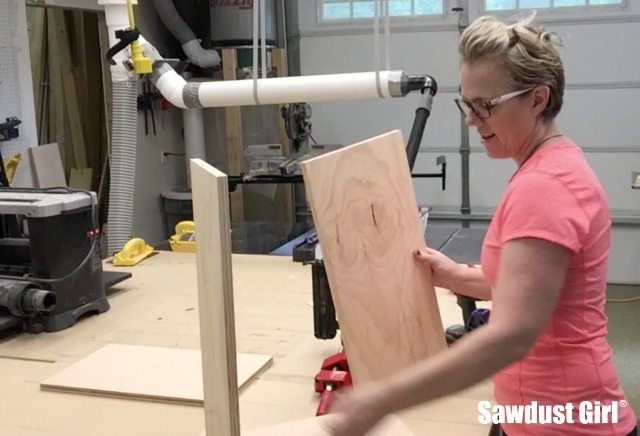
My awesome corner clamps, nail gun and SPAX screws make this a quick process. When possible, clamping the cabinet down so it doesn’t move while I drive in the screws without predrilling makes the “screwing” process eeeeeasy!
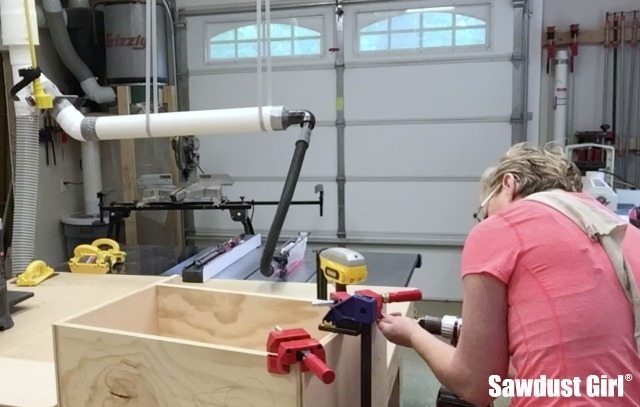
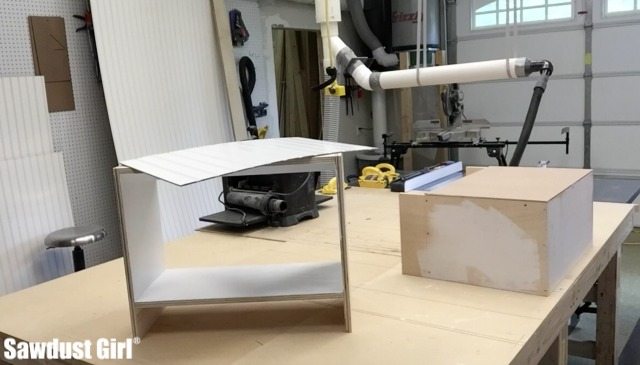
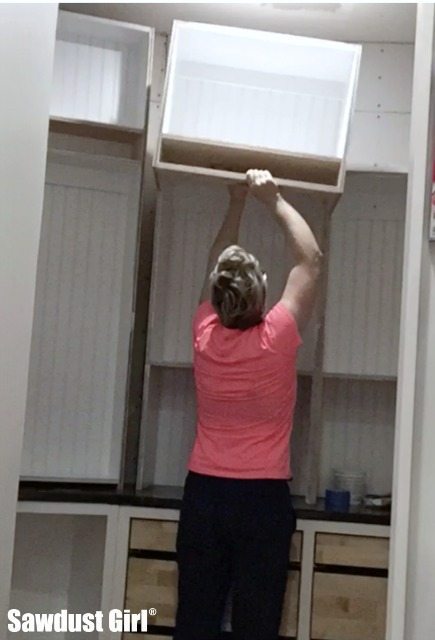
I think I knocked those out in a couple hours, finished with paint! Then installed them.
Then I installed my shallow cabinet on the angled wall. I could have built an angled cabinet that mimicked the angle of the wall but opted to block out behind the cabinet instead. I anticipated having the shelves deeper on one side would bug my eyes. The bottom cabinet does follow the wall angle but it will have a door so it won’t bug me.
I had to cut a long angled block so I could attach it to the stud. There was a lot of fiddle factor getting the block exactly the correct thickness to support the back of the cabinet. I think I adjusted it about a half a dozen times.
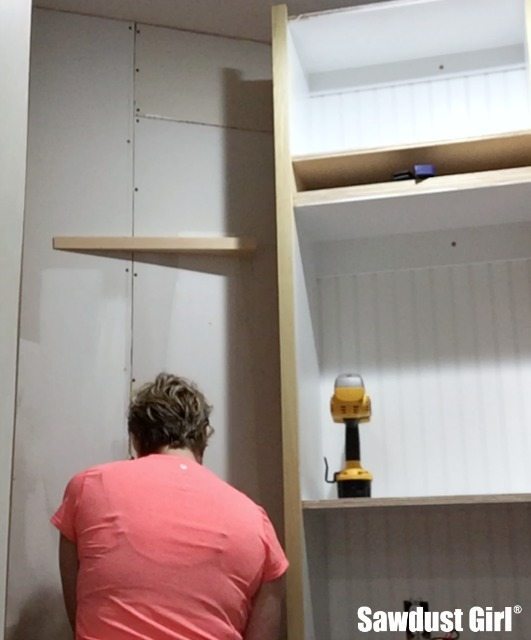
But I finally got it, secured it to the block, the adjacent cabinet and started attaching my faceframe.
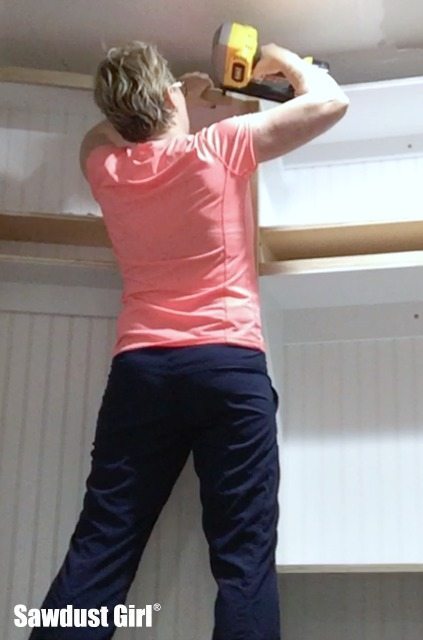
On large builds like this, I attach my faceframe piece by piece, in place. It’s just easier than trying to plan and build a perfectly matched giant faceframe and installing that!
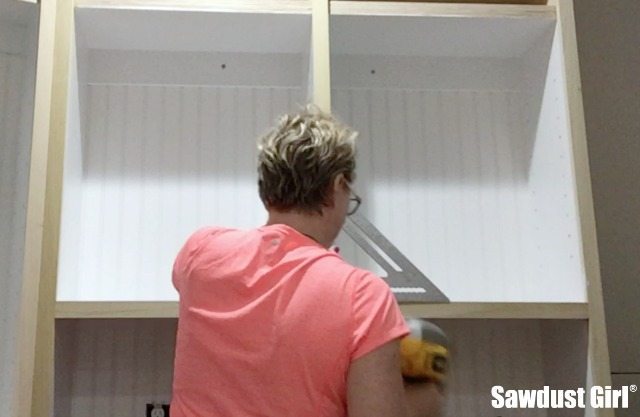
I had to actually glue up some wide stock for the “ladder rail” because I didn’t want to go buy any more (using up my wood supply remember) so my awesome groove finally ended and I had to wait…for glue to dry.
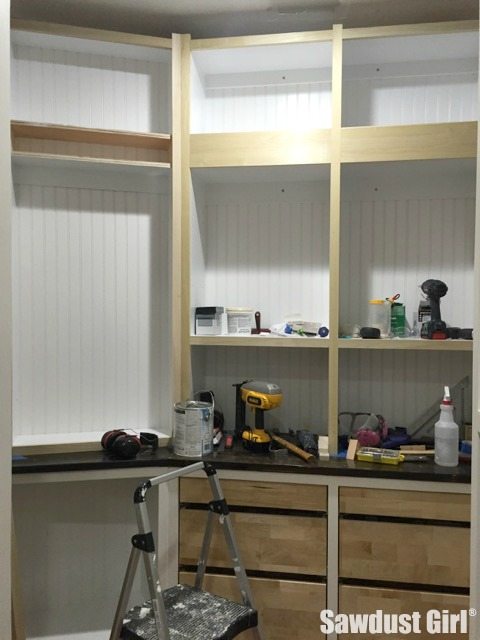
Check out this weeks videos of my pantry build if you are a video watcher…if not, I’ll see you next time, whenever that is, with my next progress update and whatever tips pop into my head as something good to share!
See you then!
I’ve been watching your videos on how you did your cabinets in your pantry and I’m thinking about doing something similar. Originally I was just going to put some shelves up so I put beadboard up on the walls and painted it all black. Now if I build cabinets all of the beadboard will be covered up. So my question is do I have to put a back on my cabinets? I would really like for the beadboard to show through. Thanks!
You don’t have to put a back on your cabinet. You’ll just have to make sure your cabinets are square when you install them since the backs generally keep them from racking (keep them square).
You inspire me!!! And my Uncle would have loved your work. While my Dad wasn’t big on having “girls” learn building skills, my Uncle (with 4 daughters) taught them everything he knew – which was a lot. Thanks for making me go outside my comfort zone & try new ideas!! Your skills are just incredible – and I would kill for your ability to visualize!! Keep up the amazing work!!
Love the video’s! And skilz’s. 🙂
You are an AMAZING women! I envy the fact that I don’t have the skill or the confidence to do small projects, let alone remodel the house!!!
Dianne, confidence comes from doing. If you want to, try something small and simple. With every project you tackle you will gain new skills, experience and confidence.
You are building, so I guess the accident didn’t affect you. I’m glad! As always, your work looks great. That is going to be one incredible pantry.
Yes, we were lucky. We were not in the evacuation area and the wind blew away from us most of the day. Thank you