Arch enemies
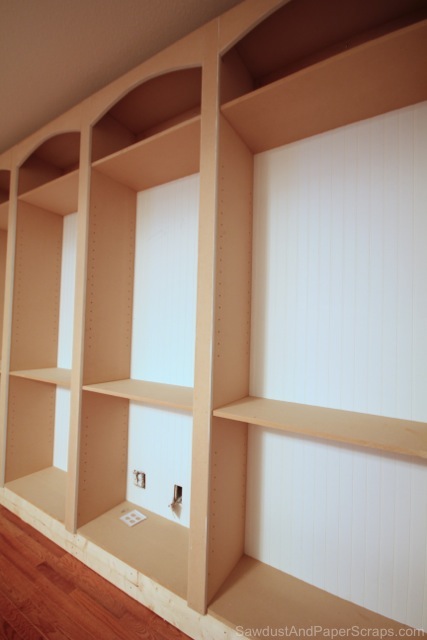
Arches aren’t really my enemies. They used to be but I think I’ve finally gotten the better of them and now I’ll take on a more charitable attitude towards them. Oh those cute little darlings.
I’m SUPER DUPER excited about how my bookshelves are coming along! I know some of you want a tutorial. I’ve been working on this room for about 3 weeks and it is way too involved for me to write a quick tutorial on how to slap up custom built-ins in one post. I can share the steps that went into building my library bookshelves. Maybe it will help guide your project.
Steps to building custom Built-In bookshelves.
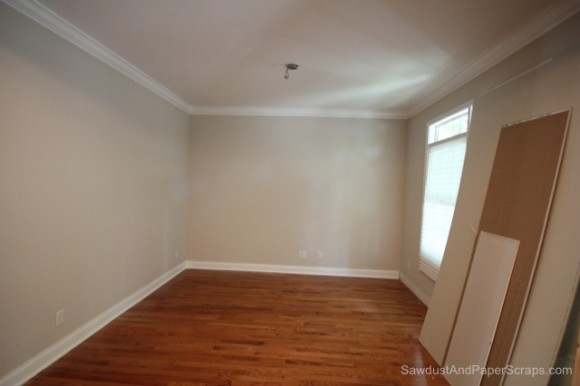
1. Stare at your empty room. (If your room is full of junk, empty it — then stare at it.)
2. Visualize your room as you want it to be. You might imagine 6 different possibilities. Pick the one that you like the best. (If you are having trouble visualizing, go to Pinterst or Google and search for images that inspire you.)
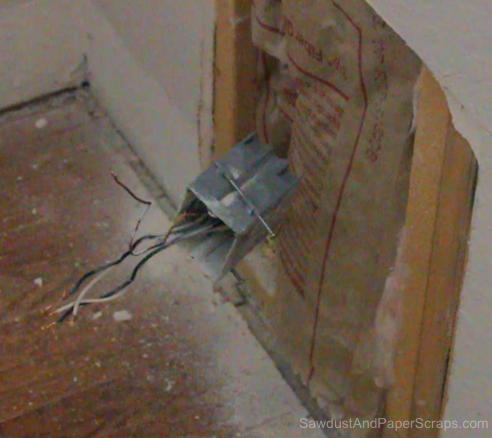

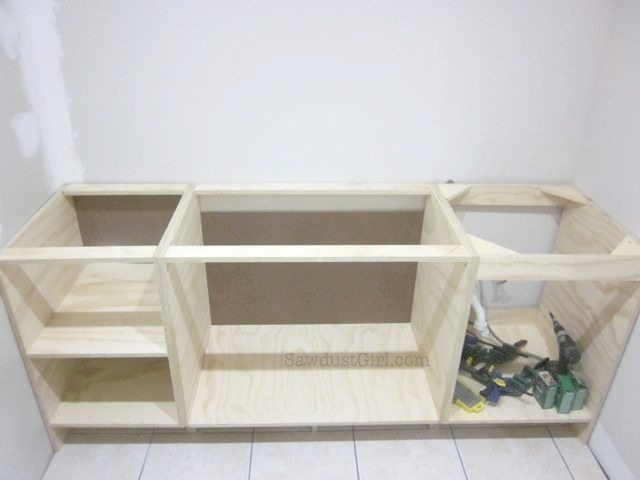
Build a base.
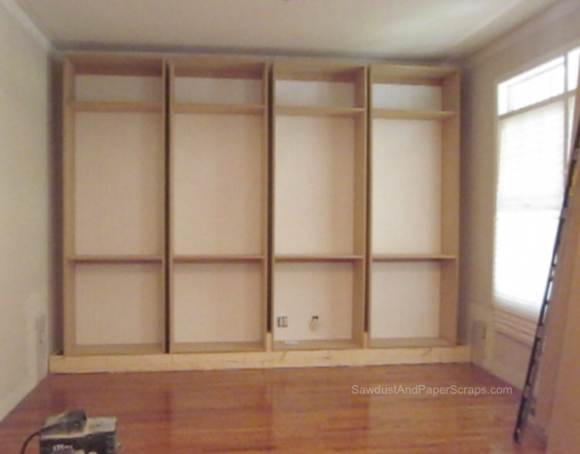
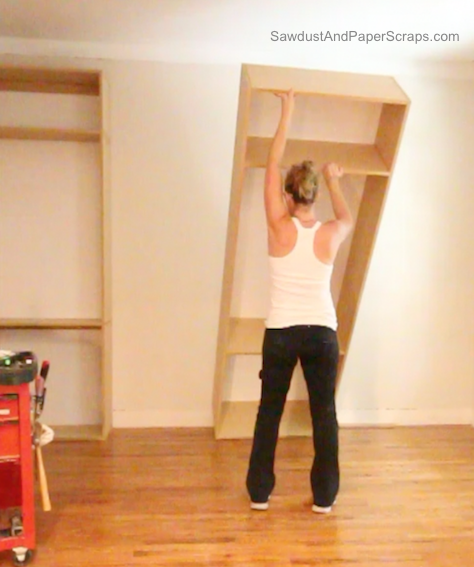
Get all your bookshelves spaced evenly according to your vision and secure them to the wall.
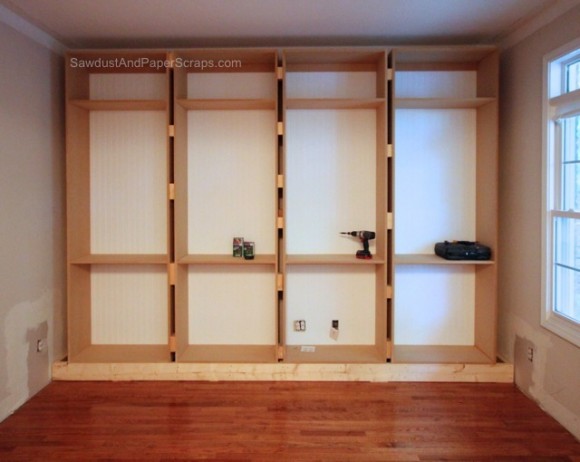
Attach face frames.
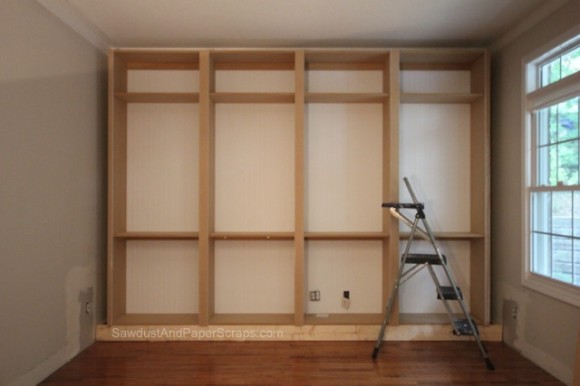
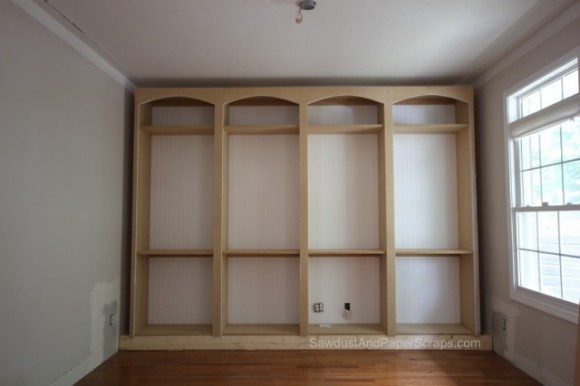 And then keep adding more and more details until you achieve your vision.Did that help?
If you have specific questions regarding any of these steps, or built ins in general, leave them in the comments and I’ll see if I know the answer. If I do, I’ll share.
Cheers
Great work, Sandra!!
It’s coming along great! I’ve been checking every few hours to see if it was posted. I would love to have a bookshelf/desk combo for the corner of our living room. That’s where we keep our home computer. Out in the open for us to keep a parents eye on the computer while in use. Did you ever build one of those?
Well yes, a few in fact. 🙂
http://www.sawdustgirl.com/2011/02/10/house-tour-office/
http://www.sawdustgirl.com/2011/02/17/house-tour-craft-room/
http://www.sawdustgirl.com/2010/05/05/playroom-storage-wall/
It looks like your face frames are made of MDF as well. What do you have to do to the cut edges to make them ready for painting?
They are. I don’t use MDF for faceframes if I’m attaching doors on the faceframe but I’m not adding doors here so it’s all good. Here are my tips for getting smooth MDF edges when painting: http://www.sawdustgirl.com/2012/02/08/how-to-paint-mdf-and-get-smooth-edges/
I was going to do arches on my book cases but in the end there wasn’t enough room. But out of curiosity how did you get the curve in your arches and what did you cut them with
The old nails and bendy piece of wood trick and my new band saw. I’m posting a tutorial tomorrow on the arches.
Thank you so much for posting your progress with your bookcases! It is really inspirational and I hope to start a similar project very soon! This may sound like a pretty naive question- but how do you determine the depth of your shelving for bookcases and closet shelving? Are these standard measurements?
That’s a good question Greta. I decide how deep I WANT them to be. The standard depth for closet shelving is 18″ but I wanted mine 24″. The standard depth for bookshelves if 12″ but I want mine 14″ because I want to make sure even large books will fit. If you want to be able to store decorative baskets and other chzatchkies on it, I generally do 14-16″ especially if I have a deep base cabinet underneath. I don’t like a huge step back from top to bottom. 2-4″ is what I like for that. So, if you have 18″ deep base cabinets (say you want to store all your board games…) then I’d go 14-16″ on the top.
Ultimately, it’s a matter of choice. That’s the beauty of doing custom, you get to do exactly what works for YOU.
Oh gosh, I remember that post, but only read the first part. I assumed that you were saying it was impossible and stopped reading. 🙁 ADD wins again. lol Thank you AGAIN!