Adding Decorative Legs to Cooktop Cabinet
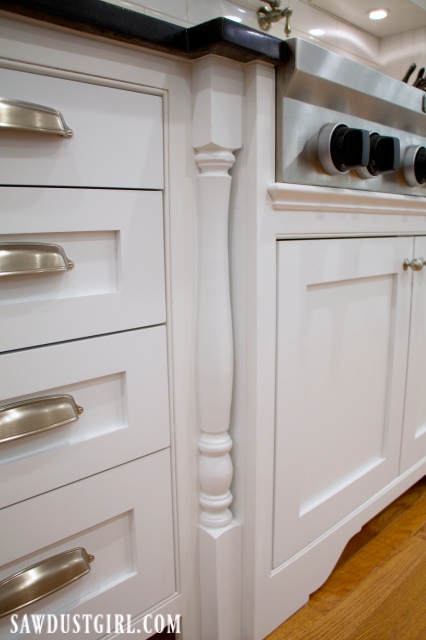
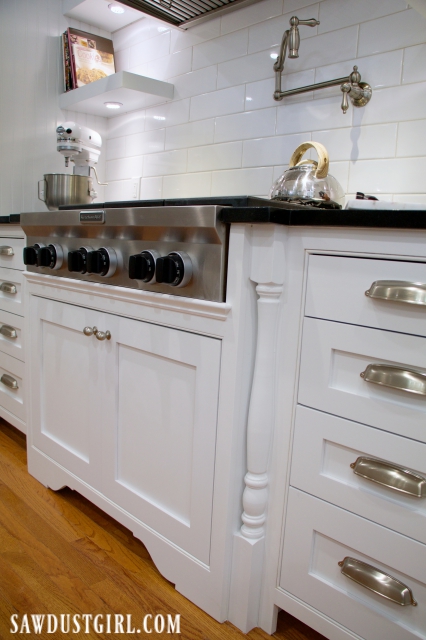
I finished off my cooktop cabinet by adding decorative legs. This was always my intention and something I had to plan for when getting my granite pieces cut and installed five years ago.
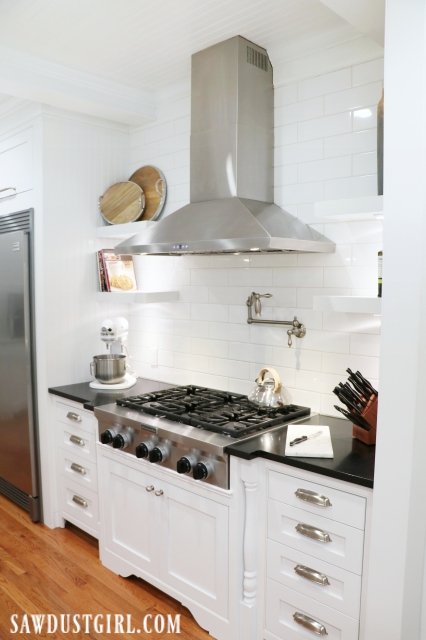
Back then, I had no idea what I would end up using as spacers, but I figured I’d find some kind of decorative legs that would work. OR I would build a pretty square leg (mimicking my decorative columns).
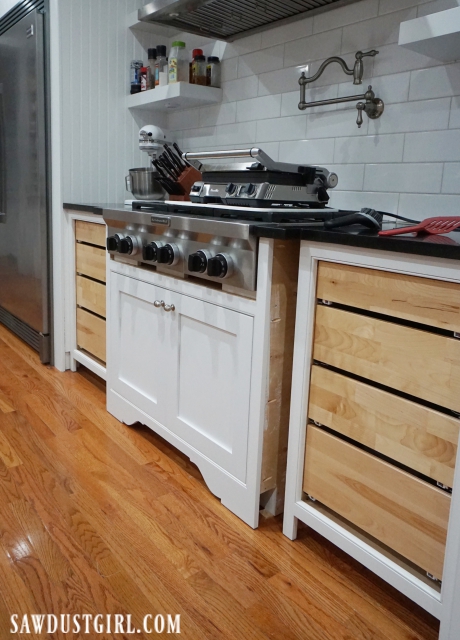
Adding Decorative Legs to Cooktop Cabinet
Fast forward to last week when I was ready to tackle this project. I brought up two decorative legs I had purchased back when Julie and I were working on Calderwood Cottage. While scouting around for baseboards at a local salvage store. I found a huge pile of spindles and legs (of all sizes and shapes). The owner said I could have them for $2 each! I picked out a handful, none of which I had any purpose for but they were too good a deal to pass up. I’d figure out a way to use them at some point. One of them was nearly perfect!
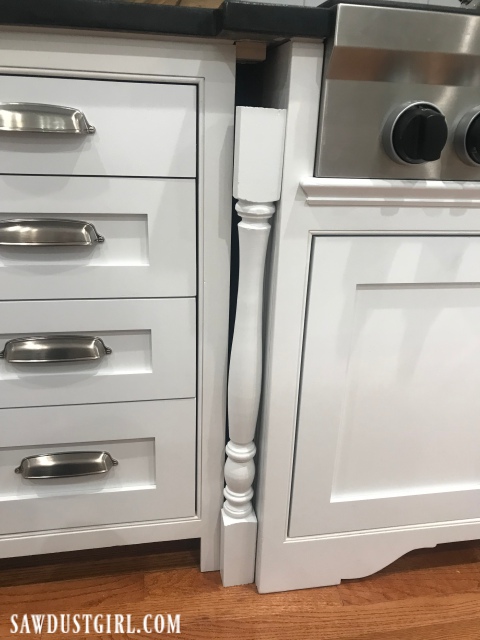
It needed a bit more height but the width was great. I decided to add the additional height to the bottom — because that’s what made my eyes happy. The legs would need to be attached to a backing to close off the gap around the rounded parts.
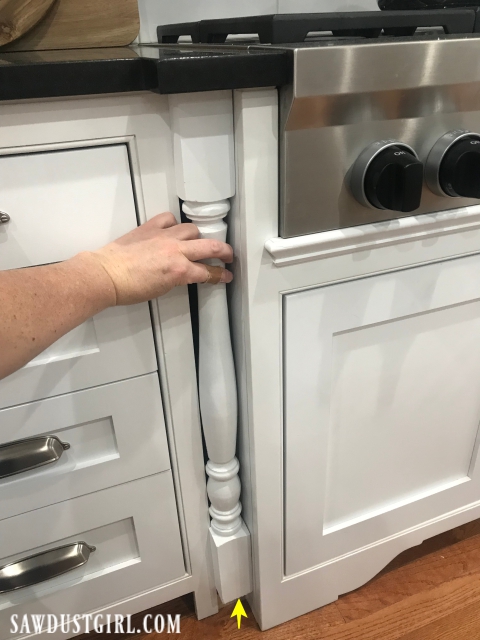
First I used a track saw to cut a bit off the back of these legs. I didn’t cut them in half, but cut a bit off the back so it was flat. This made it easier to attach it to the backing, a strip of 1/4″ MDF.
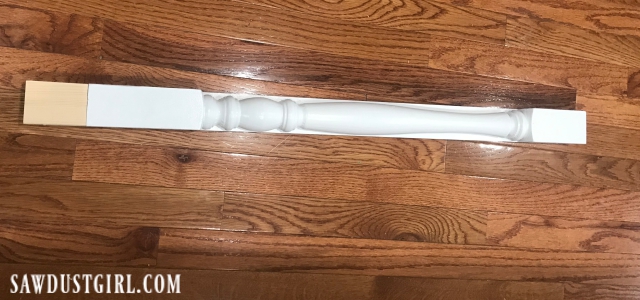
Titebond Thick and Quick made quick work of fusing the new piece to the leg. Then I used caulk to stick the whole new leg to the backing and secured it with nails through the back.
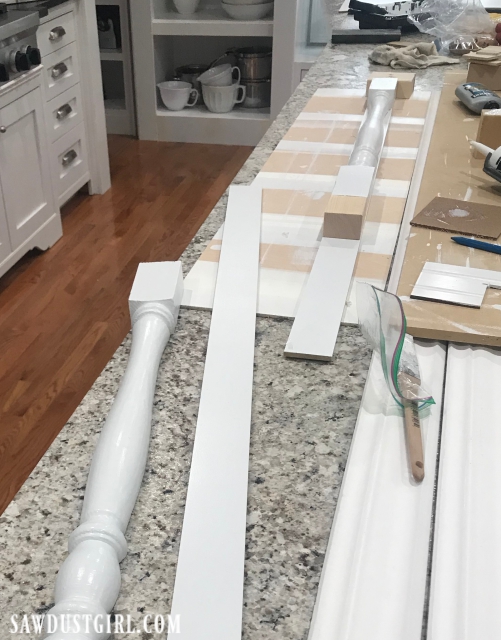
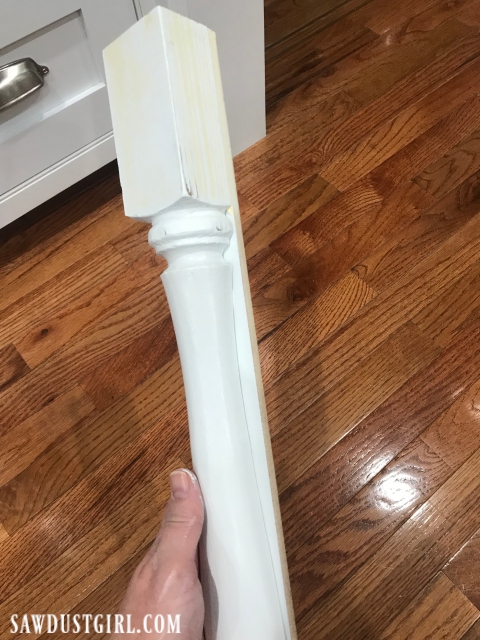
After applying wood patch and letting it dry, I sanded the legs smooth.
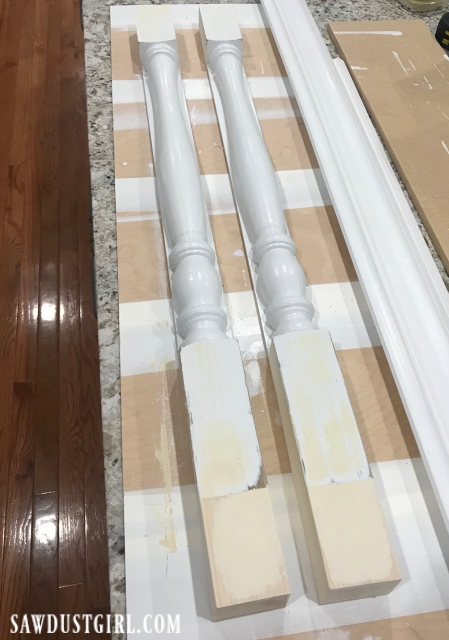
To install the legs, I attached blocking 1/4″ back from the front of the side cabinet. The backing on the leg fits perfectly into that space. Caulk is a favorite of mine, I used it to secure the blocking inside the cabinet cavity AND to secure the leg to the blocking.
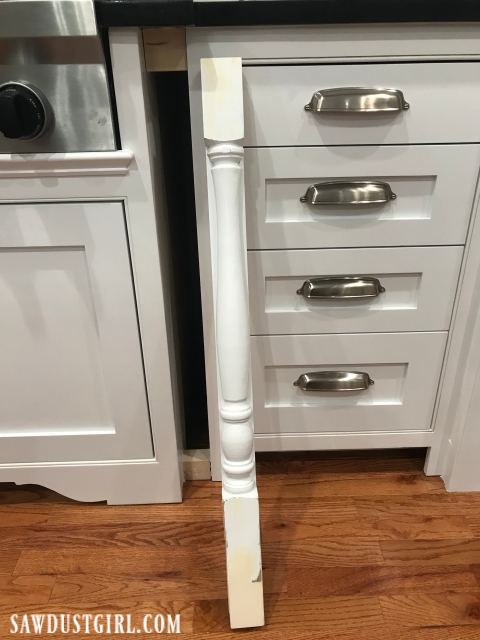
Then I used more caulk around the newly installed decorative filler. That thing is in for good. I have to say, $4 looks pretty good!

I want to do this same bump-out on my sink cabinet when we remodel so your post is very timely. I love the look and intend to use a similar solution for a sink bump-out.
I have two questions for ya. How far out from the wall is the stove and if I do this to the sink cabinet, what pipes need to be moved besides the length of the water pipe?
Maria B.
P.S. I admire your tenacity and work ethic and I have learned so much from you. Thanks for sharing.
Your creativity never ceases to amaze me! Love it!
Thanks. We all have our talents and I guess I found one of mine.
Love it!!! Was there not enough room to add spice pull outs behind the decorative fillers? Its kind of hard to see on my phone.
There wasn’t quite enough for that…or I just didn’t want to deal with that intricate of a project now that I’m finishing to sell. One or the other of those answers. LOL