How to Build Drawer Fronts With Beadboard Panels
Building Drawer fronts with beadboard inserts like I did in my Master Closet is pretty easy because you can slap them together with pocket holes (unlike complicated “invisible joinery” methods you have to use for building doors), because no one is going to see the backs after they are installed on your drawers!
The backs are not pretty, which is why I would NOT use this method for cabinet doors…but it totally works if the back is going to be covered up.
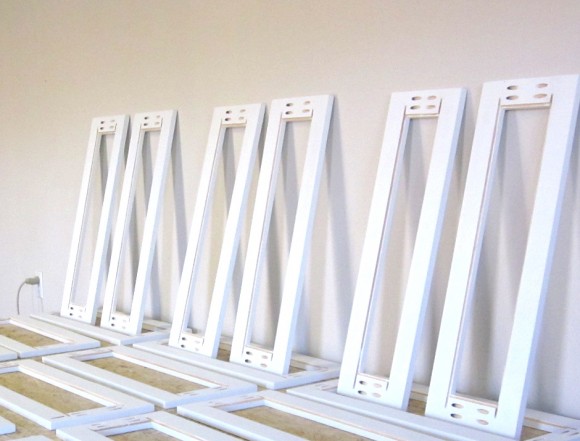
Materials: I used 2 1/2″ wide 3/4″ thick Select Pine. That’s the good stuff from the millwork section not the rough, warped stuff from the lumber section. Although, I have used the rough stuff and sanded it A LOT and it turned out great. It just depends on how much time you want to spend digging through piles of “sticks” and then sanding them all smooth. I was building 22 doors and didn’t have all century – so I went with the Select Pine!

Pine is soft and it scratches and dings easily but I don’t anticipate the drawer fronts getting a lot of abuse in the master closet. (Kids closet- maybe, mine- not so much.)
I often use Poplar because it’s a hardwood and it’s smooth so it paints beautifully without having to mess around with any filling the grain if you want a smooth painted finish. (I personally do not care to see the grain in a painted surface!) Poplar is more expensive and like I said, I needed enough wood for 22 drawers and was getting to the end of the project (and therefore my project budget) so I rationalized that the drawer fronts in the master closet wouldn’t get too much abuse! (Kids closet – maybe…!)
Out of the two, Poplar is going to hold up to wear and use better but you have to weigh your priorities cost vs. anticipated abuse! 🙂
OK, now that we’ve decided on a material… it’s time to cut your drawer-front parts.
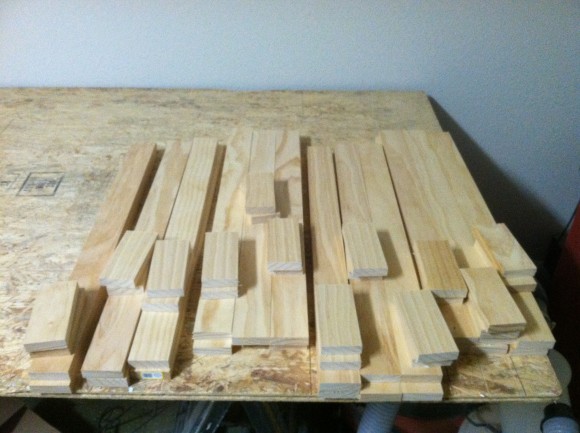
*For inset drawers, you generally want 1/16″ clearance on all sides so figure that in when you are measuring. You can always go back and cut off a little bit of the side or top (or bottom) after the whole drawer is assembled if it’s too tight but DO NOT MAKE THEM TOO SMALL or you’ll be stuck with a large gap that you can not “fudge” your way out of.*
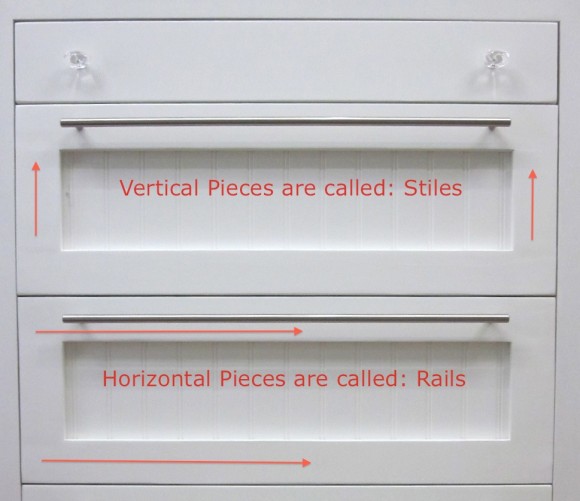
My rails extend the full length of the drawer opening, and the stiles are cut to the height of the opening MINUS the width of the 2 rails. To be clear about what is what: Rails are horizontal pieces, stiles are vertical. It’s easy to remember if you think of a hand RAIL (which is horizontal)!
After you cut all your pieces, it’s time to cut a rabbet. I’m using a beadboard panel and I want it to sit flush with the back of the rails and and stiles so the entire drawer-front will sit flush against the drawer when I install it. So, I cut a rabbet that was the exact depth of thickness of the beadboard panel. the width of the rabbet is up to you. I cut mine 1/4″ wide.
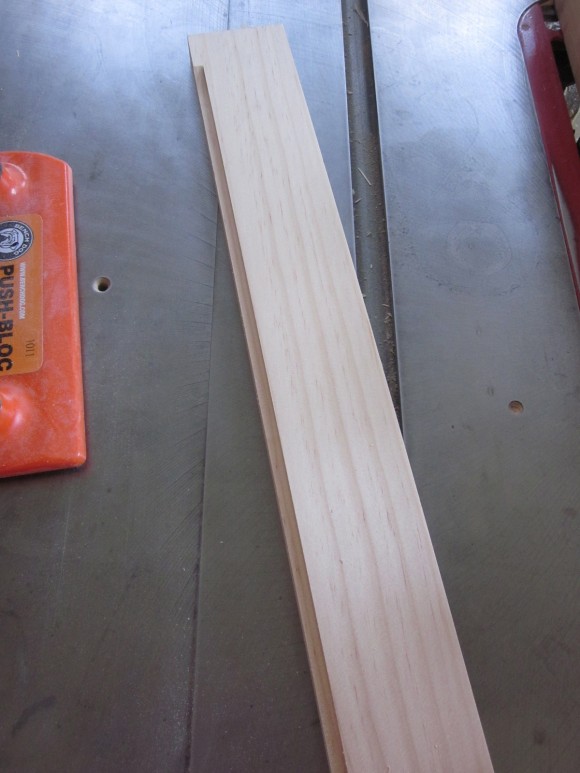
To cut my rabbet, I used a dado blade on my table saw. You don’t need a dado blade, you can use your regular blade and make several passes or you could use a router, whatever your preference and tool accessibility.
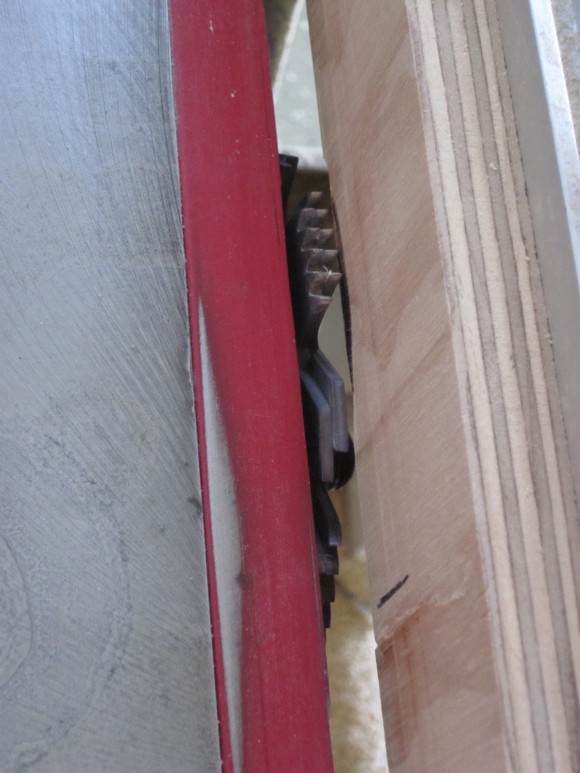
If you use your table saw, make sure you set up an auxiliary fence because you want to cut the very end of your wood and you don’t want to cut your metal rip fence. You can use fence clamps like shown in my photo below or double sided tape.
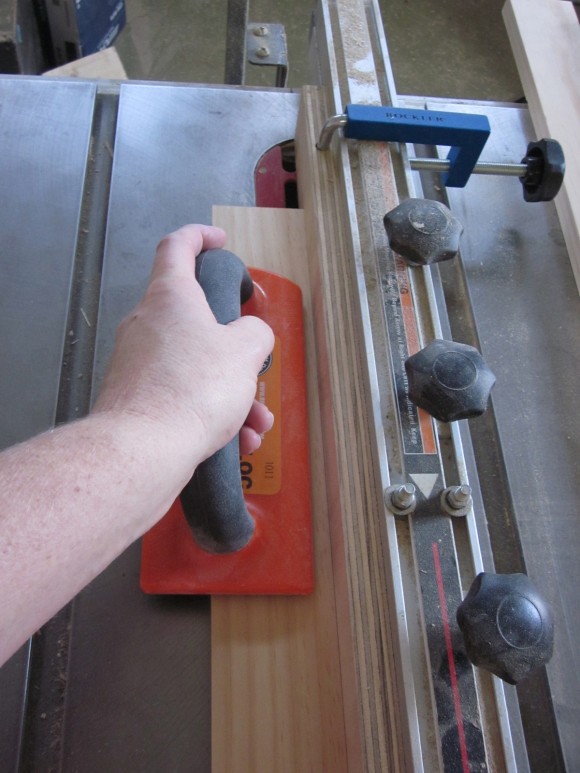
On the stiles, you can just push the entire board through and cut the rabbets from end to end. The tricky part is cutting your rabbets on your rails. You don’t want to cut the rabbet all the way to the ends of the rails or you will have to do some major filling/plugging/patching to cover them up so you don’t see the “groove” from the sides. I left at least 1″on each end (as seen below).
To do that, I put a pencil mark on both sides of my auxiliary fence, to show me where to start and end my cuts.
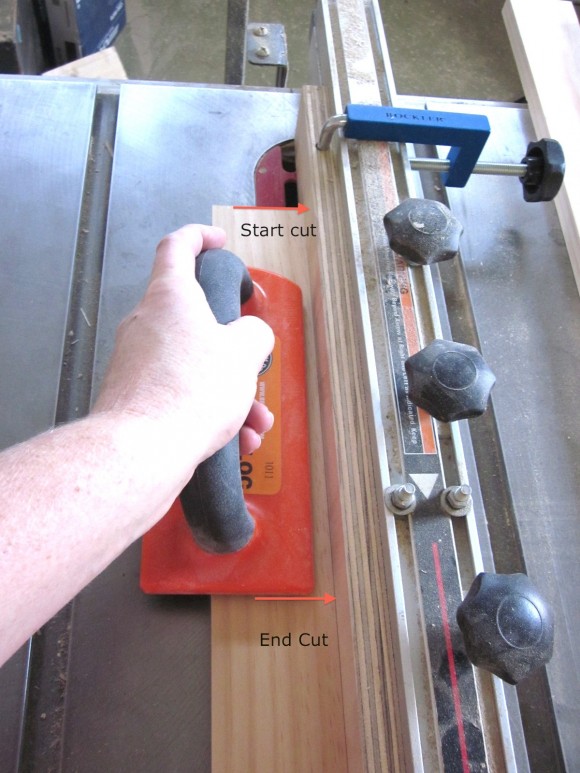
My rails were too long to use a stop block to end each cut exactly so I had to rely on my marks and just pay attention. There’s no easy way to do it, no trick, just line up your “beginning” mark and then push the board into the sawblade, then run it along the ripfence until the end of your board lines up with the “Stop” line and pull it away from the blade.
*I will reiterate the importance of push blocks and paying attention!*
After cutting rabbets, drill pocket holes on both ends of your stiles. I used 3/4″ stock so I used the appropriate attachment (which is a piece of wood that I had to cut and drill to replace the plastic piece that was lost/misplaced in my move)!
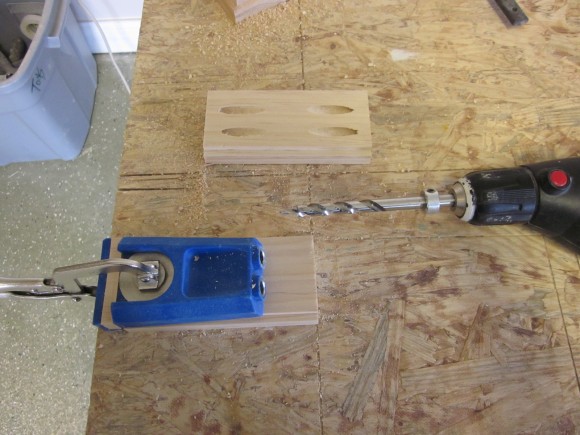
Then you can assemble!
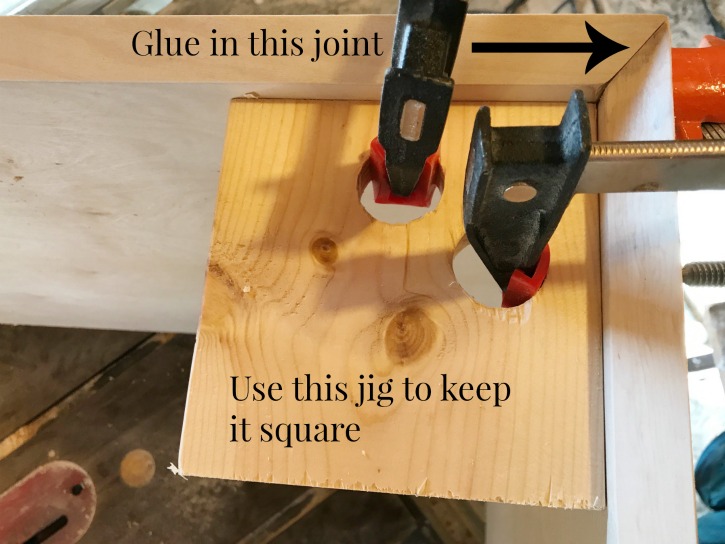
I used glue and pocket screws out of habit but dropped the glue half way through because there is no way these drawers will fall apart with 4 screws on each side so glue is not necessary. I found the best way to keep everything flat and where I wanted it was to use 2 clamps to hold my assembly while I drove in the screws. One clamp to hold the frame together so the screws wouldn’t push the two pieces apart. The other clamp, right in the center of the joint, clamping it to the table, to hold everything flat!
*With just one clamp holding the frame together, the angle of the pocket screw wants to cause the two pieces to start to “fold” and then the frame is not flat.
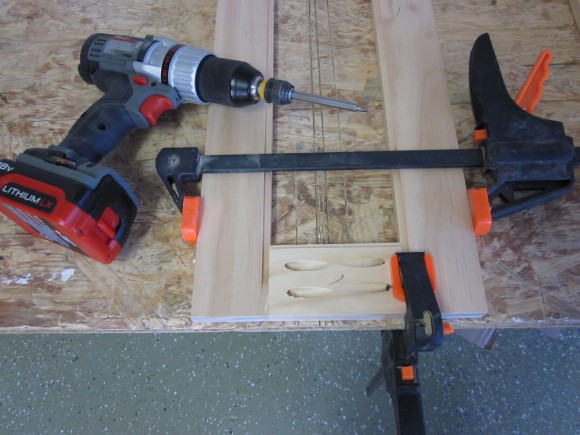
Repeat on both sides of each end until you have built all your drawers! It goes pretty fast. Then sand. I sanded all the sides (Don’t forget the inside sides of the frame) and rounded the corners so they wouldn’t be sharp! The pine is already pretty smooth so I just concentrated on evening out my joints and making everything lovely!
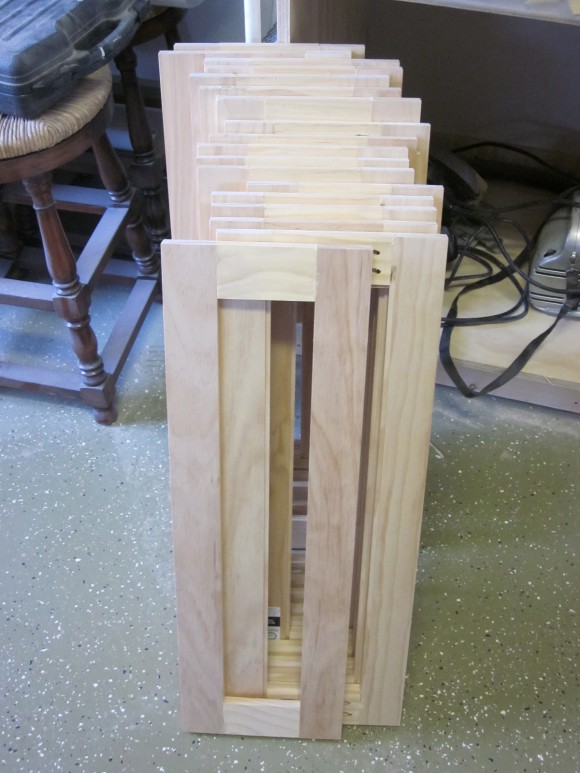
At this point I would sand and paint everything: frames and panels because it’s much easier to do it before assembly – unless you are spraying.
Another tip: Save time by painting the entire sheet of beadboard before cutting it down. You be interested in my post for painting beadboard.
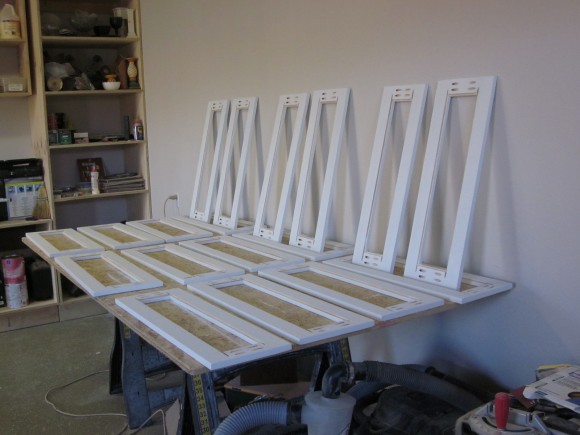
Now you can measure how large your panels need to be and cut them.
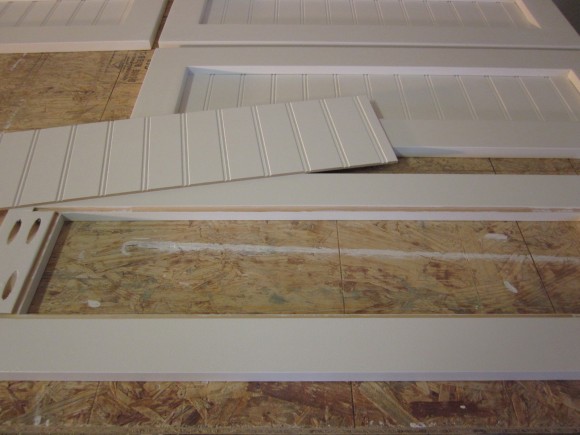
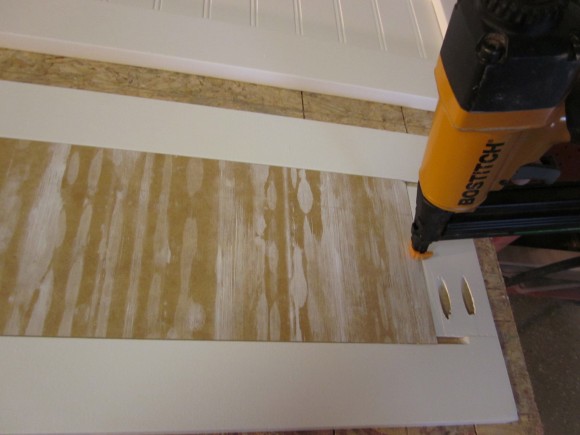
Flip you frame over, lay the panel in and secure it however you want. You could use a small bead of caulk or nails…I used a staple gun.

Then you install them!
This task can be tedious but after years of trying different techniques, I’ve written a detailed tutorial for what I think is the easiest way to install drawer fronts – you may be interested in.
First of all i must say that you are one talented lady. l love your work. You make it look so easy. i came across your work on youtube and came straight to this site and i have been on it all day. I had a quick question. after you put together the frames for the drawers fronts before you painted them, i can see the seams of where you joined them but they completely disappear when you are done. how did you do that? did you use a filler and then sand?
OK !…This is what I was looking for, I guess I was too premature when I said I didn’t see these instructions for the drawer fronts. Thank you for such detailed and complete instructions. You make everything seem so easy. Beautiful work, it doesn’t get any better!
These are beautiful. Have been looking online for “how to build beadboard drawer and cabinet door” tutorials. This is by far the best one I’ve found. Very specific details, great and clear explanations! My one question would be, how would you do the back part of a cabinet door rather than a drawer; you said you didn’t recommend pocket holes for doors. What do you recommend? Thanks so much!
Thanks Adriana. I have a cabinet door tutorial too. Here: http://sawdustgirl.com/2013/03/18/how-to-build-inset-doors-with-beadlock-mortise-and-tenons/