Sliding Cabinet Doors with Inset Track and Glides
When I built my coffee station hutch, I wanted sliding cabinet doors. It’s surprisingly difficult to find hardware for that. Have you ever looked? In my workshop, I made sliding doors using bypass closet door hardware. Those wheels are exposed and not right for my kitchen. I needed something sleek. After doing a ton of searching I found something that would work!
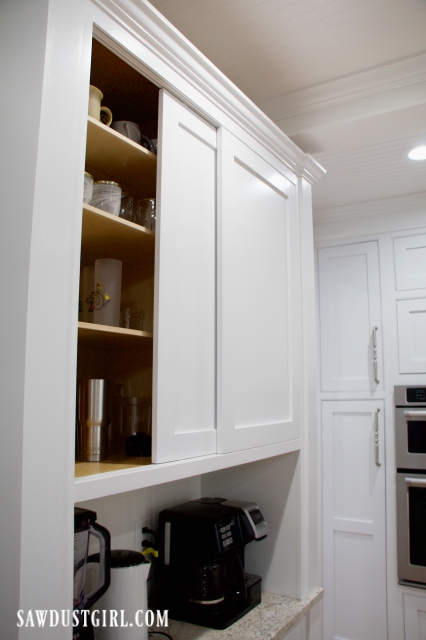
Sliding Cabinet Door Track
The Hafele hardware includes: plastic guide track with 35mm upper and bottom glides. (links below)
It definitely takes some planning to use this hardware. I’m sure there are other ways to going about it, but I doubled the faceframe which I cut grooves into before installing on the cabinet.
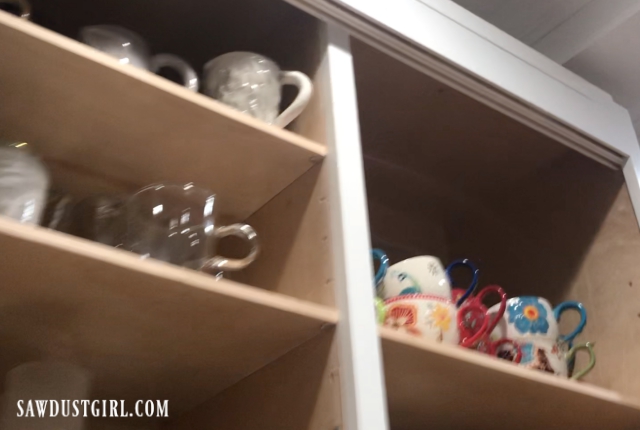
The plastic tracks require a groove sized at 7mm wide x 9mm tall. (.27″x.35″) It’s easy to run the faceframe pieces through a table saw or router table to cut these grooves. Once the faceframe is installed, the plastic tracks can be inserted into the grooves.
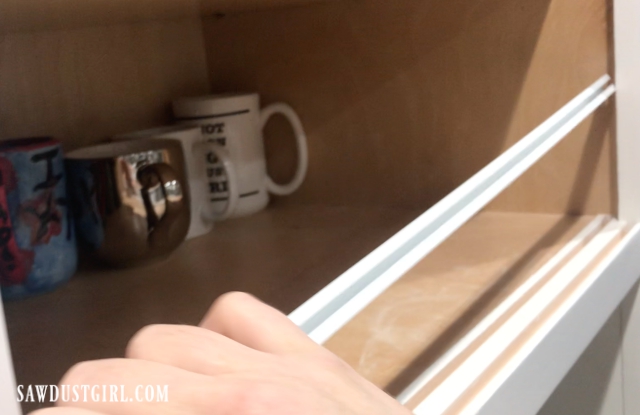
Glides Holes
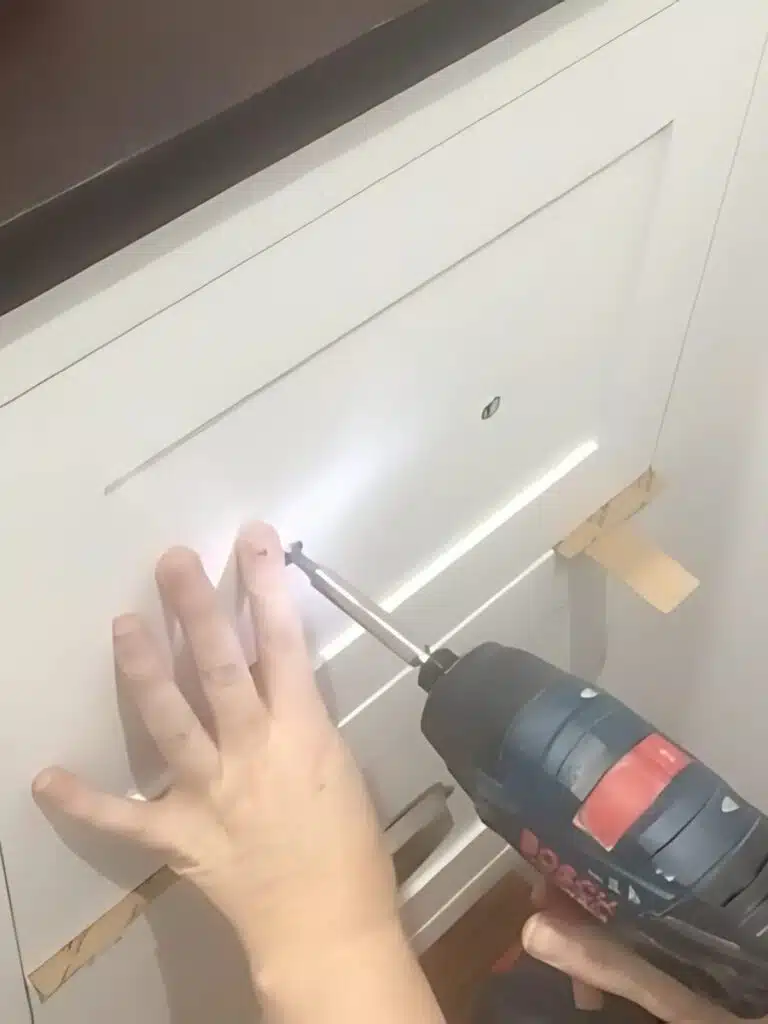
I used my Blum Eco Drill hinge jig to drill the holes for the glides. Of course I had to make some modifications to get the holes in the right spot. It’s meant to be used to drill cup hinge holes, after all. The jig had to be pushed away from the cabinet door in order to cut the hole in the right spot.
To push the jig away from the cabinet, I used a strip of MDF. I had to cut a bu bunch strips on my table saw, increasing by 1/16″ for each strip. Then I tried different strips until I got just the right spacing.
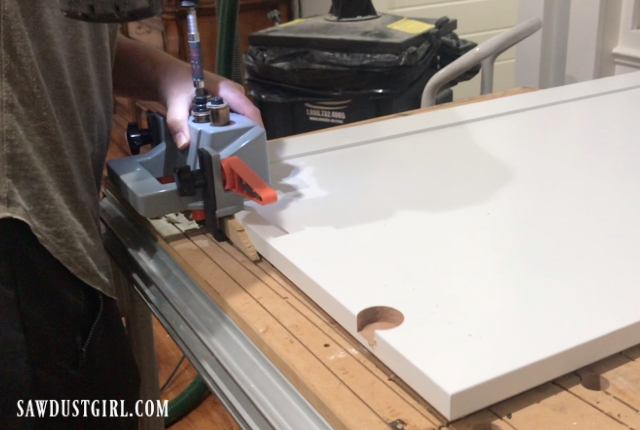
It probably would’ve been easier to just use a 35mm Forstner bit. I actually forgot to use the strips on one hole. Then I had to fill and repaint that mess and redrill – properly.
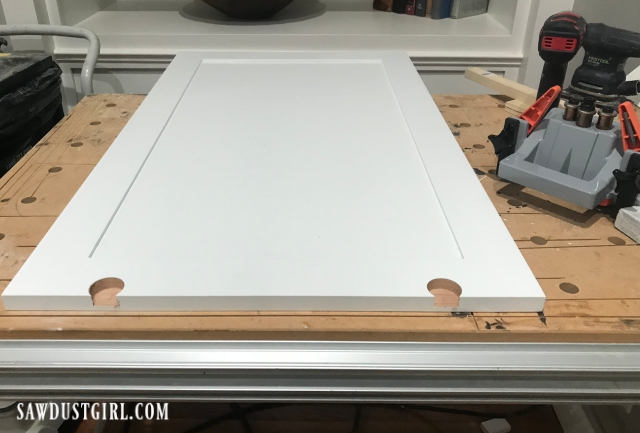
Upper and Bottom Glides
Each door gets a set of upper and bottom glides. The bottom glides have red markings and the uppers have black. Each glide has a tab that sits inside the plastic track, which keeps the doors centered.
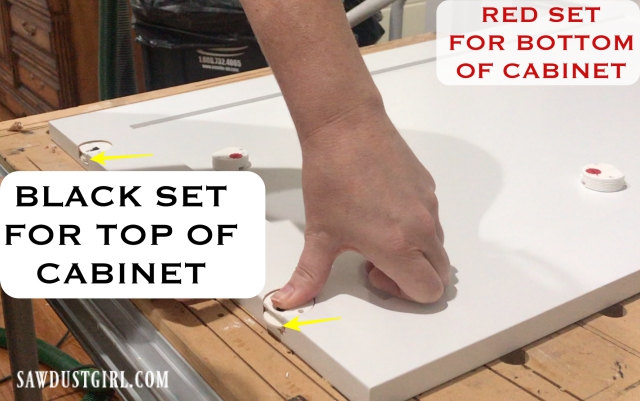
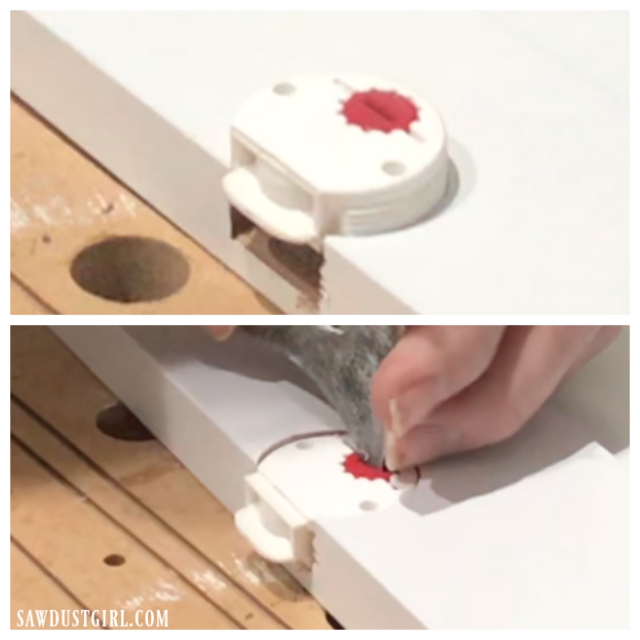
The bottom glides have a wheel, in addition to the tab. This wheel rolls on top of lip of the plastic tracks. If you need to raise the door, the tab and wheel can be extended.
The top glides just have the tab that inserts into the track. This tab retracts so it’s out of the way while putting the door in place. After you set the bottom glide into the track, you tilt the door up and then extend the top tab into the top track.
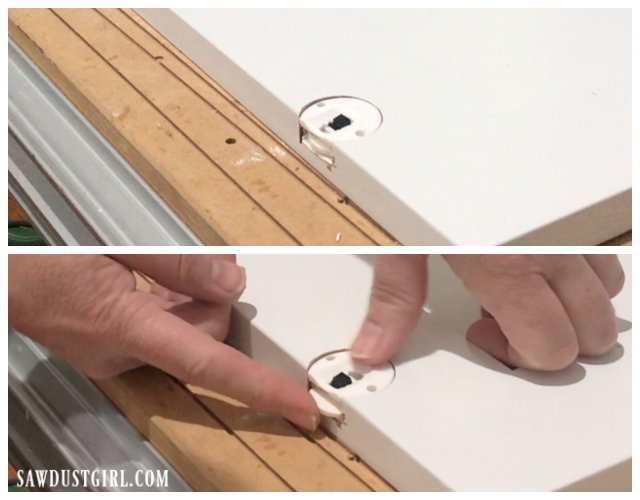
These are not the easiest things to get in place. A couple of them I was able to push in with my thumbs but some of them required – more force. You can see that in my video below.
Sliding Cabinet Doors with Inset Track and Glides
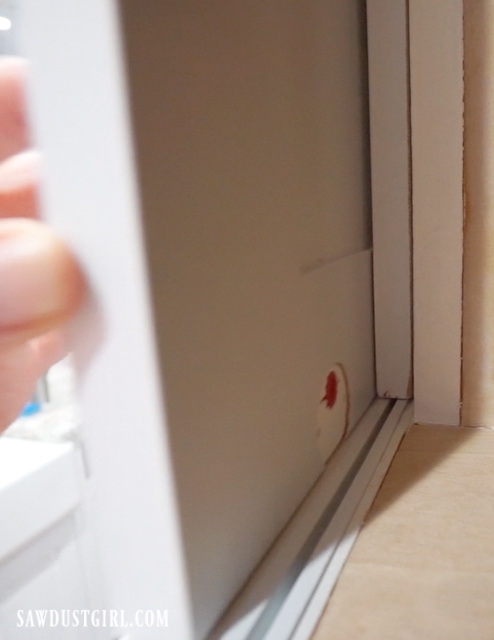
The doors are bypass, so either one can be closed on either side of the cabinet. This is another thing that probably didn’t really matter, but I sized my one of the cabinet doors 1″ wider than the other. The wider one meant to be the back door, which would recess behind the faceframe stile on either side of the cabinet.
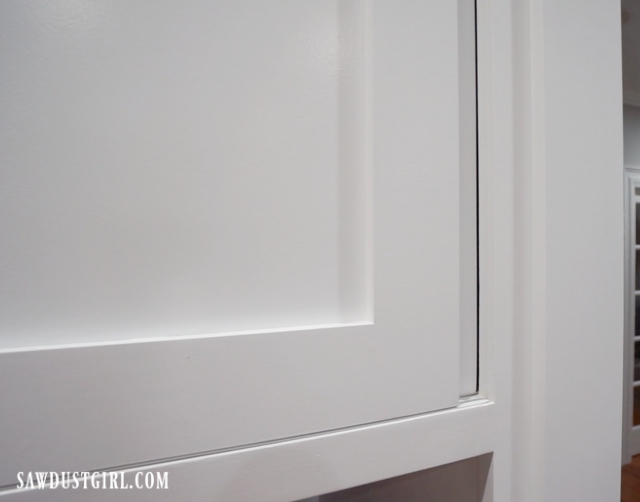
The back door can be closed on either side of the cabinet and will sit 3/4″ behind the faceframe.
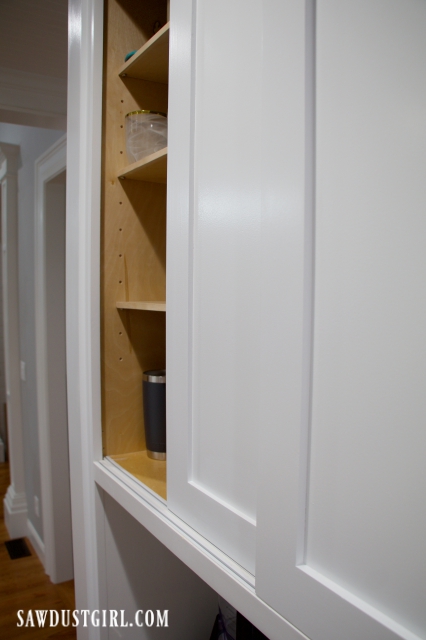
I like having sliding doors on this hutch because it’s a thoroughfare from one side of the house to the other. I bought some recessed pulls that I still haven’t decided if I’m going to install or not. I like how the doors look without them.
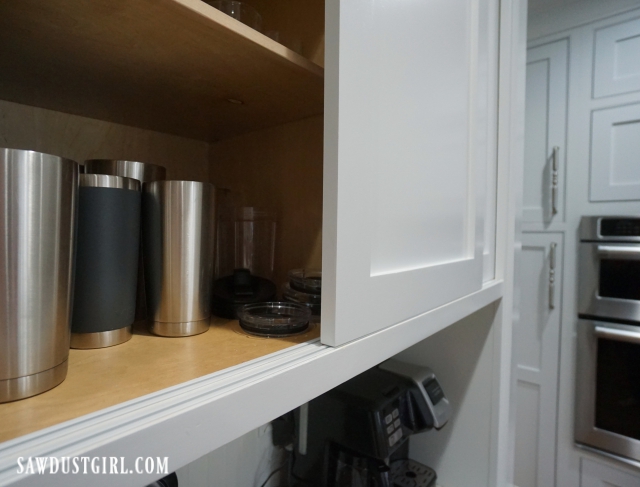
I’m planning on selling this house as soon as it’s ready enough to sell so I really don’t think I’ll ever find out if the doors get dirty from hands pushing directly on the painted panels. I also don’t think the detail of “having” or “not having” pulls on the coffee hutch will make a bit of difference in the big kitchen picture.
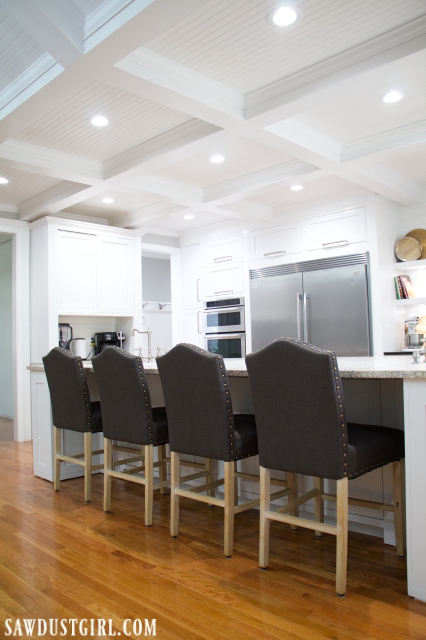
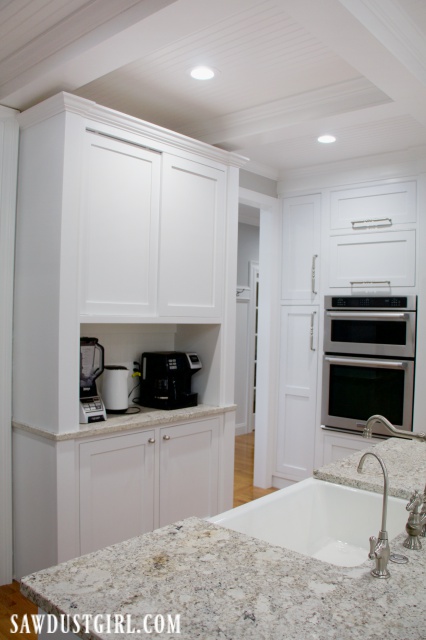
But maybe I’m wrong. What do you think? Do I need to bother taking the doors down and routing in a hole for the recessed pulls? Would it matter to you if you walked into this kitchen as a potential buyer? Remember that I’m now finishing this house to sell it, not to live in it. What would you do? (No promises that I will do what you say. LOL)
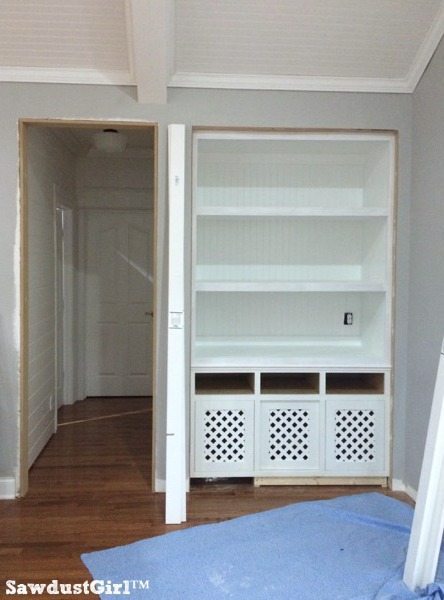
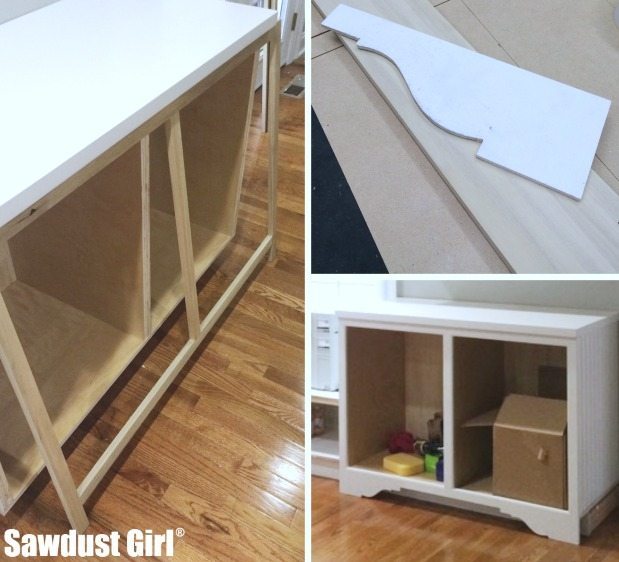
Beautiful remodels. I’m updating a 50s bath, very small, and hoping to find a cabinet maker who will build a new vanity with bypass doors, similar to what I have.
I hope you find someone that can do that for you. If not, you could always build one yourself. 😉
How did you find white tracks and 35 mm sliding pcs? I have looked at rockler and hafele and all I can find is brown. Did you paint them? If so wouldn’t the paint get rubbed off and the brown start to show through? Great job on your project.
I can’t remember. I searched online.
Bummer, I’ve been searching as well. I held my breath as i approach the bottom of the page just hoping someone had asked.
If it’s ok to post this:
I just found white sliding door tracks on opentip ”HDL-H404-14-701”. Shipping is pricey but its length is measured at 98”.
Just ordered all white materials from the builder supply.com
YES, I’m in the process of researching sliding cabinet door hardware right now and I am increasingly bewildered at how difficult it is to find the right product. I emailed Hafele directly, asked for their recommendation for my project (sent drawing and specs) and was completely dissatisfied with their service. I was quoted $772 for hardware for 6 sliding cabinet doors measuring ~24″x~24″ x 3/4″ ea. plywood. I’m thinking maybe I just got a bad representative so I might call them. I just sent the same inquiry to Hettich. Rockler has a hardware kit that looks similar to what you used. That was the first kit I found but later thought that my client wouldn’t like the plastic-ness of it. So started researching more.
I have a few questions: the doubling up on the face frame idea is interesting but I would be concerned about all that door weight hanging on the glue joint…have you seen any problems with that? Maybe you used dominoes and are not concerned? And, have you seen any problem with wearing down of the plastic material in the “hardware”? I realize you may not have lived in the house long enough to notice. I’m opting toward metal tracks and hardware as much as possible but with how difficult it is to find these kits I might just buy the Hafele or Rockler…to save my head from exploding.
Thanks a lot for this post!
I didn’t use this cabinet long enough to see any wear on the track. I really don’t anticipate that being a problem since the door part is a wheel so it rolls on the track (rather than rubbing). Honestly, if I were to use that hardware again I would just use the door part and skip the plastic. Simply route the groove the appropriate size for the wheel, rather than large enough to add the plastic insert.
As far as the double faceframe goes: That’s a lot of face surface to laminate. If we were talking end on end, I would strengthen with a dowel or tenon.
Hi,
Love this cabinet. Do you happen to have any plans/dimensions?
Love you work too.
Cheers!
John