Converting Child Sized Vanity – To Adult Sized
This little vanity makeover is the perfect glamorous touch for a pretty bedroom redo. DIYing the legs let us customize the height which saved us a bundle of cash!
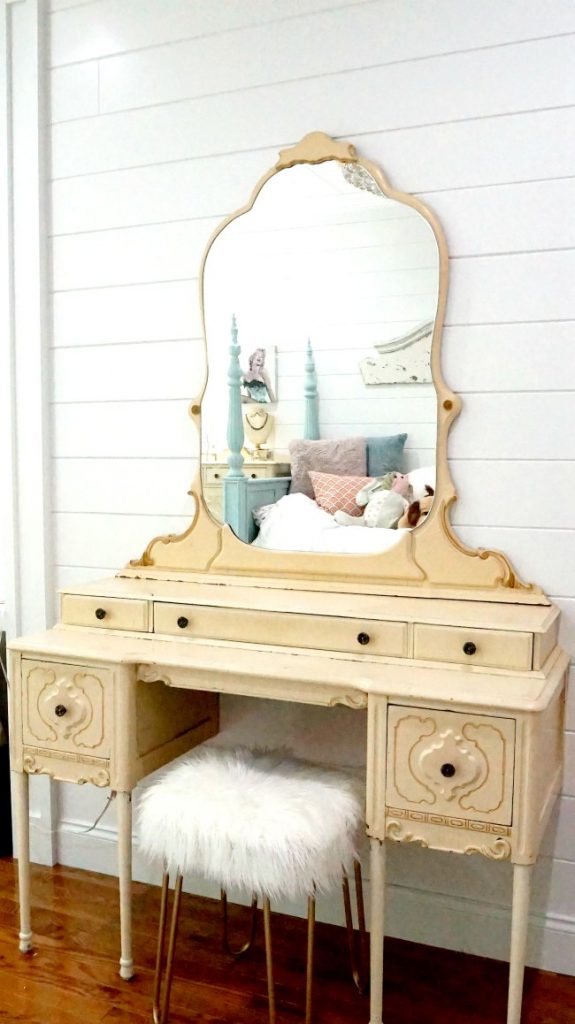
I wanted a vanity area in this bedroom so it was a priority on our shopping list. Unfortunately, everything we saw that would work was pretty pricey, especially the antiques and vintage pieces – which is what I really wanted.
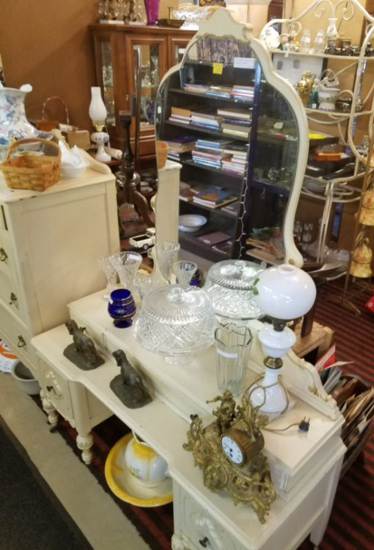
However, I did find this child size vanity that had the vintage glam feel I was going for, and was priced really well, $549 less than the adult sized option.
Unfortunately being a child sized vanity, it was extremely short so I knew I’d have to get creative to add some height.
Step 1:
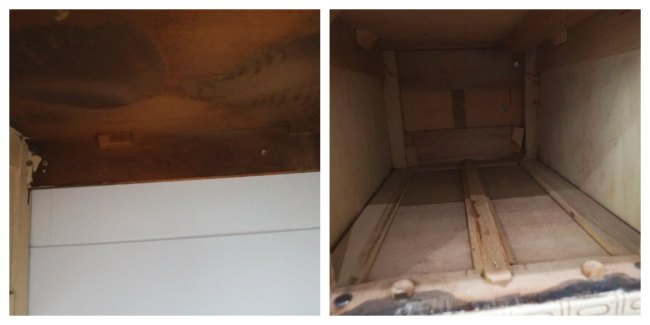
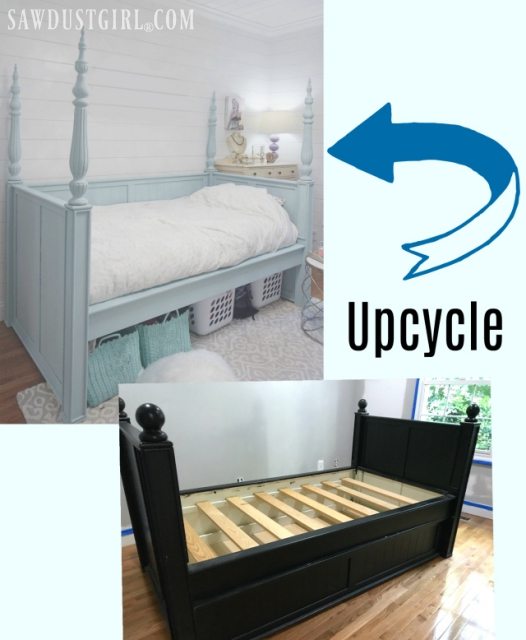
We were hoping that the legs were screwed into the vanity top. No such luck. Our legs were secured with glue and very securely attached. So I used a sawzall to cut off the old legs. We recycled the leg pieces to help create the posters on the bed makeover. Free handing the cuts made the surface slightly uneven, but I did my best to get it straight and even. Next I secured the Vanity to the wall through a structural cleat. If the vanity had not had the cleat, I would have glued one onto the back of the piece. I used 3 in wood screws and made sure that they went into the studs.
Step 2:
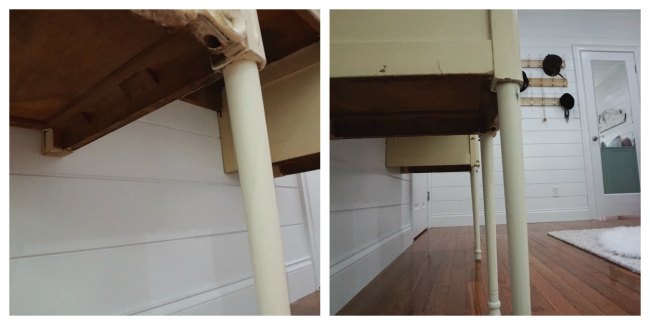
Next I measured and cut the new legs to the correct height so that they would be tight between the vanity and the floor when installed. I created a little two sided shim jig that I secured to the leg with a small pin nail that held the leg plumb and level while I cut the leg on a chopsaw. Then I used some wood glue to attach them to the vanity. The glue gave me just enough time to adjust the legs so that they were plumb in all directions before it bonded and held the legs securely.
Step 3:
Once the legs were secured I gave the glue a good 30 minutes to dry. Then I rubbed a dark stain in areas on the legs that I wanted to distress later. I let the stain dry completely and then I rubbed a thick layer of wax onto the stained areas. Then I used Fusion Mineral’s Buttermilk Cream that was a near perfect color match to the original vanity paint, to pint the new legs. The hide was great, I only needed one coat, and the paint went on so smooth and creamy. It dried really fast and flat–have I mentioned how much I love this paint? Once the paint was dry, I rubbed, scraped and sanded until the finish on the legs matched the distress on the vanity.
Then it was done–it probably took about 2 hours total to revamp the vanity and we saved over $500–not bad! The added bonus of this vanity is that it is only about 15 inches deep, so it doesn’t protrude into the room very far but still gives plenty of storage. This is a huge plus in making our small room design work well.






Love it! I’m sure Madison does too!
Super cute! Madison has good taste!
Also looking for a vanity, but in adult size, unfortunately it can’t be short. Of course the ones I want are pricey, hoping to make a secure payment soon. Glad I could come here for any painting tips.