Building a Side Wall for End of Cabinets
After adding beadboard to my cabinet sides, it was time to tackle the crown moulding, I knew it was going to be a chore to figure out how to deal with the 1×5’s that come down the angled ceiling and meet up with my cabinets. One of the 1×5’s ended halfway overlapping my cabinet run. That 1×5 originally extended further down but I cut it back when installing the angled cabinets. I wasn’t sure what I would do with it at the time and left that to figure out later as the task I was concentrating on at that time was installing the cabinets.
This little space here will be a desk area where the countertop will be lower than the 36″ countertop height on the island cabinets. I thought about ripping a piece of 1×5 down to fit on the ceiling along side my cabinets. This would make it appear that the 1×5 ran all the way down to the end of the slanted ceiling. That would solve the 1×5 problem but how to end my crown moulding was another problem. I didn’t want to attempt wrapping the crown moulding around the side of the cabinets and angling it down along the angled side. I am just not interested in math and angles and fiddle factor.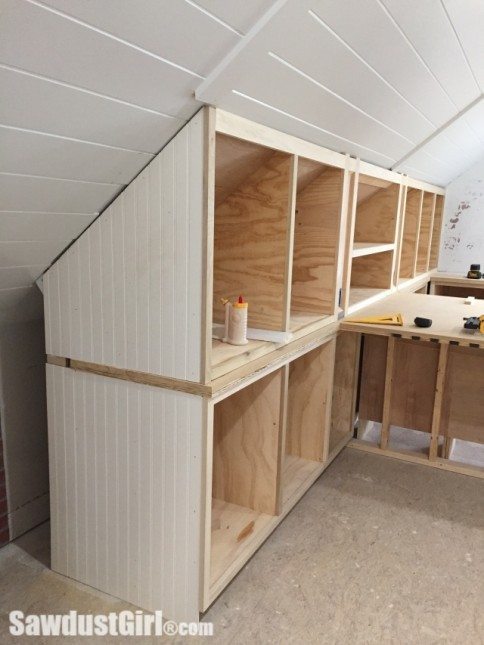 I decided to build a wall on the end of my cabinets that stuck out far enough to where I could simply terminate my crown moulding into the wall. I had to cut away a little more of my 1×5 but my oscillating tool and trim puller made that an easy job.
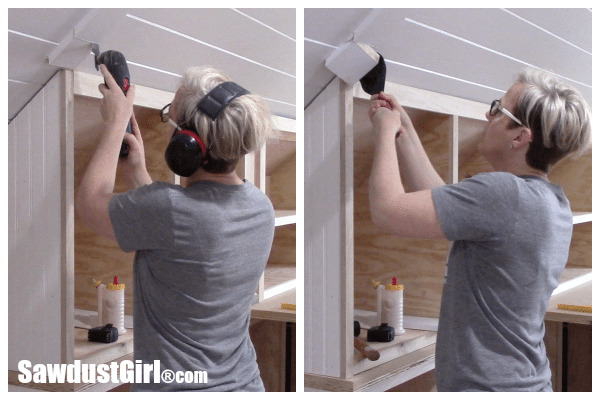 I eyeballed cutting the 1×5 straight up (which was actually at an 40º angle if I were to cut a new board and put it up in the place of the existing 2×5). I cut my initial vertical stud, put it in place and checked it for plumb to make sure it was the correct length. Then I built the rest of the wall with the location of my desk in mind.
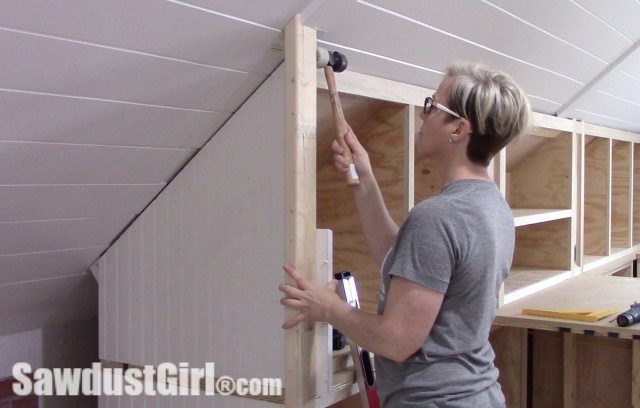 I added a horizontal brace onto which I could attach my desk countertop. I also had to make the wall only extended to the end of the cabinets so I can still get behind them for electrical access. I filled in the rest of the upper portion of my wall with scraps of 2×4’s I had on hand. It wasn’t pretty but I just needed something to attach my drywall to and scraps did the trick.
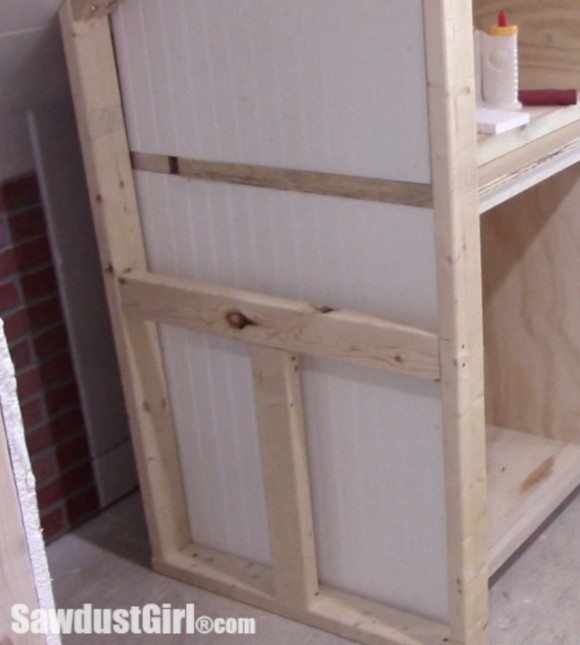 I may or may not cover this wall with beadboard when I get around to creating the desk. I threw up some drywall for now so it doesn’t make the whole room look messy.
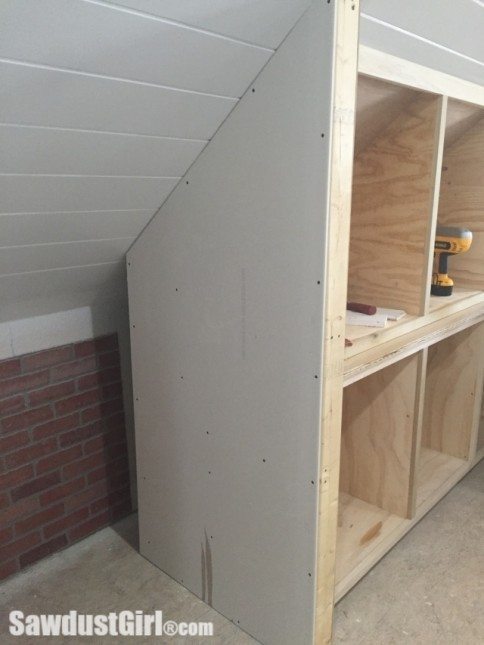 On the island cabinet side, I snuck a small strip of beadboard into place and NOW the cabinets are ready for crown moulding.
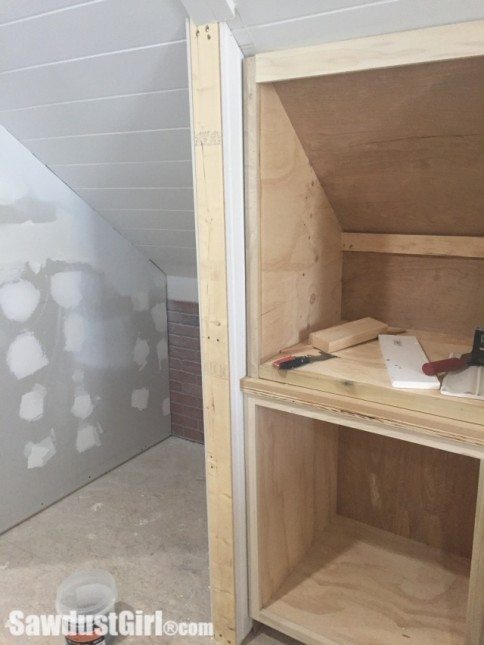

I put up the beadboard before I decided what to do with the crown moulding. When I decided what to do with that, it called for the wall.
???? I was thinking the same thing.
I’m confused about why you covered the bead board on the end of the cabinet?