Building a closet around wonky angled ceilings
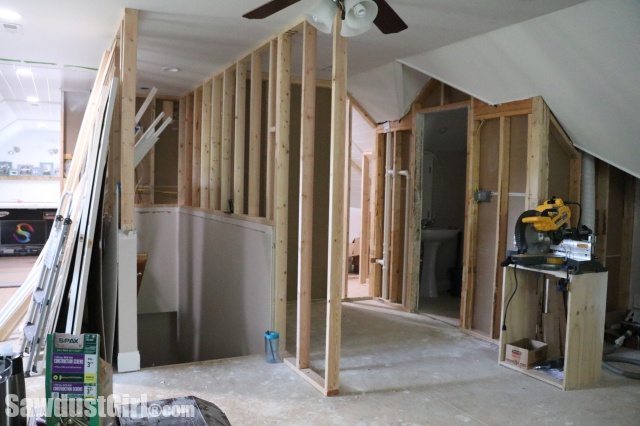
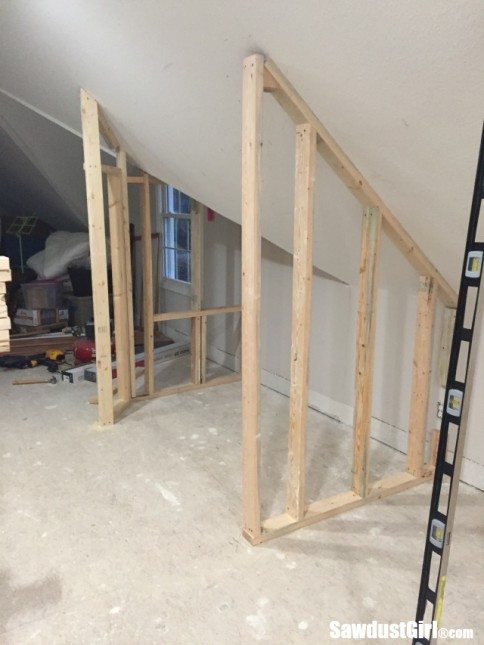 Part of my craft room plan includes building a closet around the wonky angled ceiling situation on the “craft room” side of this window. With the ceiling coming down so low, it’s not going to be anything amazing but it’s enough space to store large bins and boxes. PLUS, it will make a super cool secret hideaway for visitors that would enjoy playing, reading or hanging out in a secret hideaway. In case I ever have any visitors of that particular kind. I’m planning a window seat/daybed under the window and want to enclose that space on the sides. Building a closet here creates a good transition from the window seat/daybed area to the craft room. I should point out that these walls are simply partition walls. They are not weight bearing walls. They’re a bit wacky looking but they’ll work.
Building a closet around wonky angled ceilings
I put up the initial wall weeks ago when I first started this craft room project. That wall designated the start of the craft room space and I went from there when developing my craft room design options. Now that I’ve settled on the design plan, it’s time to build it all out – starting with the closet. I used some 2x4s on the floor to map out the footprint of the closet. I wanted to make sure I was leaving enough room for a comfortable walkway into the craft room. I’m leaving between 48″ and 52″.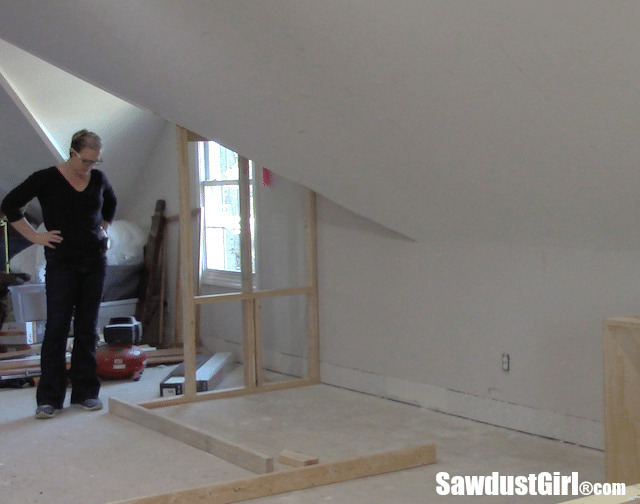
I generally build walls on the floor and then tip them up into place but I tried that once before on a slanted ceiling and it didn’t work out great. I decided this time to build it piece by piece, starting at the top. I really should invest in a third hand or two.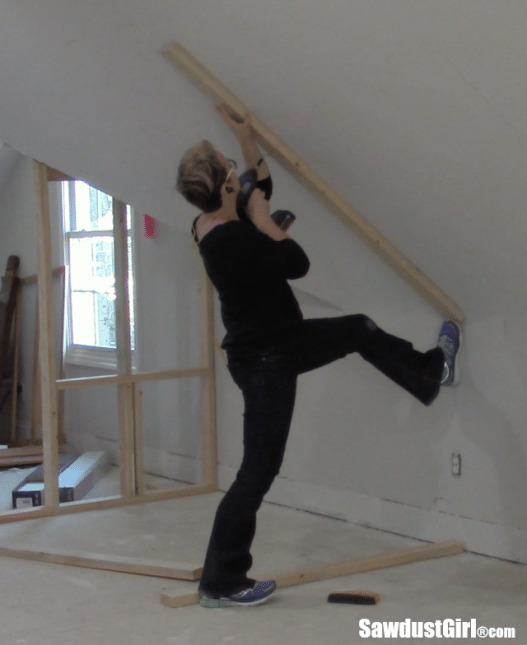
I measured and cut the first vertical piece and then screwed it into the top stud. I made sure it was plumb, which meant I’d cut the top and bottom studs each at the right length — they obviously aren’t the same length like in a normal wall.
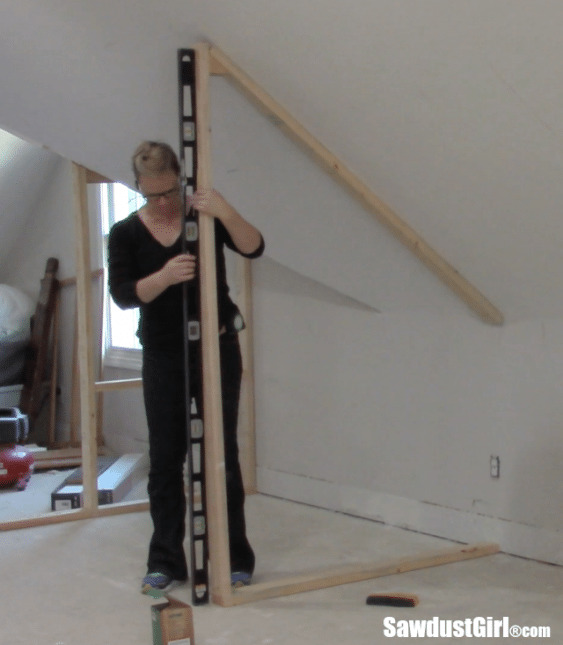
Plumb – check. Then I secured the vertical stud to the bottom stud using another stud as a brace to keep the stud I was screwing into from moving while I drove the screw. I’m using 3″ SPAX constructions screws instead of framing nails because screws are way easier to remove if you need to start over. There was a lot of discussion about screws versus nails for framing walls on my facebook post a while back and the thing to remember is …these are interior partition walls…I feel perfectly fine using screws here.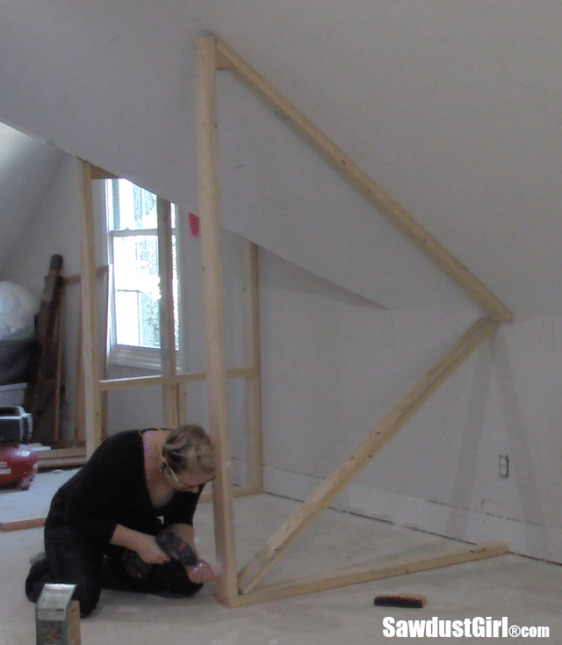
When you build a wall piece by piece, it can be helpful to use a plumb bob to transfer the location of the top plate to the floor so you can secure the bottom plate exactly underneath it so the wall will be level. I didn’t do that. I secured the vertical stud to the bottom plate and then used a long level to find the right placement of my bottom plate before I screwed it to the floor. I did the same thing with the opposite side of the bottom stud…except I cut around the outlet…which looks completely wrong at this point but I need the power in that outlet for a light in this closet so at some point I’ll tap into it but I’m just leaving it alone for now. 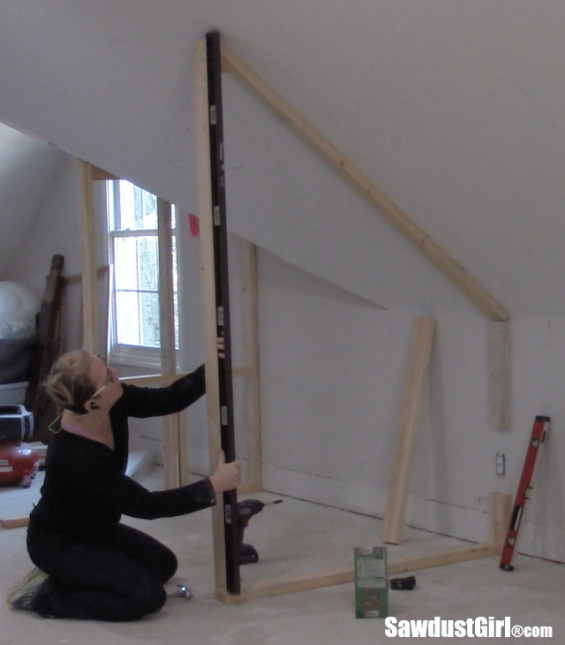
Once that bottom stud was in place and level at the front and back of the wall, I filled in the wall with studs. I had to measure and cut each one separately because they were all different lengths.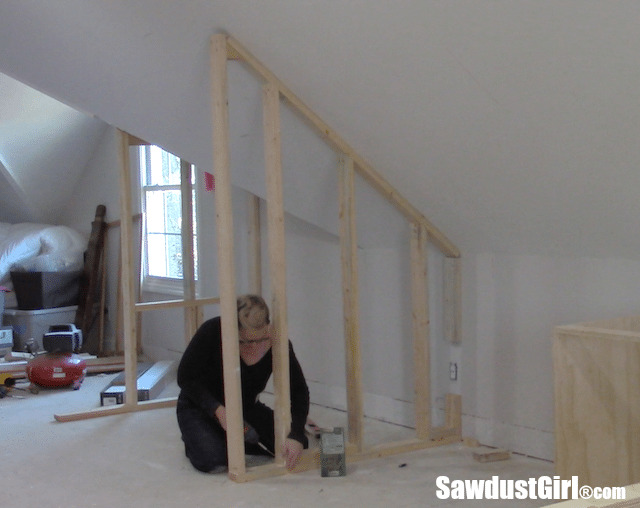
Once the wall for that side of the closet was up, I built a small wall section and secured it at an angle to the opposite closet wall. It’s all just a vision in my brain right now but I want this little angled transition wall to give me the extra depth in the closet but not create a den out of the daybed area. I want the window seat to have a bit of privacy but I don’t want it to feel like a cave.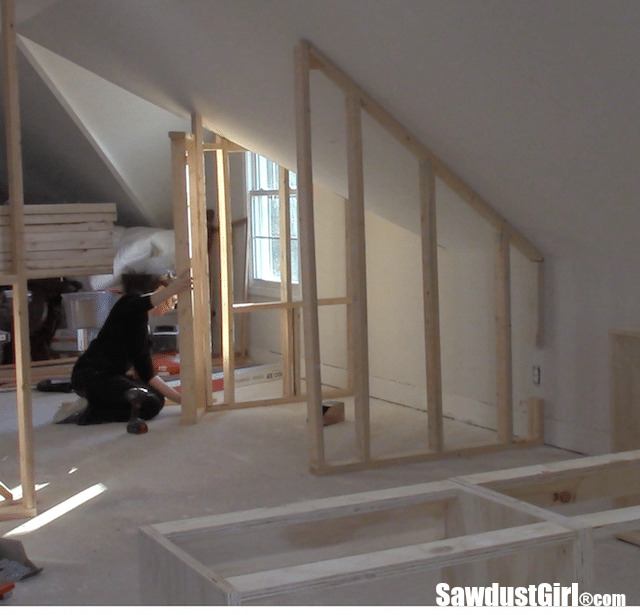
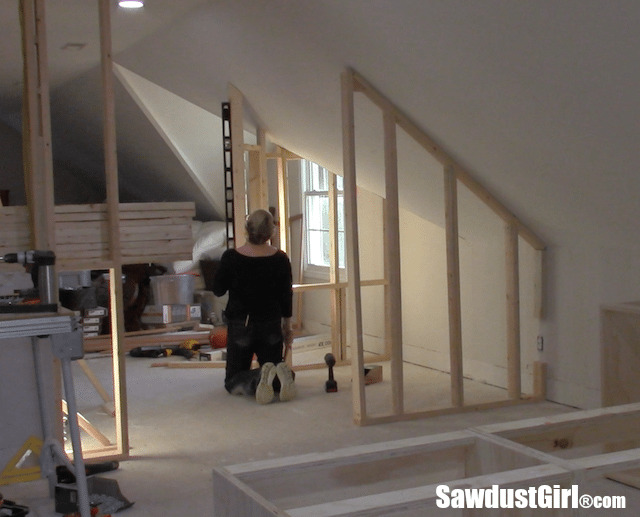
This angled wall on an angled ceiling was too much for my brain to figure out. Not even kidding. It’s totally hacked but it’ll work. 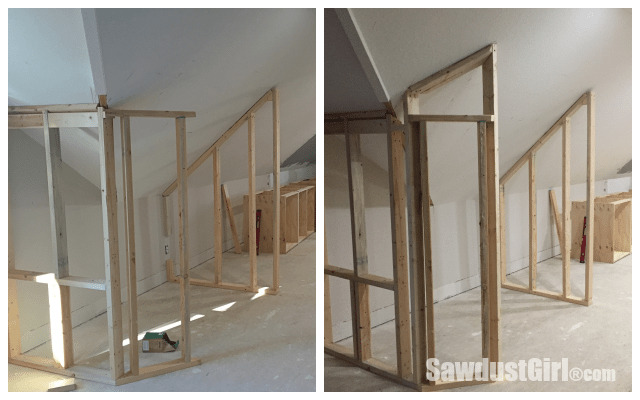
Building a closet is not my focus right now but it had to be framed out at this point because the space that is left now is the craft room space…so now I can move forward on the craft room! Sheesh, there’s always so much that has to be done before you can actually do what you want to do. Know what I mean? 
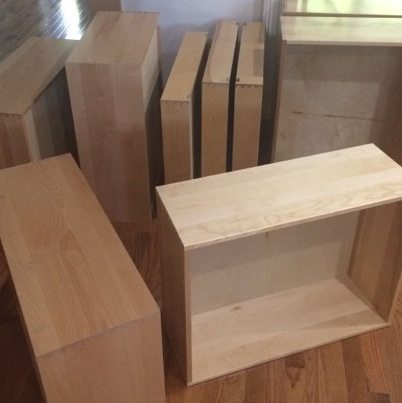
I want to make a closet in a room with slanted ceilings but add drawers in part of it. Have you ever done anything like that. I am thinking if you put the frame work up and use the slide hardware for drawers it wouldn’t be that difficult. Have you ever done anything like that?
I’ve built angled cabinets. Not for a closet, but in my craft room. https://sawdustgirl.com/building-angled-cabinets/
Just found you…you are amazing. I have a loft as well and needed some ideas thank you…
Thanks!
I knew I learned a few (hundred) tricks from you! Love the leg up on the wall! Classic.
I just love watching you work things out. The only way I’ll ever be able to tackle a project like this is if I split up with my SO of 17-years-and-counting (not a positive reason! still…), so I guess I’ll just have to live through you vicariously. We just finished a beautiful remodel, for which I did all the CAD work and had huge input in the design work, as well, and that was great. But he wasn’t too interested in actually doing any of the actual building, darn it! Just looks like so much fun!
Wes has gotten much better about coping with living through my projects but it’s been a journey! LOL It’s exciting to get involved as much as possible, whether designing or doing the work. I have to say, the actual labor is not what I would call “fun”, but it is rewarding once you get it done.