Drilling Holes for Cabinet Pulls
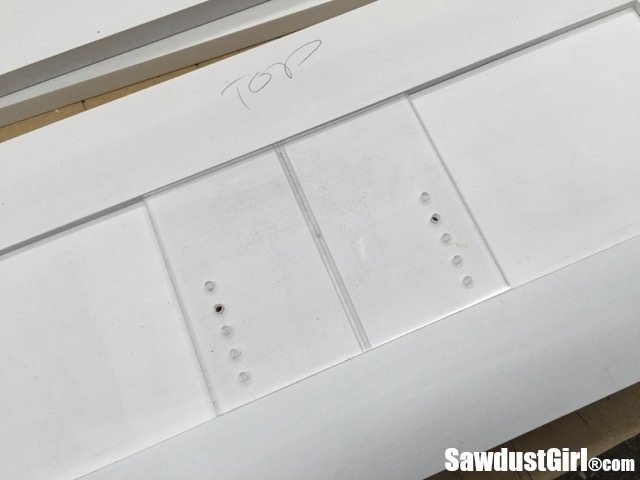 Since there will be lots of pencil marks involved in this process, I wanted to complete Drilling Holes for Cabinet Pulls before I went through the meticulous process of painting my pantry drawer fronts. I created a custom template to ensure accurate placement consistently on each drawer.
Drilling Holes for Cabinet Pulls
Now I just had to find the center on each drawer. Because I want the pulls centered in the drawers and the holes are 1/2″ lower than center, I made sure to mark “TOP” on each drawer as a future, quick look reference.
I measured and marked the vertical center.
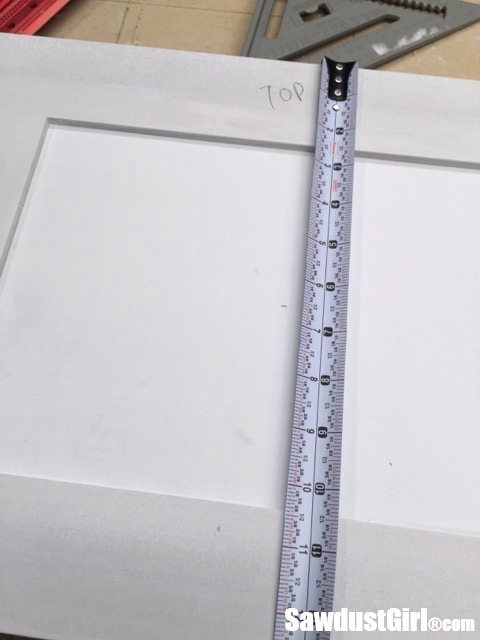
Then I used a T square and lengthened that center mark to about 6″.
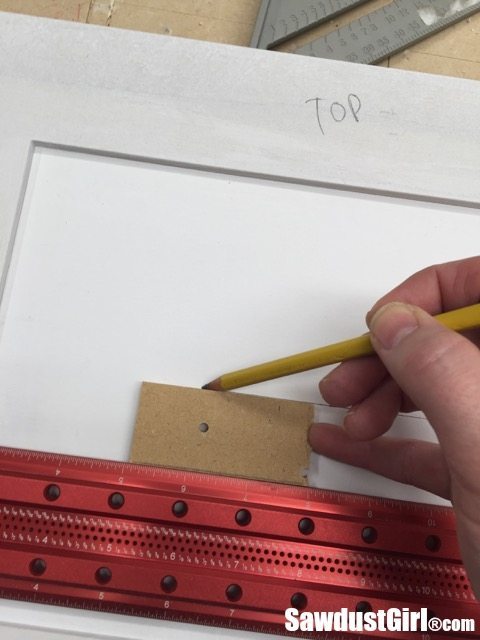
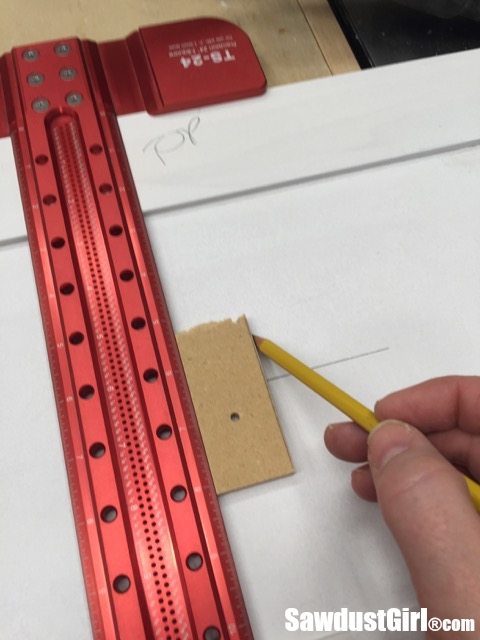
Because the panel is recessed and the T square was sitting on the “frame” that was 1/4″ higher, I used a scrap of wood to help make sure my pencil didn’t stray under the Tsquare. It rested against the Tsquare but set down inside the panel allowing me to push my pencil against the scrap of wood.
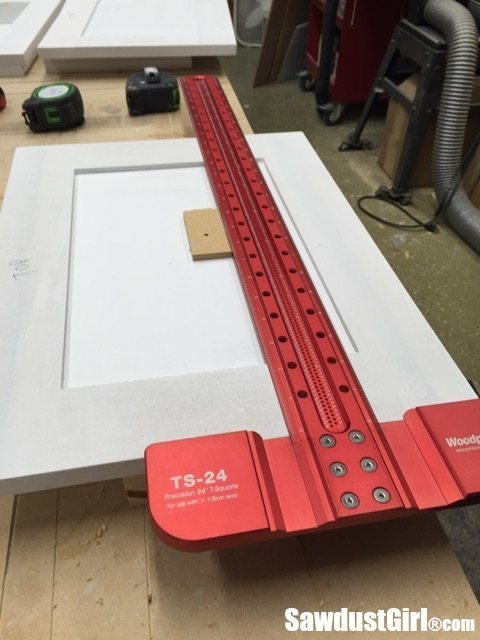
Next I measured and marked the lateral center.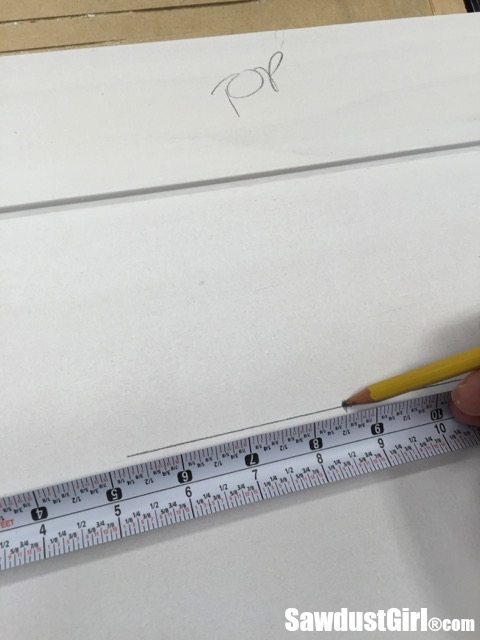
I lengthened that mark with the same Tsquare and scrap of wood method previously explained.
I went ahead and marked the center of all my drawer fronts before moving on.
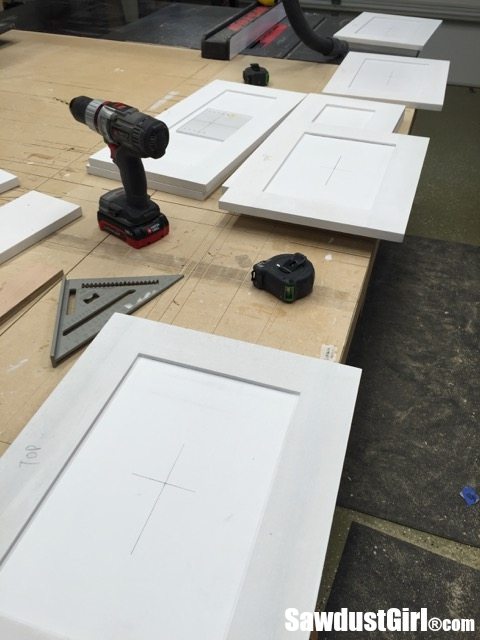
Drilling was pretty easy with my custom template. I did add a slight line down the center of template that was not included in my post yesterday. I lowered the blade WAY low and ran it through my table saw.
Since I drilled my holes every 1/2″, and my drawer pull holes are 1/2″ lower than the center of the pull, I lined up one row of holes on the center line and then drilled the holes directly under the center line.
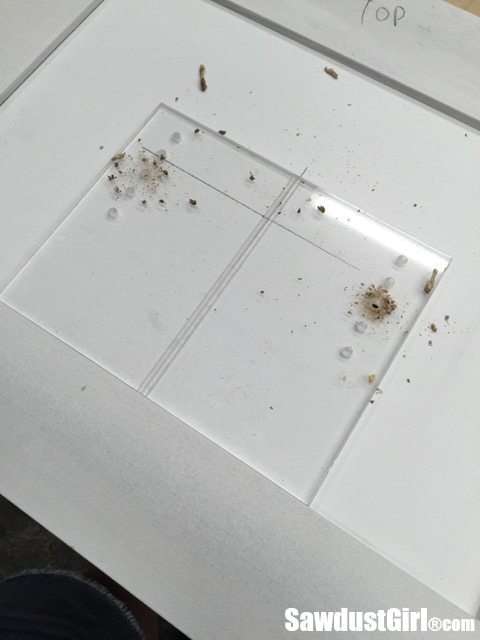
I messed up twice and drilled ON the center line so I had to fill those holes and re-drill. It happens. Which is another reason why I wanted to drill the holes before I painted.

