The Best Wood Patch to Buy 2021
I’ve done a couple other tool reviews on here over the years. You can check out my other new tool purchasing guides here. Part of sharing all of the experiences I’ve had and projects I’ve done means I get a lot of questions asking for my reviews of products, how I decide what to buy, and which brands I think are the best in the business. Generally, my answers depend a lot on who’s asking–picking the right products typically depends on the consumer. You need to have the right tools for your skill level, desired interest (if you’re only going to be working with them casually compared to starting up a cabinet-making business, etc.), and also your budget, along with any other specifications that you may want or need in them.
Today, I’m making an exception. Let me tell you why. I have found the BEST wood patch I have ever used, and I honestly don’t think I could ever go back.
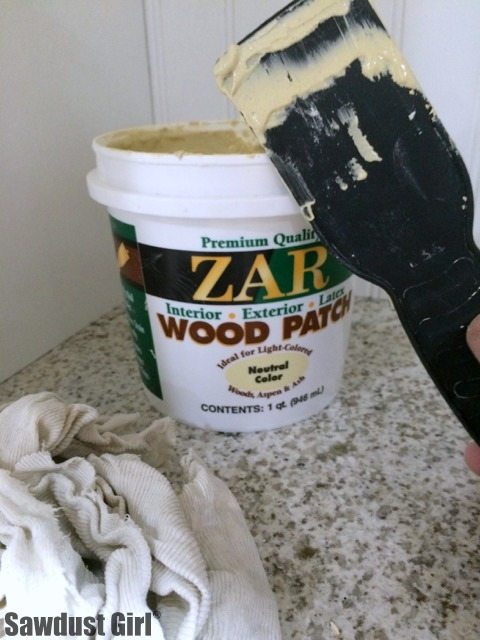
Now, normally, my favorite products don’t change all that often. However, I can’t say that I’ve had a special love affair with any particular wood patch or putty in the past–but, wow, that has changed! I recently mentioned my love of ZAR wood stain with my Stain Color Fan Deck post. I had just run to my local lumber yard (where I purchased the stain) to grab some wood putty, and I saw this small container of ZAR Wood Patch. Since I had just found and decided I really really liked the stain, I thought I might as well give this other product a try. So, I did and the rest is history!
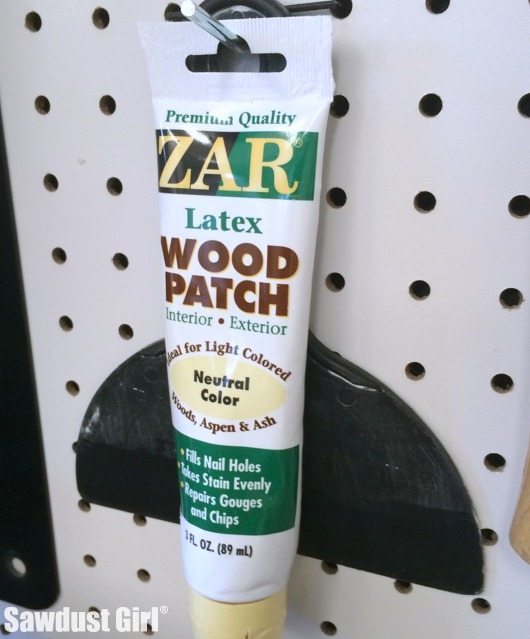
Obviously, the little container didn’t last long with the amount of wood patch I use! Now that I know how good the stuff is, I make sure I have a couple tubs on hand at all times. Also, a plastic spreader — because that’s what the directions say to use.
How to Use the ZAR Wood Patch
Like most wood patch, the instructions aren’t terribly complicated!
- Wipe wood with a damp cloth.
- Spread ZAR wood patch on area with a plastic putty knife.
- Apply in a couple coats if you have a large hole to fill or it takes forever to dry.
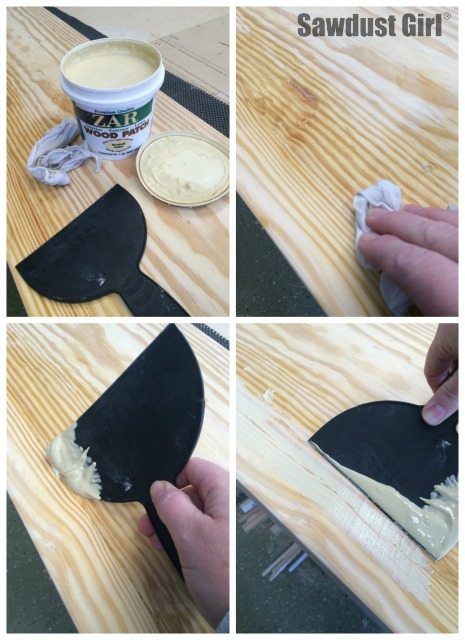
Make sure you slightly overfill. Then, when it’s dry, you can sand it flush with the wood. I am truly impressed with how well it holds up when dry!
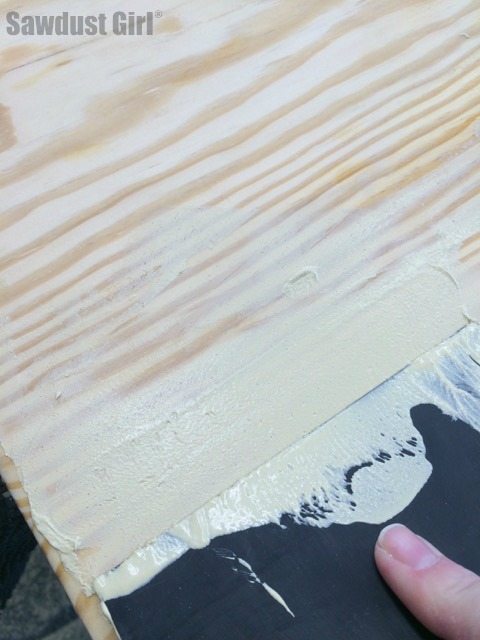
I’m not sure what kind of magic they put in here. Maybe it’s the dampening of the wood first that opens the grain slightly or something else, but it’s like the wood sucks the wood patch right into it’s cracks, holes and crevices. All of the little (and not so little) imperfections I’m trying to patch up just soak it right up and it quite honestly looks good as new. It sticks to anything, so it’s perfect for fixing “mistakes” in a finished piece. (Story of my life!)
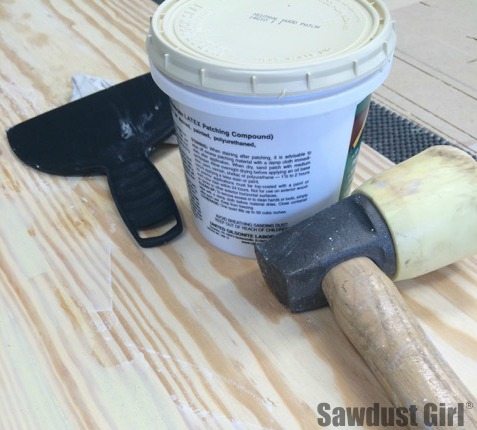
The coolest thing about this is that it never dries out! After you’re done using it, you can pour some water in to cover the top of the putty, then seal it up with a rubber mallet. When you want to use it again, pour the water off and you’re good to go! Genius!

This is the neutral color patch that I found when I was browsing, but there are a couple different colors to choose from, like golden and red oak. It goes on yellow but dries white, so you know when you’re good to move on to next step, whether that be another coat of patch or sanding.
It dries really hard yet is super easy to sand. One of the things I’ve struggled with from other patches is it sometimes not drying completely, and that obviously won’t do. Thankfully, this stuff is hardy.
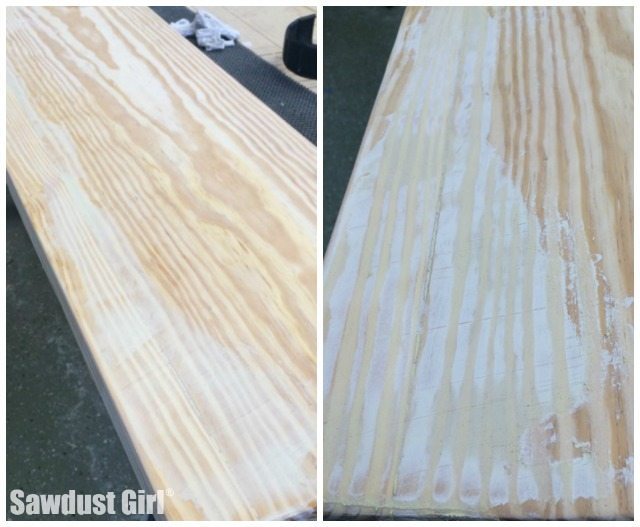
It doesn’t shrink and it takes stain really well — though I end up generally filling imperfections, and then painting most of my projects. Either way, it works awesome! I am so happy I just got the urge to try a new wood patch. I couldn’t go back!
Two thumbs up for ZAR wood patch! The best wood patch in the history of ever…or at least my current favorite!


Amazon. The answer to most buying problems. But you can also order it to ship to your local Home Depot in CA. I just did.
I just found some Zar oil based stain yesterday at a local hardware store.. I never used oil based before and didn’t want the messy cleanup, so I passed it up. Are you aware if it comes in water based stain?