DIY Napkin Rings – easy diy project
Whether you are looking for a unique hostess gift or just want to add a natural element to your table setting, these DIY napkin rings are fast, easy, cheap, and very WOW! This is a super easy diy project that will add a special touch to each place setting at your table.
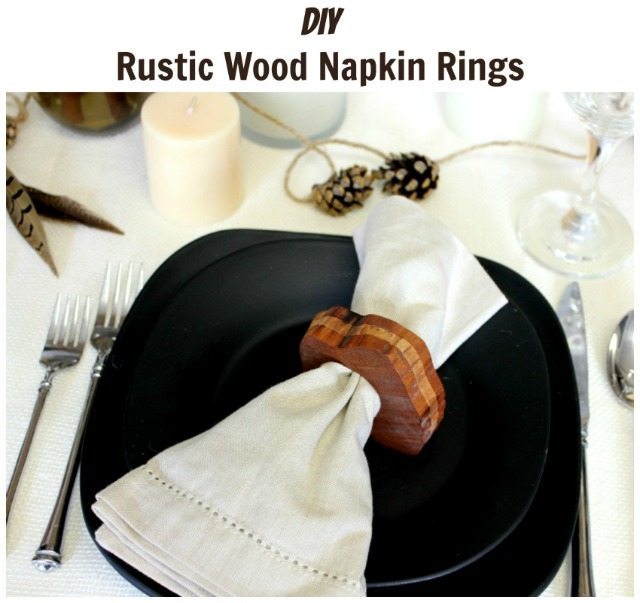
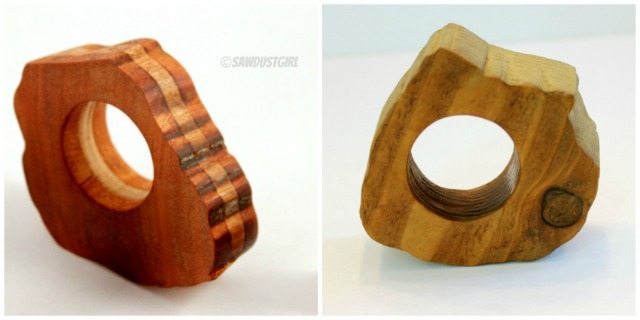
I used some 3” x 3” pieces of 1/4” walnut and maple that I had leftover from another project. I laminated them together to create striped pieces of wood that are 3/4” thick.
If you don’t have 1/4 inch wood scraps laying around, you can easily substitute any 3/’4” solid wood pieces of your choosing. I made one napkin ring out of some reclaimed pine that I had in my shop as an example. The one on the left is made of 1/4” maple between 1/4” walnut. The photo on the right is 3/4” reclaimed pine with distressed gilding on the edge.
How to make DIY Napkin Rings
1. Laminate Wood
You want roughly 3” x 3” wood pieces that measure 3/4 of an inch thick. For solid lumber this will be labeled 1”. For the laminated pieces I just painted a generous amount of wood glue on the 1/4” lumber and sandwiched them together in groups of threes. Then I stacked all of them together and clamped them and let dry overnight.
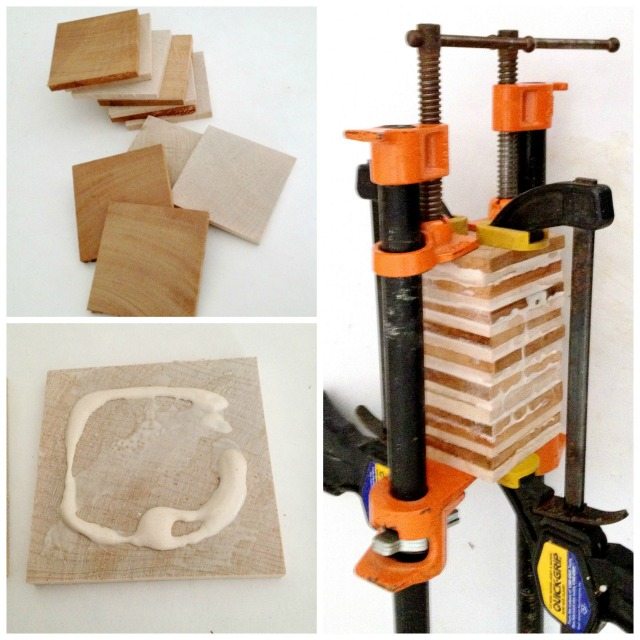
Don’t how messy the glue gets on the edges or getting the wood to align perfectly as this will all get cut off.
2. Drill holes and Cut Out
Draw an organic freehand shape on your pieces. Think leaves, acorns, any shape that seems organic and references nature. Now drill your center hole (although don’t stress about getting it centered). I used the 35 mm bit that I use for cup hinges to drill the holes, use what ever drill bit you have available. You want a minimum of 1” hole so that a napkin can be easily threaded through.
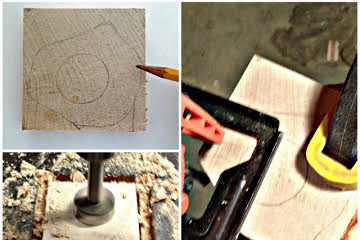
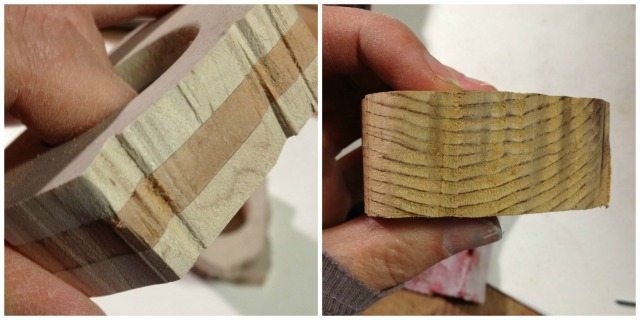
Using a scroll saw or scroll bit on a jigsaw, cut out the shapes. The more you rotate the blade to create jagged and uneven cuts the more interesting and organic the finished product will be.
Here is a close up of some of the edge detailing.
3. Sand, Stain, Finish
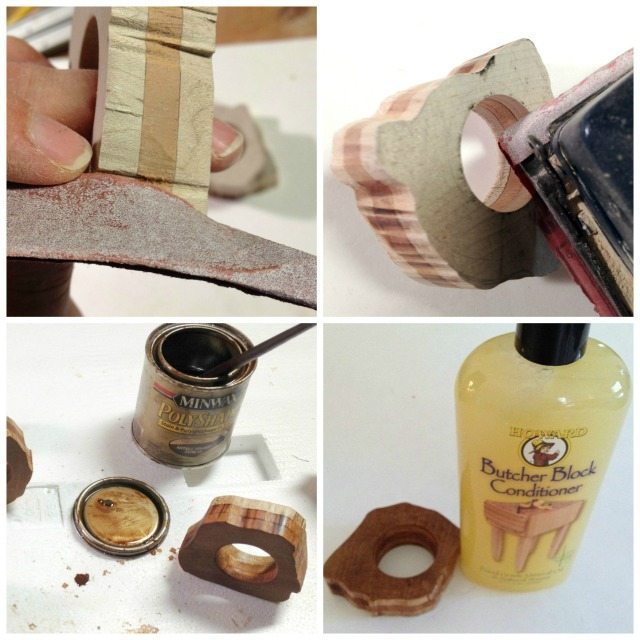
I sanded the tops and bottoms of my napkin rings with a palm sander, and the edges by hand. If you use an electric sander on the sides it smooths out the edges really quick and you can lose the detail. Stain or leave natural. Then choose a way to finish them. I used butcher block conditioning oil, but you could use a polyurethane, lacquer, or clear wax. I wouldn’t use a colored wax as it may stain linens. On the reclaimed Pine I used some gilding paint to add a bit of sparkle. Then I used a clear paste wax to give the gold more staying power.
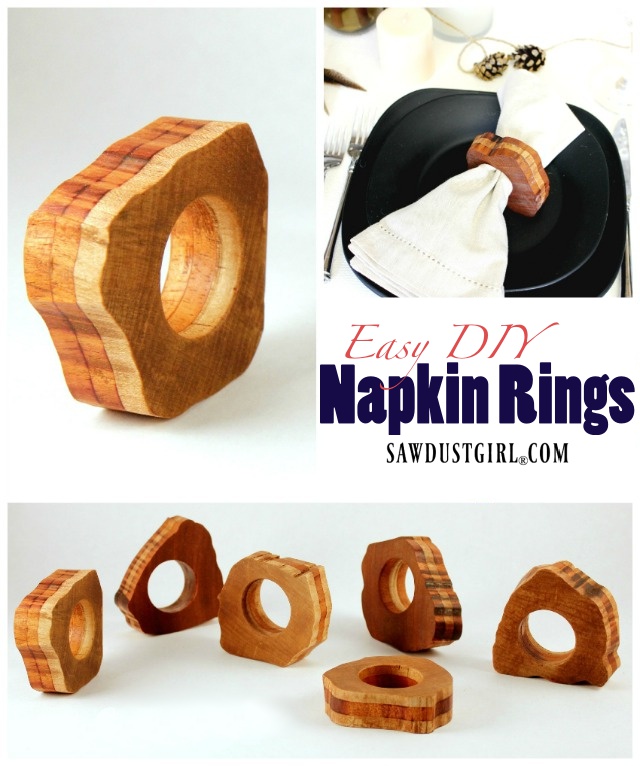
These napkin rings are so simple and easy to make. They’re sure to add a beautiful natural element to any table setting.

Sandra you need these on your tablescape without a doubt. Make up a batch quick!
Just thought of another idea since you mentioned the gold – gold-leafing the edges to church ’em up. So cool. Just another project to put on my TO DO list. 🙂
Whoa. These are sick. You could even cut out state shapes – that’s what I thought they were at first – the state of, I don’t know… Iowa? Love this idea!