How to Build a Cabinet Drawer the Easiest Way Possible
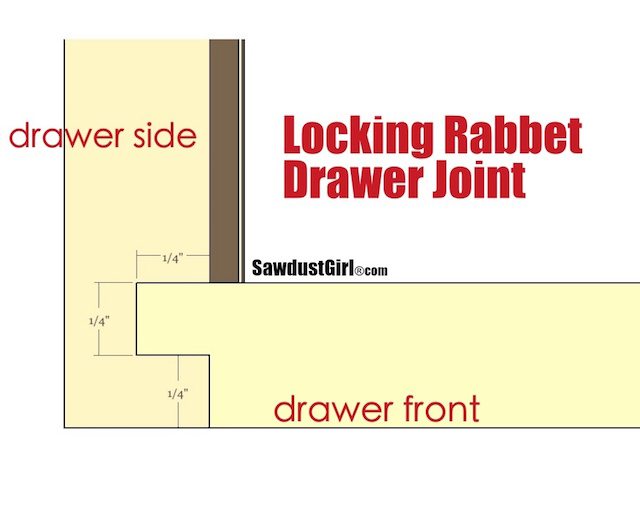
There are tons of different ways to build a cabinet drawer. You can get fancy with dovetails, box joints or locking rabbets. There are biscuits, loose tenons and pocket screws. In this tutorial, I’m going to show you how to build a cabinet drawer using the easiest possible method. You don’t need any fancy tools to cut dados, grooves, tenons or dowels. All you need are your drawer pieces, wood glue and a drill/driver. Your screws will be visible on your drawer sides so this method is best for heavy duty workshop projects or you need to be willing to do some filling with wood putty.
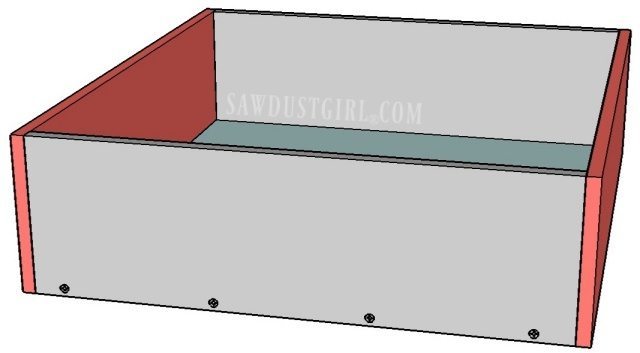
How to Build a Cabinet Drawer
Choose your Drawer material
We’ll be using 1/2″ cabinet grade plywood for all parts of these drawers, including the bottoms.
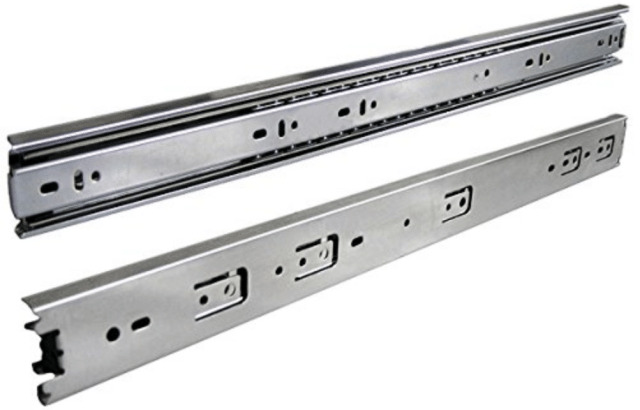
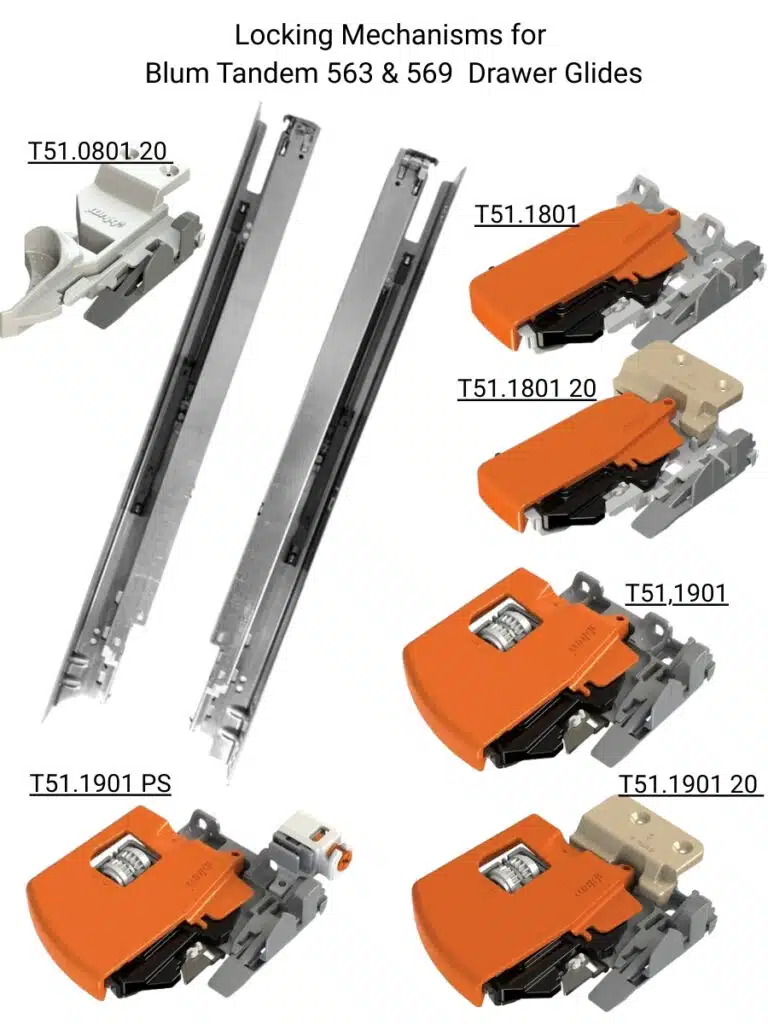
Select Drawer Slides
Most traditional, side mounted drawer slides require 1/2″ clearance on each side of the drawer. Let’s stick with those since it makes sizing your drawer super easy too. Not all drawer slides require the same clearance for installation. That’s why it’s important to always buy your slides before you build your drawers and make sure you build for the required side clearance.
Drawer Fronts
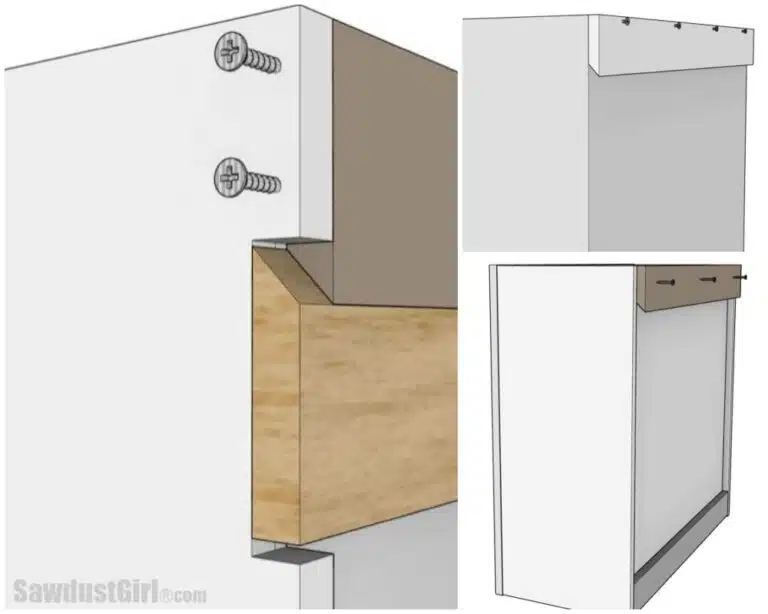
Inset drawers are more difficult because of the precision required to get perfect lines around the drawer front. Read this post to understand more about choosing inset or overlay doors.
For the sake of showing you how to build a simple cabinet drawer, we’ll be talking about attaching an overlay drawer front.
Sizing you Drawer
This makes it so easy to size your drawer! Subtract 1″ from the width and height of your cabinet opening to determine the outside dimension of your drawer.
- Width: Using 1/2″ side clearance drawer slides makes determining the width of the drawer super easy.
- 1/2″ Left side clearance + 1/2″ Right side clearance = 1″ total for side clearance.
- Height: With side mounted drawer slides, you don’t need a specific clearance on the top or bottom of each drawer. To continue with our “super easy” theme, I like to stick with 1/2″ clearance on all sides.
- 1/2″ top clearance + 1/2″ bottom clearance = 1″ total clearance for height.
- Length: I like to leave 1″ behind drawers –to be safe.
- Your drawer length will be 1″ less than your cabinet depth.
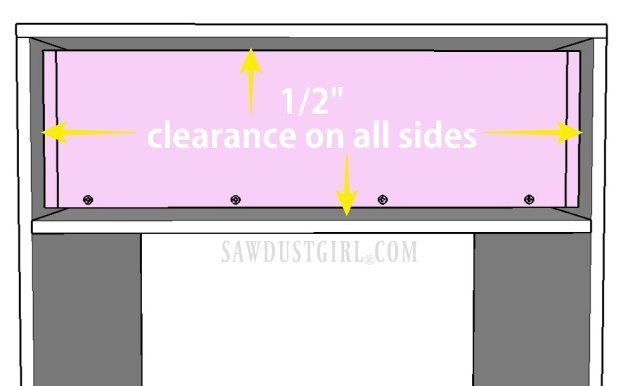
To be clear, let’s say the cabinet opening is 22 1/2″ wide, 7″ tall and 23″ deep.
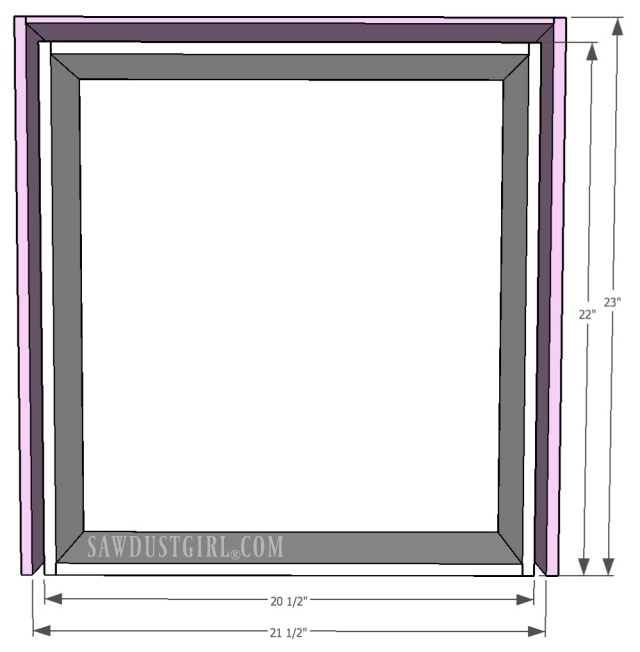
The drawer needs to be built 21 1/2″ wide, 6″ tall and 22″ deep. Subtract 1″ from the width, height and depth of the cabinet opening. Super easy right?
Cut Drawer Parts
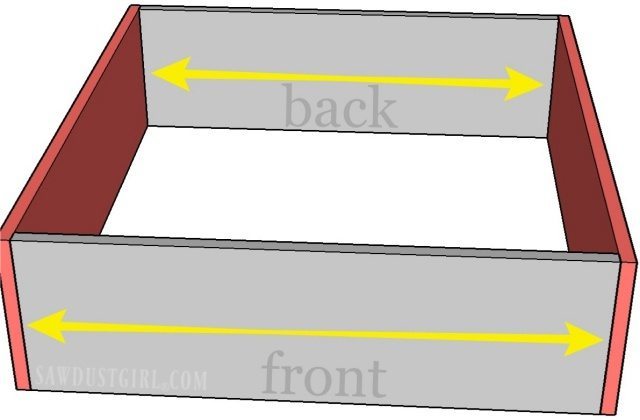
- The drawer sides are the total length of your drawer.
- Front and back pieces are 1″ less the total drawer width.
- Cut the drawer bottom the exact size of the inside of the drawer.
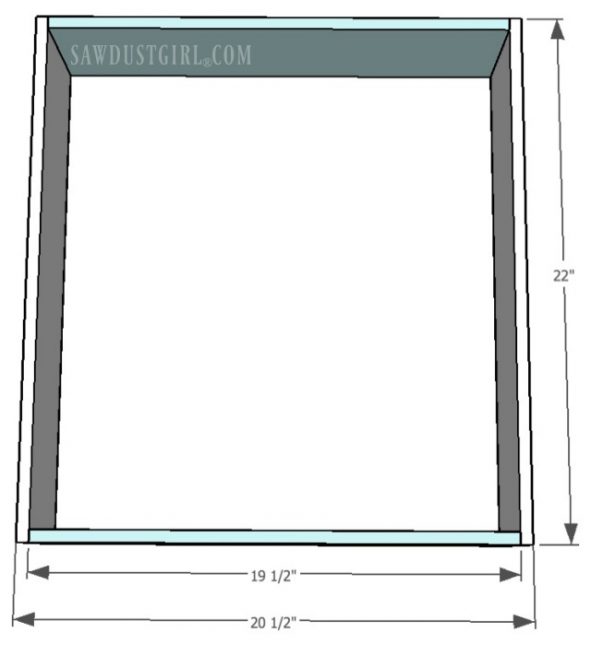
Build Drawers
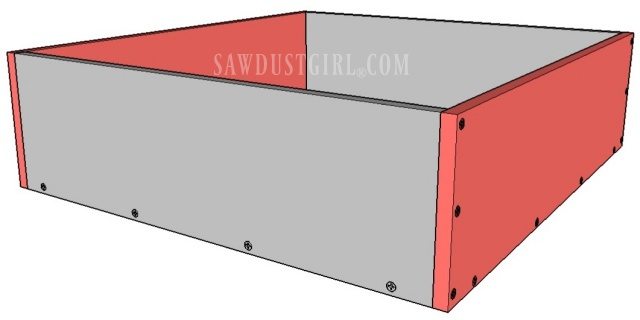
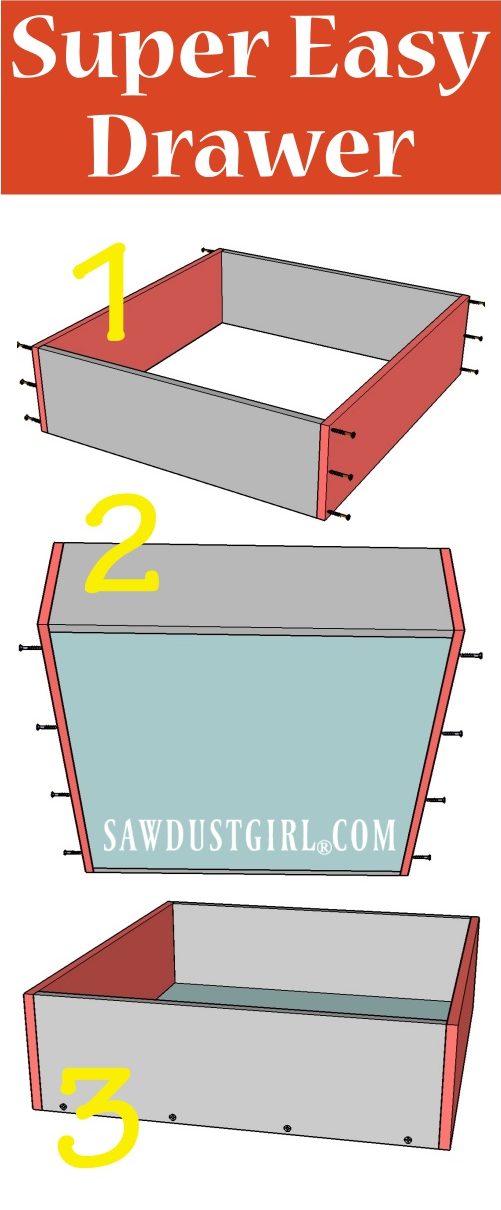
- Secure all four sides of your drawer box.
- Use wood glue and 1 1/2″ wood screws to attach the sides to the front and back pieces.
- Use an assembly square or corner clamp to ensure the box is square.
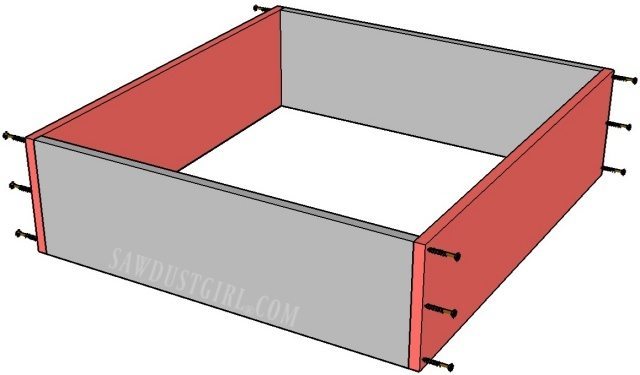
2. Secure drawer bottom
- Apply wood glue to all four edges of the drawer bottom.
- Slide bottom up into drawer so it is flush and even with the bottom of the sides.
- Secure with wood screws. Put 2 or 3 screws in each side, front and back.
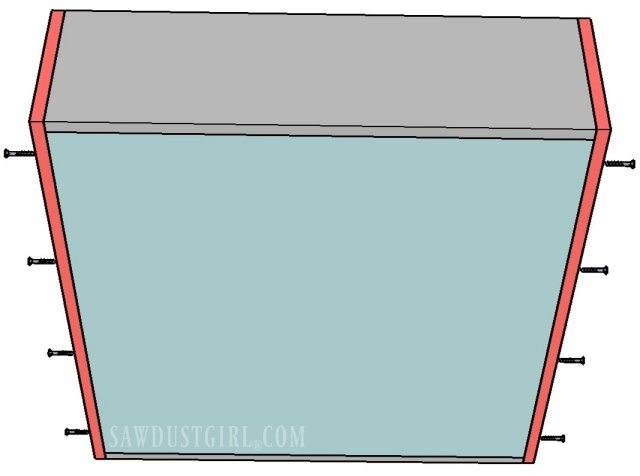
Fill screw holes
Depending on what this drawer is going to be used for, you may not care about having visible screws. If it’s a utilitarian drawer for a workshop, I wouldn’t care a bit. If it’s for a piece of furniture or cabinet in a more important room in the house, you might want to make the drawers look pretty.
Either way, don’t worry about the screws on the front or back of your drawer. The front will be covered by the false drawer front and no one will ever see the back.
The sides, however, will be visible when the drawer is open. If you want the drawer to look pretty, fill those screw holes and sand the top edges so they are smooth.
And THAT is the easiest way possible to build a cabinet drawer!
Get my Cabinet Building 101 eBook. All the information in one place that you can download and keep on hand!
$9.99Add to cart
Thank you for your tutorial on building drawer boxes. I’m finally filling confident enough to try it. I’m in the process of remodeling our kitchen, pantry and laundry/mudroom and I want to add drawers in all these places. I have enjoyed you making the process simple enough and using basic tools that I already have and know how to use. I had planned in my mind to make them this way and you have confirmed that idea! Thanks again!!!
Glad to help. Good luck and have fun building!
This is a great basic tutorial…. but shouldn’t you -also- be subtracting the thickness of your material from the front and back pieces so that you maintain 1/2″ clearance? Otherwise, the way it’s written, if you’re using 1/4″ plywood and you cut the front and back pieces to 1″ less than the opening with the goal of maintaining 1/2″ clearance on both sides, but then mounted the side pieces to the outside edge of the front and back pieces you’d actually only have 1/4″ clearance on each side (1/4″ total).
If you read the section on “sizing your drawer”, the needed clearance for slides, back and top and bottom space is already being taken out. Then you just need to build the drawer.
Using your dimensions, what drawer slide length would you use if using a full extension slide? I liked your simple to understand instructions- without having to go out and buy needless special tools that one would use just once.
I get the slide length that matches the drawer. (Full or partial extension function won’t change the overall length of the slide. It’s the inner mechanicals that are different.)
oh. Using metal slides isn’t simple. That’s a specially manufactured complex part.
Simple would be just having a plain wood drawer without metal slides like they did in the old days.
Anyway, i can work it out & skip that part. Thanks.