How to Replace Tile
If you’ve ever had a chipped or broken tile, you need to know how to replace tile. These 6 steps that makes replacing a broken or chipped tile as easy as pie!
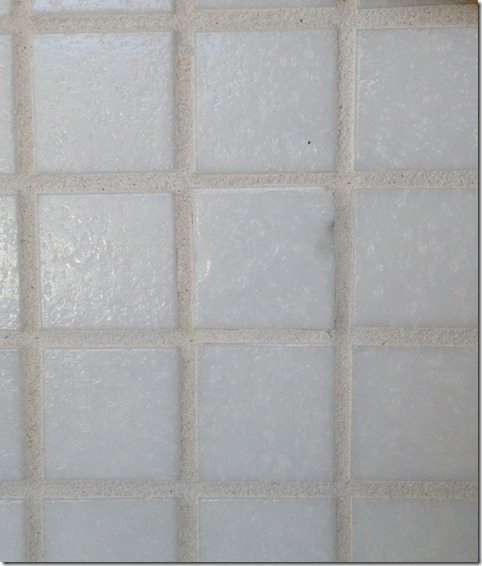
How to Replace Tile
1. Remove the old grout.
You can use a number of tools to remove the old grout: carbide tipped knife, small chisel, grout rasp, 5 in one, etc. My favorite is usually just an old flat head screwdriver and a small hammer. The important thing is to remove all of the old grout that surrounds the tile(s) you are replacing, while being careful not to chip or damage any of the surrounding tile. If the tile has a mesh backing, once you have removed the grout, cut through the mesh with a utility knife to prevent tugging and pulling on other tiles. It can be a good idea to use painters tape on the surrounding tiles to help protect them.
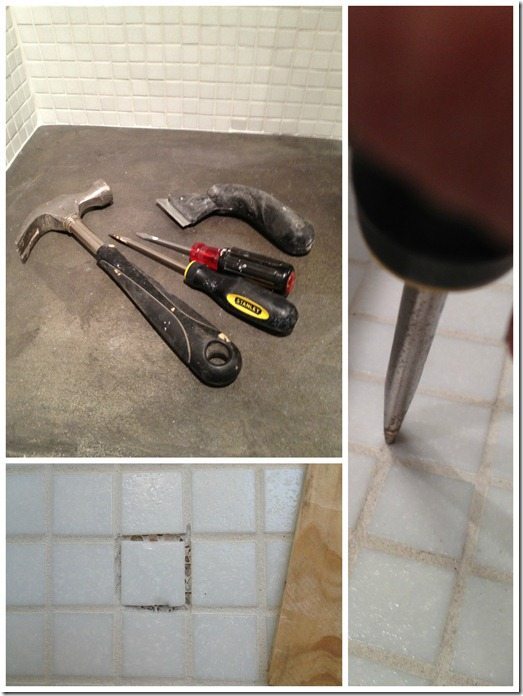
2. Gently Remove the Tile
At this point you may be tempted to start wailing on the tile with a hammer, but you need to be careful. Being too aggressive can damage and loosen the surrounding tiles. The hardest part of replacing a tile is not damaging any of the good tiles. It’s not a bad idea to have a few extra replacement tiles handy so that if you end up damaging a few more tiles, you are prepared. These are 1 x 1 mosaic tiles and so will come out in one piece pretty easily, but if you are removing a larger tile you might want to use a ceramic bit to drill holes throughout the face of your damaged tile. This will weaken the tile and make it easier to remove safely. (TIP: when using a ceramic drill bit keep a cup of cold water handy and dip you bit into the water frequently. The bit gets really hot from friction and cooling it off in the water will make it last longer.)
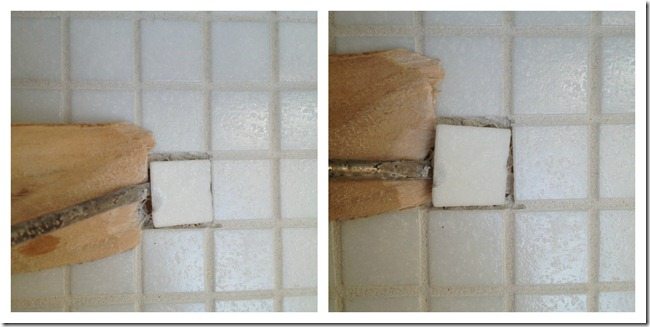
For large tiles start in the center of the tile and start chiseling, prying, and scraping. For smaller tiles use a shim, or thin scrap of wood that protects the surrounding tile, to pry up the broken tile. Don’t push or pry into an adjoining tile, be patient and pry from all sides until it comes loose. Take your time, and be careful to leave the rest of your tile intact.
3. Remove All Old Thinset.
Gently chisel and scrape out all of the old thinset or mastic. You can test to see if you have scraped enough by placing your replacement tile into the void. If the replacement tile is slightly lower than the surrounding tiles you have success. If the replacement tile is still proud you need to continue scraping. Your surface doesn’t have to be perfectly smooth, there just can not be any protrusions that prevent the new tile from resting flush with the other tile when installed.
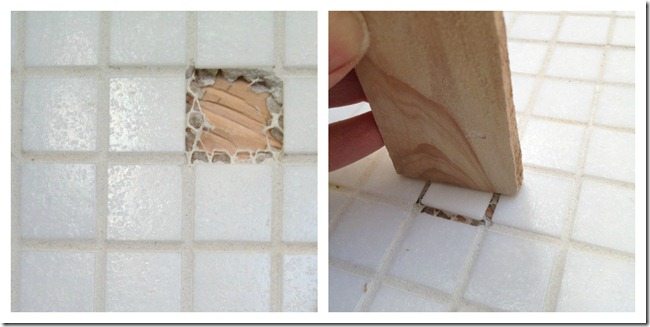
This tile was installed over plywood, so it was pretty easy to see when all of the thinset and grout were gone, but your tile may be installed over a number of different substrates including concrete, some variety of cement board, mortar, drywall, etc. Regardless of the substrate, the process is the same, except that more care needs to be taken not to damage the more fragile substrates like drywall. If your tile is installed over drywall and you find that the drywall paper and plaster comes out with the thinset, don’t worry. Do your best to minimize damage and then if there are substantial holes, use some mesh tape and drywall compound to restore strength to the wall before replacing the tile. If the damage is mild just fill the voids with thinset when you install the new tile.
4. Install new tile
Vacuum out any dust or remaining debris. Spread your choice of tile adhesive onto your substrate and comb through with a 1/4 inch notched trowel, you can spread tile adhesive onto the back of your tile as well.
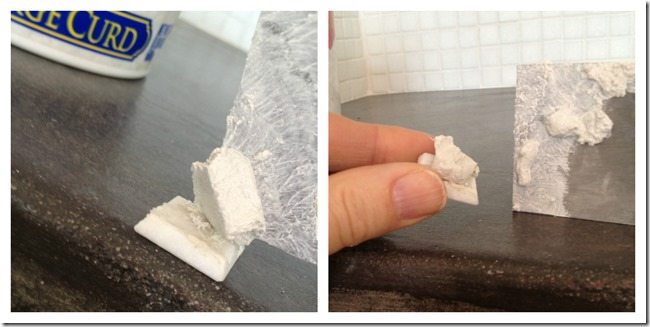
For small tiles like these, just back butter the tile. Set the tile in place using a slight twisting back and forth pressure. Use a clean grout float or strait edge to level the tile with the surrounding tiles. Remove any excess thinset or tile adhesive, then adjust the spacing so that the tile is evenly spaced on all sides. If your tile is installed on a vertical surface you may want to use tape or spacers to keep the tile from moving while the adhesive cures. Follow the manufacturer instructions for cure time, usually a couple of hours to overnight.
5. Grout
If you are repairing a tile that has been installed for several years, the new grout, even if it is the same brand and color, will not likely be a perfect match with the old. If your repair is in a prominent location it is a good idea to test before you grout. Mix a small amount of grout to the consistency of peanut butter, and let it dry on a piece of wax paper or other nonreactive surface. Check for color match. If you are unhappy with the result you can mix various grout colors together to create something that resembles more closely the old grout. Use the same type and brand of grout and mix several test patches (keeping careful record of the proportional mix) and let them dry thoroughly to compare with the old grout until you find a color match that you are happy with. Another way to hide a new patch is to remove grout from around several other tiles in a variegated pattern so that your new patch job isn’t as obvious.
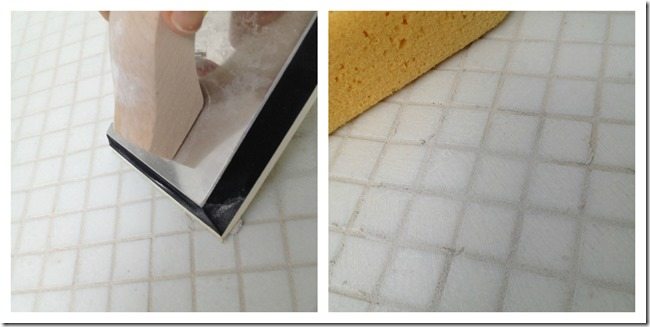
Mix your grout to the consistency of peanut butter. Using a grout float or plastic putty knife push the grout into the the grooves making sure to include any areas where the grout was damaged during tile removal. Let the grout dry for 10-15 minutes and you will see a haze forming. Wipe off excess grout using a sponge or towel. Use your sponge to smooth or tool the grout so the new grout blends in with the old grout lines. Allow the grout to dry according to the manufacturers instructions. Pay special attention to the length of time before the grout should be exposed to water. Exposing the grout to water before recommended cure time is over can result in discoloration and even cause the grout to fail. Now that you know how to replace tile all you have to do is seal.
6. Seal and Enjoy
Sealing you new grout will help prevent staining and make cleaning easier. Of course if your old grout isn’t sealed your should skip this step, or seal all of the grout.
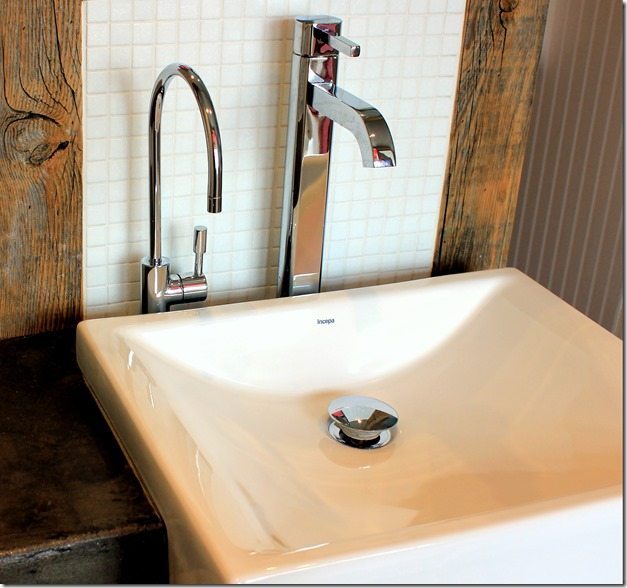
Now just enjoy your perfect tile, ahhh—so much better

I Bet if i was a visitor at your house I would not see the broken tile… 😉 But anyways the result looks really good !!!
http://www.howtodiyright.com