Tip for gluing up mitered joints and library progress
Last time I showed you my library bookshelf progress, I got a lot of questions about what I was planning for those big gaps on the side of the bookshelves.
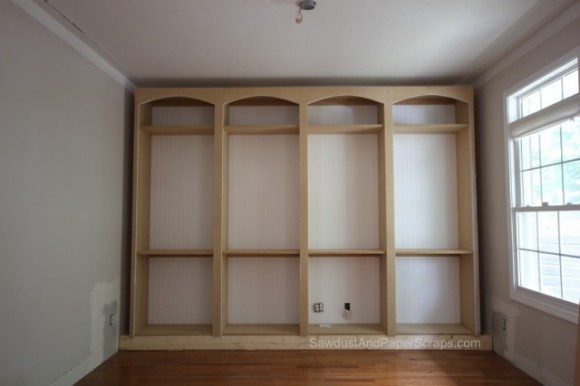
I filled it in with a 2×4 wall (of sorts).

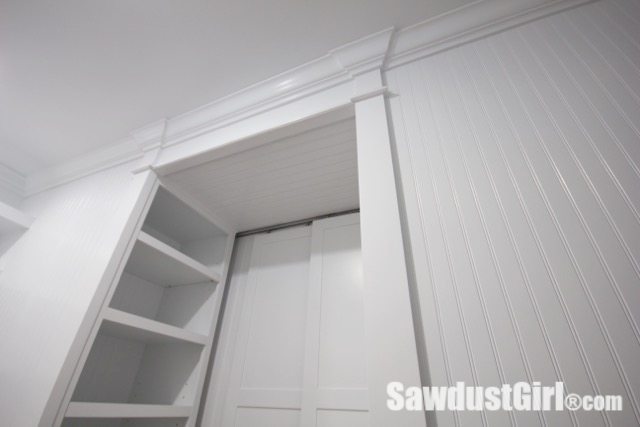
And then covered that with a two sided column.
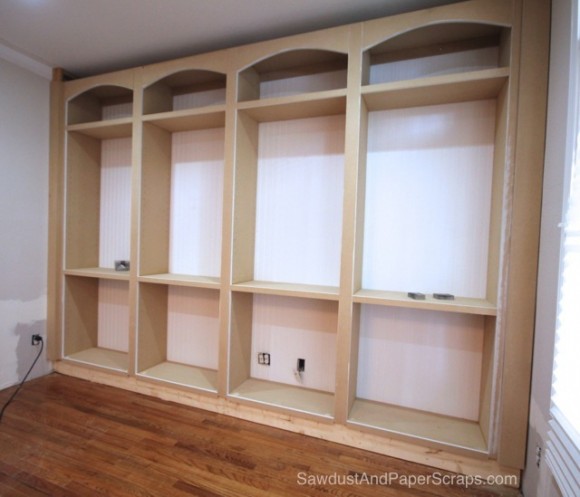
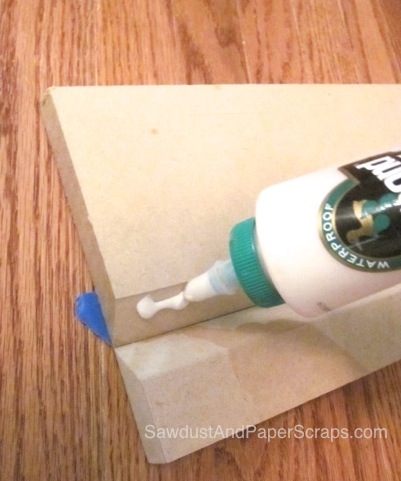
How did I make a two sided column? I mitered two long pieces of MDF and glued them together. I also shot some nails in to help hold it in place while it dried.
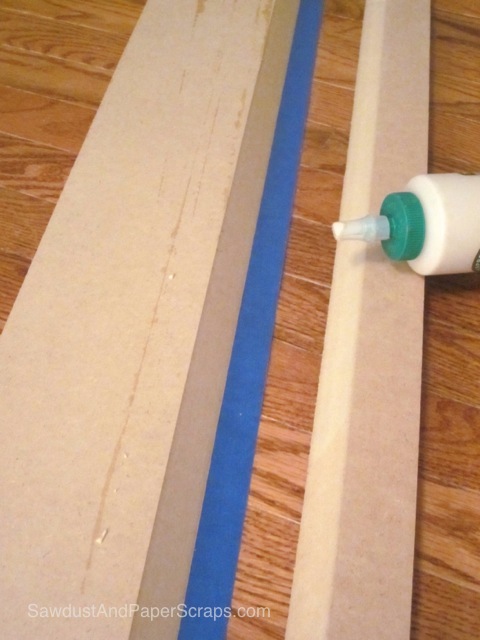
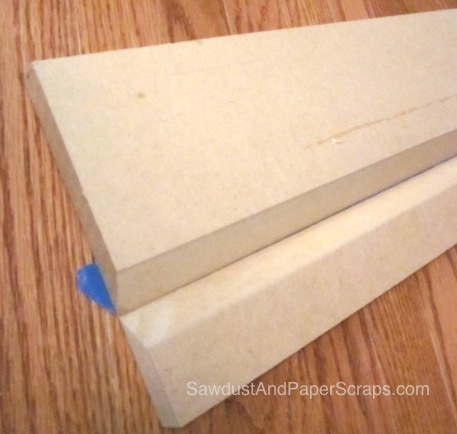
The key to keeping long mitered joints in place during glue up is using tape to hold the pieces together like this:
1.
 2.
2.
3.
 4.
4.
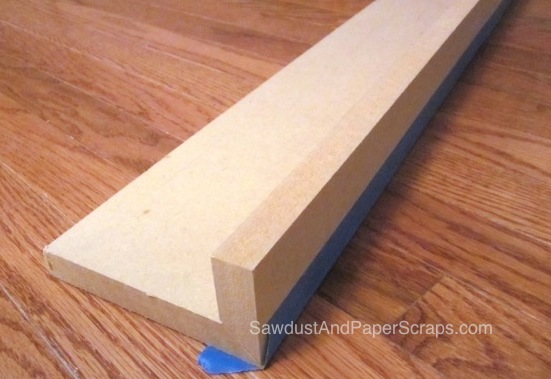
It’s that easy. Then I glued and nailed it over my 2×4’s and it looks like this. Of course, it won’t look REALLY good until it’s all caulked, trimmed, painted and finished…

And my goal for that is the end of the week.
WISH ME LUCK!


Sandra, I was wondering how your got the curve on the top plate? Did you use a template. That would give my built in cabinets that finished touch!
You are awesome one day i am going to try a big project like that!!!
Sandra,
Being totally brain-dead on things like this – Where exactly do you caulk? Is it every seam? Are there any places that you don’t have to caulk? Do you put a small amount on and then squish it into the seam scraping off most of the caulk in the process? Do you need to recaulk due to shrinkage?
Maureen
Mareen, I caulk anywhere where there is a gap. It might be every seam. I’ll prime first and then caulk because the primer will fill very small cracks and then I won’t have to waste my time caulking. I caulk along the line and then wipe it down with a wet finger. That’s what works for me. Or squish as you put it. I don’t recaulk unless there is a really wide gap and I have to build up…and I try to pretend I never have to do anything like that!
Thanks, Sandra! I’m glad you answered my questions. I simply lack the confidence to learn through trial and error. I appreciate you letting me pick through your brain.
Maureen
Sandra! You are so smart!! Come to Birmingham so we can play! I need your DIY hands and tools to finish my Hansel and Gretel house!!!
I AM a sucker for candy!
Will be beautiful, I am sure. So, just to recap, you used MDF for the faceframes because you have no intention of installing doors. Does that then mean that you just glued and nailed the faceframes on from the front instead of using pocket holes from the backside to make them less visible?
Yep. If I could have installed the face frame before securing the cabinets to the wall, I would have used clamps to hold it in place but — as it is, nails had to do the job.
Also, I intended to use pocket holes but didn’t plan ahead and drill my holes before installation and the 14″ depth wasn’t enough room to get the drill with the long bit behind the jig. (Wood glue is strong enough to hold but using pocket holes would have prevented the nails in the face…but then you have to plug the pocket holes. It’s really just a matter of preference and planning.)
Thanks! All things I need to keep in mind when I build my library cabinets, the boy’s window seat/bookshelves, and my mudroom lockers. I am slightly nervous about all that work but I know with your blog I will be able to do it just fine. I think. 🙂