Map Drawers – Craft Room Storage
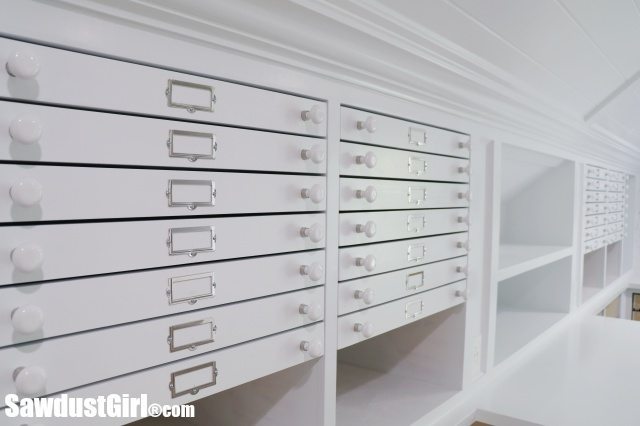
I completed my Map Drawers by installing drawer fronts, knobs and label holders. I love how the room is starting to take shape!
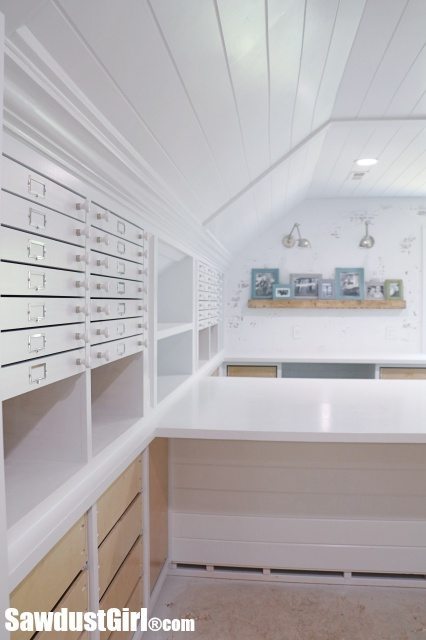
Map Drawers – Craft Room Storage
I built shallow drawers with locking rabbet joints and installed them on wood drawer runners. I want the craft room to be a plain, simple, neutral backdrop for the crafts being created IN the room. So even though the honey wood tones mixed with white is a cool look, covering the wood on these map drawers was always the plan.
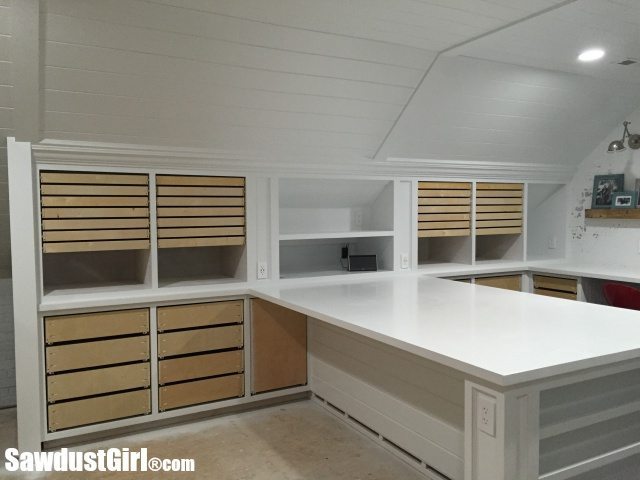
The drawer fronts couldn’t have been easier to “make”. I used primed 1×3 pine from the big box store. All I had to do was cut them to length, paint them and drill holes for the knobs.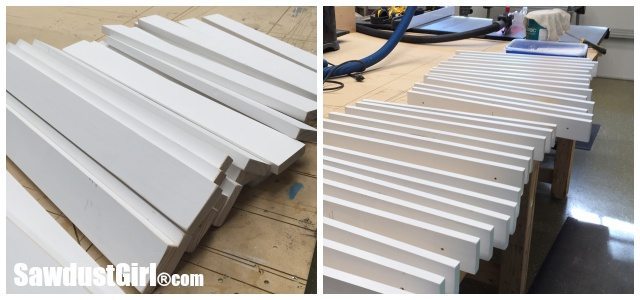 I could have picked 100 different options and been happy. I decided on these very simple (and inexpensive) ceramic knobs.
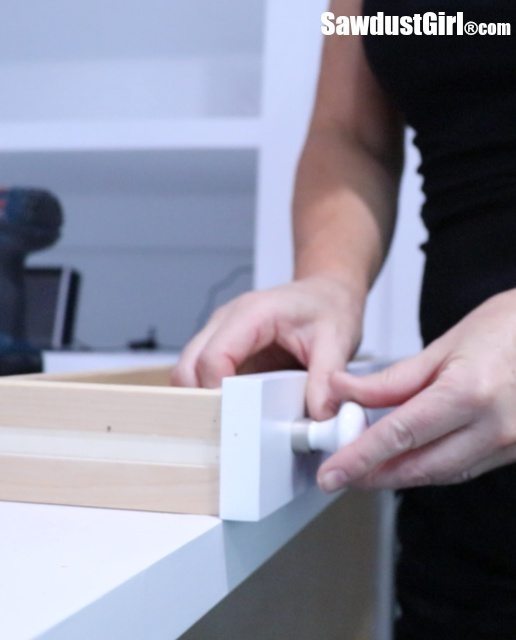
I like the chrome base on the ceramic knob because it ties into the label holders I mounted in the center of the map drawers. These are functional but I mainly used them because I wanted to fill the space in the center of these very wide drawers.
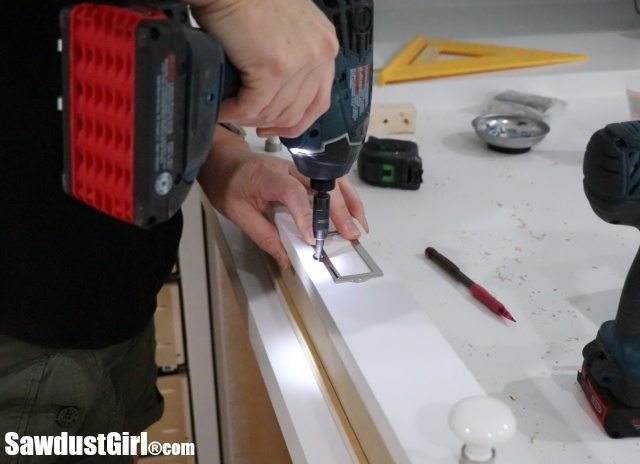
Speaking of label holders, I kept forgetting to install them before I installed the drawer fronts. It wasn’t too big a deal but I would recommend installing the label holders while the front is sitting flat on a work surface and before the knobs are in the way. It’s just a little more difficult to install the label holder as the last step.
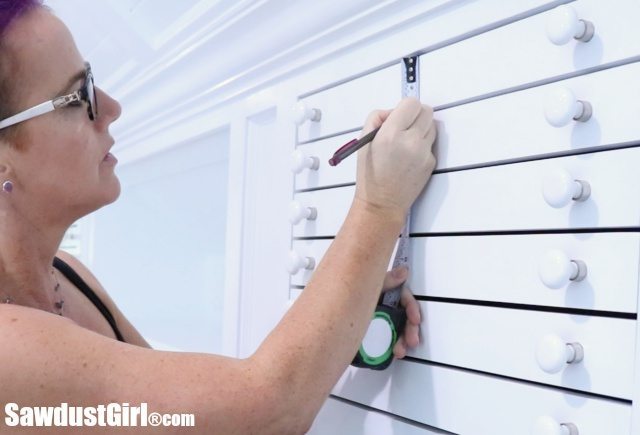
While I was installing the knobs and label holders I finished waxing my wood runners with Johnson Paste Wax. With the wax, these drawers glide easily in and out of the cabinet. 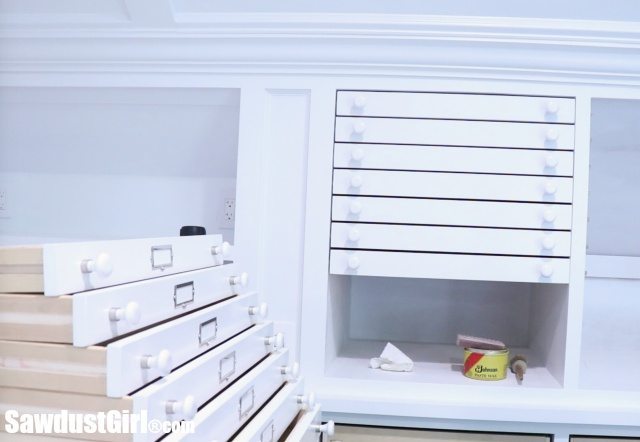
Mobile Storage
Making sure these drawers glide easily in and out of the cabinet is important because my intention is to bring the drawers to the island. People keep asking what I intend on storing in these shallow drawers. The answer is embellishments like buttons, brads, eyelets and such. I have lots and lots of embellishments of all sizes, shapes and colors. It’s easier to find exactly what you want if they are sorted. So when I want a certain type of embellishment, I’ll bring the drawer to the island so I can use items stored inside. That is also why it doesn’t matter that the top 3 drawers are too high to see inside without a ladder.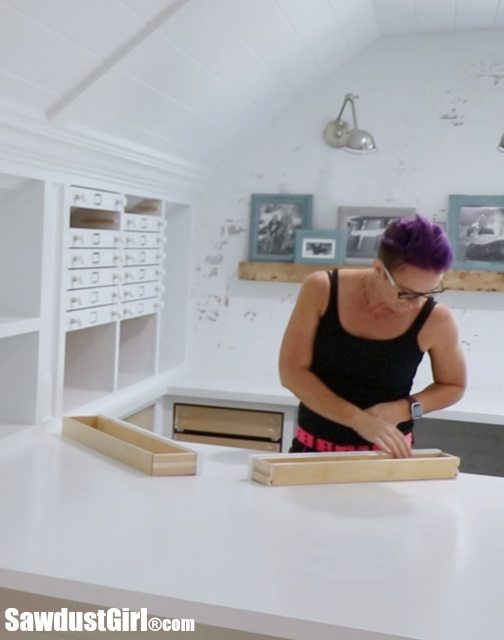
After I finish crafting with the drawer contents, the drawer goes back into place in the cabinet. Tidy and organized — just like I like it!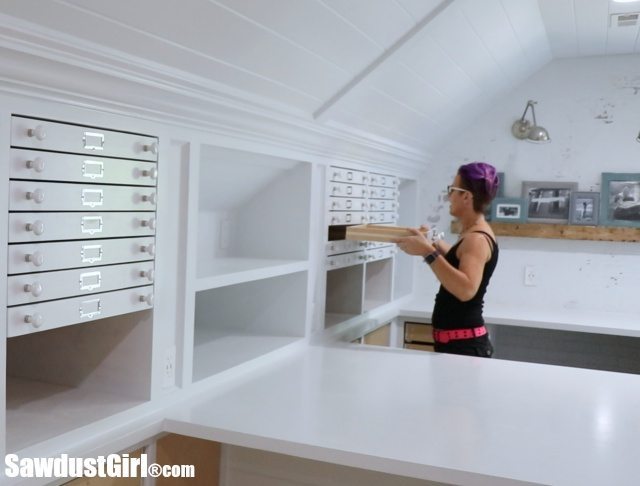
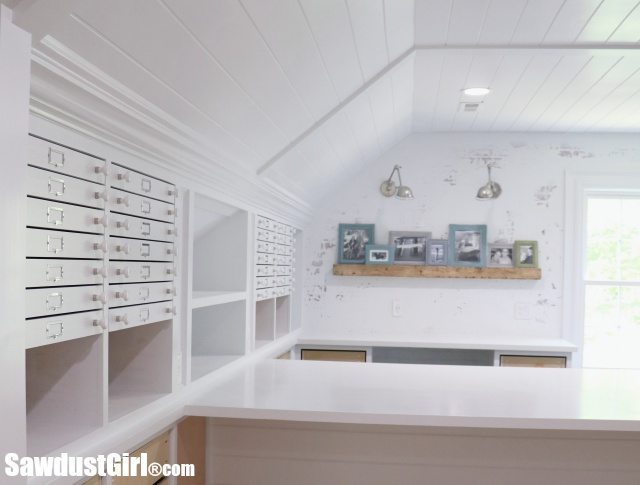
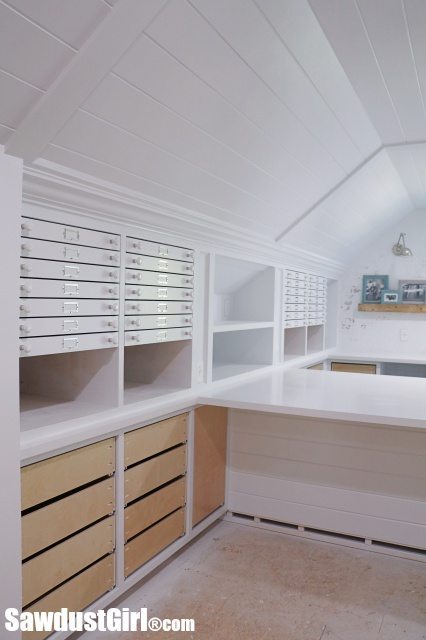
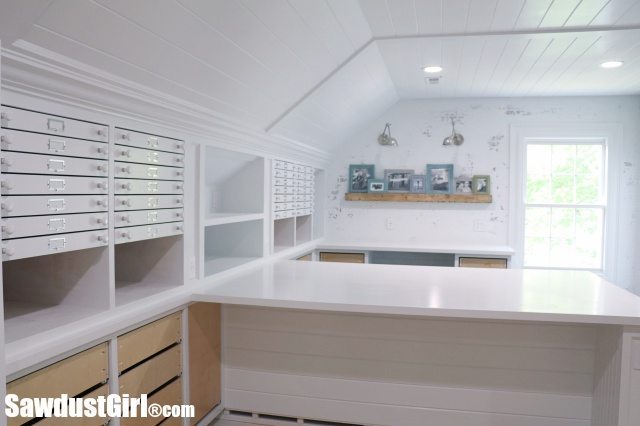
Next time I’ll show you a super easy way to attach and adjust drawer fronts. Today I just wanted to celebrate the completion of a very big job. These map drawers have been so much work. Totally worth it — but a lot of work. FYI: I ordered both my knobs and label holders from D Lawless Hardware.
How is this post over a year old and I have never seen it before!?!! This is my dream craft room and now you have me rethinking my entire up stairs area.
Yes I agree. I have wanted drawers like that forever. But they’re so expensive to purchase had had no idea how to make them.
So streamline, functional and beautiful! Perfect for bits and baubles. I WILL build my own cabinets and drawers when I retire…you’ve done a wonderful job showing us all how to do it. Love this blog!
Thanks Marlee. I’m happy to hear you are excited to build!
I agree with everyone else – you are amazing and inspiring!! Love all of your projects and your sharing. Your craft room is turning out awesome!
Thank you so much!
I love your drawers–I have been dreaming of having lots of shallow drawers for tons of craft supplies. I’ve about decided I’ll just have to make them myself and here you’ve done it! I’m sure I still have a few years before I have such a room, but I hope mine turn out as great as yours. Awesome job.
Thanks so much!