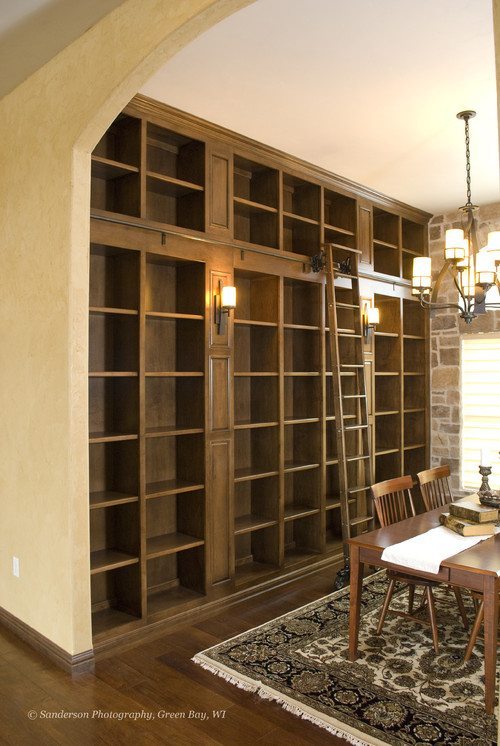
I’m feeling SUPER excited about the library because it’s coming together fast.
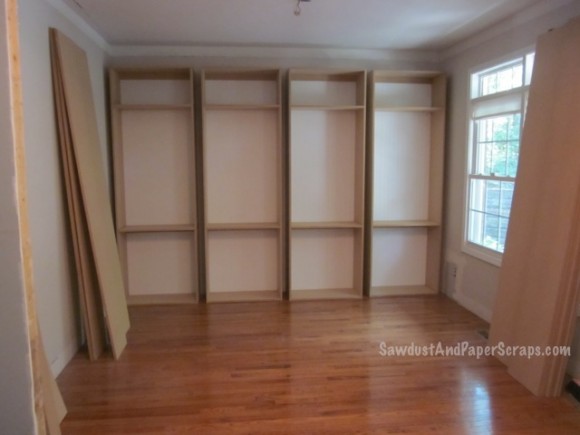
Last week it was an empty room with a rough doorway and no lights.
Today, it’s a room with a rough opening, no lights and some half finished bookcases.
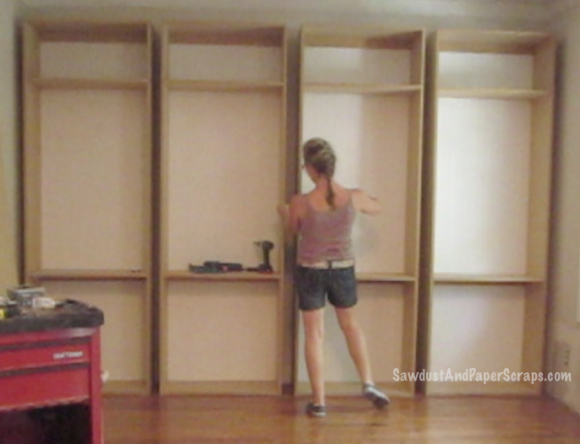
It’s going fast partly because I’m only doing Built-ins on one wall. Unlike the giant pain in the boot-ey project that was my Master Closet. Three days instead of three months! I can live with that.
And Partly because I got some help this weekend!
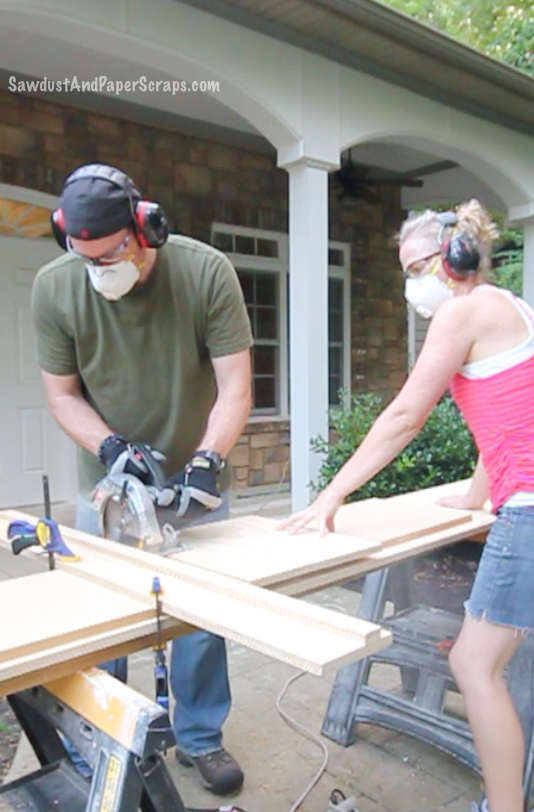
Which, I suppose, is why I was inspired to write yesterday’s “How to DIY together and Stay Together” post. Wes and I are getting better and better at working together.
He helped me cut 20 shelves and drill hundreds of shelf pin holes.
We actually had a lot of fun working side by side (this time)!
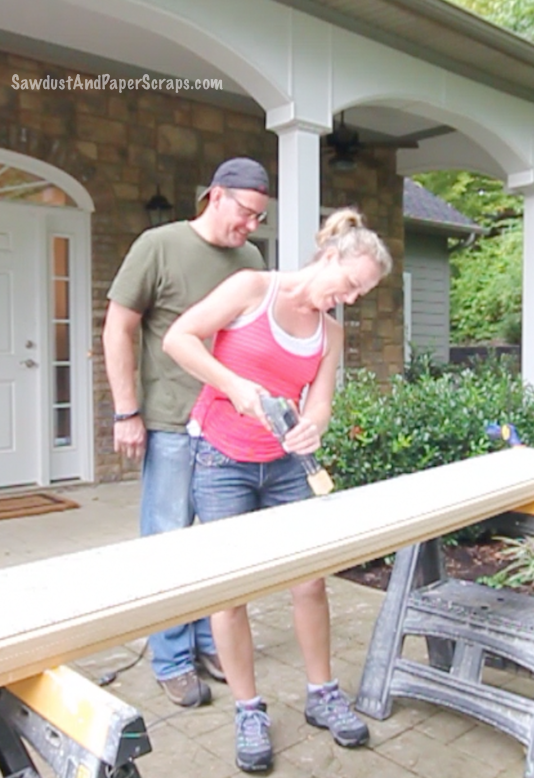
A couple other things that helped move it along are my Built-In Building Tips for the day:
Tip # 1. Have your large sheet lumber cut for you.
Did you know you can call or fax your lumber order (Cuts and all) to Home Depot and they’ll have it ready and waiting for you to pick up? I had a really easy order so I just called it in. “10 sheets of 3/4″ MDF ripped at 14″ wide, long ways, and keep the end scraps.” I paid with my credit card and picked it up an hour later and it looked just like this!
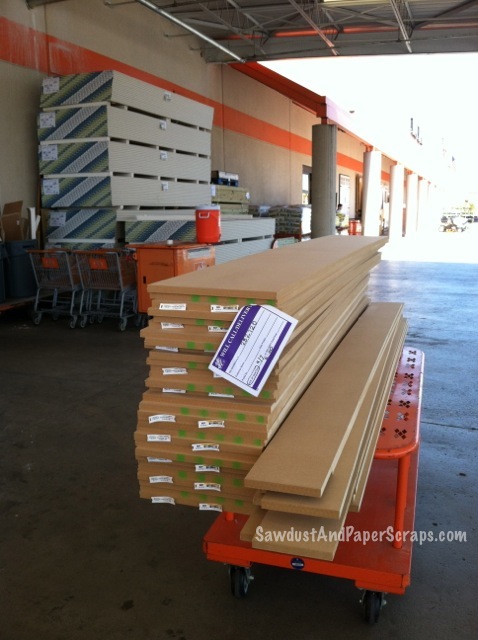
I so didn’t want to go in and look for someone to help me drag 10 sheets onto a cart and then wait for them to cut it. I asked at the Pro Desk if you have to be a Pro to use this service and they said no, it’s for anyone! They charge 25 cents a cut but it’s totally worth it. It would take me all day to heft 10 sheets onto a work table one by one, measure, mark, clamp and cut 3 times per board.
*Your cuts won’t always be exactly perfect so you’ll have to decide if it’s worth it to you. You might have to even them up at home, but the smaller pieces are easier to work with so I do this whenever I can.
*If I want complicated cuts I’ll fax it in. I usually make a drawing of how I want each sheet cut to ensure I get the most out of each sheet.
p.s. I have no affiliation with Home Depot. I’m not getting paid to tell you about this…just FYI.
Tip #2: Make a template for shelf pin holes.
When making multiple cabinets that are exactly the same, it saved Oodles of time to make a template for your shelf pin holes out of peg board. I always use 1/4″ shelf pins and the pegboard holes are perfectly sized. I make a stop block, cut to the right size to stop the drill from drilling past the depth I want. I talked about that in more depth in my Cabinet Building Tutorial Series if need a visual.
*Make sure to mark the top of the template and the top of your wood so every piece ends up exactly the same.
*Clamp the template on top of the board and start drilling.
*I mark where I’m planning on putting fixed shelves and
*only drill every other hole. They’re really close together and I think it’s unattractive to have that many holes in the sides of your Built-ins.
*I also don’t drill holes 6″ above or below fixed shelves unless I plan on having a really small distance between shelves. (Which I don’t.)
I have such big plans for this room and am so EXCITED to finish and share!
gail says
Looking great Sandra. I was hoping you’d get going on something like this. How is your Kreg rip cut jig? I can’t blame you for not wanting to take on 10 sheets of mdf, but was still wondering if you liked it.
Sandra says
I don’t have one. I bought a Craftsman one and returned it because it rocked in use. I’d like to try the Kreg one as I think that problem was addressed. I just don’t have one yet.
Kimberly says
Do you recommend making the shelf pin holes rather than screwing the shelf directly to the frame? Other than the obvious benefit of having adjustable shelves is there a reason that you did this?
I am so excited about this project, because it applies to a project that I REALLY, REALLY want to get done in my own house.
Sandra says
The shelf pin holes serve no other purpose than do allow you to adjust your shelves. These bookshelves are 8′ tall and that is way too long a span to go without some support holding the sides in place. That is why my bookshelves each have 2 fixed shelves in them.
Julie @ follow your heart woodworking says
Looks great, Sandra!!!
Carol says
You completely crack me up. I thought that I had found some amazing DIY’ers but, you take the cake, lol. You blow me away with all those power tools. I cant believe how amazing you are. I thought I was good because I can replace a light switch, hahaha! Can’t wait to see your built in finished.
Jaime says
Sandra your ‘call ahead’ tip is awesome, I never truly thought of trying that. My HD is a swarm with lots of day laborers so it’s really a challenge to get help with loading sheets and getting cuts, I’m definitely trying this next time. And my circ jig looks just like yours – so glad to know I’m not the only one.
Sandra says
I know what you mean. If I’m just grabbing a couple 2×4’s it’s one thing but those orders where you have to stand around waiting for help — hate that. Even if you go during their “happy hour” where they run around looking for people to help, you’d still end up waiting for the cuts. This was awesome. They even pushed it out and loaded it for me. Stop, Drop and ROll! That’s my term not theirs…but I think it fits! 🙂
Pam says
Wow, what a fast transformation, even for you! You amaze me everytime you redo another room! Can’t wait to see this one finished.
Have a great day.
Pam
Sandra says
Thanks Pam. I’m super excited about this room getting finished. I should probably scrap my box beam ceiling idea just to finish faster but I REALLY want to do one. We’ll see… 🙂
Amanda says
Sandra,you are so talented! The library looks great already. I am jealous of your husband helping you with your projects. My husband hates DIY and can barely fix a snack let alone anything else! Can’t wait to see it finished!
Sandra says
Wes really hates DIY too but has given in a few times to help me. Over the years his attitude has become more positive about those once in a blue moon “Can you help me for a couple hours?” requests. LOL
Laura@Ms Smartie Pants says
I had to come check you out tonight and I am glad I did. I am seriously considering taken on a bigger project like this at my house. I know I will be referring to your blog a bunch to get all the tips.
Sandra says
Exciting Laura! I definitely want to see pictures when you’re done.
Ira Morse says
Love all the built in shelves to maximize use of loft space. I can wait to see your finished results of your project. Anyway, bigger project needs more time to get nice results.
Sandra says
And we need a lot of space to put LOTS of books away that are currently boxed up in the garage.
Ronda Batchelor says
Looking good! I’m working on my front room office also. Lot’s of built ins just like you. I’m proud to say I have built alot of it. Mostly proud of my paper sorter that I will be posting about next. Always aspiring to be a better builder like you! Thanks!
Sandra says
Ronda you are amazing. I can’t wait to see your built ins!
Anne @ Unique Gifter says
So glad you posted this when you did! I am about to take on my largest cabinet project ever (by a lot) that involves a huge bookshelf contraption and a massive semi-built in wardrobe.
Sandra says
Wohoo! Good luck and share when you’re done. I want to see.
Brenda says
Looks awesome! I’d love to do this on each side of my living room entry. Your work is very inspiring. 🙂
Sandra says
Thanks Brenda.
Cara-Lyn says
Did you back the bookshelves? I can’t tell if that is the wall showing through or if you backed them with a laminate board? They look amazing either way!
Sandra says
Thanks. They are backed with bead-board.
Clydia says
I always love looking at your projects! Thanks for the tips. Can’t wait to see it when you are all done. 😀
Sandra says
Thanks Clydia. Honestly, I can’t wait to see it ALL done too. LOL
Doc says
Hi Sandra, I was looking at the pics and noticed a way that might help you in the cutting of your plywood and take some of the guess work out of it and maybe make is a little faster for you. Its a saw sled. They are simple to make and can be made any size. Here is a youtube site of a guy making one. hope this helps. Great project you have going on. Looks good Doc http://www.youtube.com/watch?v=mwcOKX7PaRg
Sandra says
Thanks Doc. I am using a cutting jig in that pic. It’s clamped down to the MDF. Mine is two sided so it can guide either side of the saw foot plate. Comes in mighty handy!
Inspire Me Heather says
Your library will look gorgeous I’m sure! Your built-ins are looking great too and thanks for posting your tips. I’ve got this linked to my DIY built-ins post too today, for inspiration!
Sandra says
Thanks for spreading the love Heather!
Monika says
I love your blog. I would just like to share a super quick tip for drilling holes..Get a plunge router! What I did was mark up vertical a line 2″ in from both edges (front/back of bookcase), then marked up the line every two inches where the holes would be. After that, I made a mark 1/8″ away from the center hole mark on both sides (x X x <<< Large X represents the center of the hole) this will give you .25" =diameter of 1/4" router bit. then just move the plunger over the mark, line it up and plunge baby plunge (of course you have to set your plunger to the correct depth first).. It took me no more than 2 minutes per edge. So easy and there is no shelf jiggling either..perfect factory smooth holes!
Kathleen says
Sandra,
You. Are. Amazing!! So…I’m in Lexington, KY – only 3 hours from you. I’m a DIYer with lots of tools and I thought skills, but obviously not. I am looking to do built-ins in my master closet. Feel like making a trip? LOL. I sure could use someone with your skills (who is not a man)! helping with this project. My hubby says he is not qualified and makes me feel not qualified as well. I’m going to have to go over your tutorials. Your closet and library are amazing.