Wood Plank Ceiling
I wanted to create wood plank ceiling in this small hallway. I thought I’d save some money and use ‘faux” Wood Planks.
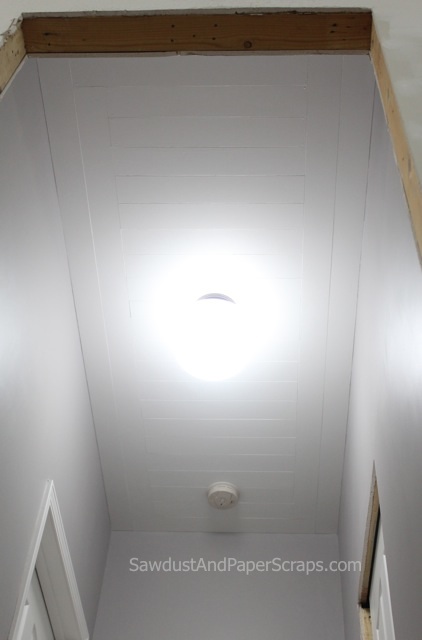
I also had to get rid of that nasty light. Now that those have been labeled “boob lights”, I can’t look at them and NOT see it.
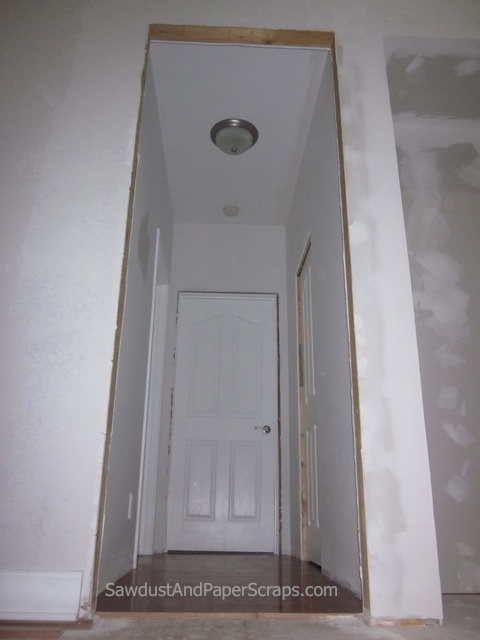
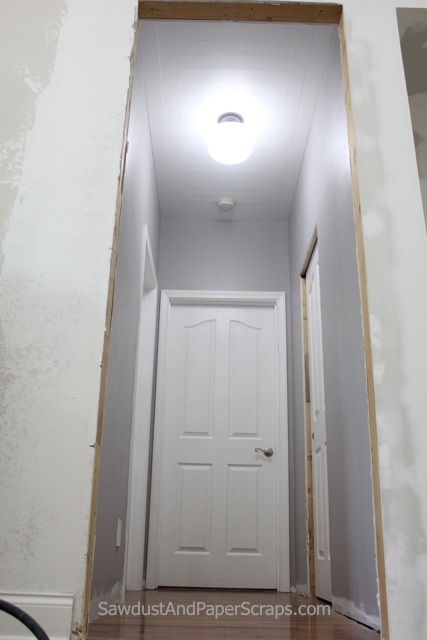
Yeah, much better!
It’s just 1/8″ hardboard. $8 for a 4’x8′ sheet. I ripped it into 4″ strips. (Just shy of 4″ to allow for my sawblade on each cut.) I primed and painted them.
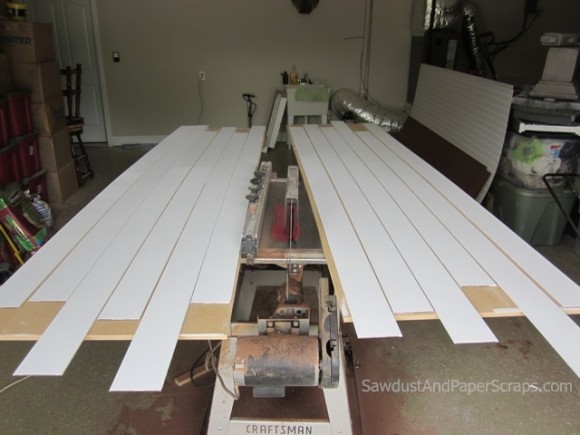
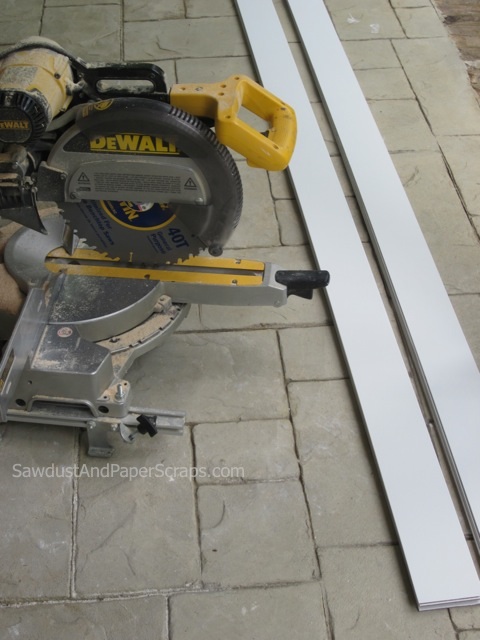
Then dragged my chop saw up to the porch because I didn’t want to run downstairs a thousand times.
I didn’t want nail holes so I used panel adhesive…I spent $23 on that so I’m not sure if it actually saved me money using the hardboard instead of nailing up actual planks. If you did this on your walls, you wouldn’t have to use so much and would have an easier time installing.
I created a border and then filled it with vertical slats. (Because that’s how I wanted to do it.) I was about to tear it all down when I finished and it looked like this!
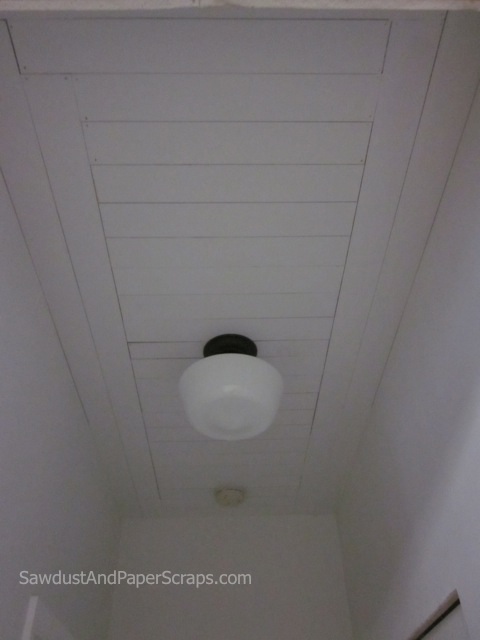
But then I caulked and painted it and decided I loved it after all.

Don’t you hate those moments in a project, when you’ve spent a ridiculous amount of hours working on something, when you look at it and decide it looks like crap? I’m glad I didn’t throw in the towel too soon because my neck is killing me from working above my head all day.
🙂

It looks great! And since it is really WOOD, can it be classified as faux? It looks pretty real to me! 😉
Love it! Now go get a neck massage! Ha!
I love it! I might have to do this in our hallway. I was wondering what to do with the ugly ceiling. It’s only about 6’5″ high so it’s VERY visible and very plain & ugly right now….. 🙂
I think it looks great! Amazing what a little caulk will do. So glad you got rid of the “Boobie” light. Lol
Luv It!! It gives it such a personality! and thanks for taking a picture with the light off, so we can see how pretty it really is! 🙂