How to Braze – Brazing Metal Centerpiece Brackets
Hey Sawdust Girl friends!! Cara here from Build It Craft It Love It, I am so excited to ‘meet’ you all today and share my experience of learning how to braze! As part of the “SG Squad”, Sandra is challenging us to learn new skills and push ourselves out of our comfort zones. I have not worked with metal before but have always wanted to. But, quite frankly I am scared of fire!! Lol!! So I decided to face my fears, grab the torch and just go for it. Guess what happened? I actually had a blast brazing metal brackets for a table centerpiece!
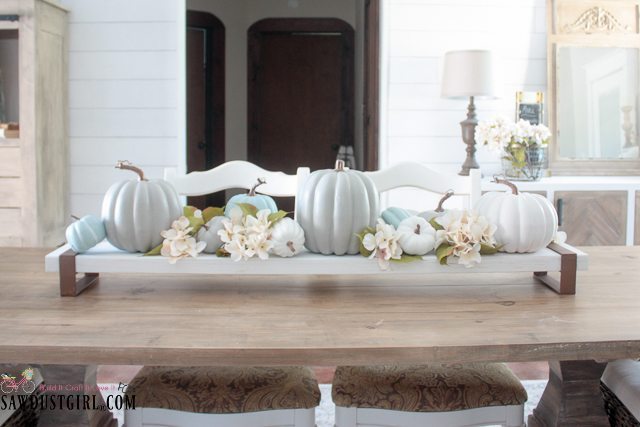
Brazing Metal Centerpiece Brackets
I have wanted something for the center of my table since last October when I built it! This idea is simple as can be – but I love it! It adds dimension and height to the table without making it impossible to see who you are having dinner with! Lol!!
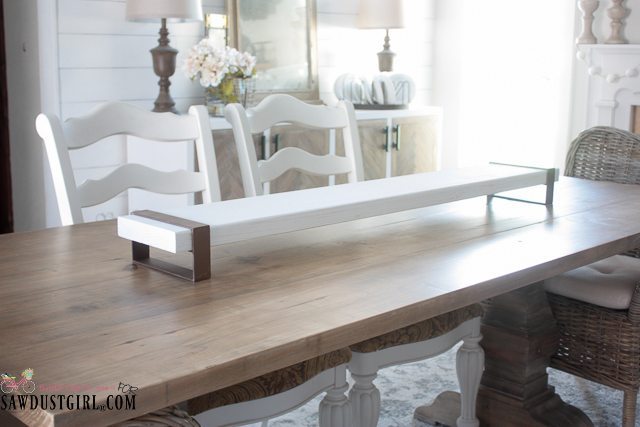
Without the pumpkins, you can see how cool the wood and metal look together! I want to build a bench next! But I will have to tackle actual welding for that so I’ll hold off on that for a little longer. I’m taking baby steps with the fire making! LOL
The total cost of for materials for this centerpiece project is less than $25. That does not include the cost of the tools and a brazing kit, which can be as cheap as 70 bucks or up to around $400. I bought a kit for around $70 and the only complaint I had was that the bottles ran out when I only had one joint left to braze, but I realized my hubby had played around with it several times before I used it. If you are working on a slightly larger project you would need replacement cylinders, so you would probably be better off getting a little bit more expensive set to get the larger gas cylinders.
Materials:
- 1 – 2x8x8
- 1 – 1/8″ x 1 1/2″ x 72″ steel flat bar
- brazing kit
- angle grinder
- saw
- 45 degree metal magnets
- metal file
- finishing supplies of your choice (paint, sandpaper, etc.)
Metal Cut List:
- 1 – 2×8 @ 50″
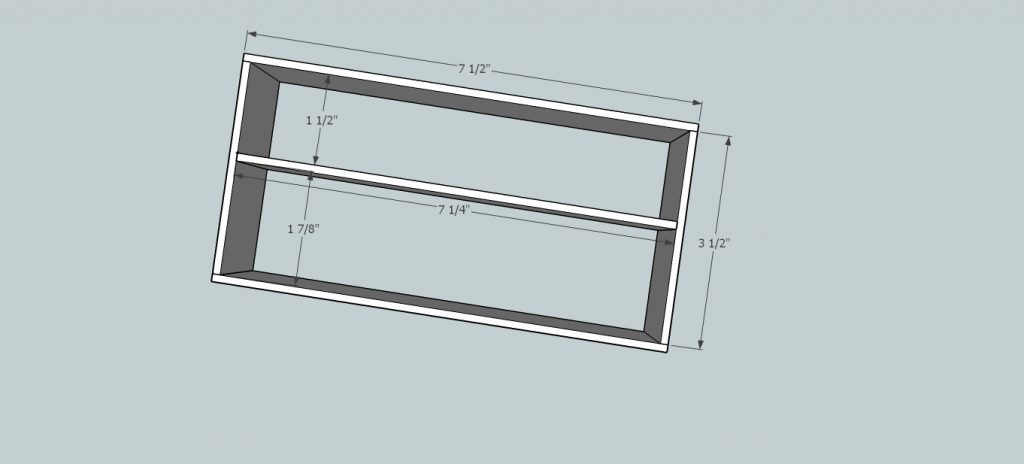
- 4 – steel flat bar pieces cut @ 3 1/2″
- 2 – steel flat bar pieces cut @ 7 1/4″
- 4 – steel flat bar pieces cut @ 7 1/2″
Once you have gathered your supplies it’s time to get started! I first cut my board down to 50″, sanded it and painted it so that it would be ready to go once I finished the metal brackets.
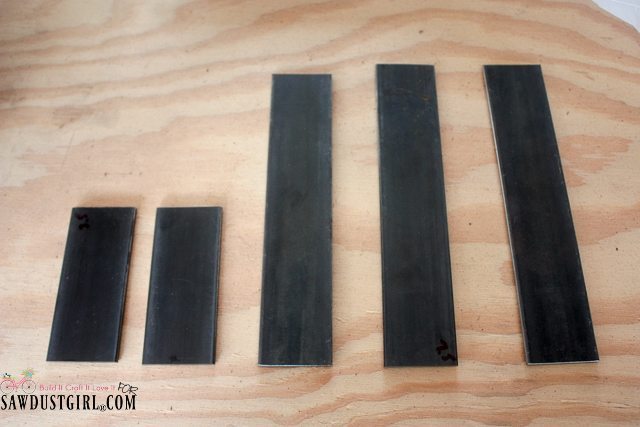
Using the angle grinder, I cut all the pieces for the brackets! Watch out for the sparks that fly when it’s cut…and I don’t mean love sparks…I’m talking real sparks!! LOL! Make sure you are wearing safety glasses and other personal protection equipment while using the angle grinder! The set of metal pieces shown below are for one end of the table centerpiece, so you will want to cut two sets!
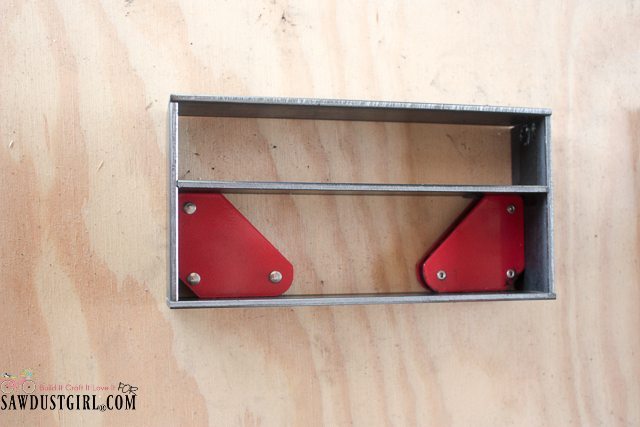
Using the magnets, set your corners up to where you can easily braze them without having to hold them! You could most likely use clamps or figure out some other way to hold your metal parts together while you are brazing – but the magnets are handy!
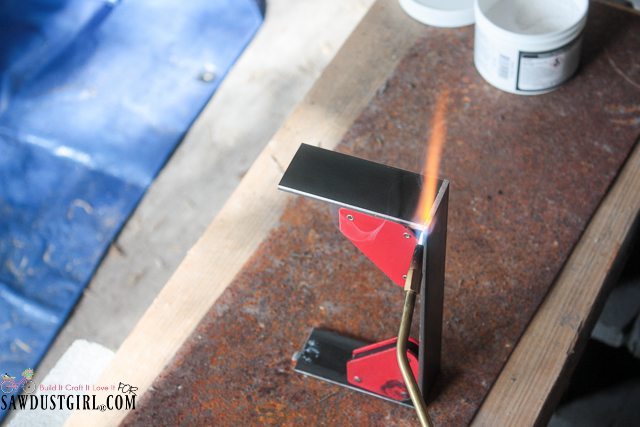
Make sure the sides are inside the top and bottom pieces as in the pic below!
Learning How to Braze
I feel like I should walk you through the entire process of brazing, so I will start at the beginning! Now, just know that I am not an expert at brazing, this was my first time, so I am just sharing what I learned with you as a friend, not a professional!!
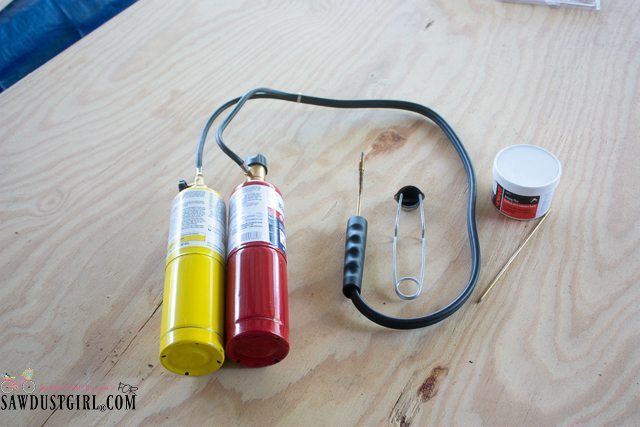
The brazing kit looks like this, two gas canisters that feed into one handle. A kit usually comes with everything you need to braze, so it will include a spark lighter, an oxygen cylinder, a MAP cylinder (mixture of methane, acetylene, and propane, but more expensive sets just have acetylene), a torch with attachments for cylinders, and brazing rods. Flux is needed as well, but had to be purchased separately! Also, the little bit more expensive sets have a rolling carrier to keep them in and it is a plus to not have the cylinders trying to roll around on you or fall over! But if money is an issue, a small set like this will still get the job done!
Light the torch to get started! You have to start the flow of the MAP cylinder (turn knob), you will hear the sound of gas, you don’t need it opened up much. Using the spark lighter, light the torch!
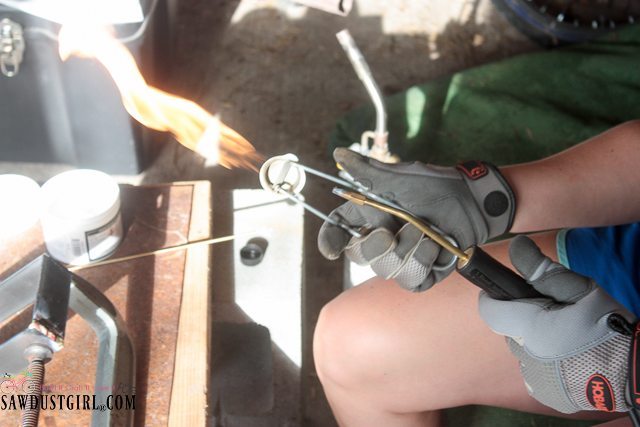
Once you have the torch lit, adjust the oxygen bottle until the flame becomes blue down towards the torch, and has a cone in the center of it, the cone should only be about 1/2″ long and it is so bright it almost looks white!
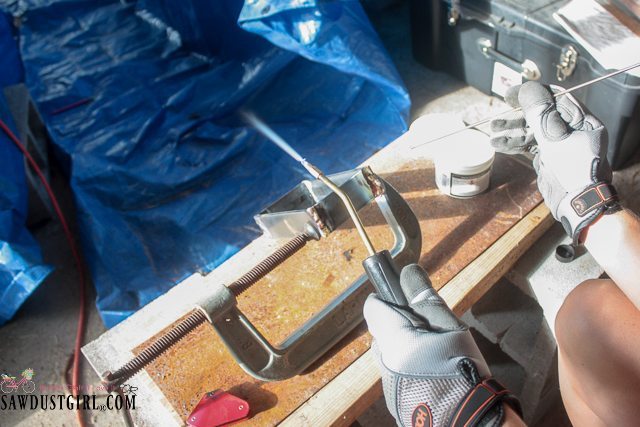
Now heat up your brazing rod, I used a bronze rod since I was brazing steel, and I knew I was painting it! Lol! The bronze definitely sticks out like a sore thumb against the steel!
Heat about an inch of one end of the brazing rod- just for a few seconds. Then stick the rod in your powder flux. The heat should make the flux stick so that end is fully coated.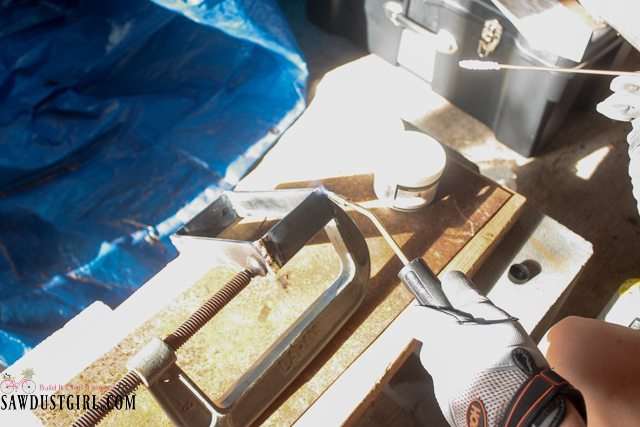
Next, heat up the metal! Holding the torch in one place, let the metal get bright red, then you touch the fluxed end of your rod to the red hot metal!
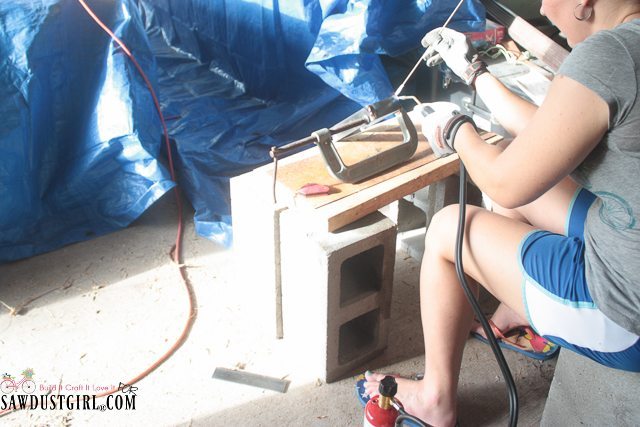
You should always wear proper protection while brazing, don’t wear flip flops like I did!! Lol!!
Hold the torch in one place until the metal turns red.

Touch the fluxed end of the rod to the bright red metal.
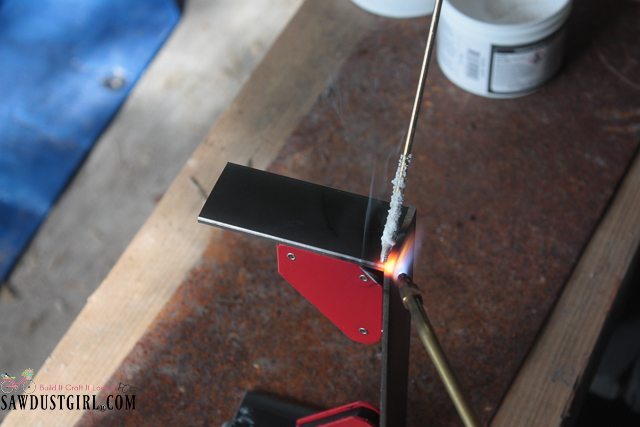
The flame gets a little bigger and louder when you touch it with the brazing rod. You will feel it stick and then as it melts the metal it will let go of your rod!
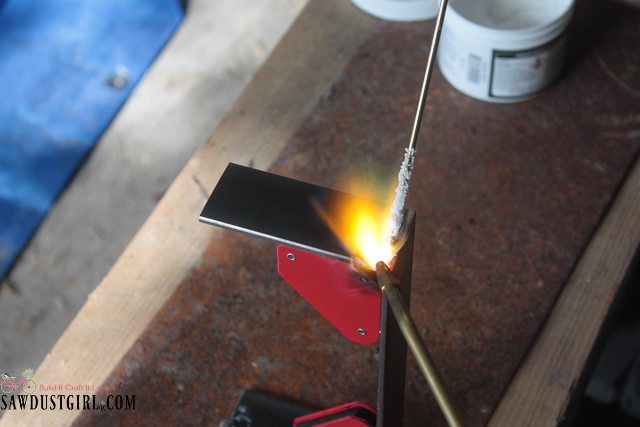
See the small bronze looking spot on the edge…it is brazed! Now you repeat the above steps all the way across the joint! And then repeat them again on all the joints!
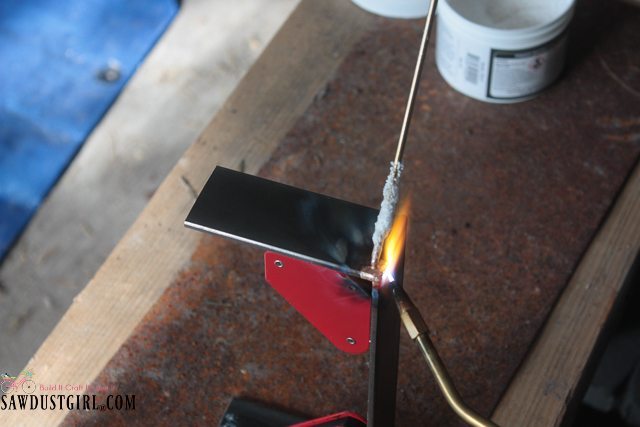
Ta-da, try not to laugh at my gobs! Haha!! I’m just learning how to braze so I will cut myself some slack. I’m sure I’ll get better with more practice.
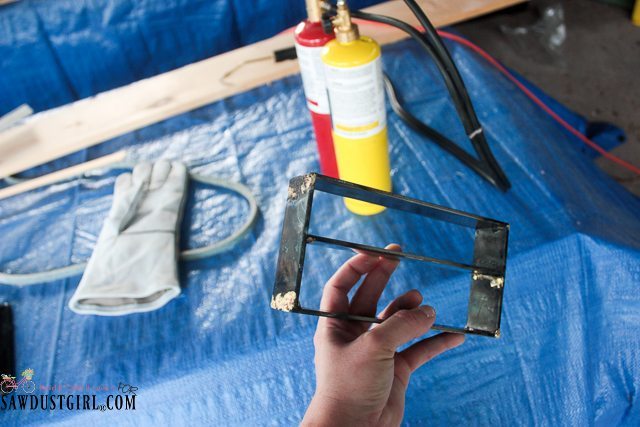
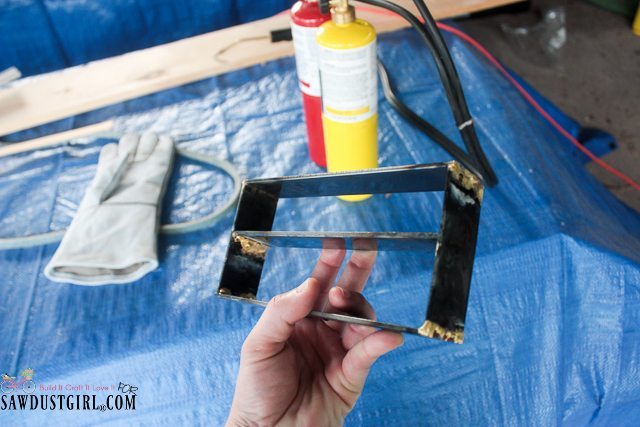
I didn’t want the gobs to show under my paint so I sanded them down with a metal file. After that, they were ready for some “Aged Copper” spray paint.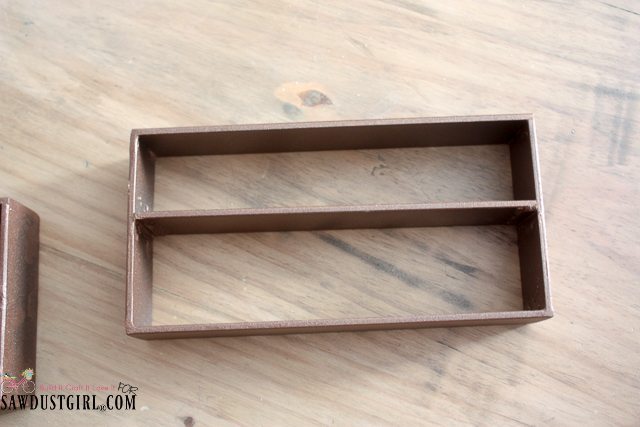
That was it! Nothing else to do besides slide the board into the brackets and decorate however your heart desires! I could see it with candles lining the middle of it, or gorgeous Christmas decor blanketing the centerpiece…the options are endless!
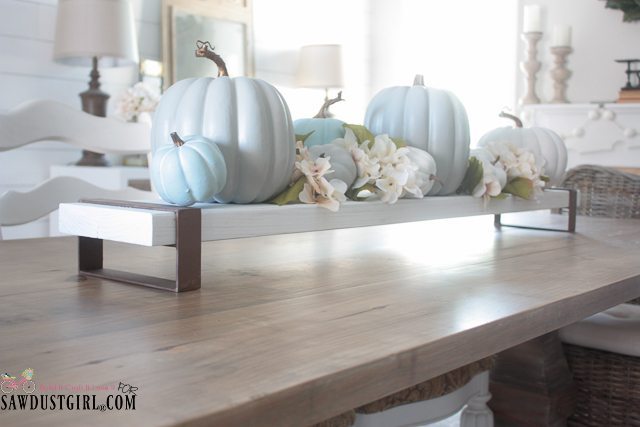
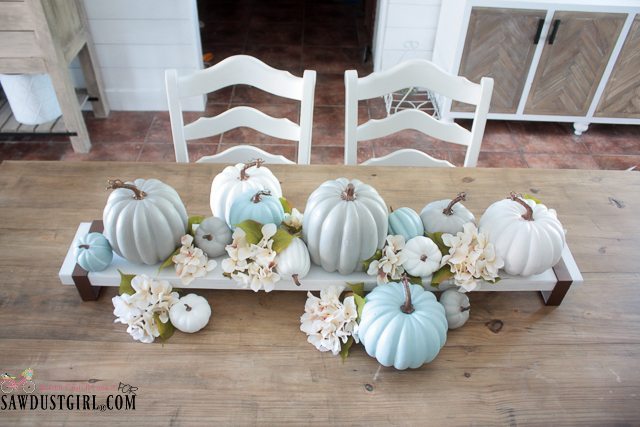 I get so giddy when I try something new and it turns out great. I built my dining table a whole year ago and it took me this long to get around to making the perfect centerpiece for it. It was worth the wait though, because they are perfect for each other! LOL
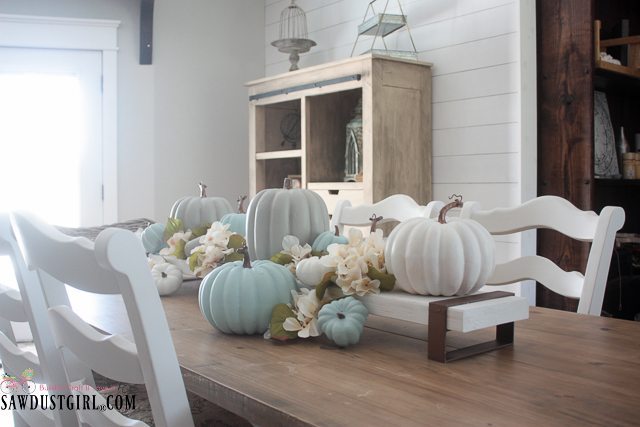
I have a complete tutorial with plans for my Restoration Hardware inspired dining table. I built it almost entirely out of scrap wood!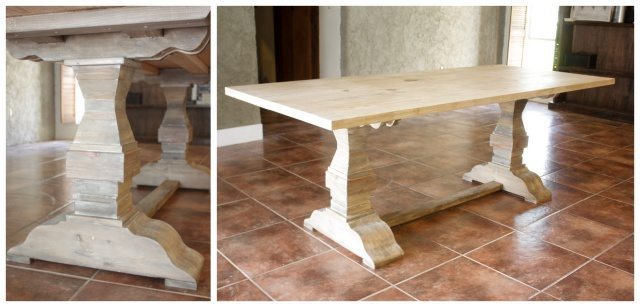
I had a great time sharing with you a smidgen of knowledge I gained while learning how to braze! Brazing metal was a pretty big step for this “scared of fire” gal. I’m going to tackle welding…soon. Facing fears and trying anything new is empowering. Have you tried anything new lately? Tell me in the comments down below!
I can’t wait to come back with another project next month! Have a wonderful Wednesday!!
Cara – Build It Craft It Love It
Thank you for your demo. I have always wanted to learn how to weld or solder. Your demo definitely makes me feel I can do it without any concerns.
I do have one question… Do you need to wear any special eye protection? When I see other people welding they have a helmet on that has special eye area protection.
Was the method you used considered not as intense as welding so it did not need the special shaded eye protection?
I am ready to try this now. Thank YOU.
Where did you get the metal? Wood is pretty easy to find at big box stores, but metal is a whole ‘nother world.
Hey Robin!
I actually did get the metal at the same ‘big box store’ as my wood!! They call it flat bar steel or flat stock steel, and it is usually located just a couple aisles from the lumber section!! If you ask someone, they should be able to take you right to it!! Hope this helps!! Thanks!!