Cabinet Storage Pull-out
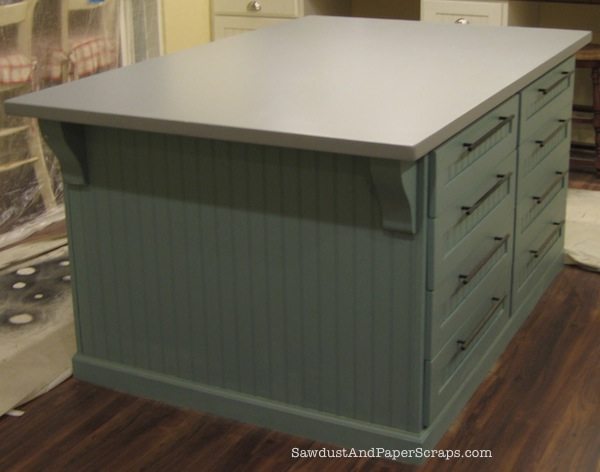
Building cabinet storage in a pull-out unit that brings the storage area to you — so you don’t have to crawl in after it! I finished building and installing all 48 drawers for my “craft island”. Now I’m moving on to the even more tedious “special” cabinet storage areas. I have two accessible cabinets in the “knee space”, under the countertop. The storage here is a bit hard to access but it’s still storage so I want to make the most of it. Because they are under the countertop, it would be impossible to access anything in a top drawer. Shelves would be an option but I’m not a fan of deep shelves, especially when you have to crawl into a little space, under a countertop to see what is on those shelves. These two cabinets are 24″ deep and only 18″ wide. My solution was to build a Pull-out Cabinet Storage unit – making all that storage space easier to access.
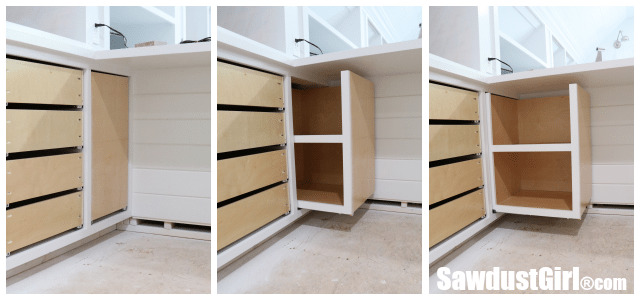
Hard to Reach Pull-out Cabinet Storage
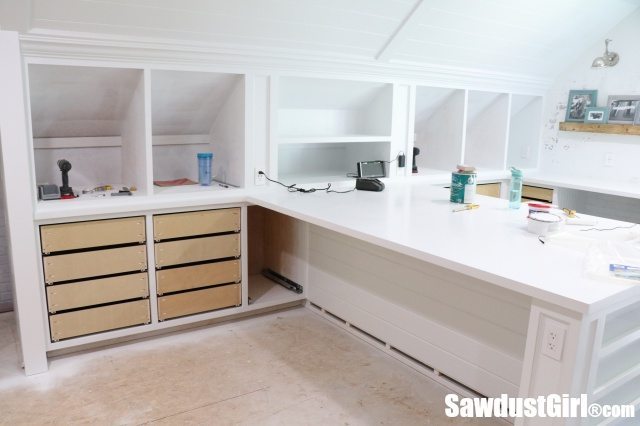
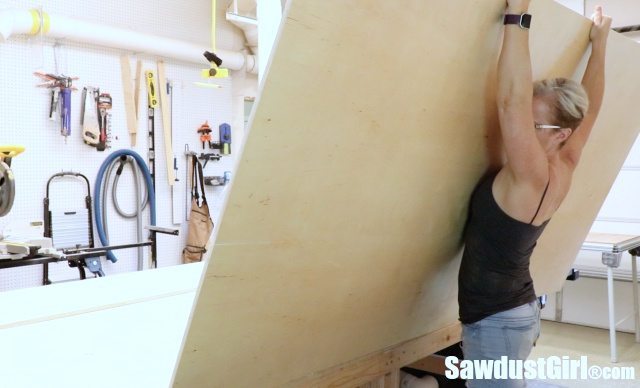
I built two cabinet storage units out of 1/2″ pre-finished plywood. Getting full sheets of plywood onto my work table is always a chore!
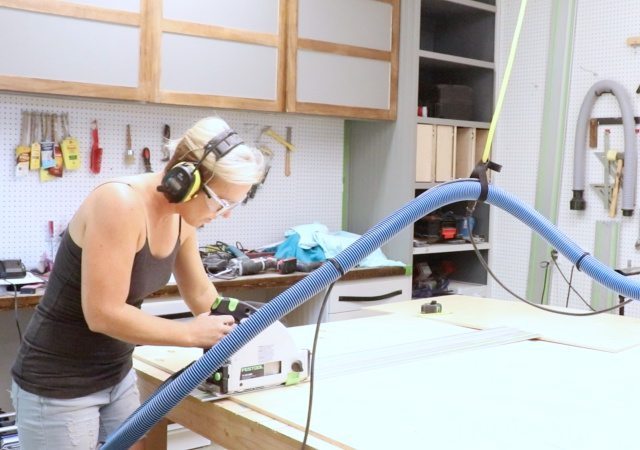
I used my track saw to cut the pieces I need for my cabinet storage units.
Then I installed a dado stack in my table saw to cut 1/2″ slots for my drawer bottom and fixed shelf. 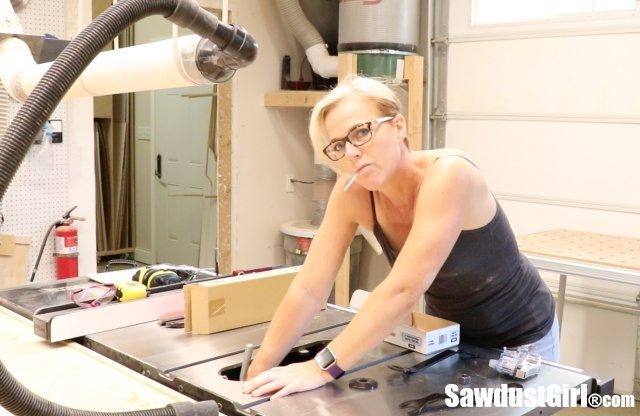
I built these cabinet storage units just like I do drawers for Blum hardware. I have to leave 1/2″ of space for the locking mechanism so I cut my first slot 1/2″ from the bottom on the “sides” and “back” pieces.
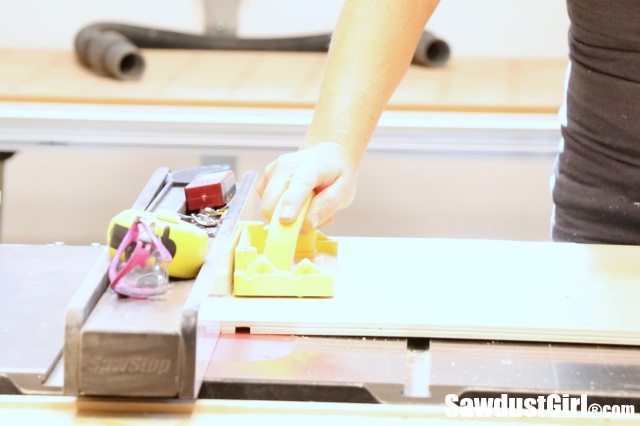
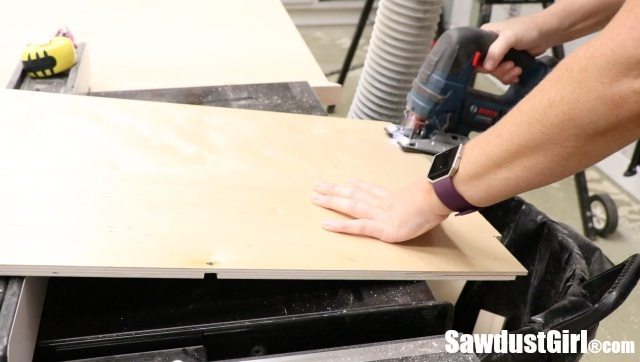
I then cut another slot for a fixed shelf in the center of my cabinet storage unit. I also notched out the back for the Blum drawer slides.
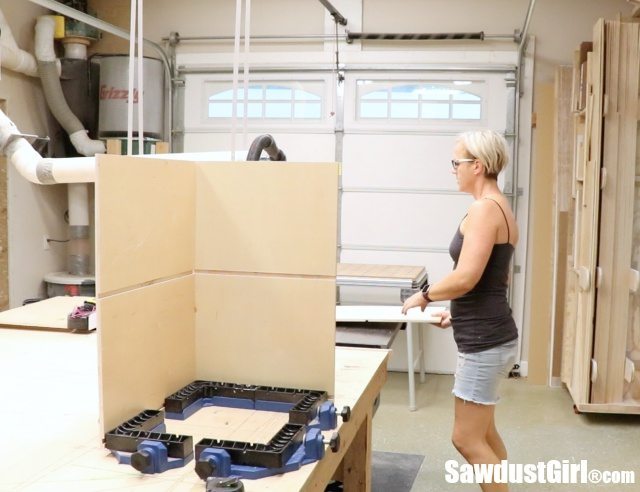
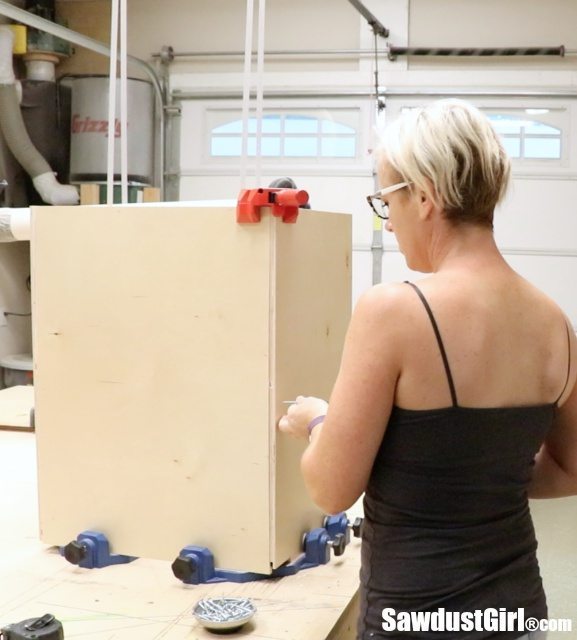
Assembly was easy using assembly square clamps. (affiliate link) These things are awesome!
I secured the back to the two sides by simply screwing them together. None of the fasteners will be visible so I took the “quick and dirty” road and got these puppies built!
Once the sides and back were secured I slid the bottom and shelf into place and secured them with screws.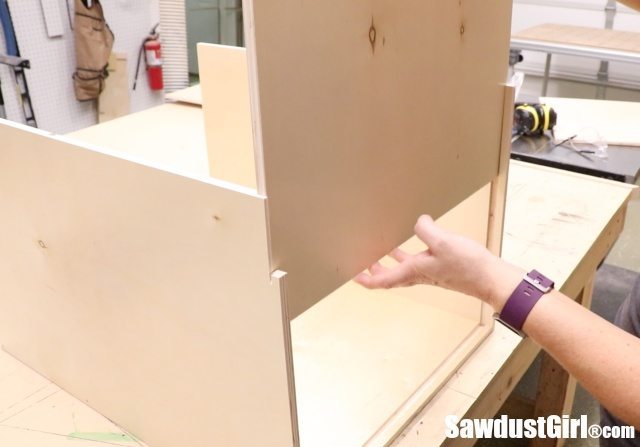
I built two identically opposite cabinets; so one opens to the left and the other to the right. The only difference is the location of the notches I had to cut out for the drawer glides. I attached the faceframes, piece by piece because I thought I needed to match up one side of each cabinet with the notches I had cut out for the drawer glides. 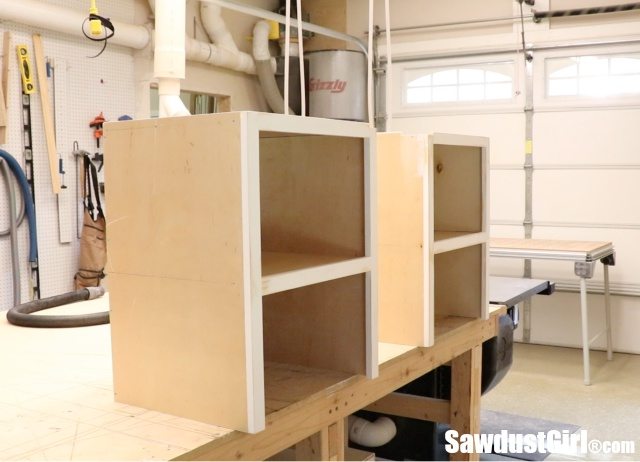
I thought I had planned for everything but what I didn’t think about is the fact that the faceframe is 3/4″ thick and my drawer glides are meant for 1/2″ thick material. I had to trim off 1/4″ from the backside of the bottom rail on the faceframes. I simply ran the whole cabinet across the table saw a few times until I had shaved off the needed 1/4″. No problem. I could have NOT left that 1/2″ of open space at the bottom on the faceframe after all, and the cabinet unit would have worked just fine. Eehh. Can’t plan for everything. Mistakes WILL happen. It’s the nature of the task/business/skill/hobby…
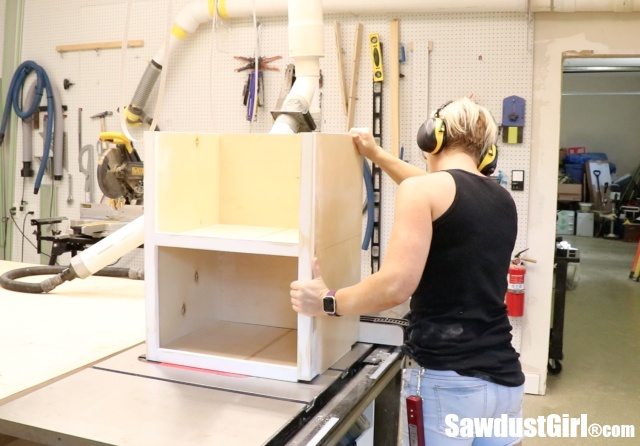
Next I installed my drawer glides and locking mechanisms. You can see what a pain it would be to try to access anything in the cabinet if I would have simply installed shelves into the deep, dark chasm. You literally have to crawl under the countertop to see straight into the cabinet.
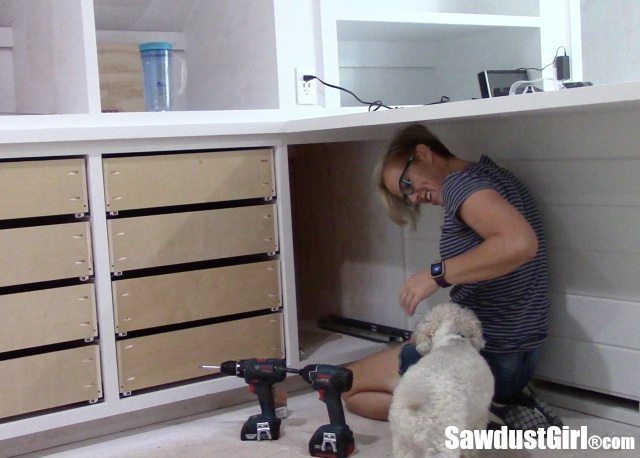
I had a moment of nervousness when I finally slid the cabinet storage unit onto the drawer slides, wondering if I’d done the math right and sized my pull-out correctly. I did!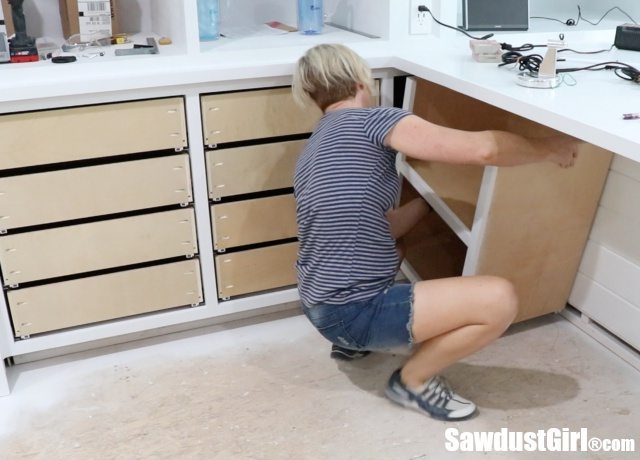
It fit perfectly, glides smoothly and soft, self closes, just like all my other drawers!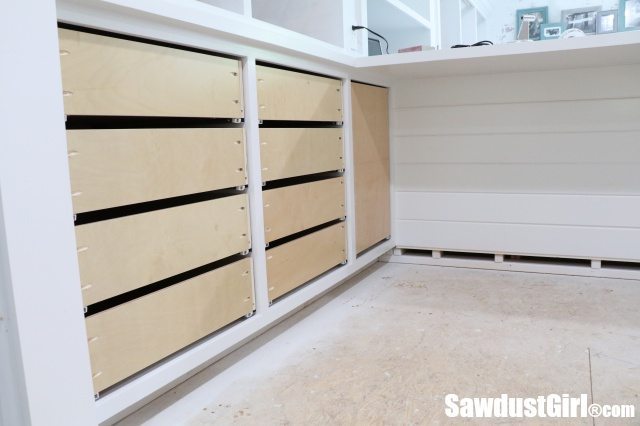
The whole unit glides out of the main cabinet providing access to the cabinet storage while standing in front of the island instead of squatting under it.  I don’t know why I didn’t put a top on this thing. I was thinking it would be easier to get into it without a top but that makes NO sense at all since the thing is UNDER a countertop. Whatever. It doesn’t NEED a top. But you certainly could put a top on yours if you were to recreate this project. Then you could do adjustable shelves instead of a fixed shelf like I did. I was originally going to do adjustable shelves but because it didn’t have a top I had to give it some stability so I did a fixed shelf.
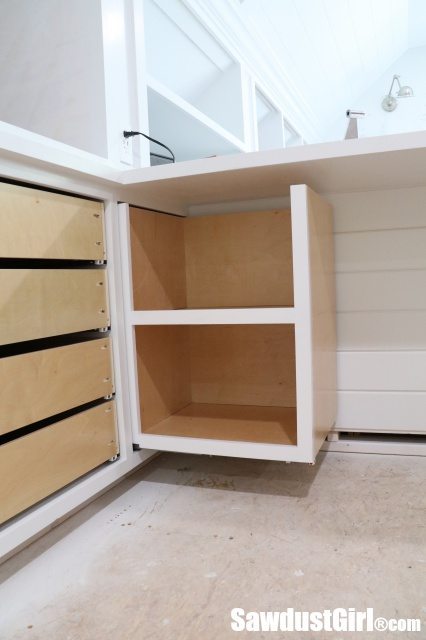
Hey, like I said, it’s hard to plan for EVERYTHING. This project had my brain working upside down and backwards because I had to build the cabinet storage unit like a drawer. Except a drawer has 4 sides and is open on the top and this thing has three sides and is open on the front (side). So the back of this unit was a side and the left side was the back. The back (but in this case the left side) is what had to be notched out for the drawer glide. Some people would have no problem converting that all in their heads. My brain kept getting tripped up on all that so I’m just happy they work! I don’t even care about that little un-needed notch in the bottom faceframe rail. It kind of looks like an intentional, functional necessity. So I’m rolling with it and moving on.
Those are Clamp It corner clamps from Rockler: https://bit.ly/2JmZuKW
great job as usual. I have a question on the clamps(the blues ones on bottom as well as the red corn top clamp.. Wat are they called and where can I buy them..
No I haven’t. Not sure I will at this point. The paint has fully cured and is holding up really well. So we’ll see.
Did you top coat the counter top yet. You mentioned in the post when you painted it that you’d wait a couple weeks and then top coat it. This Inquiring mind wants to know!
Thank you Tracy. My brain hurts even trying to explain it. LOL It’s really interesting to observe your own brain repeatedly getting mixed up on something that you think should click. But it doesn’t click. So you draw it out, hold pieces of wood in place to visualize and do whatever you have to do, to help your brain get what it is you want it to understand. Sheesh. But I’m not complaining. I love my brain. It serves me very well in lots of other areas. 😀