How to Patch Drywall
I’ve been remodeling and building for so many years, sometimes I forget my humble beginnings. I forget that once I didn’t know how to tile, or frame a wall, or do any of the many things I now just…do. I take a lot of my skill for granted. One of the most common questions I get from beginners who have just delved into their own remodel journey is how to patch drywall. And, hey, don’t worry! I’m going to teach you.
There are many ways to patch drywall, so I’ll show you a few that I know. It’s seriously something almost anyone can do. In fact, to prove it, I’m tackling this patch job at midnight when I’m half asleep!
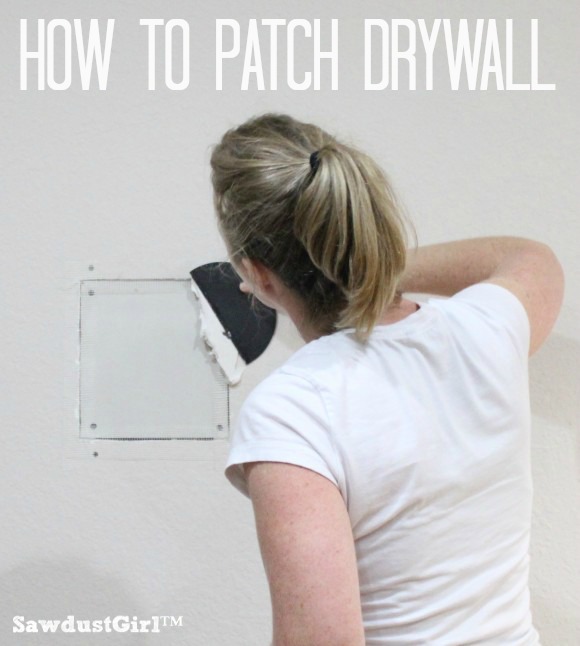
Method #1: Ready-Made Patch Kit
The easiest way to patch drywall is with a ready made patch kit. They come in various sizes and are made of a thin metal square covered with self adhesive fiberglass mesh tape, with “wings” of tape protruding beyond the edges of the patch that stick to your wall. With these kits, all you have to do is peel off the backing, stick it to your wall, and remove plastic film from the front. Quick and easy!
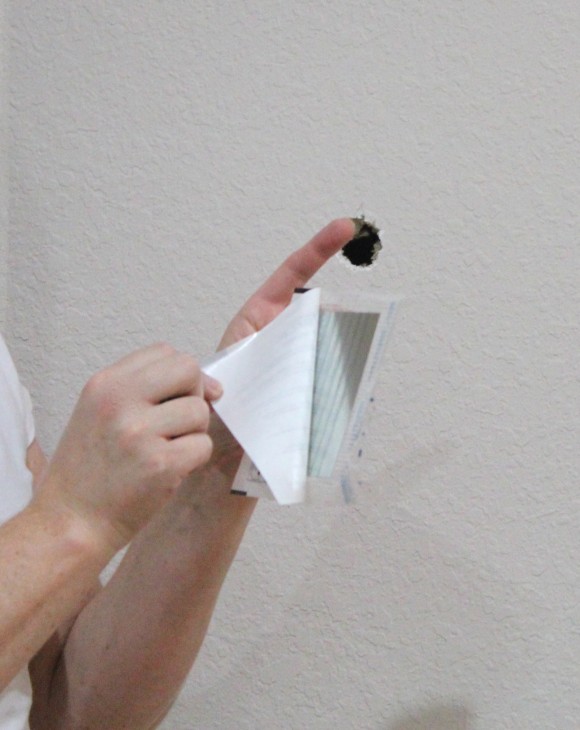
After applying the kit, just slap on some “mud” and your done! Well, and then repaint your wall.
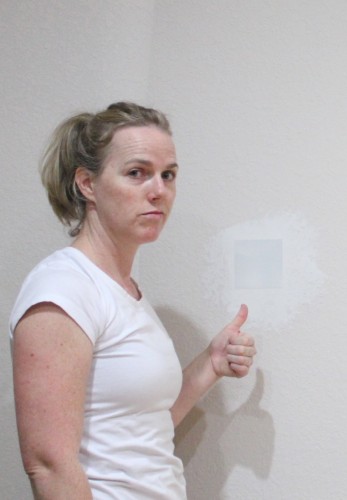
Seriously, I go with this option as often as I can. The patches cost around $3 to $8 depending on the size. If you have to buy drywall and tape anyway, it’s probably cheaper to just go ahead and get the patch.
However, these patches don’t work in every situation. Sometimes the hole is an odd shape or is too big for a patch kit. Or, if you have a lot of holes to patch, you may not want to pay $3-8 per hole! That’s when you can move on to Method #2…
(Sometimes I don’t know my own strength!)
Method #2: The Old-Fashioned
If any of the above reasons apply to you, say, maybe you punched a hole in the wall, look no further! You can absolutely do it the old-fashioned way. In this case, get some drywall and tape, and get ready to patch the way we’ve been patching for decades.
Step #1
Start out by cutting a piece of drywall that will cover your “hole”.
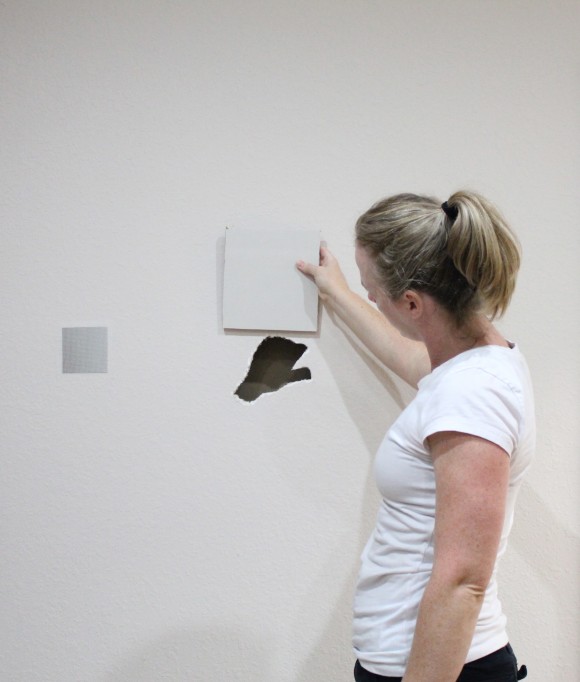
To cut drywall, use a straight edge and utility knife to score the front paper. You’re not trying to cut through the drywall, just the paper. If you’ve never cut drywall before, I know that doesn’t make sense, but just trust me.
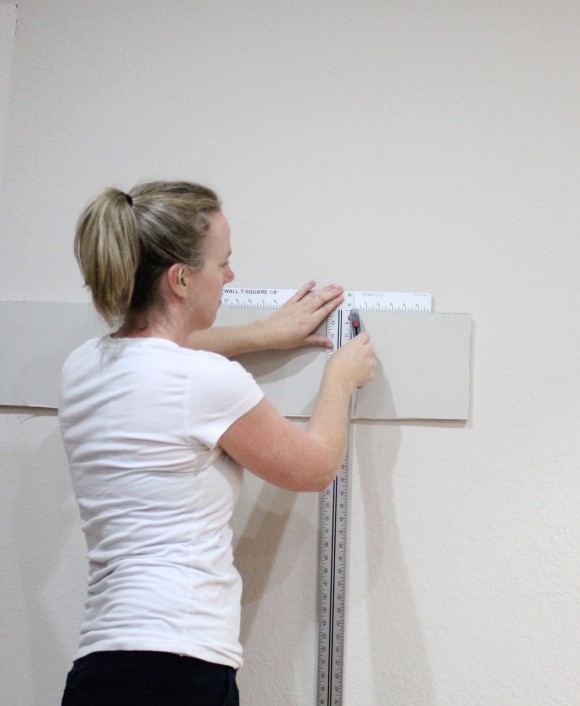
Step #2
Break the drywall by pulling back and Karate chopping where you just scored it! This step is my favorite as it’s just so, so satisfying. I’d recommend saving this step for when you’ve got some pent up anger (maybe because you just punched a hole in your wall)!
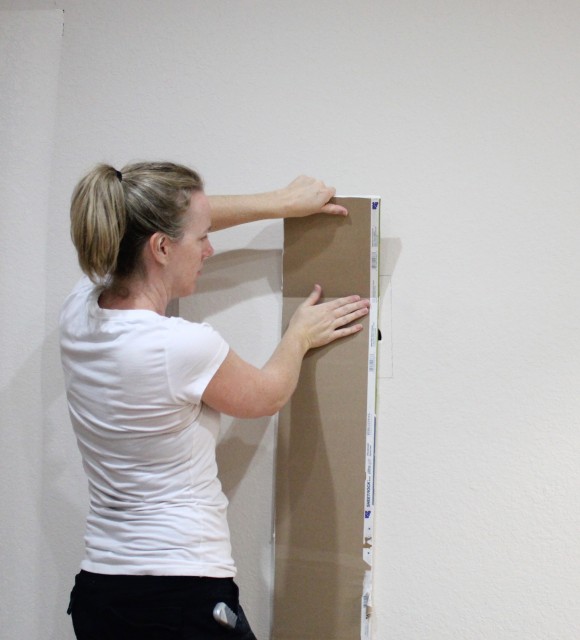
Step #3
Cut the back paper with the utility knife.
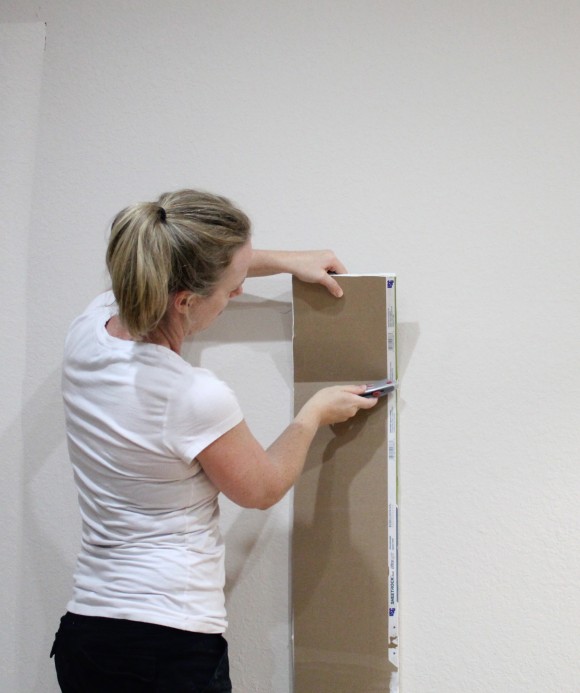
Step #4
Now, take your patch, and place it over the hole in your wall. Trace the outline.
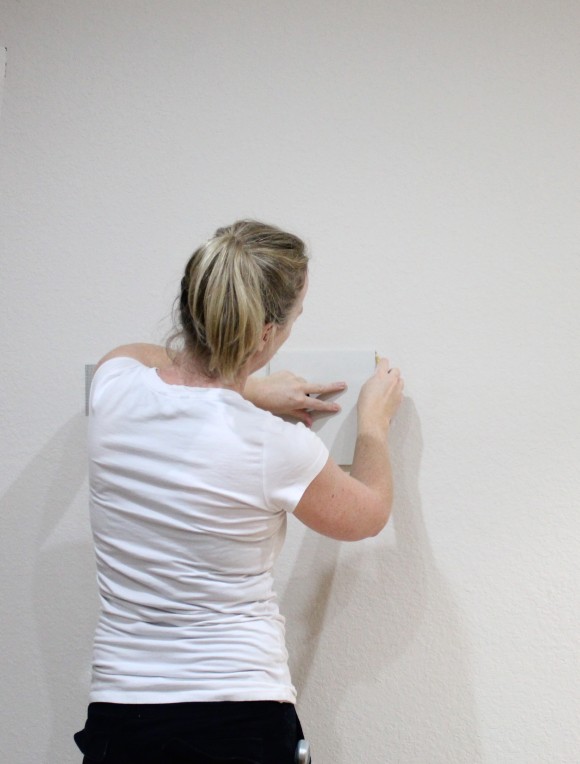
Trust me, it’s much easier to cut a hole to fit a patch than trying to cut a patch to fit a hole!
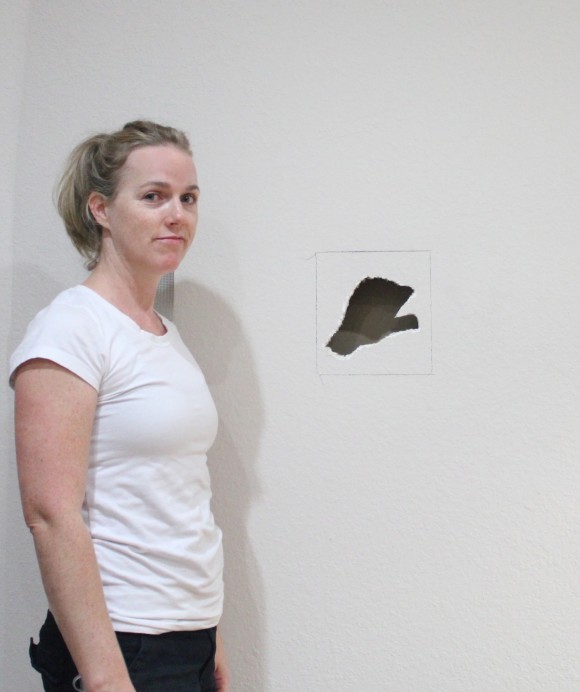
Step #5
Now, take a drywall saw and cut out your new hole. If you aren’t sure what a drywall saw is, see below.
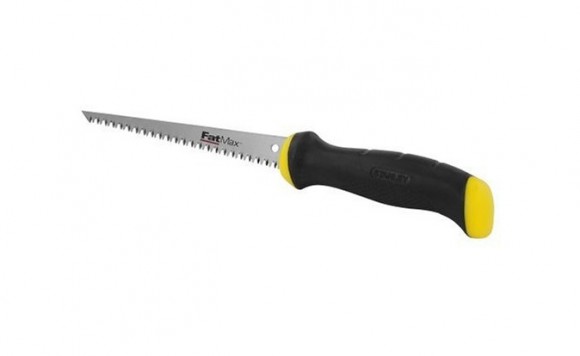
No, it is not a bread knife! Although…it is kind of like cutting bread. It’s just a lot more work!
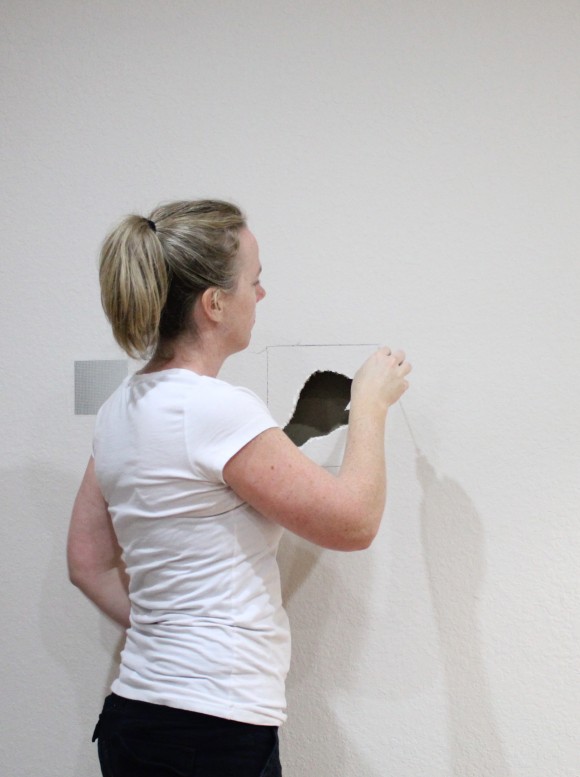
Step #6
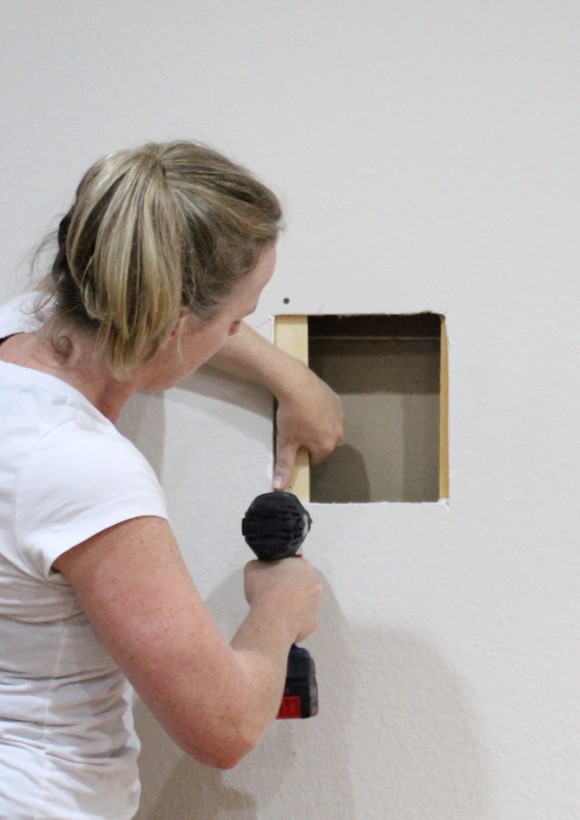
Now you need something to screw your drywall patch into to make sure it’s secure. If you didn’t expose a stud, no problem. Use a scrap piece of wood and affix it into the hole. Soft wood like pine is great so if you have a little left over from baseboard or a thick paint stick, that works perfectly!
Hold onto the wood and drive a drywall screw into the wall above and below the hole into the wood. If the hole is too small to get your hand into, use a piece of the mesh tape to wrap around the wood to hold onto while you drive your screws. It’s all about working smarter, not harder people!
For this tutorial, I exposed a stud on the right side so I’m only using one “cleat”.
Step #7
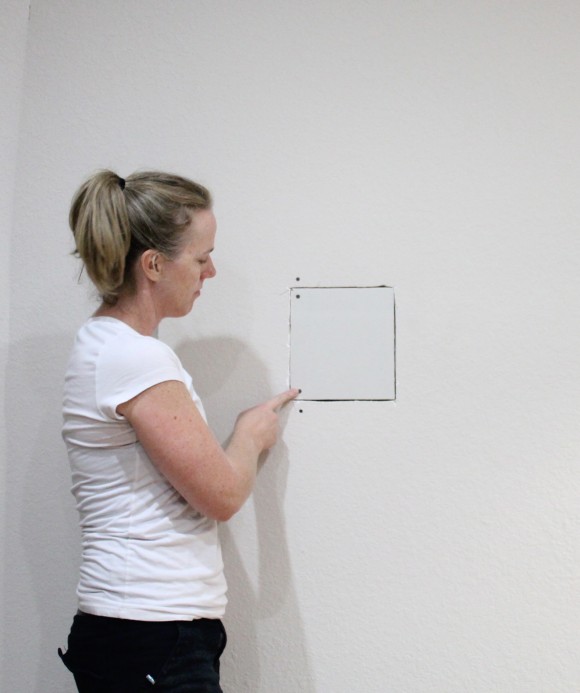
After that, you just need to secure your patch to your wood pieces or studs. I always use screws because I HATE “popped nails”! That’s when the nail wiggles loose a little and the mud pops up or falls completely out, leaving an exposed nail head. Just use screws!
When you drive your drywall screw, you just want to sink it in enough to create a dimple. Don’t break the paper.
Typically, depending on the size of your patch, one screw in each corner should be enough. Drywall screws can be placed about 12″ apart.
Step #8
Now you’re ready for the fun stuff: mudding! There are two different kinds of “tape” that reinforce the seam–paper and fiberglass mesh.
Paper requires a lot more skill to install properly so, for now, let’s just throw that option out! OK?
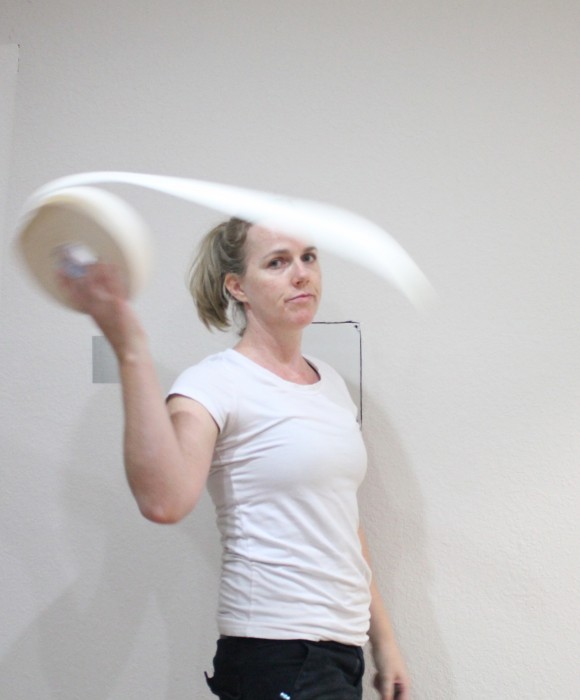
Let’s go with fiberglass mesh! Memorize the image below, because this stuff is amazing!
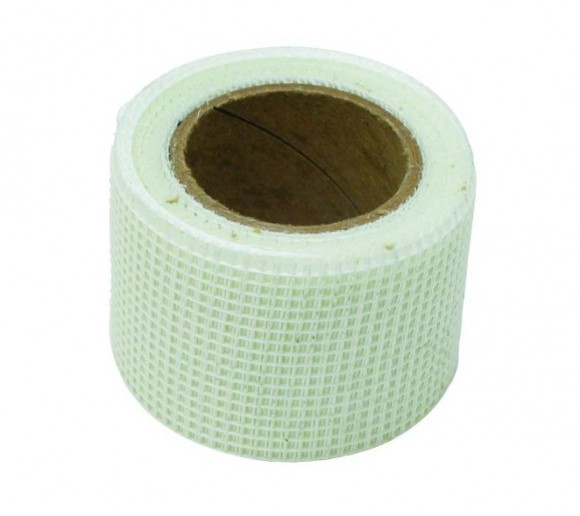
It’s self adhesive, so all you have to do is cut it with scissors and stick it to the wall. I love it!
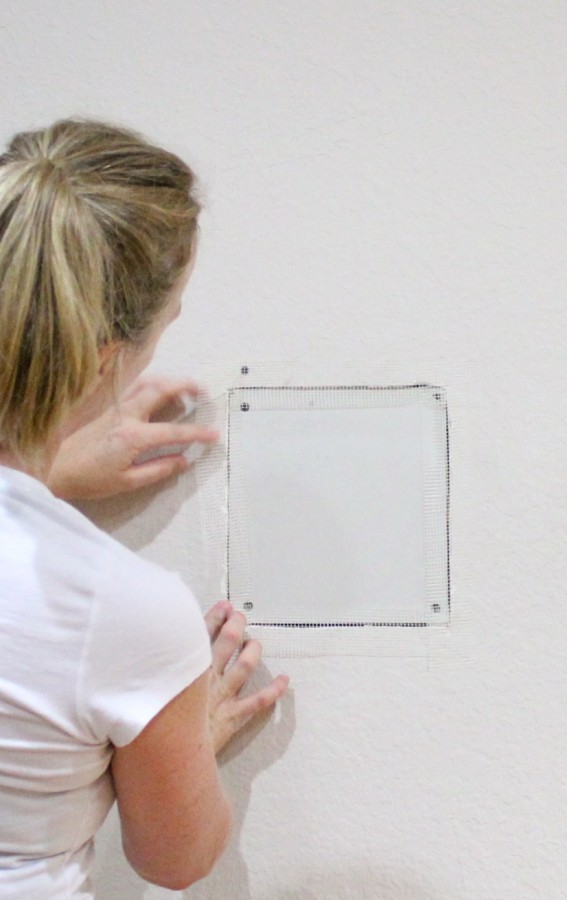
Cover your seams with “mud”. I use premixed joint compound. It’s easy, and ready to use!
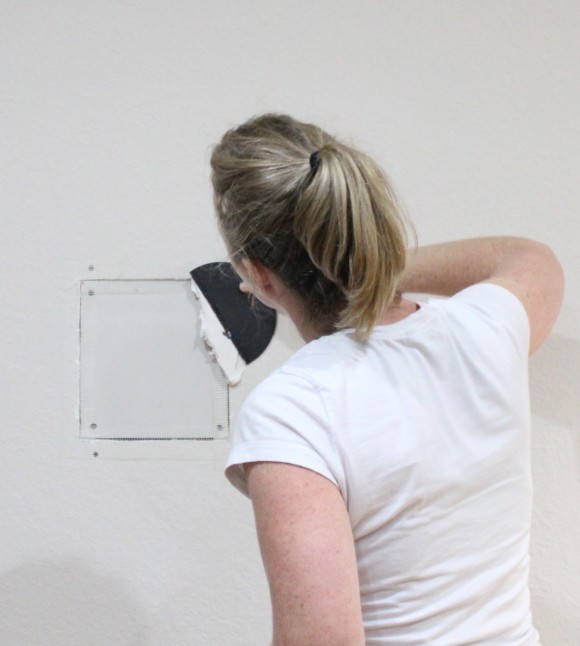
Now, your first coat of mud is going to look sloppy, so don’t try to get it perfect. Just glob some onto your spackle knife and smooth it over your tape pulling it out from the middle to the ends of your tape.
If you mess with it too much, you’ll end up pulling the tape back off the wall. Just slap it on and leave it alone, even if it is ugly! I’m a perfectionist, so I know the struggle, but it really is better in the long run if you just leave it all messy and goopy.
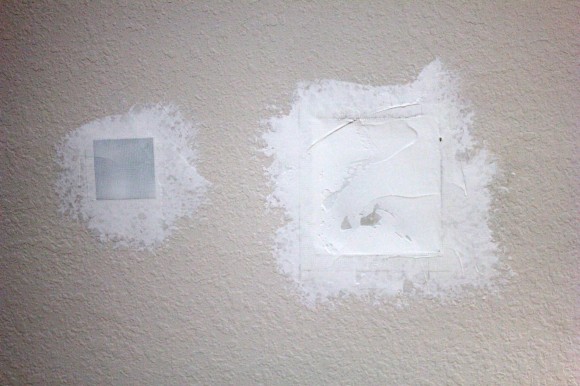
Step #9
Let that coat dry completely before adding another layer of mud. I don’t sand after the first layer. It’s unnecessary, and I am not one who believes in creating extra work for yourself.
After it dries, apply another coat. Use a large trowel on the rest of the coats of mud because it’s easier to build the patch up level with the wall around it.
Put a big glob on the wall, and then smooth it out over the patch, feathering it into the adjacent walls. Again, I know it looks really, really messy, but trust in the process!
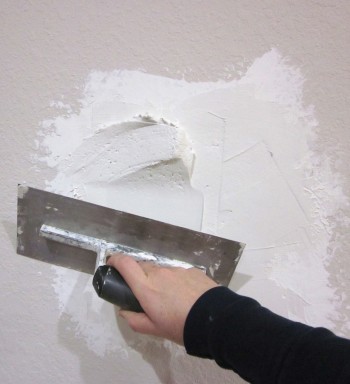
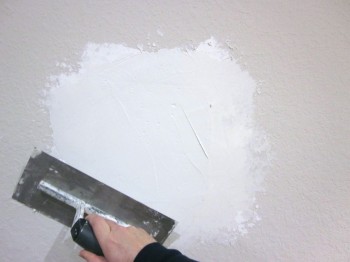
Sometimes your trowel leaves a ridge like this that is easy to sand off after it dries, but if you keep going back over and over and over your mud while it’s wet trying to get it perfectly smooth…you’ll waste a lot of time. Get it relatively smooth, but don’t worry about perfection. The main purpose in your second coat of mud is to “level out” the patch with the surrounding walls.
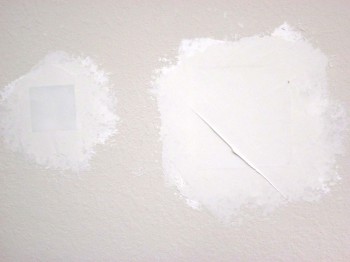
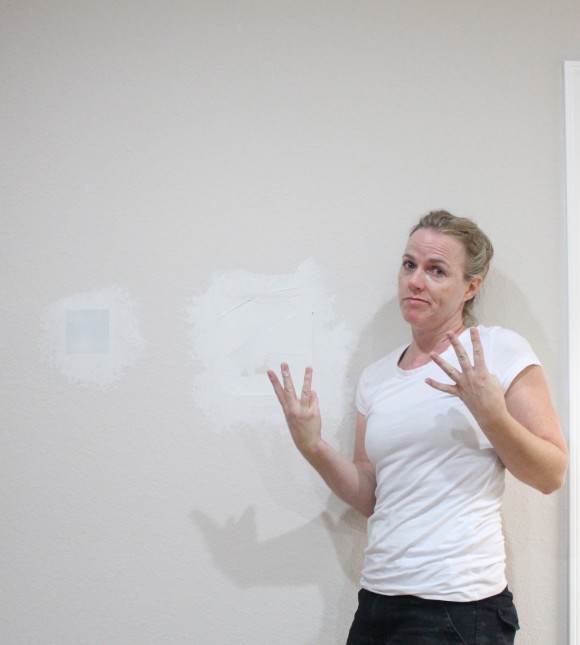
I do 3 or 4 thin layers of mud. Remember that paint will only accentuate any globs, ridges or pimples in the surface so make sure that your patch looks good before you move on to primer and paint. Be patient. It’s an art!
Step #10
After your second coat of mud dries, sand down any ridges and apply another coat if you need to. You may not. If you do, it will most likely be a very thin layer to fill in a void or better blend the patch into the wall.
Once the last coat of mud is dry, lightly sand, dust and you’re ready to prime and paint.
That is unless you have textured walls in which case you’ll need to add a little texture…which is a whole other party! If you’re interested in knowing how to get rid of textured walls, check out my post here.
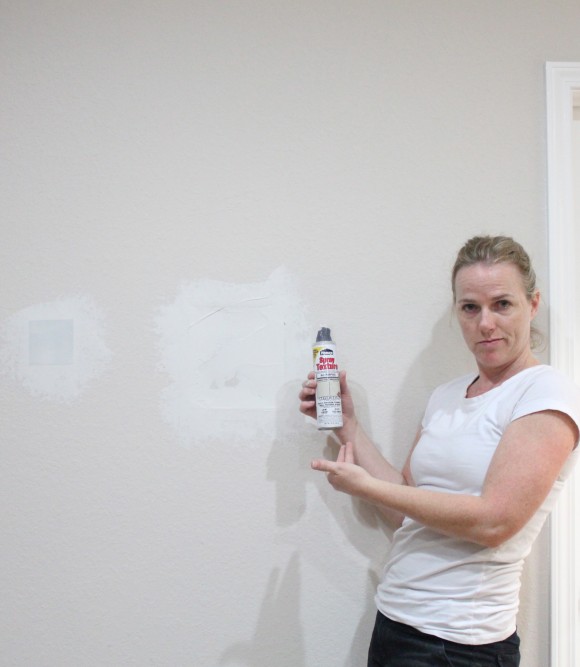
If you do need to add texture, it’s not that difficult. Buy a can of spray on texture and follow the directions on the can. Mostly, it’s trial and error getting it to match up as best as you can. Usually, you spray it on, wait a few minutes and then knock it down. If you don’t like what you see, scrape it off and try again. Well, and again and again until you like it well enough. With textured walls, it’s nearly impossible to create a patch that will disappear, even if you hire a professional, so don’t be too hard on yourself if you don’t get it perfect.
Of course, if this all sounds like too much work just to patch a stinkin’ hole, you could always just cover it up with some beadboard or wainscoting!
All in all, patching a wall shouldn’t be a daunting task. Hopefully, I’ve helped you feel confidant to go out and punch your walls without fear, because you will be able to patch them back up!

you know, if you cut the plug piece about 2 inches over like a 6 x 6 inch becomes 8 x 8 inch, on the back side score the plug piece with a 6 x 6 dimension. carefully remove the scored rock about 1 inch on each of the four sides, but dont remove the surface paper. then where the it 1 in. face paper over hangs on each side wet that paper flap WELL… then insert the plug add screws as needed, and instead of fiber or paper joint tape lift the wet flaps and squeeze in your mud /joint compound\ then lay the flaps down on top of that mud and squeeze it tightly with a 5 in taping knife coat it squeezing a tight layer over the perimeter…let it dry…use your tape knife to knock down any rough or raised portions and light lightly sand…then a 10 in. blade and 2nd or final coat it the entire final coat should be side to die twice the diameter of the patch, if your walls are flat or just rolled paint spot prime th area with either primer or a spot touchup with the top coat paint…let it dry….then sand the entire wall from corner to corner and then apply a top coat……the reason being no matter how well you patch it if you dont sand the patch spot prime and then lightly sand the whole wall the patch may look proper for color and coverage but veiwing it from different angles will still show the patch spot, because the paint will build up on top of the original paint BUT the patch wont have that thickness of paint to build on…….phew texture is a another few steps
Yep, that’s definitely a way to do it.