Board and Batten Around An Outlet – Tutorial
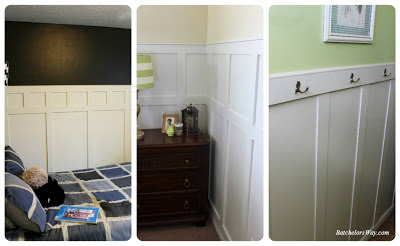
I love wall treatments, especially Board & Batten.I like the character it adds to a room.In fact I have three rooms as of date that have three different variations.
While planning out my lay outs I have found that no matter how hard I try I will get at least one outlet or light switch plate that lands half on and half off a board.
What do I do?
I have seen some people cut the board so the whole outlet is flush with the wall, but I prefer to pop the whole thing out. I think it looks better. So here’s what I do that.
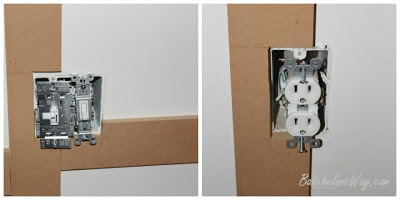
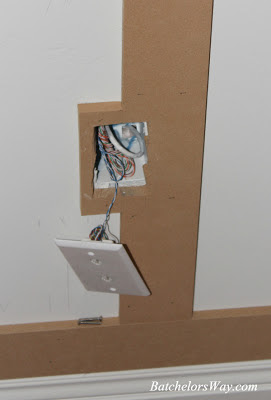
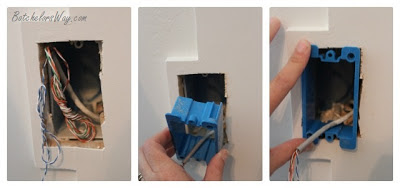
First, make sure the electricity is turned off, then cut out around the electrical box for each board that covers the box.
See photo below.
Next, make a C shaped piece to fit around the other side of the electrical box.
Don’t worry about the inside cut. It won’t show in the end. But do try to make the out side cut nice. Use your outlet plate to help get an even reveal around all sides.
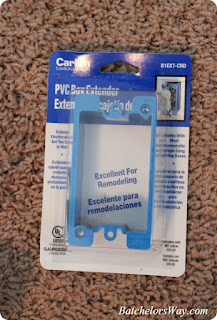
After you finish painting your walls you will need an outlet extender.You can get them at most big box stores.
Pull the outlet or wires through the extender as you slide it into place.
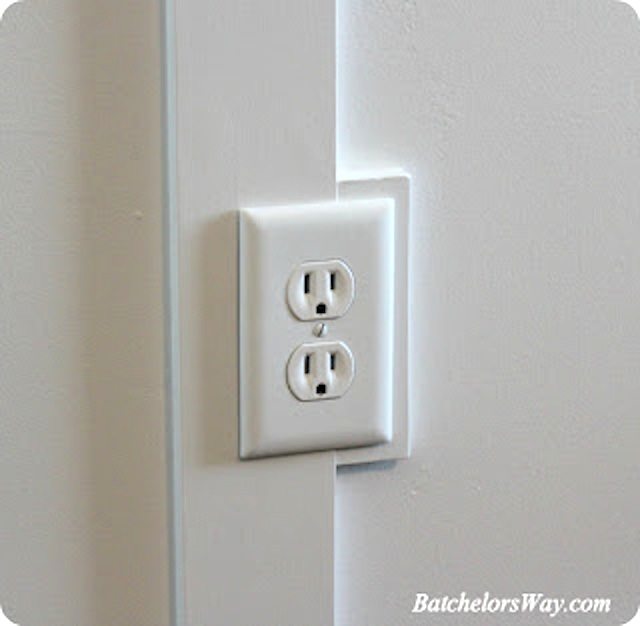
Use the extra long screws that come with the extender to attache the out let.
Once you put the plate on, it will look fabulous!!!

Come on over and watch my master bedroom remodel we just started.
Thanks, I’m kind of a detail freak and this detail can make or break it for me.
What a neat way to go around the outlets! Yes, way better than when the outlet is flush with the wall.
You are so welcome!
Ronda, you’re genius once again! I had no idea there was such a thing as ‘outlet extenders’! Now I can fix some outlets that have been BUGGING me in the bathroom. Thank you, thank you, thank you!
Love it! I am going to try this for both door casings (now I can use Sandra’s beef up your door casing tut) and for base boards where I have awkwardly placed heat registers, grrrr!