Chunky DIY Magazine Rack
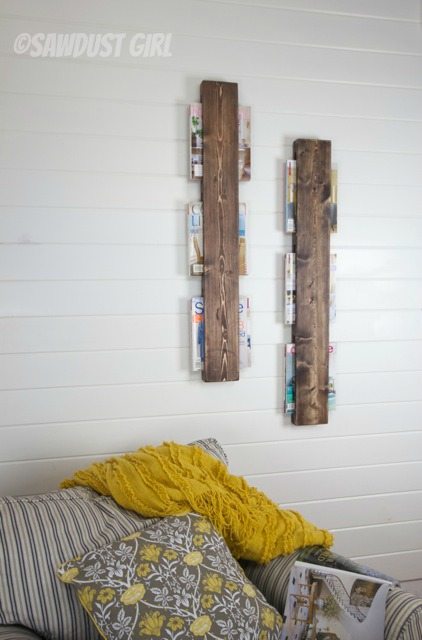
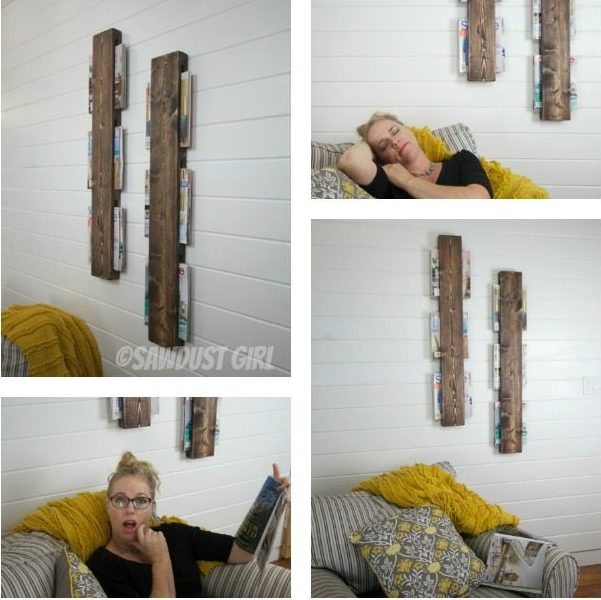
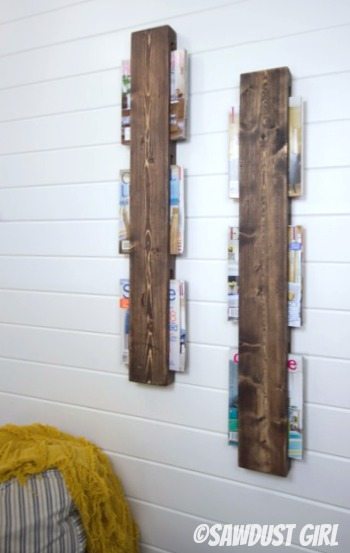
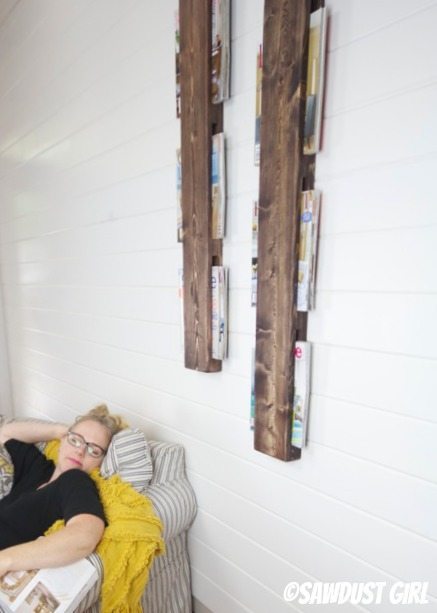
This wall mounted, wood magazine rack project cost me $5 for the pair. This is a super easy and cheap DIY project practically anyone can build in less than 30 minutes! These magazine racks would be perfect for a home office or anywhere that reading material storage is needed. The magazine holder area can be made even wider to hold anything from newspaper, books, and art tablets. Wouldn’t this be fun in a kitchen to hold cookbooks? This post is sponsored by 3M DIY
Build a Wall Mounted Wood Magazine Rack
Materials:
- one 1×6. Yes, just 1!
- 3M™ Advanced Abrasives
- SandBlaster™ Pro No-Slip Grip™ sandpaper
- SandBlaster™ Sanding Block
- wood glue
- ScotchBlue™ Painter’s Tape Original Multi-Use 2090
- pencil
- tape measure
- speed square
- picture hanger
- 3M™ Wood Filler
- Optional: 18 ga. nail gun and clamps.
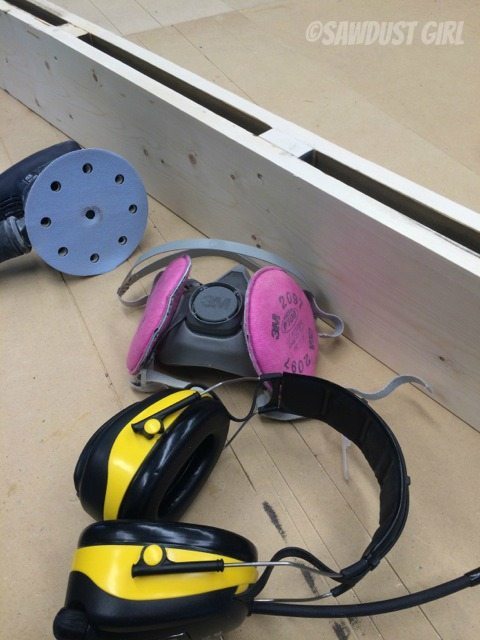
- 3M™ Safety Products: safety eyewear, respirator and ear protection!
*When using power tools make sure you wear the appropriate safety gear.
Step 1.
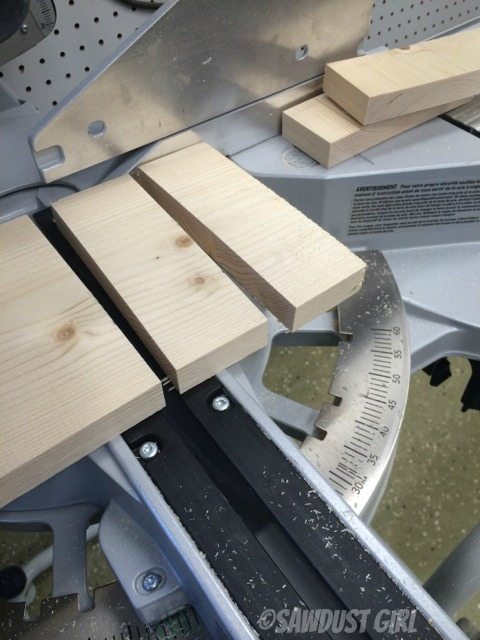
Cut four 2” blocks off the end of your 1×6.
Step 2.
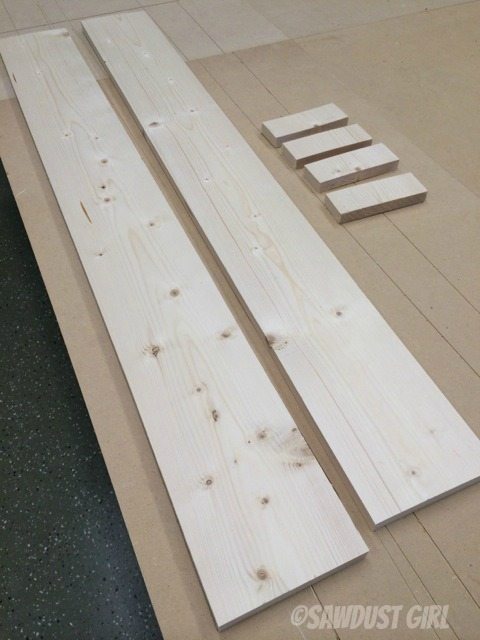
Cut the remaining board in half. You should end up with about 44” each.
Step 3.
Secure 2” blocks to one of your 44” boards at top, bottom and evenly spaced in between.
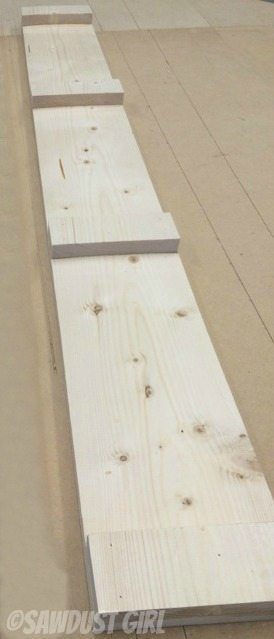
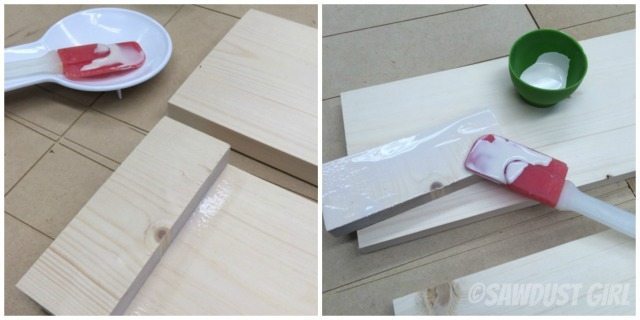
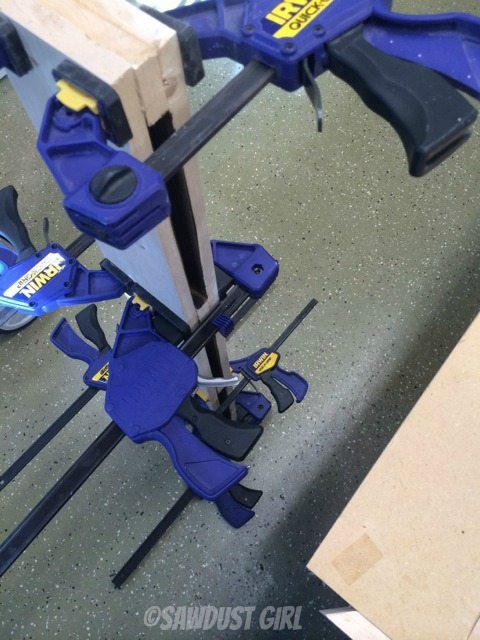
Option 1- use glue and clamps to secure blocks until glue dries.
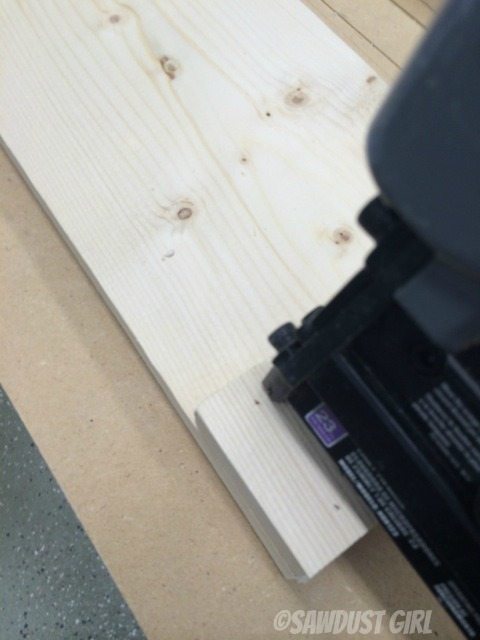
Option 2- Use 1 ¼” nails or screws to secure the blocks in place.
Step 4.
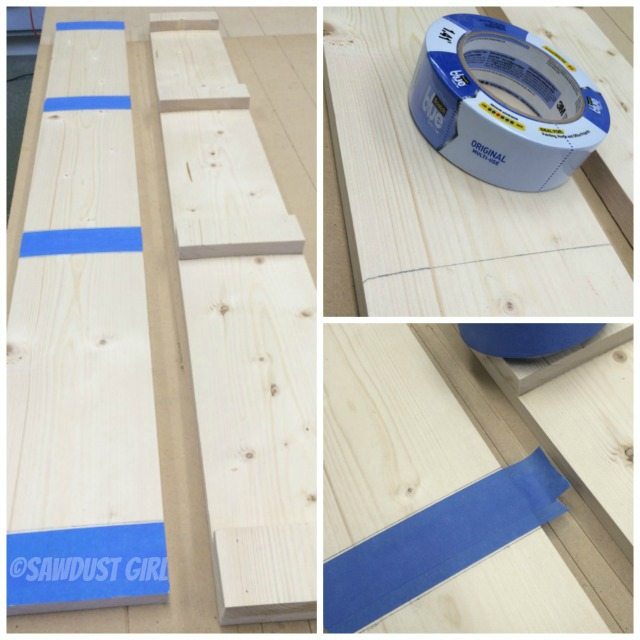
Hold or clamp the second 44” board on top of your wood sandwich and use a pencil to transfer the exact location of your blocks.

Step 5.
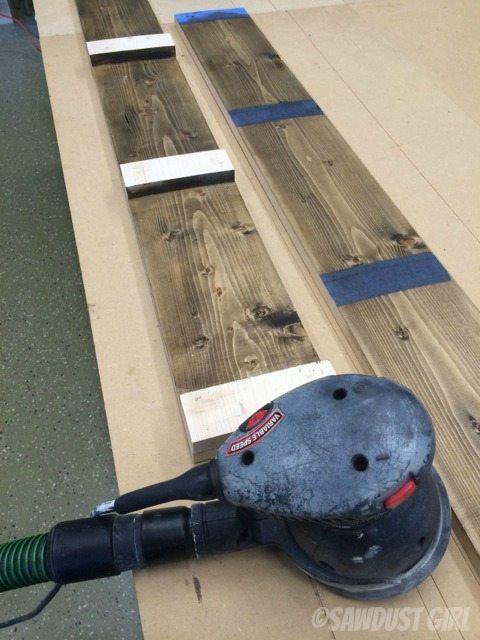
Sand the edges of wooden blocks. Imperfections and saw marks will be accentuated by stain or paint so it’s important to remove them before finishing.
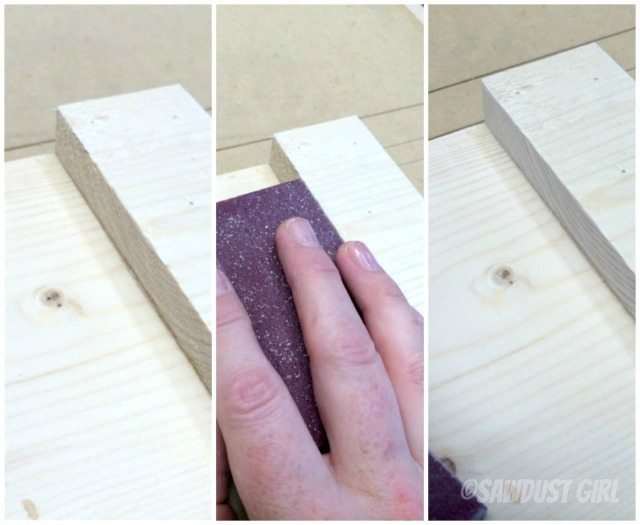
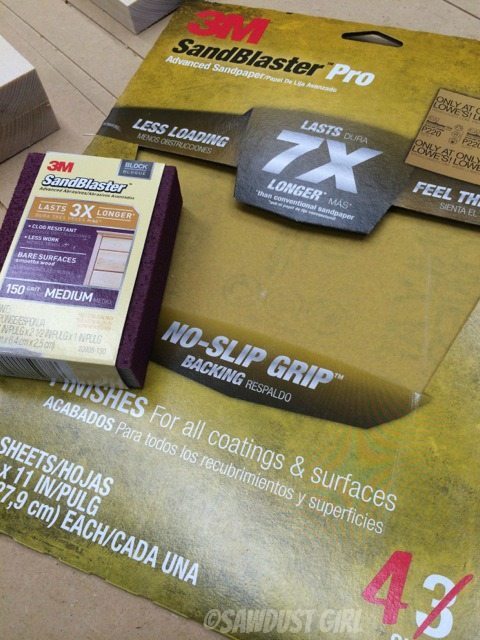
I used the 3M™ SandBlaster™ Sanding Block 150 grit. It was crazy how much sawdust I made with a sanding block!
This line of 3M™ Advanced Abrasives is surprisingly amazing…and you know if I say it I mean it –so this is serious business here!
Step 6.
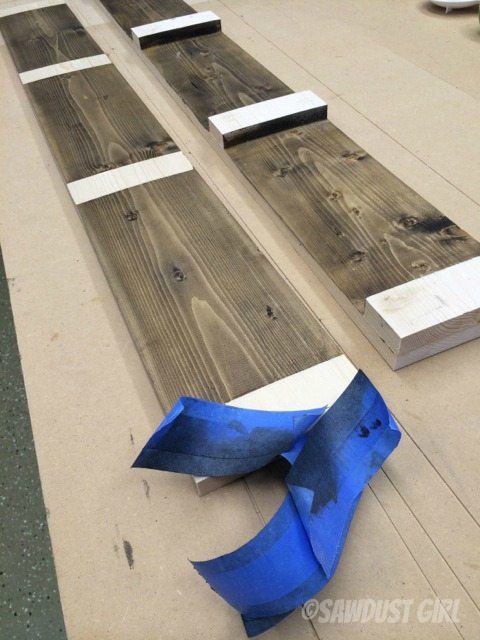
Use ScotchBlue™ Painter’s Tape Original Multi-Use to tape off the block location on second board. Tape off INSIDE your marks.
This will keep any finishing product off the areas of wood that need to be glued up later.
Step 7.
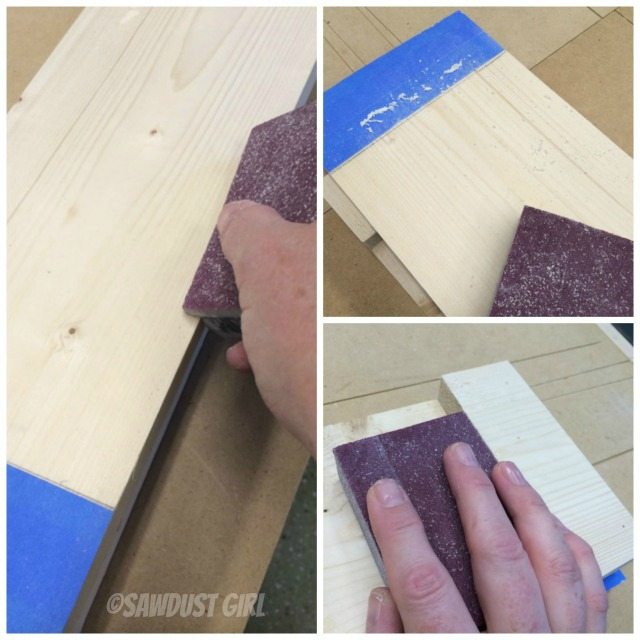
Scrape and sand away any glue squeeze out and sand the edges so they aren’t sharp. No one wants a scraped knuckle from picking out a magazine!
Step 8:
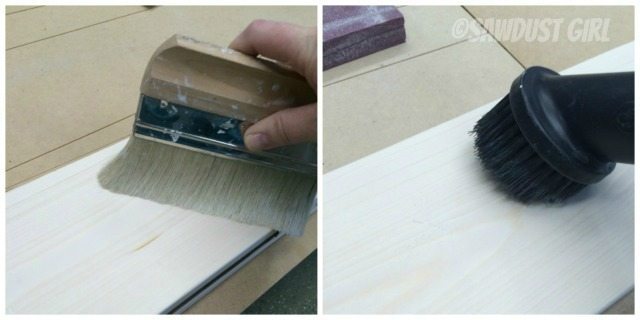
Clean up any sawdust with a vacuum and brush. A cheap paintbrush works well or you can use a tack cloth.
I never have a tack cloth on hand so I vacuum and brush.
Step 9:
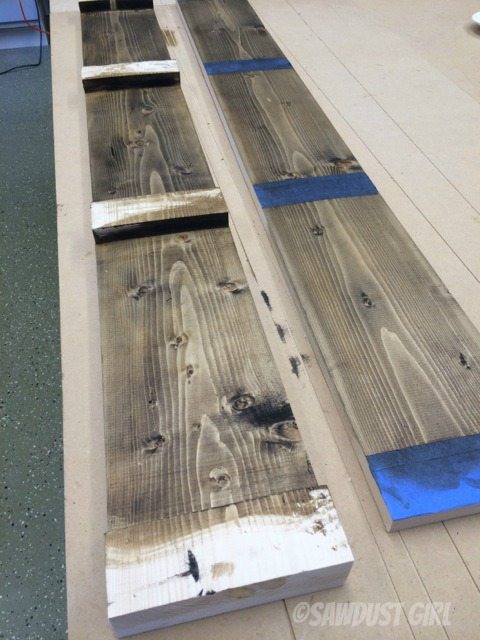
Finish the interior surface however you like using clear poly, stain, dye, paint or wax.
I like to stain and finish wood with Briwax.
Step 10:
Sand away any finish that may have gotten onto the top of the four blocks and remove the tape.
Step 11.
Apply wood glue to clean bare wood and clamp or nail together and allow time to dry.
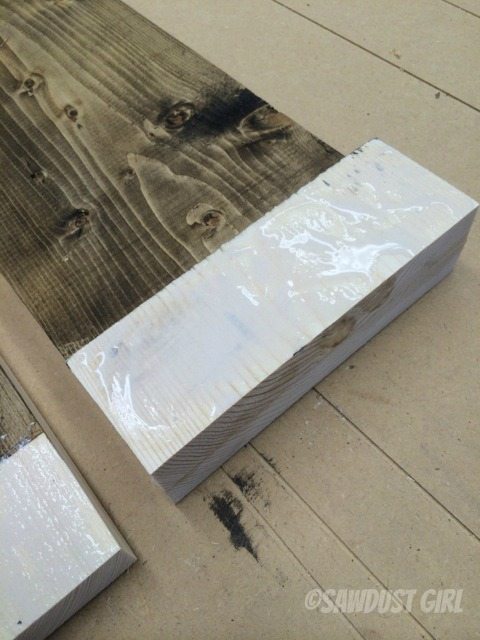
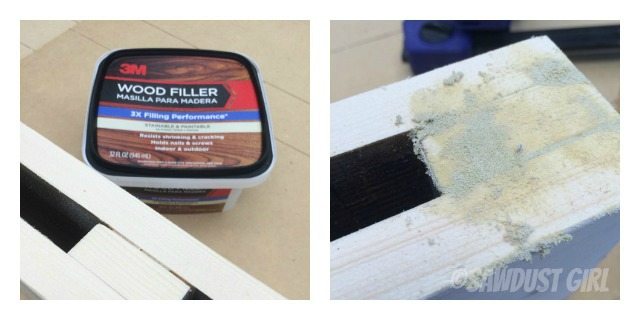
Step 12: Fill
Once dried, use 3M™ Wood Filler to fill any cracks or nail holes you don’t want to show.
Step 13: Distress
I like to distress pine pieces because it is so soft it’s going to get dinged up easily with use so I like to create a finish where the dings, dents and scratches will just add to the character of the piece over time.
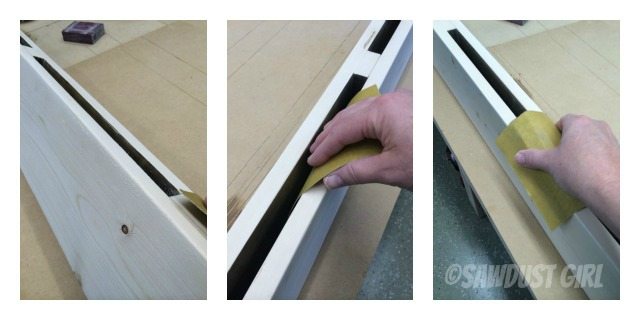
Step 14: Sand
I used 3M™ Sandblaster™ Pro Sandpaper to sand the corners, edges and any rough surfaces because…well you know…no one wants to get a splinter while picking out a magazine!
 Step 15:
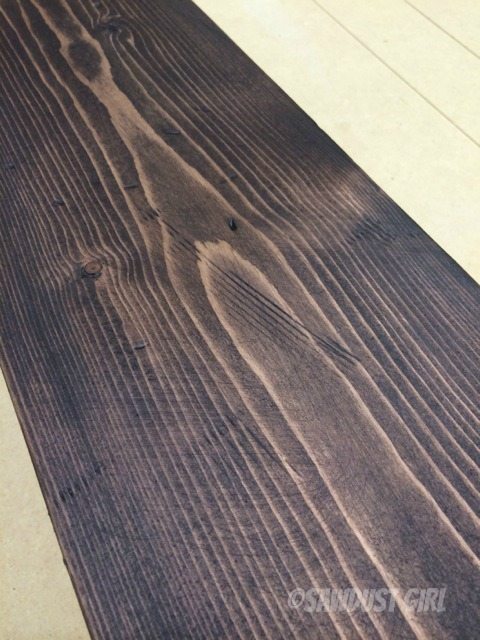
Finish the outer sides of the entire piece.
I like the distressed look of the saw marks. Additional coats of Briwax will give this wood some shine! Just check out these two nightstands in my guest bedroom for proof!
Step 16:
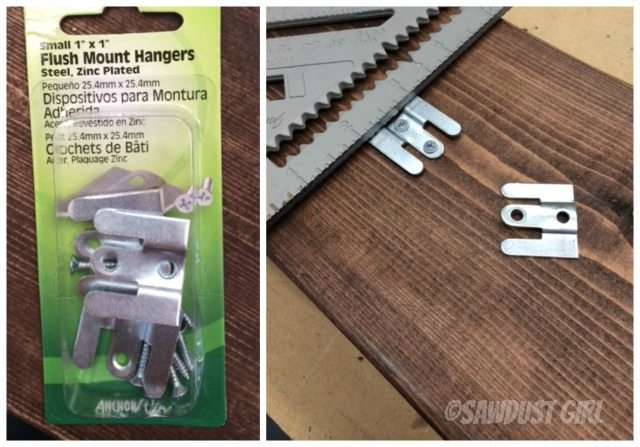
I’m hanging my magazine racks on a wood plank wall so these little French cleat type hangers are perfect. Although, you could use any type of heavy duty picture hanger.
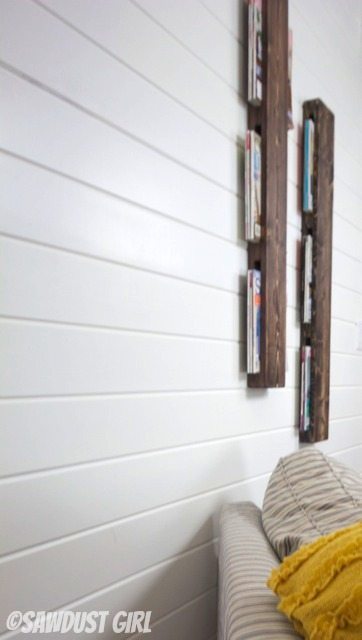
Now all that’s left to do is hang on the wall, fill with your favorite magazines and enjoy!
Disclosure: I am proud to be a 3M sponsored blogger, and, as part of my responsibilities, I get the opportunity to evaluate products from 3M DIY. Opinions are my own and additional product used in the project were selected by me.
Find more project ideas on the 3M DIY website and follow along on 3M DIY Twitter, 3M DIY Facebook, 3M DIY Pinterest and 3M DIY Instagram.
