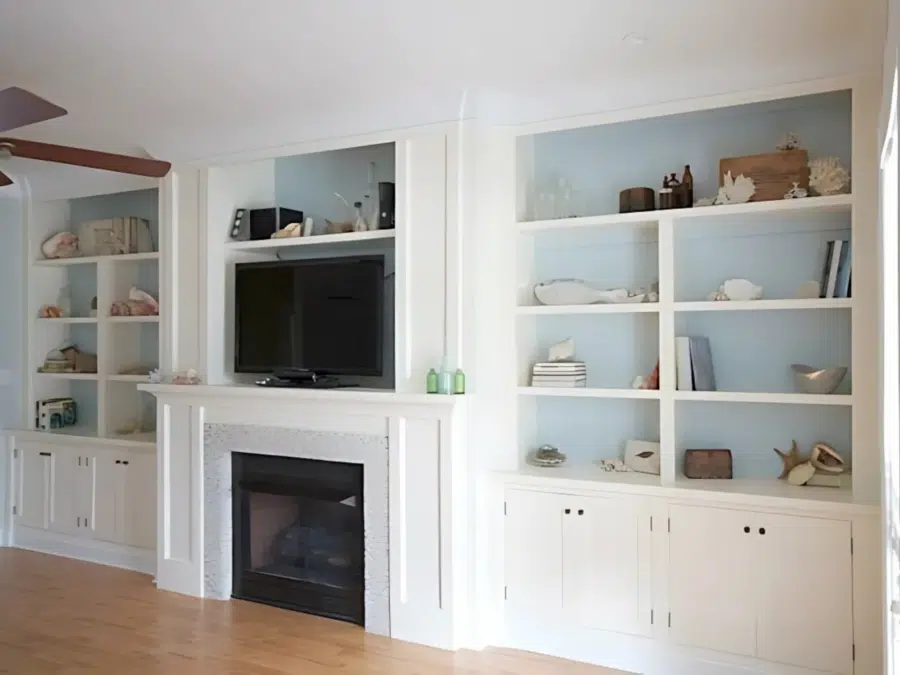
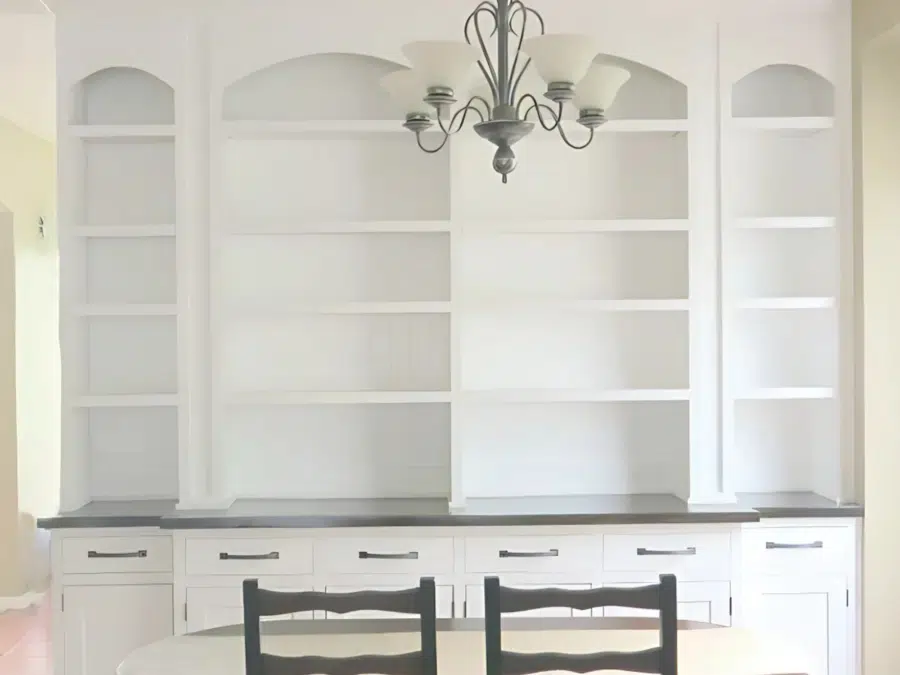
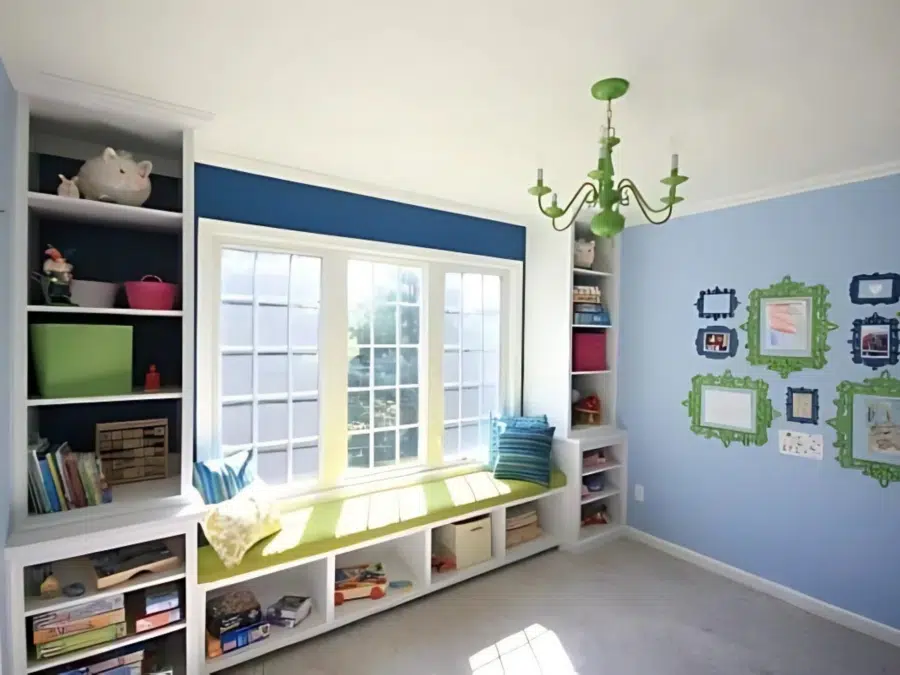
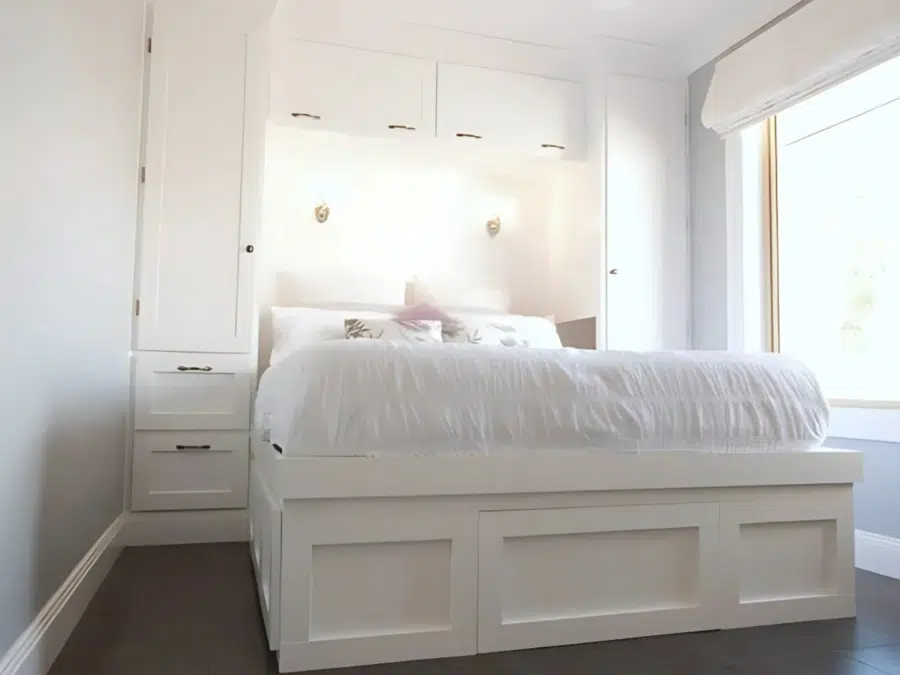
Hi, I’m Sandra Powell, aka Sawdust Girl. I have a passion for taking a blah home and making it beautiful. I’ve been designing and building for over 15 years. I’ve renovated 7 homes, including a flip house I took on with my sister. I’m currently tackling a 7200 industrial building and creating a Build & Breakfast; where people can come and learn how to build!
Sandra Powell aka Sawdust Girl – About Me
I do almost everything myself because I’m a perfectionist and I like to stretch my dollars.
School
I studied Interior Design in school and for a final project, I had an opportunity to design a room in my own home. For my class project, I designed built-ins for all four walls in that room.
Cabinet Making
Outside of school, I REALLY wanted to bring my design to life – in real life. We could not afford to hire a custom cabinet maker to build everything. But I am a determined person when it comes to figuring out how to achieve my goals. I talked my younger brother into visiting me for 3 days and getting me started in cabinet making. We borrowed tools from friends and build the beginnings of one wall of my design. That was all I needed to take off and I’ve never stopped building. I’ve created a whole category of Cabinet Making tutorials to share everything I know.
Childhood
I grew up on a farm, and learned how to work hard. I was expected do hard things and so hard things have never intimidated me. If I want something done, I figure out how to get it done. If I don’t know how to do something, I gather information until I feel confident tackling it.
I learn and get better at what I do –with every new project.
Family
My husband, Wes, is not too involved in our home projects. That is my thing yet he is always happy to help me when I need extra muscles or a third arm. He tolerates the messes I make in our home because the outcome is always worth it. He prefers being involved in the process as little as possible. We have one daughter, Madison. She’s a challenge and the best thing in our lives!
Renovating and Remodeling
Wes and I (and Madison when she came along) have lived all over the country in the last 23 years. I’ve enjoyed moving frequently as it’s given me lots of remodeling opportunities. I’ve remodeled 5 of my own homes but only started blogging in our IL home. I do almost everything myself and have looooots of tips to share. Sometimes my tips are things NOT to do! LOL But most are techniques I’ve become pretty good at. Like cutting and installing crown molding.
Mentoring
We now live in Tennessee where, in addition to remodeling my home, I really enjoyed coaching some clients through massive projects of their own. I mentored a group of other DIY bloggers, pushing them to elevate their building skills to the next level. Now I’m looking forward to face-to-face instruction, collaborations and just having a good time together at my Build & Breakfast!
And that’s me Yo!
Leeanne says
I came across your site while looking for plans for a built in bookcase. I love it! Definately one of my favorites now! How you describe yourself and your husband mirrors myself and my husband exactly! Lol
I am planning a built in shelving unit that will also hold a 60″ flat screen tv. I have one thing that is stopping the progress….
There is a baseboard heater that runs along the wall area. Right now I have store bought shelves that hold everything but they are pulled away from the wall so the heat will rise up behind. Any suggestions on how to make the base of the new built ins to accommodate this without getting a plumber in to move the heaters? Do you think if I build the base boxes taller and put decorative screening in the front, will it still work similar to a radiator box?
Any suggestions would be greatly appreciated
Thanks
Leeanne
Paul rushworth says
Dear Sandra,
I am a carpenter from the UK and have been doing this for thirty years! I was just starting a new project for a customer and am building draws and was looking for instructions on how to go about using the Blum tandem under mount runners when I found your video.
I have to say what a great video and how easy it was to understand. I always find the Blum instructions a little hard to follow but you have just removed a little bit of the stress from this project! Thank you so much!
I’m now going to check all your other stuff!
Best wishes
Paul
Sandra says
Thank you so much for your note Paul! I love the Blum products but, yes, their instructions leave something to be desired.
Starla says
That is a neat story. I would have thought you had professional training In building. You do good work.. You have good ideas.. and I enjoy watching and learning. Thanks for sharing your story.
Starla
Monique Cocito says
I just came across your site via a google search for drying rack ideas and *have* to say this: you are friggen awesome!
Your instructions for projects are easy to understand (wherever one sits on the knowledge and skills spectrum) and your general approach is stunning!
Your reclamation ‘Build Like A Girl’ is just beautiful! Thank you!
Donald says
Thanks for your no nonsense approach and simplified, detailed instruction! Especially on the Blum BluMotion drawer construction! You’ve been a great help in my DIY kitchen remodel!
demars328 says
I’m so glad I cane across your site and found plans I was looking for since ever.
Thank you so much!
Danielle
Vickie Bedard says
Hi – I’m looking for suggestions for protecting a wood countertop. It is red oak. I’d like to stain it a bit darker that it is. Is it better to do stain and polyurethane? If so, is spar preferable to standard polyurethane. I prefer water-base, I do not like the yellowing from oil base. Would it be better to use an oil-based butcherblock conditioner such as Howards instead of polyurethane? Is there product preferable to Howards? I’m ready to finish it – it is covered with now plastic to protect it until it is coated.
Kelly says
Hi I’m making the Kristy’s platform bed How do you attach the wide trim around the entire bed. And is that to keep mattress from moving of the sides?
Thanks Kelly
Sandra says
Hi Kelly, That piece you see is a 1×2 or 1×3. You can nail it on flush or create a small lip.
Kelly Marr says
Thanks you very much.
Enjoyed making this bedroom set.
Kelly
FG AKA KMBA says
Hi Sandra, came across one of your closet build videos on YouTube about 5 years ago, was truly impressed, subscribed and been a fan ever since. I’m no where nearly as skillful as you, but you inspired me; so I thought to myself…(if she could do it, so can I). Today I want to thank you for inspiring me and also motivating me to take on new home reno projects.
Hats off & 2 thumbs up madam, keep up the good work.
Eda says
Can you tell us what kind of paint you use on beadboard please? Of course, I would prefer to use latex! Thank you
Pınar says
I just love you. You’re the reason that my new table saw.
Before that I was just drilling some holes with the drill bit. I am a girl too. 🙂 I love you. Muah!
Charlene says
You are so super awesome! I hope to be able to do a few of the things you have on your website. I’m so in aw of you and your work, and being a female makes me so proud to know female can do this and shine in it. Please keep posting everything you do. You are truly an inspiration. I wish you were close to South Carolina so I could get you to help me for one week, I would pay of course, but I would want to learn from you first hand. Much Respect!!!
John Badowski says
Hi Sandra
Have you ever used the Castle 100 pocket hole machine (vs) the Kreg jig?
Your thoughts ?
Many thanks for your reply
Thank you John Badowski.
Sandra says
I haven’t but it looks similar to the Porter-Cable one that I really like.
Michal Eldridge says
hello, i found your blog and really love your things. I love how real you are about the process. Because we all know things sometimes don’t go as planned in the remodel world.
We live in Texas and about 4 years ago decided to leave the city and buy land on 30 acres and build our farmhouse. After landing on the plans, we hired the house built, but we did a lot of things ourselves to save money. My husband is the handy one, I am a willing helping in all things building/painting. I have the visions, he tries to do what I ask. My latest project is what brings me to your site. We have a wall that I would like to add ship-lap to, but there is one corner that I am not sure how to navigate. The wall has one single window, a rock fireplace and a set of double windows. The wall ends and then turns and wraps around our eating area on one side. Where that bend in the wall is, is what I am unsure about. our corners are all rounded (guess that is a new things in new home builds) I like the look, but not sure on how to end the ship-lap in a manner that works with the corner. To make matters more difficult, the wall between the single window and the corner is small – about 6 inches. These windows do not have trim around them currently, but wanted to add that when we did the wall. That will reduce that wall space even more – what would you suggest for this? Should we simply end before the curve of the wall? or extend out making a false pillar type extension (like one I saw on your site) we could not go out too far, but would love your input!!
Michal Eldridge
Sandra says
We had rounded corners and windows with no trim in our Arizona house. (I think it’s more regional than a new thing.) It does make it difficult to do feature walls. Sounds like a real conundrum. Without seeing it, I really can’t picture what you’re dealing with or come up with any solution ideas.
Africia Mack Ansari says
i would absolutely LOVE to have you design and build my master closet! don’t know if you do other folks projects but is it up for consideration? thanks for reading.
Sandra says
I have a lot on my plate currently so I’m not doing work for others. Maybe someday in the future.
Nic Felmore says
hello, do you have the blum bible, it still doesnt help me lol
Nic Felmore says
thought i had a most clever plan regarding cornices, fell flat and didnt work lol
Roxanne Loyst says
Hello
Totally enjoyed watching all your videos and very impressed that your so great at building. I wish I had learned more years ago. I know from watching different shows and your videos what is needed to be done but I don’t have the strength to do the reno’s and my husband isn’t into the fixer up stuff. :(. I do have alot of the tools and use them for making crafts and such but renos would be awesome. I am almost finished decluttering my basement and my CRAFTROOM space will be 18 x 24 with an additional walk in closet area to hide craft supplies. Still now sure of my layout of the room. Its so hard making decisions on where to place everything. I don’t want it to look messy. Anyway really only wanted to say hello and let you know I think its awesome how confident you are and able to renovate.
Thank you for your videos as well
Roxy Loyst
Ontario, Canada
Sue Wolbers says
RE: Solving Architectural problem w/ Crown molding. I need to do this however I can not find what ratio was used as the sides are much smaller that the top. Looks like 1:3 or 1:2.5 . Both site links did not say.. Thinking 7 inch on sides & 18in for top ( 1:2.5 ratio)
G. Emerson says
BLIND CORNER CABINET
I hate that you couldn’t get your blind cabinet build to work. I too like to solve spatial problems and I thought of this hinge type that is on my entertainment center. It’s a lot like this hinge from Rockler: EZ Pocket Door System-Pocket Door Slide. The 2 gliders make the whole system work like butter!
Sandra says
Yes I tried pocket door hinge/slides…I did my best to make it work. Someone else can give it a go now. LOL
Danielle says
Hey! Found your tip on a fix if cabinet screws are the wrong length. Why are they never the right length? I don’t get it. Anyways, would have been great to find this 2 weeks ago for a different project, but it saved me a ton of time and energy for my current task, of installing cabinet pulls in the kitchen. Thank you so much!!!! Just wanted to share how helpful that info was.
Sandra says
Glad you found it helpful. Thanks for the note.
Carol Kreiss says
OMG… we moved to Knoxville in 2018 and love it here! Our home builder wouldn’t let us upgrade our cabinets. Ugh! I’ve been trying to find someone to make some drawer fronts for me. We have the plain flat fronts. Are you accepting jobs like mine? It would be 16 drawer fronts. I would be so happy and relieved if you could!
Sandra says
No I don’t do this kind of work. There are plenty of stores that sell doors/drawer fronts though.
Raven Weiss says
Hello, I’m so happy I found you!! My interest are in: wood (powercarving, lathe), Lapidary (powercarving), metal (forming, smithing), jewelry (wire wrapping & design) and love to work with recycled materials of any kind. I am setting up a workshop /
studio in 175 sq ft casita. My tools at present are: bench lathe, bench drill press, bench band saw, SR Foredom (powercarving and power chisels), rotary jewelers unit, jigsaw and various multitools. My problem is that my intake vent for my air conditioning unit is in the middle of the room. So I removed the doors on my closet, moved in a Harbor Freight wood working bench and plan to make a tent with pvc piping that holds clear heavy shower curtains to make a sanding room. I’m pretty sure how I will do this but don’t know what type of dust collection device I should use. I plan on hanging a large vent over the closet rack to catch the saw dust. I can make a ventilation hole, cover it with a small filter while using a desk top portable swamp cooler / air conditioner to keep cool. I live in the desert in a sub division so working outside is out of the picture. I will be using a chainsaw and table saw in the garage to rough out a more manageable size material that I can do in my shop. I know I need a shop vac and possibly a dust collection system. My needs are it has to have a small foot print, low decibel, portable and a HEPA filtration of .01 or .02 microns. My question is can I use a shop vac with a dust deputy or cyclone? Or a collection system with a .o1 or .02 micron collection system. I will be upgrading the filter in the intake vent (AC) plus putting a merv 14 filter over the vent for added protection. I would greatly appreciate your wisdom on my dilemma.
Sandra says
I have a Dust Deputy on my portable dust collector (a Festool vacuum) that I hook up to my tools. I have a Bosch vac as well that has hepa filter and bag. A “shop vac” with hepa filter and cyclone is probably a really good option. Then you could add an air cleaner that would circulate the air as you work to capture any dust missed by the vac. In my last shop, I had mine hung from the ceiling right over my table saw. My new shop is too big for that single air cleaner to circulate all the air in my workshop. I’m thinking of mounting it on a cart so I can wheel it into whatever part of the room I’m working in.
Hope you get things set up to your satisfaction — and don’t be afraid to try and try again. That’s what I have done and continue to do. (I think it’s part of “making” it.)
Kimberly says
you definetly inspire me!
i’ve been teaching myself to do woodworking, (furniture building). wanted to got very long time, long story but seeing all the women on line such as you just immediately lit a fire inside me! just a year now and many have requested things be made, each one better than the last! One day i hope to flip or build a new home!First i need to build me a shop to work in, instead of out in my yard, freezing a lot of the time! i’ve soooo much to learn. As a trauma critical care nurse woodworking takes my mind off all the awful things I see, heals my heart one piece of furniture at a time!!
God bless!!
Alana says
Hey Sandra, I came across your site when looking for a DIY vertically opening cabinet (which you did an amazing job at explaining). It’s inspiring to see there is another women like me out there! My husband and I bought a 105 year-old house which sparked my passion for reno’s/tools/handiwork – and like you, my husband “prefers to be involved in the process as little as possible!” It’s great to see other families going against gender norms like ours is!
Sandra says
Hi Alana, I agree completely about breaking gender norms. There are tons of women entering into the trades and I LOVE it. Also, my husband is our family chef so we’ve completely blasted out any “gender roles” in this house! lol
Bonnie Ball says
I am a beginner woodworker. Funny thing to start at 65 years of age. I just completed my expanded pantry with base cabinets and upper open shelves. I also built a tall bookcase type cabinet with small drawers on the other wall. I love them.
My next project is building a new kitchen island. I have a design and received cost to build for me at $6500. Well that is not in my budget. So, I will be doing that myself also.
I plan a double sided with large drawers on the back with sink centered on front. There will be decent size drawers next to the sink on the left. On the right side is a pull out trash and recycle unit and then the DW. I am going to also include a pet feeding station on the end of the left side.
I would like to have the kitchen out of service for the least amount of time possible. I thought I could build all the boxes in the shop and then assemble inside. Any input would be appreciated.
Love your work.
Blessings
Bonnie Ball
Sandra says
I assemble inside most of the time. It’s just easier to move parts inside than it is to move completed boxes. It means dragging in ALLLLL the tools and gadgets to build square cabinets but if you’re building many, it’s worth it.
Lew says
Hi Sandra — I’m putting together unfinished RTA cabinets for our kitchen. I’ve never sprayed paint but your tutorials gave me the courage to finally get a sprayer for this project (and beyond). Your drying rack lesson was very inspiring and I built a similar one but used 3/4″ PVC instead of 1x4s in this time of high lumber prices and it turned out great. Thanks lots!
Teresa says
Hi Sandra!
I am pretty handy that is to my dad, but oh how I wish I had your talent! We have a large, wide upper cabinet (the only one to store food) but it is bit divided. Is there a way to add a vertical divider with out cutting the existing shelves and a major amount of work?
Thanks!
Teresa says
Typo…it is NOT divided, just a wide cabinet with 2 shelves!
Sandra says
I imagine you could add vertical dividers in each shelf using pocket holes to secure the divider to the horizontal surface above and below.
Keith Waldrup says
Love your site! Wish I had the talent and tools! I’d be most appreciative of your advice on obtaining a face frame with doors for a linen closet I want to build. live in Phoenix. Successfully completed major remodels of both guest and master bathrooms lat year, have ignored building the linen closet for longer than my wife should have put up with.
Thanks!
Patt says
Hi Sandra,
I have printed out your instructions for cutting crown molding. Would it be easier to install all of the corners and then fit the straight pieces between the corners? This will be my first time doing this.
Sandra says
That doesn’t sound like a bad idea to me. Use scarf joints so your seams are hidden. I believe I have a link in this post about scarf joints. Fitting long runs of crown moulding is a chore as it is, so keeping shorter pieces can make it easier for sure. Then you have to really attend to your seams so they aren’t super obvious.
What works for one person doesn’t always work for the next person and “easier” is subjective. Be patient with yourself and dive in. Give it a try that way and give it a try another way. Find what works best for you in each project that you tackle.
Kim Smith says
Sandra,
I have started using your instructions for cutting crown molding with excellent results for 90 degree corners. I now need to trim around outside 45 degree corners to finish my project. what adjustments do I make to the miter and or bevel?
Best,
Kim Smith
Sandra says
You can refer to this the Joe Fusco chart for all the possible adjustments you can imagine. https://www.thisiscarpentry.com/2008/09/12/joe-fusco-crown-chart/
Dean Santner says
Hi Sandra,
I just watched your “Tablesaw Mishap” video and wanted to thank you for this important reminder about safety. Your publishing of an easy to make error says a lot about your brave integrity. Hats off to you! As an independent designer/craftsman for the last 50-some years, I’m still astonished by the reckless machine behavior by many of our fellow makers.
I’m delighted to hear you survived uninjured. Many thanks for your good work. I wish you the very best. – Dean
JerryT says
Hi Sandra,
Do you still j[have your downloadable guide for cabinet making? I can’t find it on the website, but would love to get hold get of a copy?
Jerry
Sandra says
Hi Jerry, it is still available in my shop https://sawdustgirl.com/shop/ which was temporarily deactivated because a plugin was removed for an unknown to me reason. 🙂