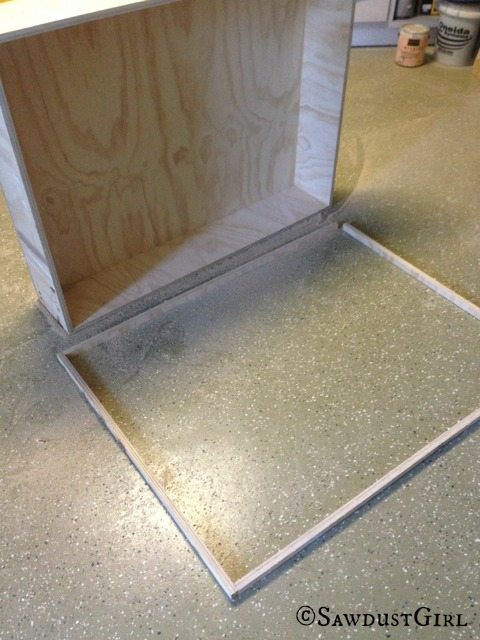
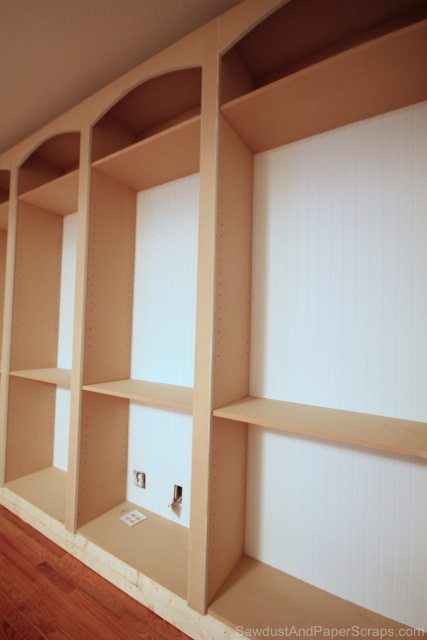
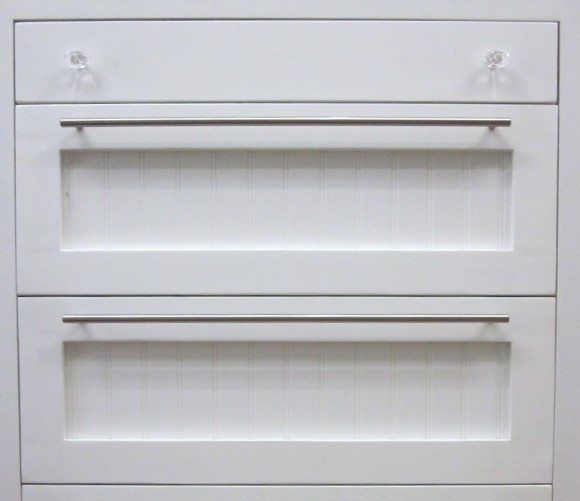
Installing cabinet drawers and getting them level and evenly spaces can be tricky. These drawers are pretty big and heavy so I’m using heavy duty, full extension drawer glides. Full extension drawer slides let you open the drawer the complete length of the glide. (As apposed to opening MOSTLY all the way open, leaving a dark hole in the back where you can never really see what you’ve got in there.)
With this particular type of glide, you generally install them along the bottom edge of the drawer sides, or in the middle. I chose middle…but how to get the cabinet part in the right spot so it lines up to the drawer part?
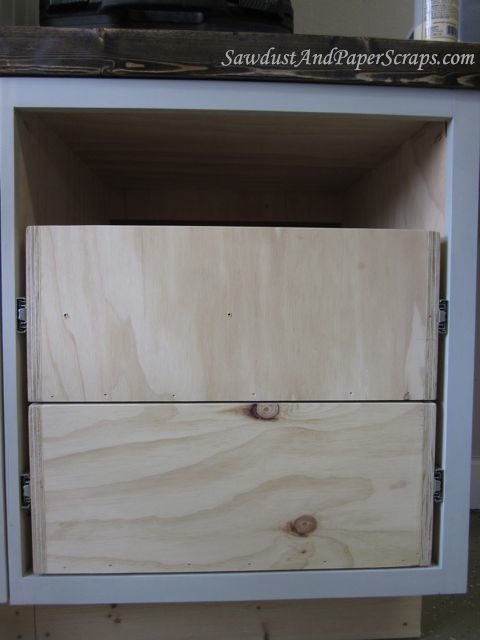
I created a template that would ensure all my glides were installed level and exactly in the right spot.
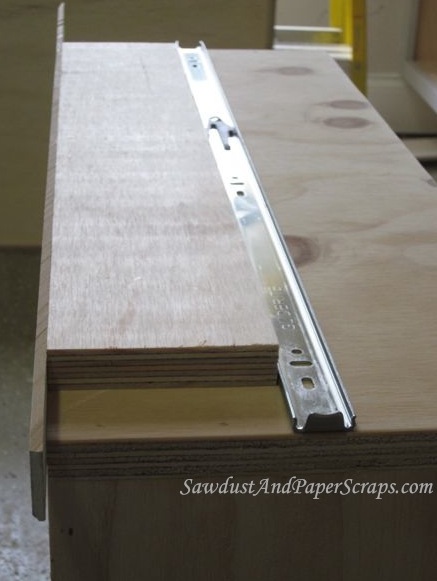
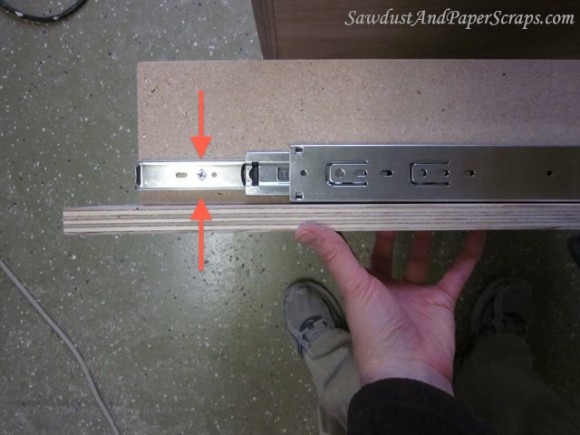
I used a scrap of wood and nailed on a thin strip of scrap wood that stuck out enough to create an edge that would hold my “template” flush with the drawer bottom while I screwed the glide in place.
EDIT: You have to keep the both parts of the glide together while you secure the drawer member. Slide the glide slightly open, secure the first screw then open the glide more to secure the second screw and so on. (Like in the picture below)
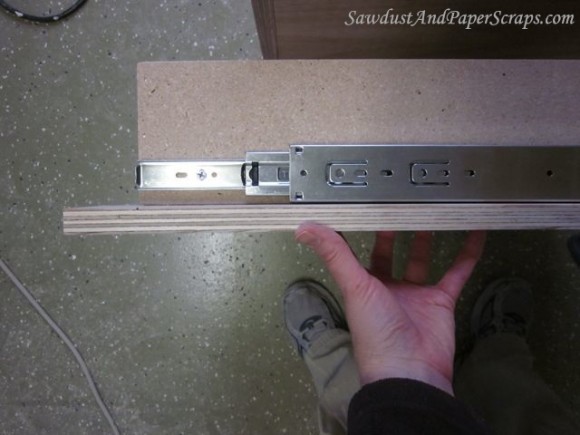
The template is now placed inside the cabinet as the guide for installing the cabinet member of the glide. The thin strip of wood that created the “edge”, now creates the appropriate space for the required clearance for the bottom of your drawer.
*It’s important to read the instructions for the glides you purchase for the required spacing between the drawer and cabinet.
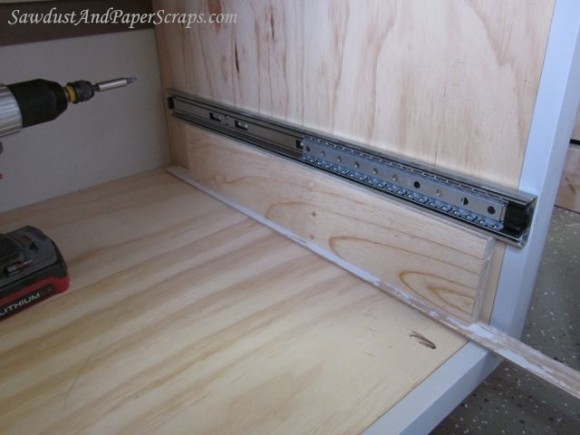
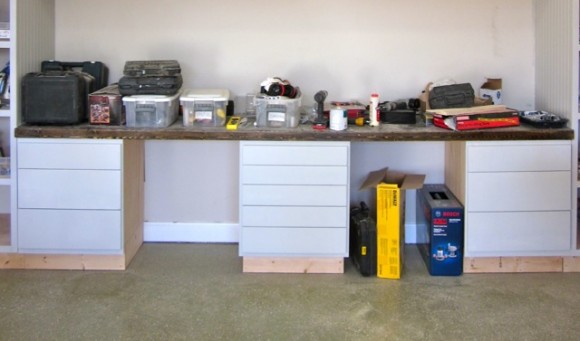
I installed my frist drawer and then used the template again, this time sitting it on top of the first drawer.
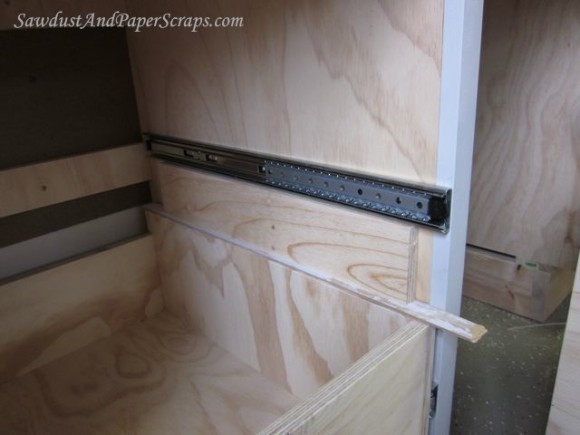
This gave me evenly spaced drawers.
I might have fudged on the “recommended” clearance for BETWEEN the drawers. If you plan on using this template method for installing drawer glides, you might want to use a thicker strip of wood for the “edge” piece to give you more clearance between drawers.
For the top drawer, I didn’t have enough space to use my template so I just installed the glide at the bottom edge of the drawer and then used a 1/4″ spacer on the top of the drawer inside the cabinet to match the spacing between the other two drawers.
One note about installing drawer glides: The predrilled holes for the screws allow for minor adjustments either vertically or horizontally. Usually, I use the horizontal adjustment holes on the cabinet member (part).
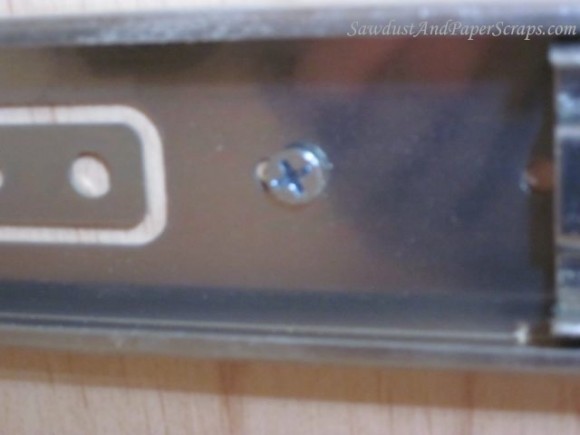
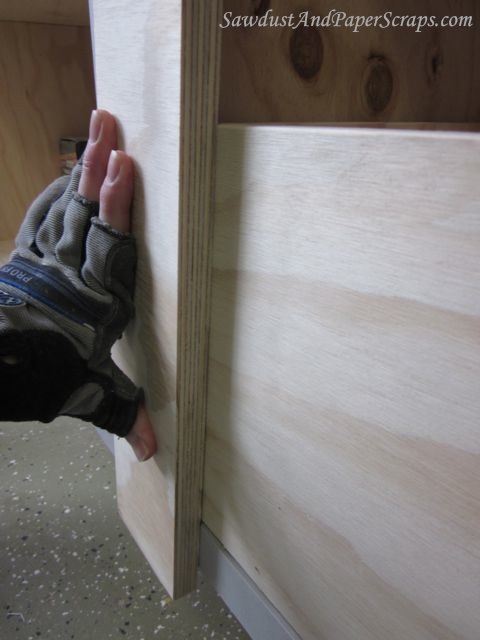
That way, when I install the Drawer Front, if it sticks out to far from the cabinet, I can adjust my glide to pull the drawer back farther into the cabinet so the Drawer Front sits flush against the face frame.
Jaime says
Sandra you are a drawer wonder, thank you for all those great tips. Drawers frustrate me to no end but your tips make it seem doable.
Sandra says
You’re always so nice Jaime! Have I told you lately that I heart you?
Chantelle - ThousandSquareFeet says
Well, now that you covered that in perfect detail and you said how to attach the drawer fronts themselves, you just need to do a tutorial showing how to make a really detailed and complicated-looking but not complicated-to-make 5 piece drawer front using rail-and-stile router bits. Then I will be fully informed on how to make my kitchen cabinets! 🙂 Good job, once again, Sandra!
Sandra says
Chantelle, I have no idea what you’re asking for. One drawer front that looks like it’s 5 different drawers? You know you need to fly down to Knoxville so we can just hammer some of this out for a week, right?
Chantelle - ThousandSquareFeet says
Oh, wouldn’t that be fun! No, I just mean drawer fronts just like you made for your last kitchen but using a rail-and-stile router bit set instead. I am currently talking with a kitchen designer and can get the kitchen of my dreams (all wood, no particle board) with maple fronts for 30% off soooo I will more than likely leave my cabinet building talent to non-kitchen rooms of the house. But, I will still build – have to, really, with all these great tutorials you give! 🙂
Julie @ follow your heart woodworking says
Not to hijack Sandra’s great blog, but… I took off all the melamine kitchen doors and drawer fronts in my kitchen and left all the boxes which were fine. I made all new 5 piece doors and drawer fronts out of pine with routered rails and stiles (stick and cope). You can do it, too!
Sandra says
Julie, that’s great! Did you do a tutorial? Link up if you did lady!
Julie @ follow your heart woodworking says
Sandra… this was a few years before I started blogging, so no I didn’t do a tutorial.
Ayisha says
Wow. You must have been reading my mind. I was just looking at the Rockler website and trying to figure what kind of drawer glides to use for my newest project. I’ve never make drawers before and I want a good sturdy soft close glides for my entertainment center. What do you suggest?
Sandra says
I actually ordered these from http://gliderite.com/. They were the most inexpensive I could find but got really good reviews. The ones I used in my closet are from the same site and are soft close and I LOVE THEM. I did have about 3 parts out of 20 that didn’t work properly but the company sent out replacements quickly, no questions asked. I will definitely order from them again. (No affiliation…just happy with my order.)
Paul says
Brilliant tutorial. I’ve been planning to tackle drawers myself for ages now, but had visions of some creaking, misaligned, ill fitting disaster. Now I feel a little more capable. 🙂
Sandra says
You can do it Paul!
Cristina says
Wow! I love your Closet!! but I’m loving even more your wonderful tutorials! I’m being afraid to work on drawers but maybe after seeing your work I’m more willing to do it! Thanks!
Wendy says
Wow! I have to try this … someday, not yet, but someday I will … Wow!
angie @ seriouslyahomemaker says
you lost me at “drawer member”. if there is a club for people who hereby at this very moment are declaring they will never build their own drawer, i want to join! i shall be president.
Sandra says
Angie you always make me laugh! Member is just another word for piece or part. Drawer glides have 2 parts/pieces/members. One for the drawer and one for the cabinet. Calling it “member” just makes me sound smarter than I am.
Timothy says
Great tutorial Sandra! Drawer slides are notoriously difficult to install and adjust.
Mel says
I’ve been putting off this very job because I’m math challenged. You make it look less intimidating. Thanks so much.
kim massa says
building 2 drawers and installing them just how you did is my project for February. Thanks for the written instructions for installing level glides.
Trey says
Great tutorial…you simplify what could be a complex process. I do have a question..how do you attach the drawer glide to the drawer so it lines up with the glide on the cabinet member? Thanks for a fresh look at an old problem!
Sandra says
Thanks. I showed how to attach both the cabinet and drawer members so they would line up in this tutorial.
Lynda says
Hello..where do you purchase your drawer slides? Thanks
Sandra says
Wherever I can find what I want for the cheapest price at the time I need them.
Lisa says
Great tutorial! Thanks! My trouble is that my face-frame is already installed and given the nature of my construction of building out from the face-frame none of the ‘pockets’ where the slides get installed are uniform. Any suggestions on how to beef up the sides? Packer blocks? Thanks! Lisa
kim massa says
wow, I could have used this a month ago, I never see all that you have posted. Not sure how that happens. But this is a great tutorial. Thank you
Steve says
I’m thinking about retrofitting wood-on-wood kitchen drawers with slides. Do you know if it would be feasible to cut a dado in the side of the drawer to fit the drawer half of the slide, and eliminate the need for half-inch clearance between the drawer and the cabinet? Or would that be a bit too tight?
Sandra says
I think if your cabinet and drawer are both square it could work. No guarantee. Try it and find out – if you don’t mind having a dado cut out of your drawer if it doesn’t work out.
John Ford says
Nice idea – and a very clear exposition. I assume you size and fit the drawer fronts after mounting them?
And that’s a pretty nice utility/storage space. Thanks for the idea.
Sandra says
Yes, I always install the drawers before I build the drawer fronts so they end up the right size.
Jerry G says
You used the “template” to position the drawer portion of the glide, or “inside” part. This is narrower than the whole slide assembly, but you used the same template (with the shim to provide bottom clearance) to position the wider whole slide assembly. Am I wrong, but does this not throw it off by the difference in width of the small draw part of the slide versus the whole slide assembly? I would think you need to use the complete assembly to position the slide on both the drawer and cabinet. What am I missing?
Sandra says
That is exactly what you have to do Jerry. Sorry, I showed it that way in one picture but now another. I’ve edited the tutorial to show securing the drawer member glide part while still attached to the cabinet member. Thanks.