DIY Hanging Organizer – Files or Magazines
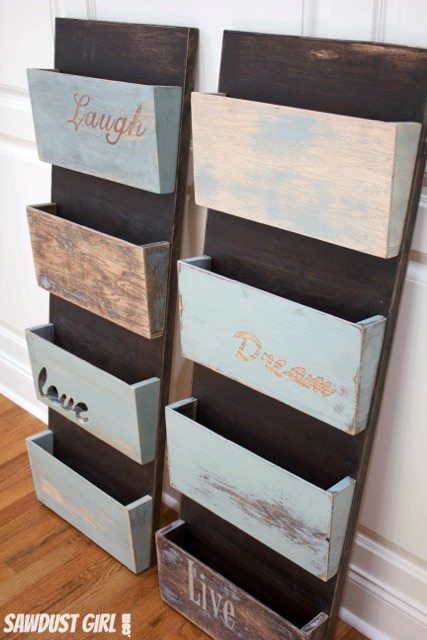
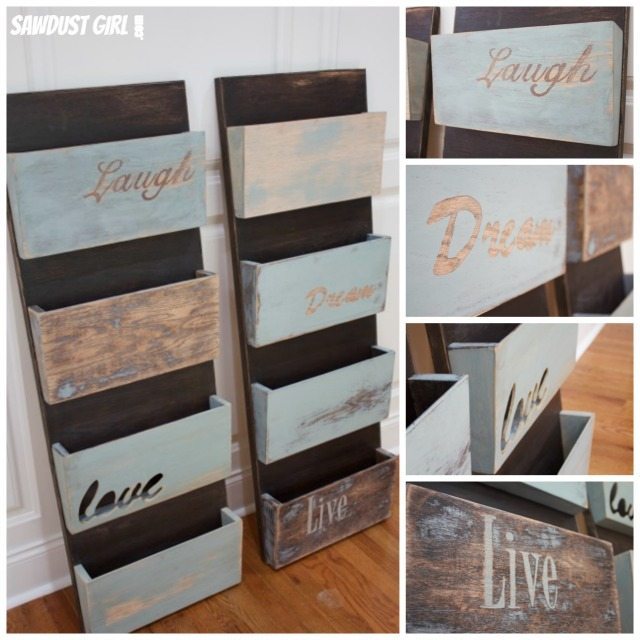
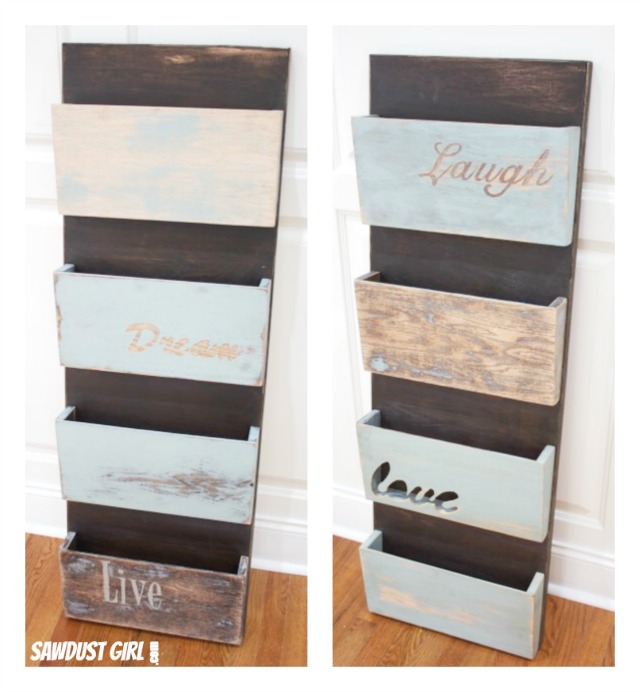
At 14″ x 48″, with four bins each, these hanging organizers will hold a lot of file folders or magazines. I experimented with a new tool to put some inspirational words on some of my bins – but these organizers could be finished in all sorts of different ways. Let the imagination run wild.
This post was sponsored by Dremel.
Materials:
This is a great project for using up scraps that might be piling up in your garage/workshop. I used a full sheet of 1/4″ plywood and random scraps or 1/2″, 3/4″ plywood as well as scrap furring strips.
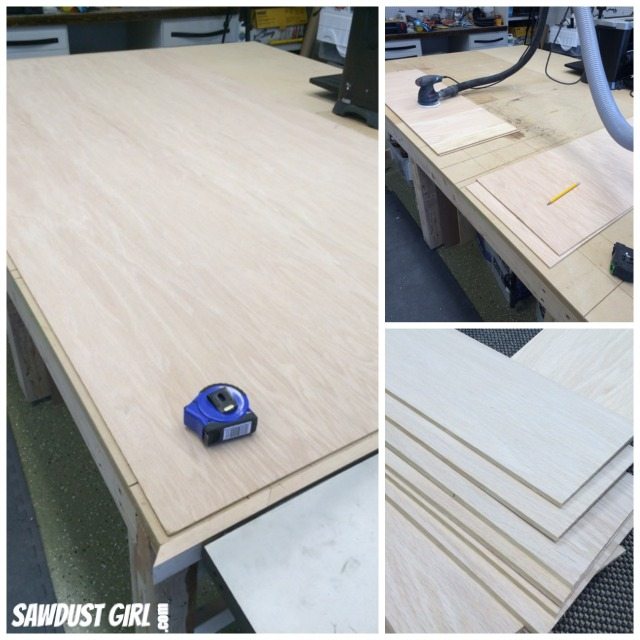
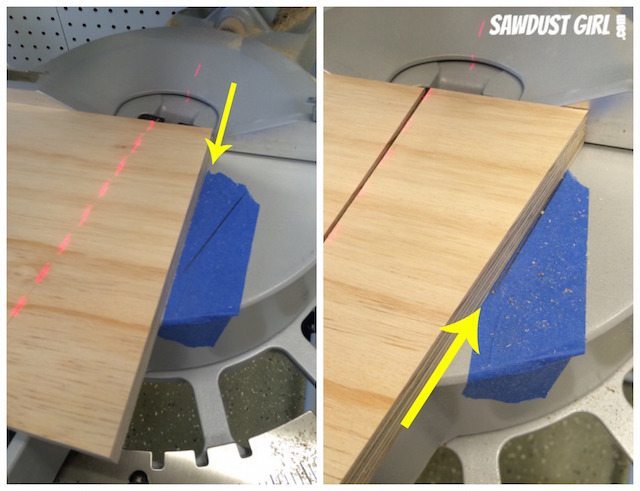
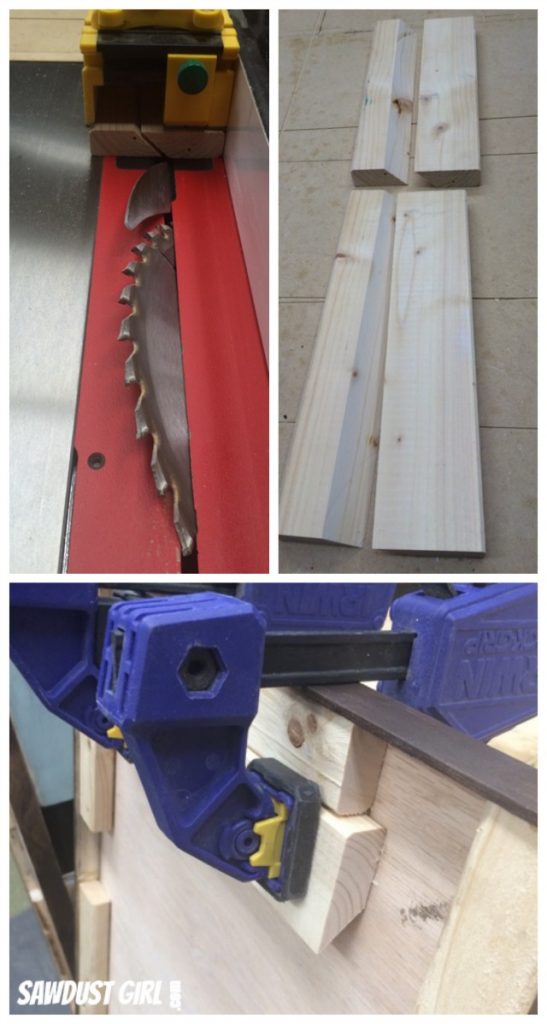
I wanted my organizer boxes to slant out so I cut one side of of each piece at a 10º angle. To easily repeat this step on all 16 pieces, I put a piece of tape on my miter saw. The left edge of the tape marked the “stop” for the square side of my board. I then cut the board with the 10º angle. Then pushed the board over and lined up the angled edges to the next mark on the tape, changed the saw to cut at 90º.
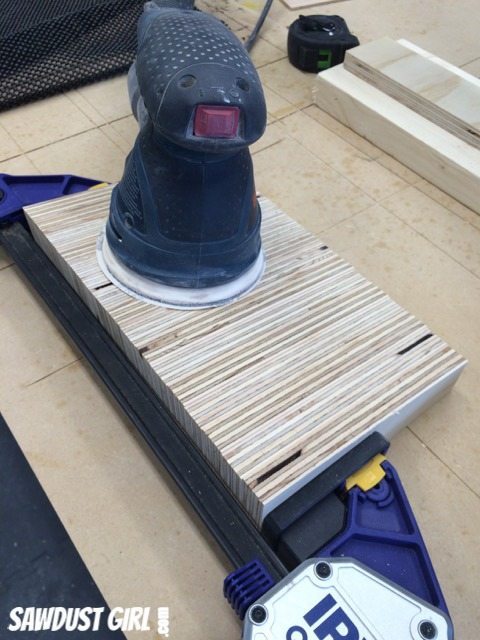
They weren’t all perfectly the same so I clamped them together and sanded out the discrepancies. (Perfectionist behavior.)
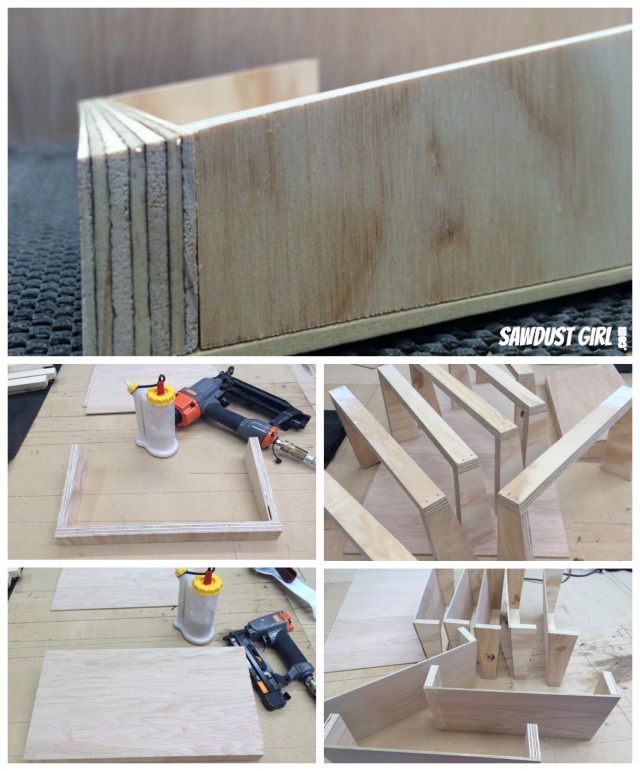
Building the Hanging Organizer Compartments
- I cut the bottoms for the compartments with a 10º angle on one side to match the slant of the sides.
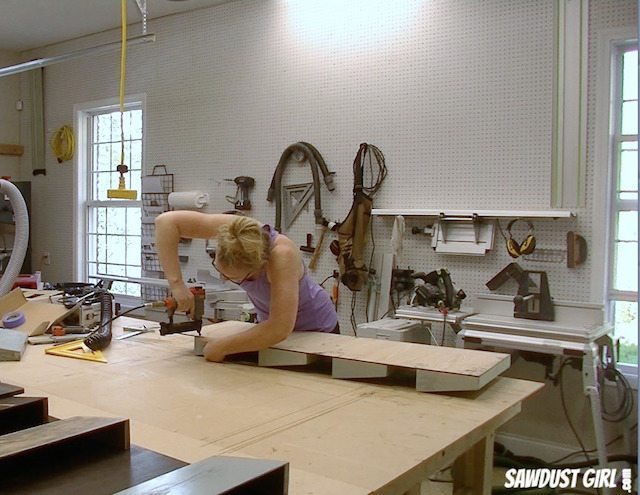
- Then I glued and nailed the sides to the bottoms.
- Then I glued and nailed on the fronts.
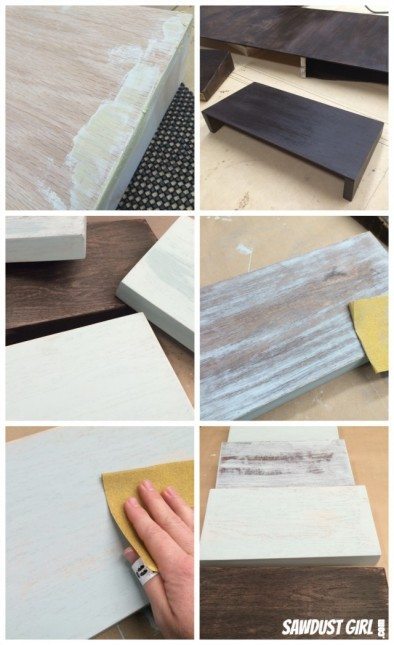
At this point I filled, sanded, stained, painted and distressed the backs and bins. I waxed all parts with Miss Mustard Seed Furniture Wax. I like that wax because I only have to wait 3-5 minutes before I can buff it. I used the Dremel to decorate some of the bins so those got waxed again after carving and cutting.
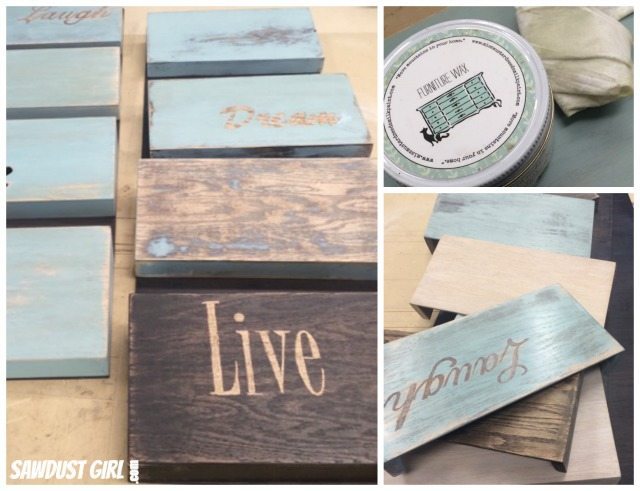
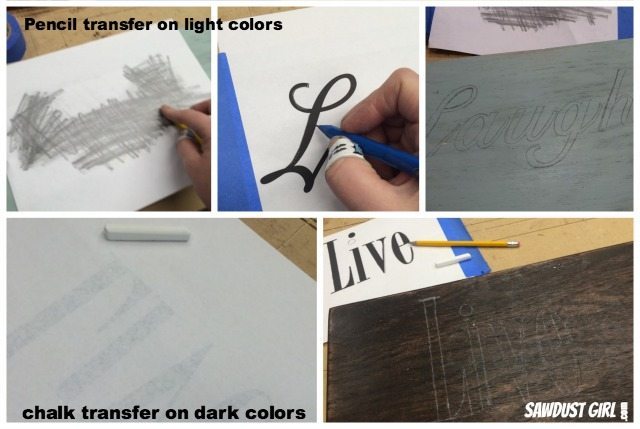
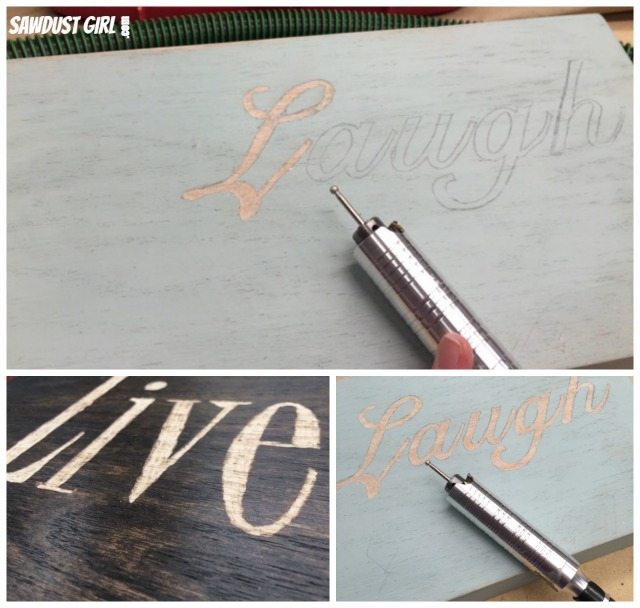
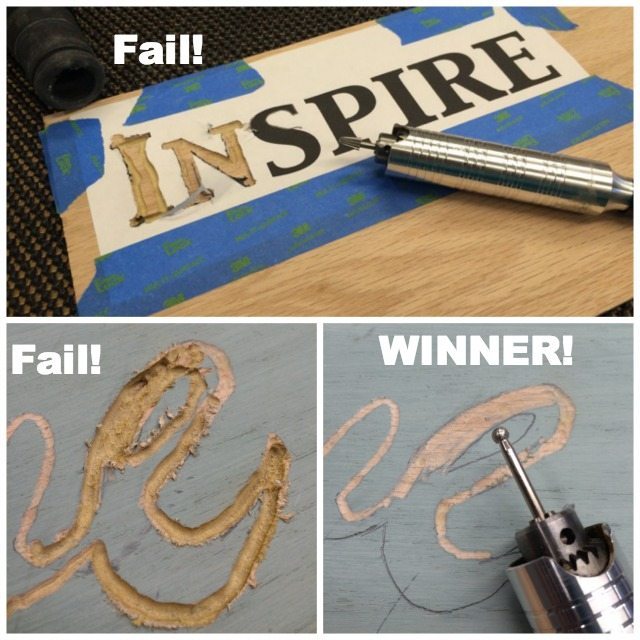
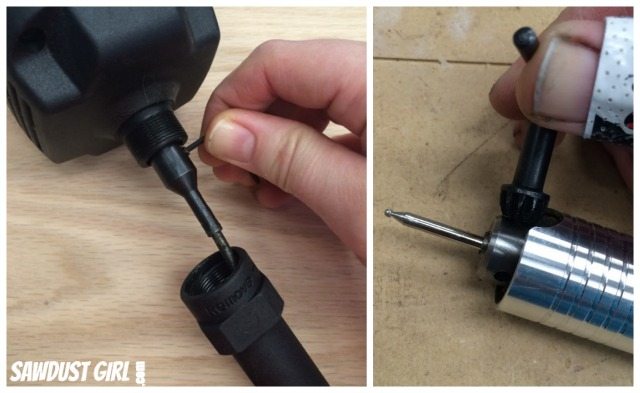
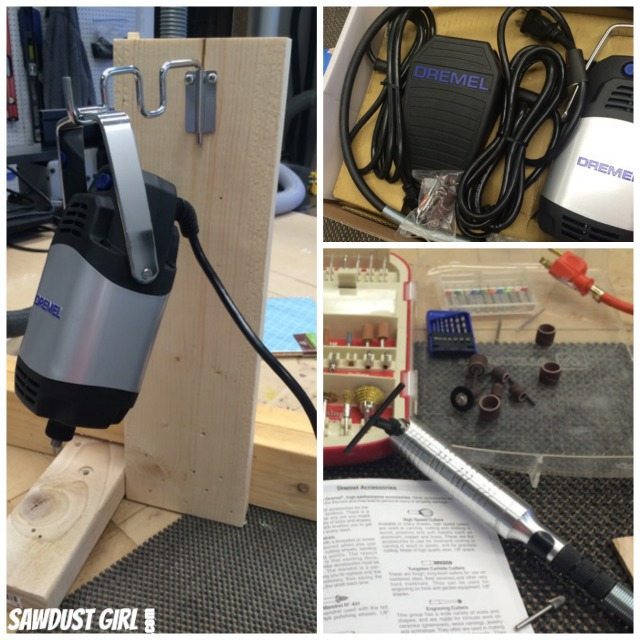
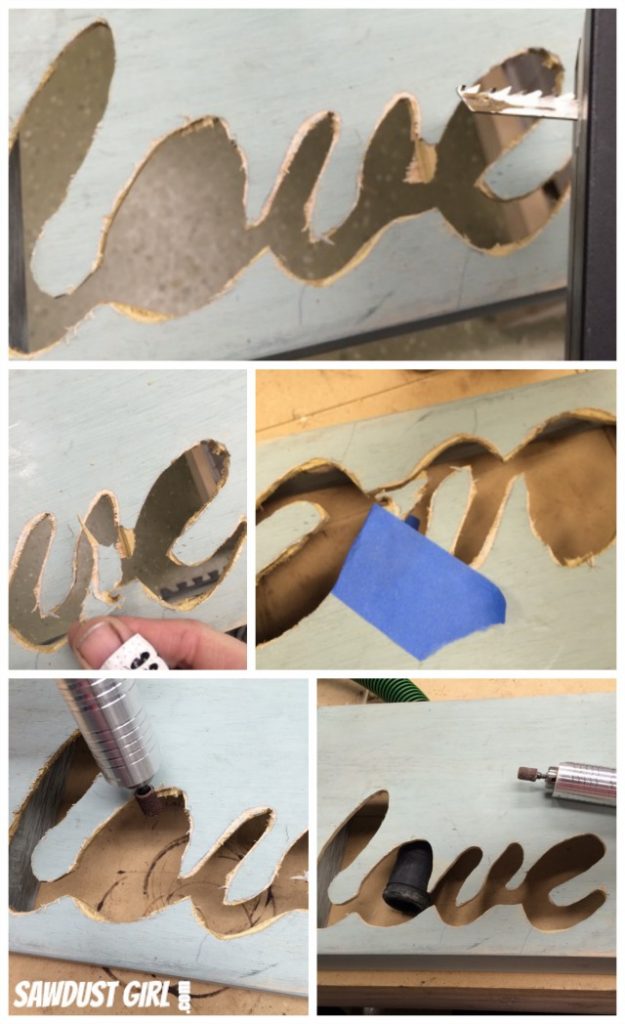
Now for the FUN part – putting some inspiration text on some of the bins. I printed out the words I wanted to use and transferred them to my wood. Then I experimented with the Dremel tool, cutting out some words, carving others.
I stapled and screwed the bins onto the backs.
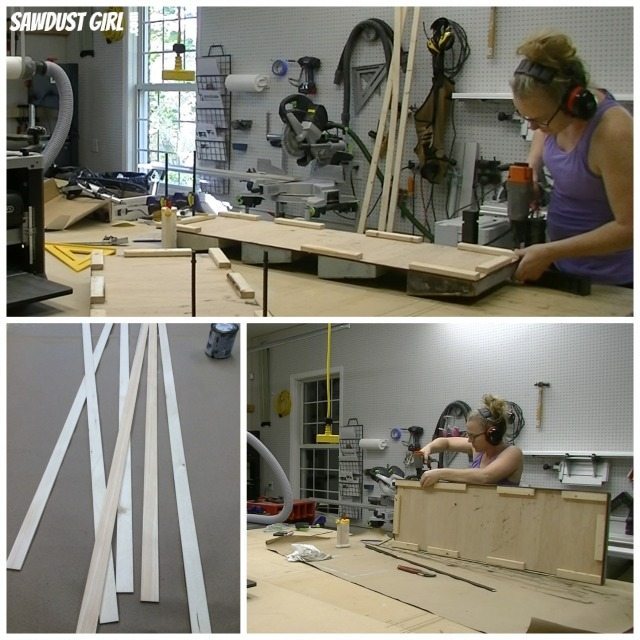
I wanted my hanging organizers to look chunky but not be too heavy so I created a lightweight frame. This was achieved by attached to scrap furring strips to block out the sides and then attaching thin wood strips around the perimeter.
These organizers could sit on the floor, tilted against the wall or hung using your favorite picture hangers. I made a French cleat for mine – but didn’t want to put any holes in my wainscoting so they propped up against the wall. 🙂

What are the actual measurements of your cut pieces? If I missed it my apologies.
If it’s not in the post then I have no idea because I did that project years ago.