Quick and Easy Way to Paint Beadboard
It can be a real paint to Paint Beadboard because of all the nooks and crannies. I used to start out by painting the grooves with a brush and then using a roller to get the rest of the panel. But it takes a long time to brush EVERY SINGLE groove on a 4×8 Beadboard Panel so I took out a step.
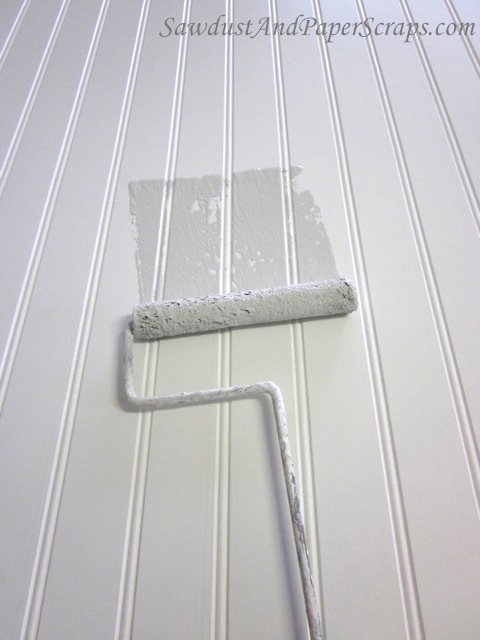
How to paint beadboard
First, I almost always paint beadboard paneling before I cut it to size and install it. I find it’s much easier to get paint into the grooves while it’s laying flat on a work surface than after it’s installed and you have to “jab” the paint into the grooves at the bottom where it meets the baseboard or whatever it’s sitting on.
Before I start paint beadboard, I prep the panel by brushing all the dust out of all the grooves. I bought this soft bristle brush specifically for this purpose but a large dry paint brush works great too.
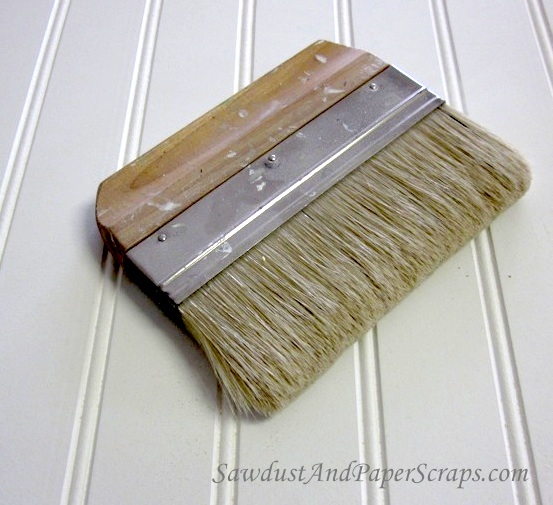
*I do not use an air compressor to blow the dust off. It would just settle back down on my wet paint after creating a whole room full of dusty air.
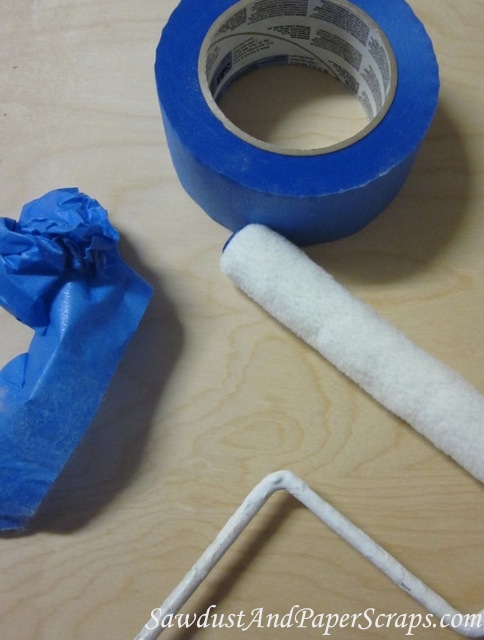
Next I Prep my roller so I don’t leave any fuzz in my paint.
Then I soak my roller to get as much paint as possible onto the beadboard panel. I push hard enough that the roller doesn’t “roll”, it slides, pushing paint along inside the groove.
Then I roll back over that area to smooth out the finish and make sure everything is covered. It might feel odd and like you’re doing it all wrong…but it’s pretty effective and fast. I don’t worry about the lines created on the roller by pushing hard, they disappear after rolling back and forth a couple times when it comes time to actually roll.
*It’s important to work in sections for this part to keep a wet edge! Smoosh some paint into the grooves in a small section and then roll it out…and then move onto the next area. Otherwise, you may end up with ridges and excess paint in some areas because you were concentrating on the paint in the grooves and not focused on where else the paint ended up.
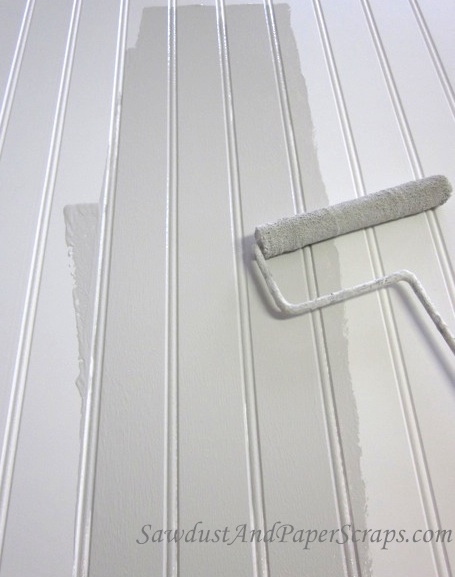
Then I can cut and install. If applying beadboard to cabinets, I generally glue it on instead of nailing it so I don’t have any chips or nail holes to fill and touch up!
Did you find this tip helpful? You might also like these other Painting Tips!

Just depends on your desired finish. I personally like flat paint on drywall and semi gloss on trim (including wainscotting –beadboard). But it’s up to you and what you like.
What pain should I use for beadboard on the ceiling? Trim paint? Satin? Flat? I kind of though satin finsh trim paint but I’ve not done beadboard before.
If the roughness is from the wood, it needs more sanding. Are you doing a light sanding before priming and then it’s rough? Then — is it a water borne primer? The water is raising the grain and it needs a light sanding after priming.
If the roughness is texture from the paint roller you probably need a roller with a smaller nap. Or the paint you’re using. Us a good self leveling paint and a small roller with 1/4″ nap. Don’t over work it. Apply and let dry.
I related to another post and was hoping for some answers. I had trouble with the 8×4 beadboard coming out not smooth. I tried a light sand and clean off. The panels still look rough. I have now painted 3 boards with unsatisfactory results. Any ideas? I don’t want to waste material. I am thinking of doing away with this idea. Help!
Wow that sounds like a lot of work! You might look into renting an airless sprayer to finish. 7 days of painful work sounds intense for one wall. But you did it!