How to cut in when painting
Painting is one of those things that can reveal to observers if a job was done by a pro or a novice. Drips, brush strokes and uneven lines would be a dead giveaway to a novice hand. However, it just takes knowing a couple tips, using the right brush and a little practice and even the greenest beginner can produce a professional looking paint job. For those of you who don’t like video tutorials, I’m posting a “pictorial” of my video tip for how to cut in paint.
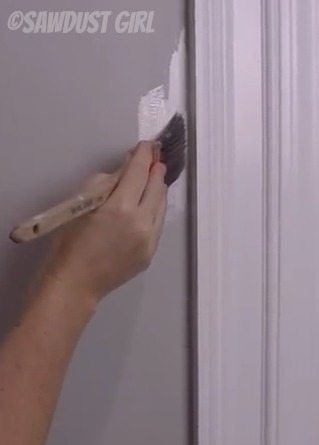
How to cut in paint
“Cutting in” the paint line between your wall and your moulding. You generally use a different color and paint on walls than on trim so the line between the two needs to be as clean and perfect a transition as possible.
First, make sure you have the right kind of brush for the job. You want an angled brush with a good “taper” to the bristles so it is thinner at the tip. Make sure your brush is clean and not frayed. Frayed bristles flying out in all directions will put paint where you don’t want it!
 Step 1:
Do not get too much paint on your brush, just dip the tip!
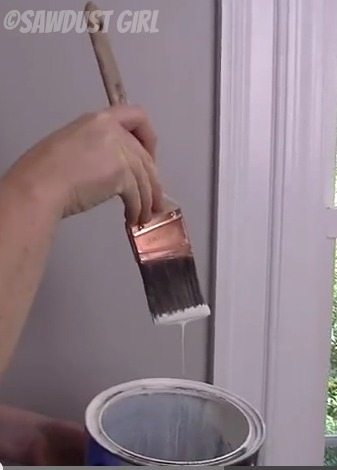
Step 2:
Wipe the excess off of one side.
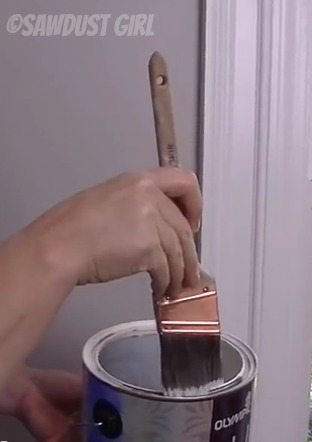
Step 3:
With the side that still has paint on it, brush the paint onto the wall, close to the moulding but not touching. Drag the paint away from the moulding. This is getting most of the paint off your brush so you have just a teensy tiny amount left to cut in with.
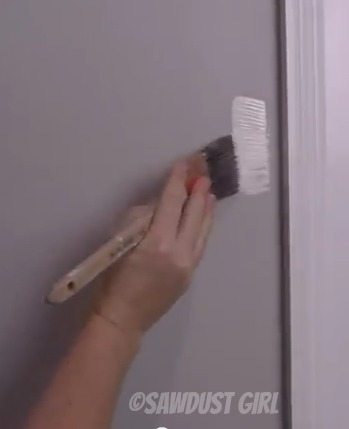
Step 4:
Now, pull the brush downward with the “dry side” of your brush is just kissing the moulding (just barely touching). Draw your brush downward until you run out of paint on your brush.

Step 5:
Now go back and brush out the paint you put on the wall at first. Feather it in with the “cut in” line to blend all paint and eliminate any brush strokes.
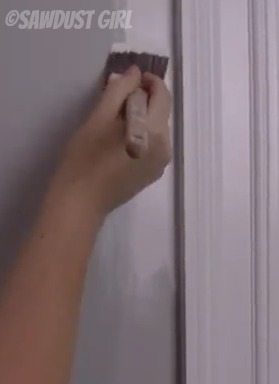
Repeat that over and over until you’ve gone around all the moulding. You’ll want to slightly overlap each application so you get full coverage. You may have to do a second coat after the first coat dries but it’s best to do multiple, thin coats rather than try to get it on thick enough in one pass. Going too thick is when you get drips –and you don’t want drips.
If you do get drips, check out my easy tip for getting rid of drips in dried paint.
There’s always a fix. It only takes extra time.



1. Hold a utility knife at 45deg angle and score a FAINT line between the trim and the wall..using your fingers a as a guide…. FAINT.. the paint will fall in the line and produce a razor sharp line.
2. NEVER paint a latex paint without FLOTROL
Yes! The right brush makes all the difference in the world! No more taping off baseboards and trim – cutting in this way saves so much time!