How to Build Cabinet Doors with Beadlock Mortise and Tenons
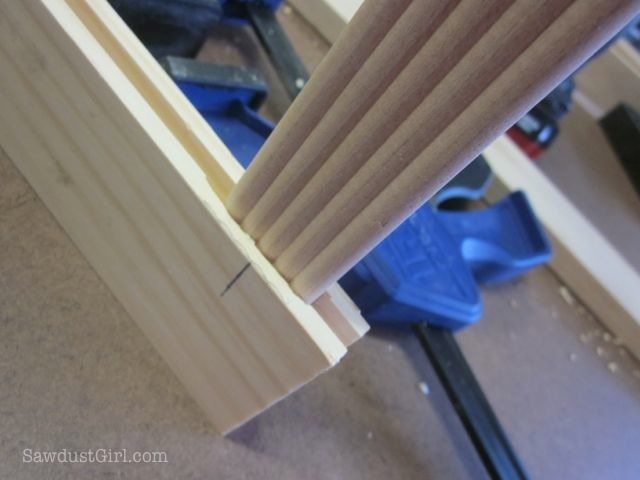 To build cabinet doors, you need a table saw or router table to cut the groove for your panel to sit in. In this tutorial, I’m using the Beadlock Basic Starter Kit from Rockler which includes a 3/8″ drill bit and drilling jig. You also need to order the 3/8″ tennon stock. The Beadlock system allows for three different tennon sizes. The 3/8″ is for material that is 3/4″ thick — which is what I always use for building cabinet doors.
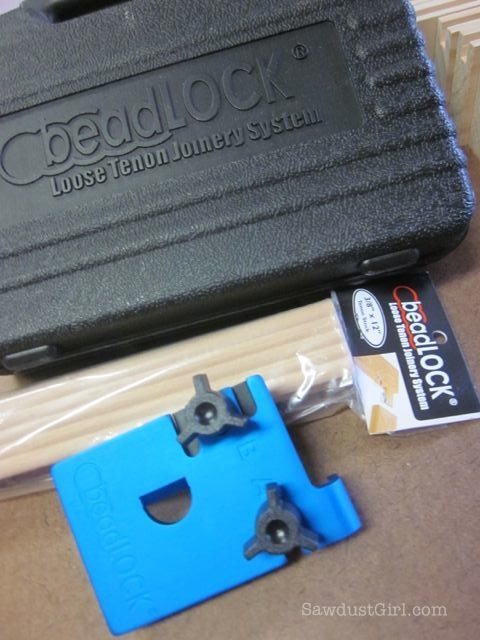
1. First thing you have to do is determine the size of your door. Measure your door opening. (If doing double doors in one opening, split the width of the opening in half and make two doors.)
It’s a good idea to build your inset doors slightly larger than the actual door opening. This will allow you to trim to fit possible imperfections if your opening is not perfectly square. (1/4″ to the height and width of your door should be plenty.)
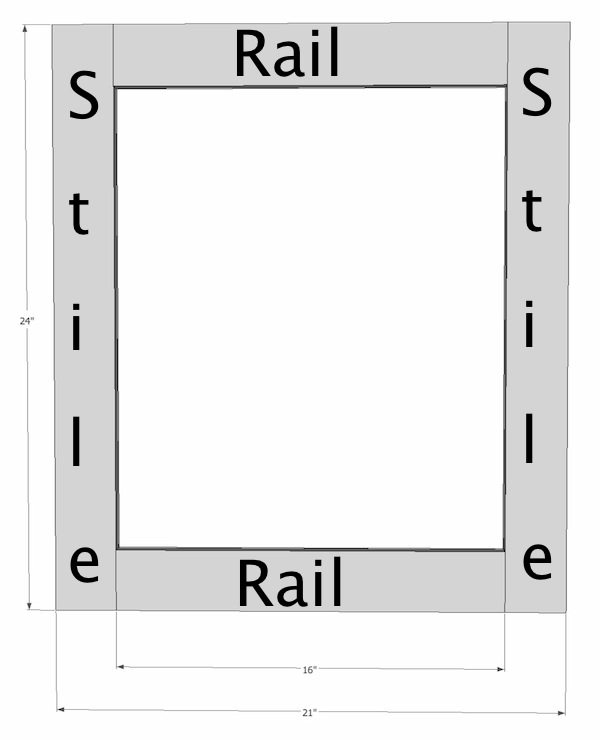
FYI on Door Parts: Rail = horizontal parts / Stile= vertical parts
2. Determine the size of your door parts.
For the sake of this tutorial, I’m going to have my Stiles extend the entire span of the door height (but you could reverse that and have your Rails extend the entire span of the door width if you want to).
*I always use 2 1/2″ wide stock to build doors.
The Stiles will extend the entire span of the door length. There fore, you have to subtract 5″ from the overall width to account for the two 2 1/2″ stiles that will go on the ends of the Rail.
So, I want my door width to be 21″, my rails will be 16″ long.
3. Cut all your door parts. I always recommend using Poplar for painted doors. (Please note that the wood in my pictures is Pine. I generally experiment with that because it’s cheaper and softer so it doesn’t put too much strain on my tools.)
For stained doors, you’ll choose whatever wood species you want.
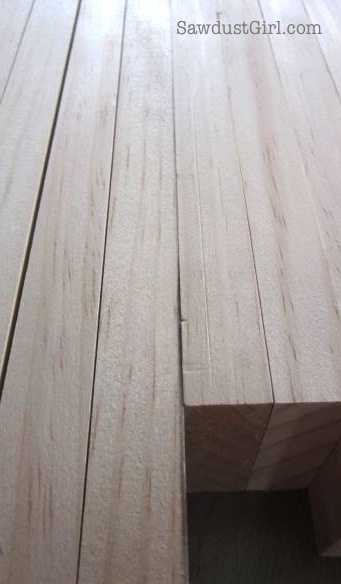
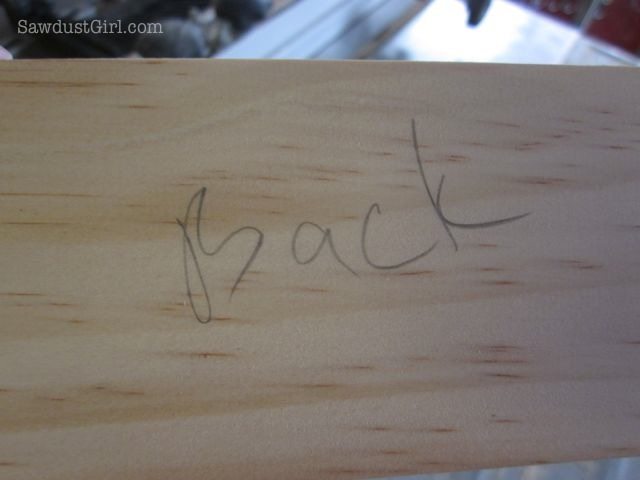
4. Mark your parts! You’ll be making several passes through your table saw or router table and you want to make sure you run it through the same way each time to ensure that all your dados end up the same.
5. Set up your dado blade. You can do this step on a router table or table saw. I’m using my table saw. Your dado needs to be wide enough so whatever panel you want to use will fit. I’m using beadboard that is slightly less than 1/4″ wide so my dado is 1/4″ wide.
Whether you are using your table saw or router table, you’ll probably want to make your cuts in several passes. It’s hard on your tools’ motor and bits/blades to try to remove too much stock at one time. Set up the rip fence and leave that alone. That way all your dados will line up. Adjust the height of the cut.
I want my dado to be about 3/8″ tall. I’ll make two passes.
*****Be VERY cafeful when cutting your dado. Set up featherboards or build a jig to hold your door parts down so you don’t have to get your hands too close to the blade.*****
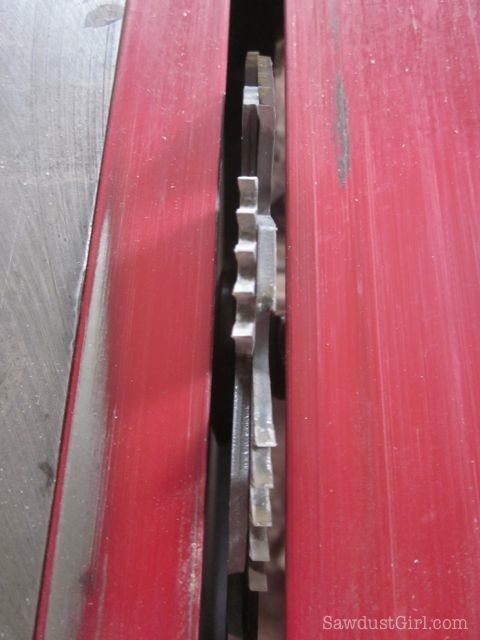
I’ll make my first pass about half of my desired 3/8″ final cut. To set the final height, I just marked a scrap of wood at 3/8″ and set it next to my blade, then raised the blade to match.
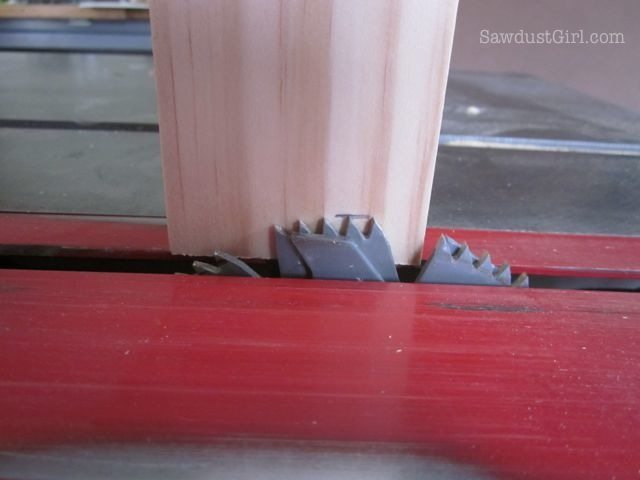
6. Cut your dados. You want your dado to run the entire span of the rails. (If your rails are going inside your stiles.) If you are able to, start and stop the dado cut 1″ or 2″ from the ends of the stile parts. If you forget, or are unable to safely do this, don’t worry; you can plug and fill the visible dado after the door is built.
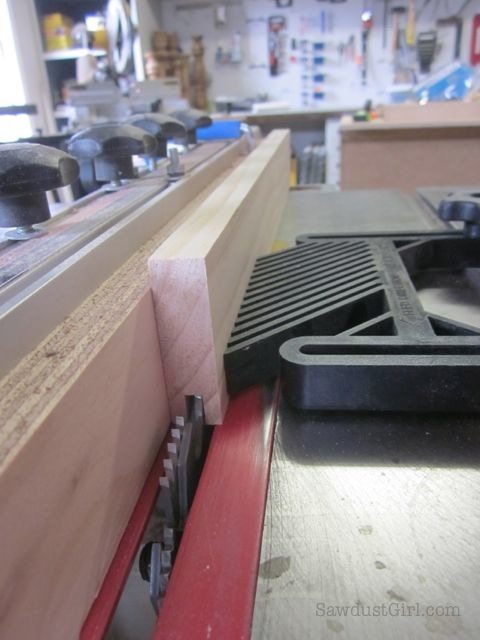
You can see that I forgot about starting and stopping my dado cuts before the end of my boards. I cut 1/4″ x 3/4″ plugs and glued them in place at the end. No biggie. There’s always a fix. 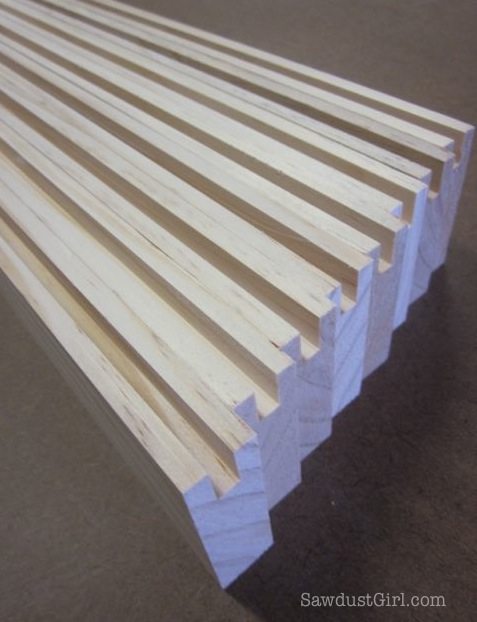
7. Set up your door and mark a line across the two parts (rail and stile) where you want to position the center of your tenon.
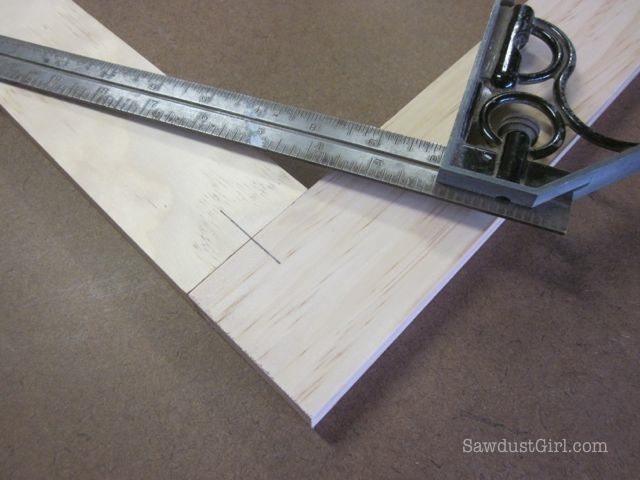
You want to make sure to label the right and left sides differently so you are sure to put the right parts together after everything is drilled.
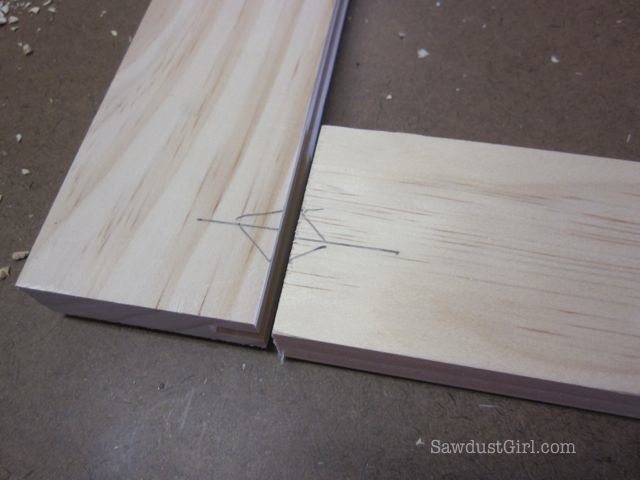
Now it’s time to drill your mortises.
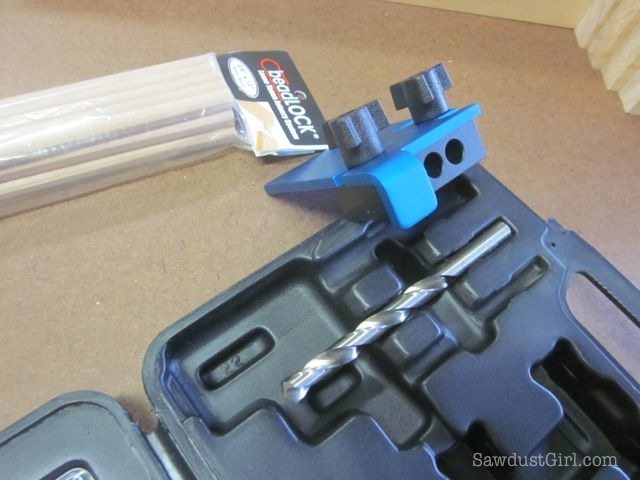
8. Clamp the Beadlock jig to your door part by lining up your mark with the designated spot on the jig.
I bought an inexpensive vise that clamps onto my work table from Harbor Freight Tools which I found to be an invaluable extra set of hands.
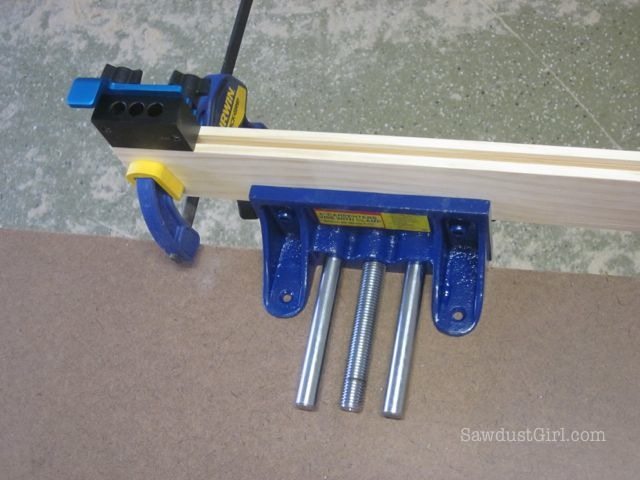
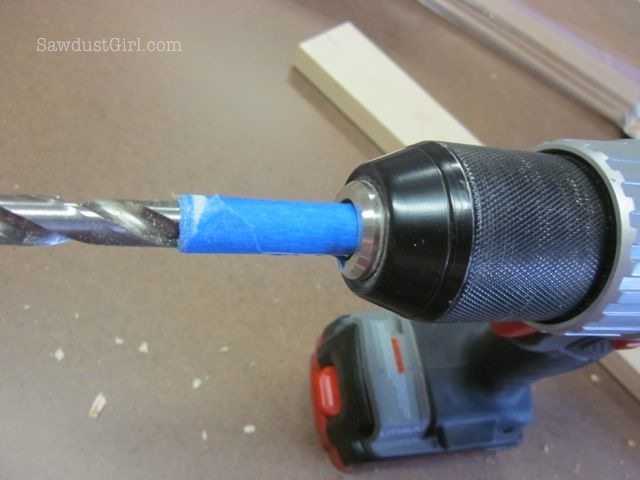
9. Decide how deep you want to drill your mortises. I drilled 1 1/2″ deep (on each part so the total tenon length was 3″). I used painters tape to mark my depth stop.
10. Drill. The jig has two settings. A and B. You will drill holes in each door piece on both settings.
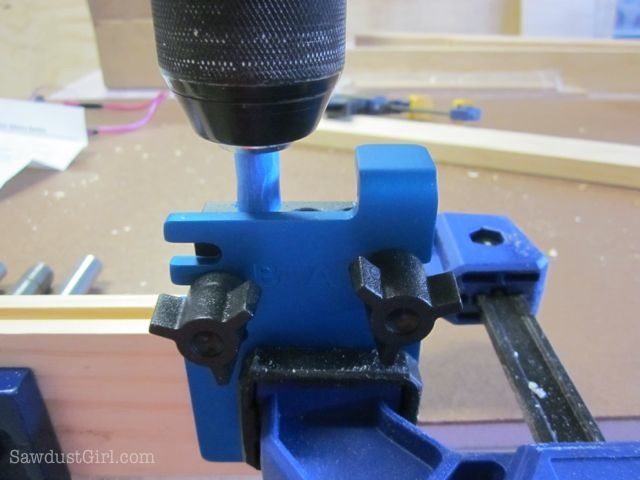
The instructions say to start on A and then drill B by loosening the knobs and sliding the jig to the new position.
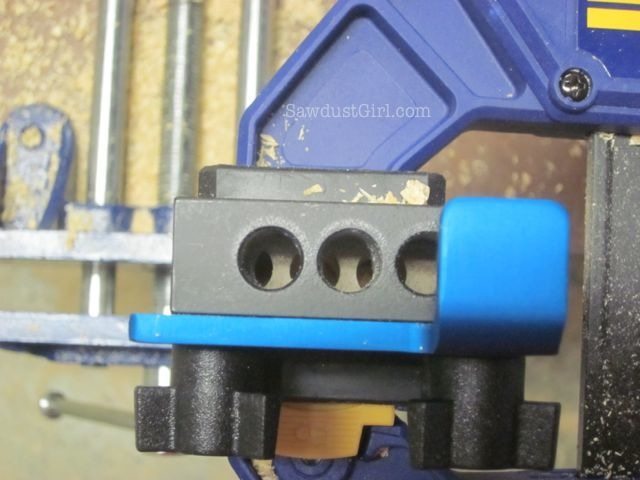
This is what it looks like after drilling all 5 holes.
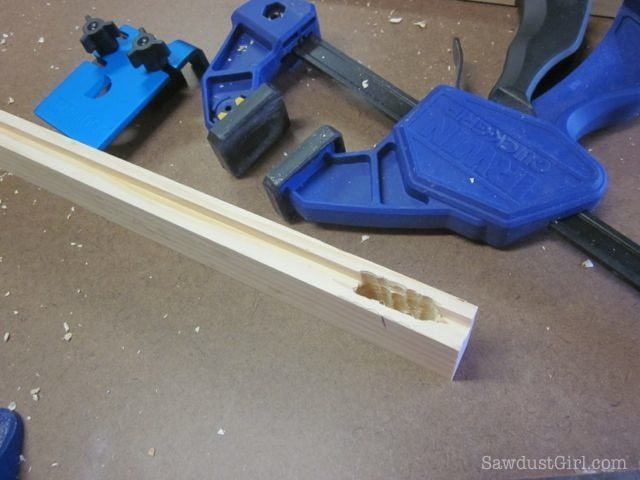
I dry fit my tenon stock to make sure it fit. It did!

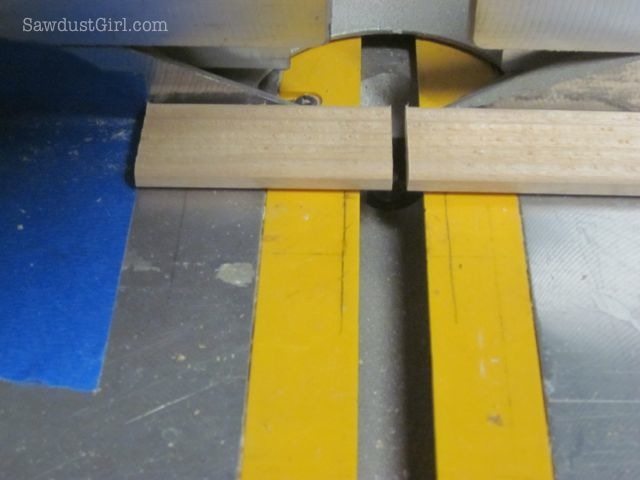
11. Cut your tenon stock to fit in the mortise you just drilled. I put a piece of painter’s tape on my miter saw so I could easily cut multiple pieces without measuring and marking 50 times.
To assemble your doors, you’ll need clamps that are long enough for the door you are building. I use bar clamps. You buy the pipe int he plumbing section of any home improvement store and the clamps are about $15 each. You can use the same clamps on different lengths of pipes so you don’t have to purchase a ton of different sized expensive clamps.
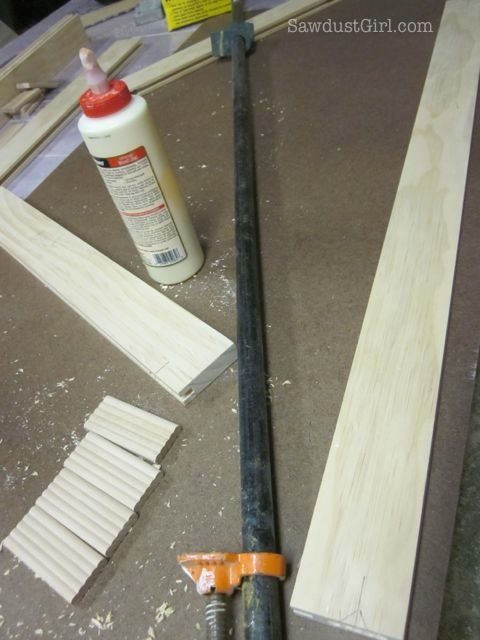
12. Glue the tenons into place on the part of the door that will insert into the ends of the other parts.
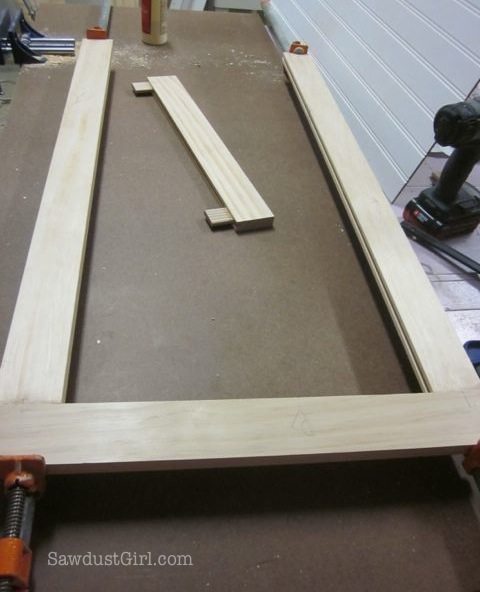
13. Glue three door parts together in such a way that you will be able to insert your panel and then insert the last door part into place.
*If you do it bassackwards, your tenons will be protruding into the door opening and you won’t be able to get the last door part on without stressing the whole frame — probably to the point that it breaks apart.
*In this picture, my door is assembled with the rails extending the full length of the door and the stiles are sandwiched between them.
14. Cut your panel to size. Slide it into place and glue the other end on.
*The size of your panel will vary depending on the depth of your dado.
Clamp it and let it set.
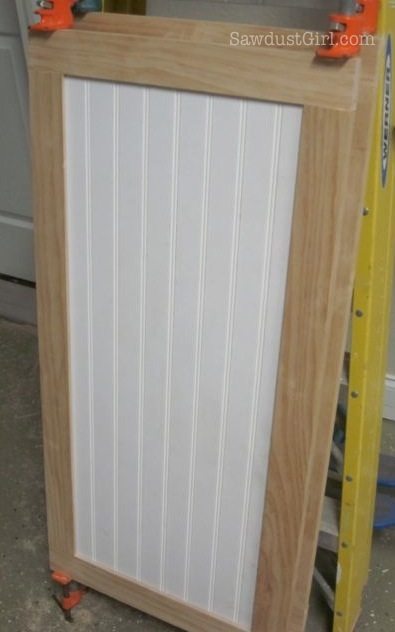
15. Attach your hinges and fit your door. You will have ordered your hinges already — if you read my post about door options and hinges. 😉
This is where the fiddle factor comes in to play…
You may have to trim your door to fit the shape your opening. This is why you built your door just a tad large, so you’ll have room to trim. You can run it through the table saw, use a hand plane, a sander, all three or any other method to trim the door to
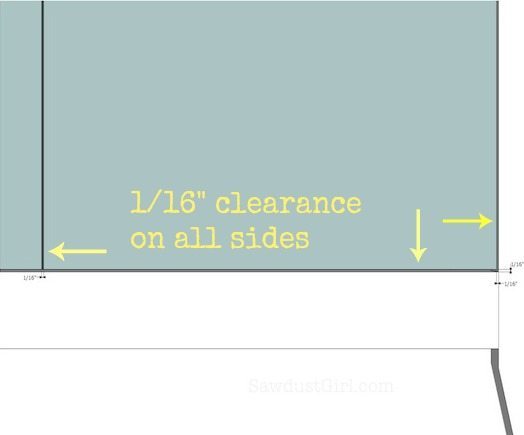
Optimally, you’ll have 1/16″ clearance on all sides of your door but that may be ambitions. If your clearance gap is larger than that, it’s ok. Just make try to make your clearance gap equal on all sides.
After you get the door fitted is a good time to paint or stain. If you finish your door first, you’ll have to touch up the sides that were trimmed so you might as well wait. That’s my 2 cents on the matter anyway.
Get my Cabinet Building 101 eBook. All the information in one place that you can download and keep on hand!
$9.99Add to cart


I was wondering if there is a reason you don’t use a pocket hole jig and screw the doors together. Is it stronger to use the tenon and mortise method? I’m getting ready to build the doors for some bookshelves I built and I don’t have a Beadlock kit. I just wondered if it would work to use the pocket hole method since I already have those tools. And thanks for your awesome tutorials! My bookshelves are almost done, thanks to your step-by-step instructions. I can’t wait to be finished and start a new project! 🙂
Since the inside of doors are seen when the door is opened, invisible joint methods are preferred. There are many different methods for door assembly though. You could use pocket holes but you’d have to plug, fill and sand really well to make them invisible and then only if painting. If you’re staining them, the plugs would always be visible.
I have a biscuit joiner that I have used before for making mirror frames. Would that work?
the problem with biscuits is they are so narrow they don’t provide strength to the joint but you can certainly use them. You’d want to use glue and clamps as well!
It is the same concept as a biscuit but the bead tenon is Much wider and longer so ads much more strength to the joint.